Print Then Cut FAQ’s + Free Printable Downloads
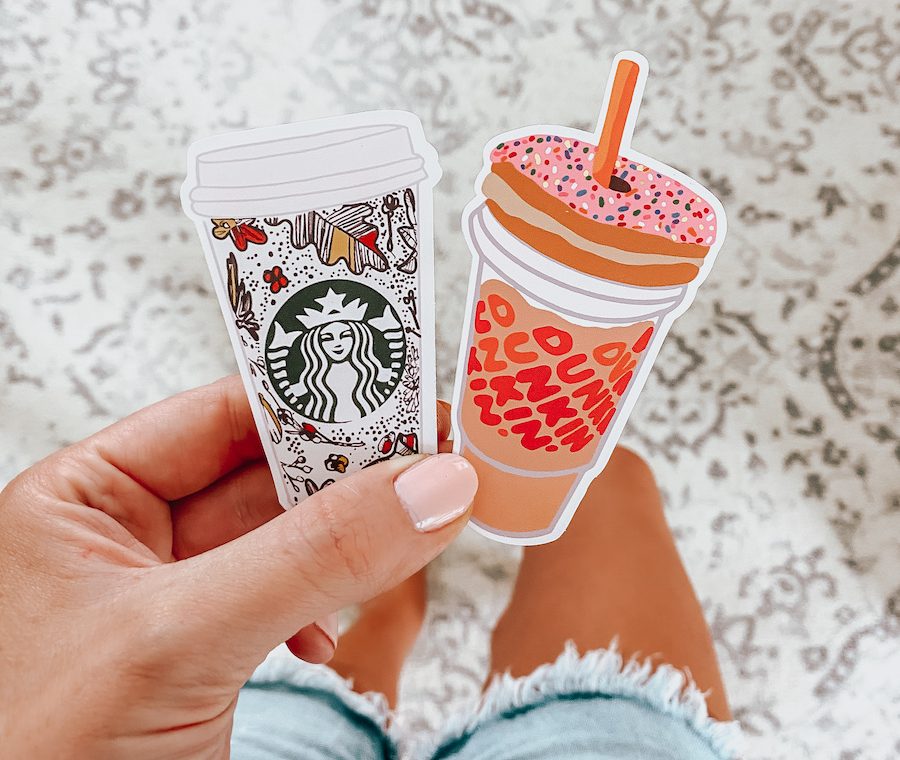
I am LOVING creating die cut stickers! The whole process from drawing to cutting has quickly become one of my favorite things to do. Each time I post print then cut projects on my instagram I get flooded with hundreds of messages asking the same 3-4 questions, so today I’m rounding up the FAQ’s and answering them below!
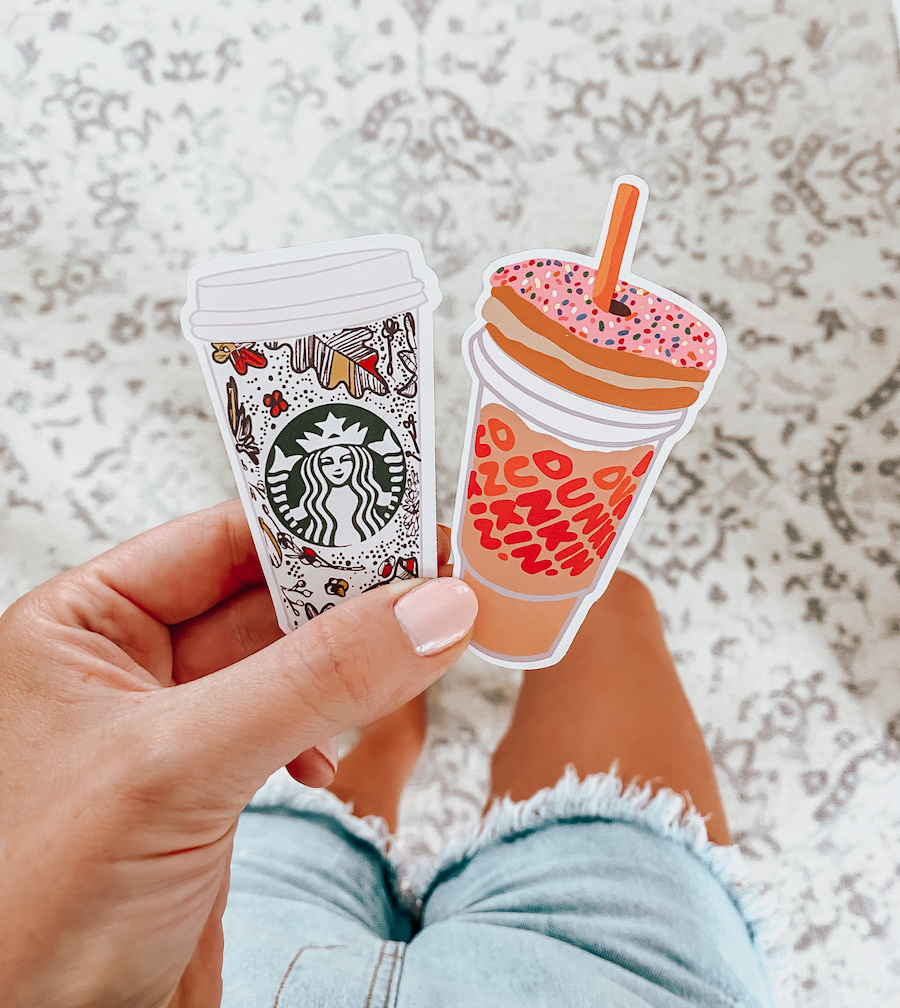
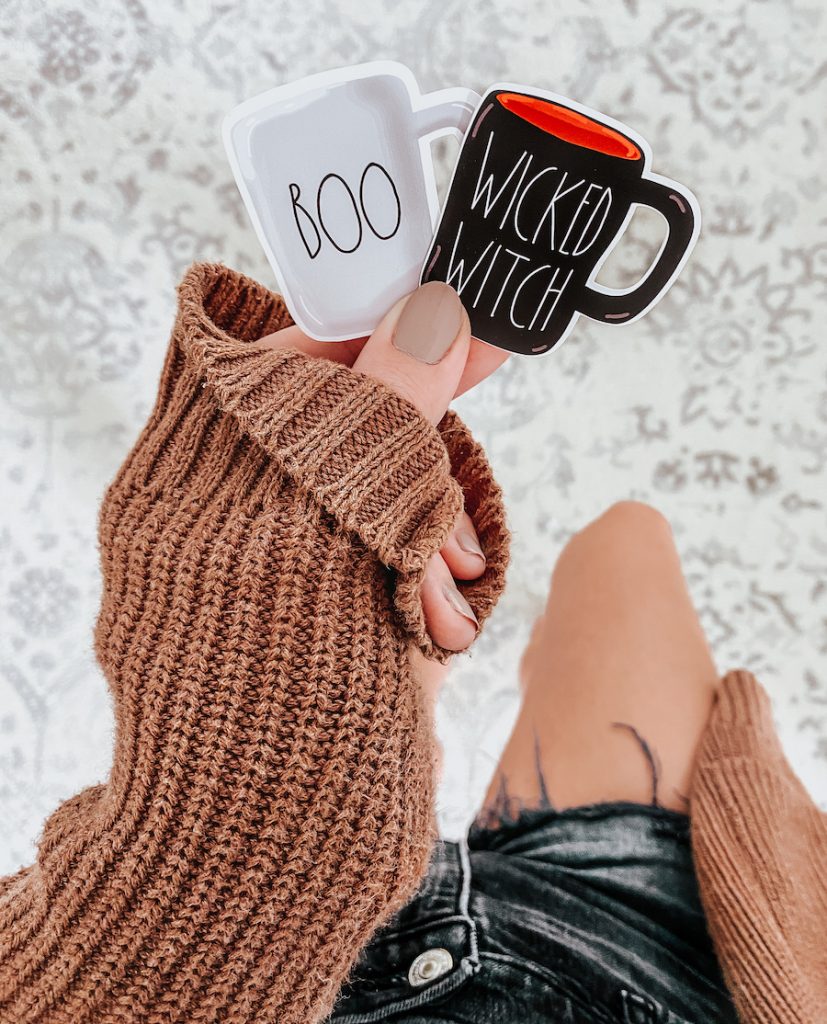
If you need full instructions on using print then cut in Design Space to create stickers, check out this blog post. If you just want the quick version, check out the most frequently asked questions below.
Print Then Cut FAQ’s
What sticker paper do you use?
I use waterproof printable vinyl for my stickers. My personal favorite brand is this one from Amazon. It’s a pack of 20 for around $23 which comes out to about $1.15 per sheet. Pricier than some brands but also much higher quality and much thicker at 15 mil. So, if you plan on selling die cut stickers in your business I would definitely recommend a higher quality brand like this one.
My second favorite brand is this one from Expressions Vinyl. Each 8.5×11 sheet is $1.99. It is VERY similar to the Inkpress Media brand linked above but quite a bit thinner at only 3 mil. Both brands are totally waterproof.
What printer do you use?
I use this Canon Pixma Pro 100. It’s a large format photo printer that I’ve had for several years. The quality is top notch but such an expensive printer is not necessary to create well made stickers. I just use it because it’s what I have.
This Canon Pixma 470 is much more affordable and will give you the same results!
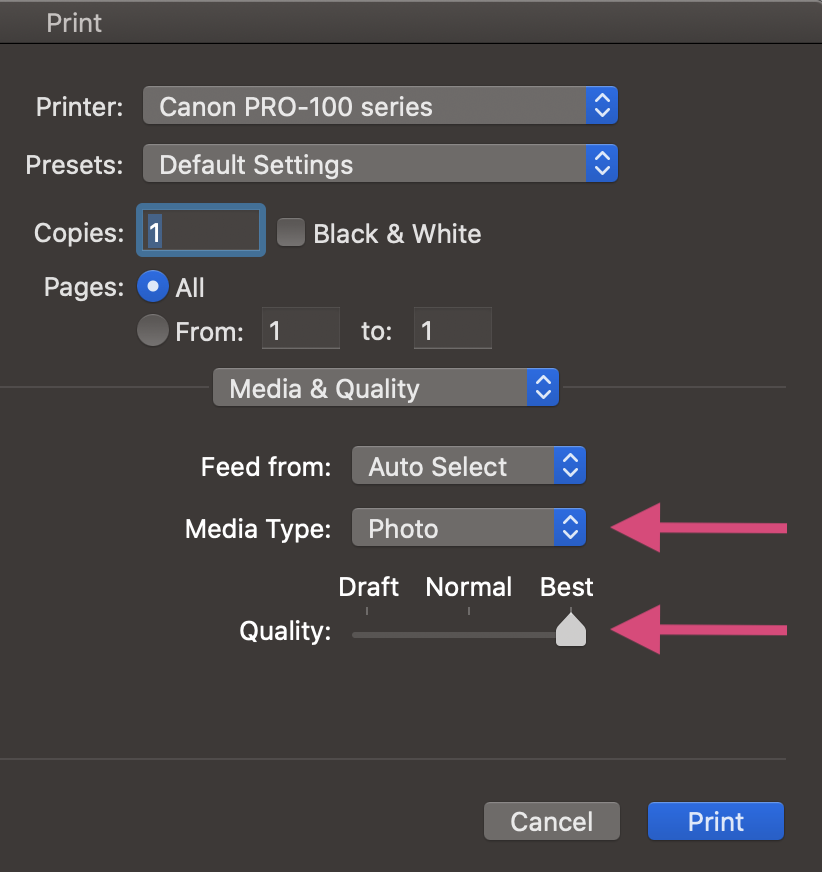
*The trick to printing really great looking stickers is to adjust your print settings. I set mine to the highest quality and set the paper to photo paper.
What are your cut settings?
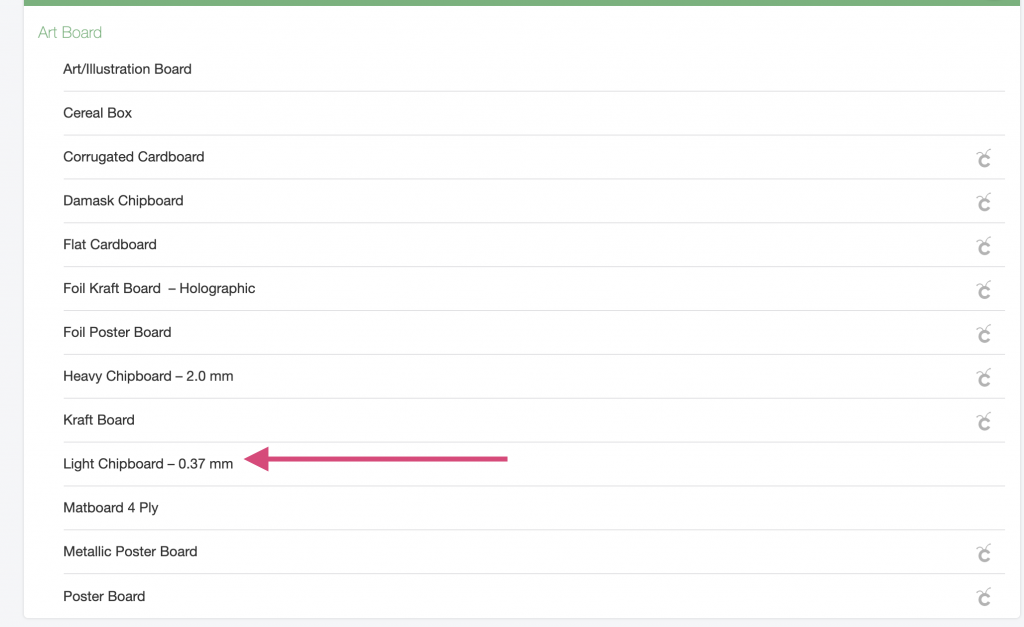
This is the question I get asked the most! If you want the machine to cut all the way through the sticker paper and the backing, use the light chipboard setting in Design Space. This allows the machine to do a double pass over each line, resulting in die cut stickers. You can find it under the ‘art board’ tab in the cut settings window.
Do you seal your stickers?
I don’t! Mainly because I make stickers just for me. If I sold stickers, I would apply a clear laminate overlay (like this one) on top of the printed vinyl before cutting. That way they are totally scratch-proof as well as waterproof. You would still use the light chipboard setting in order to cut through all 3 layers.
You can see this full process in my Instagram Highlight named “printable vinyl”.
Click here to visit the free downloads page!
If you have a question that I didn’t cover here, drop a comment below!
Happy Crafting!





ShannonRae Valdez
What setting do you use for kiss cut stickers on the 15 mill paper and the three mill paper you use? When you do a laminate overlay how much do you adjust the settings? Thanks so much I swear you’ve gotten me through this quarantine and no job thing just playing on my cricut 💋💕 One last question… I just found out that Avery printing cut iron on doesn’t really last long?… Does printable vinyl last longer? I want to be able to make pattern One last question… I just found out that Avery printing cut iron on doesn’t really last long?… Does printable vinyl last longer? I want to be able to make pattern iron on That lasts like your geez Louis top and other cute things to wear. 🙂 xo
Cissy
what are your cut settings for a silhouette cameo?
Magdalena
Can we use free downloads and freebies for commercial use?
Kayla Kanellis
I don’t see the free downloads in this blog post!
Kayla
Thanks! Added the link! But, you can also find all of them by clicking the free downloads tab at the top of the blog. 🙂
Jackie
Hi Kayla,
My question is about the laminating after you make the sticker. How does the laminating paper stay? You have to have access to the back to peel and stick and also, when it cuts around the sticker, won’t it eventually lift because the seal will be disturbed with the cutting? Hopefully this made sense. Thank you.
Cheri
Thank you so much for the template. How could I use the template for sublimation?
TENE JONES
thank you for this tip I will be trying soon, but I used a laminate on top of something I printed but the needle wasn’t even touching the paper as I was trying to cut after I print. Do you have a idea of what I did wrong?
Tiffany
Thank you for sharing all these helpful tips! 🙂
Carrie Palicki
I am really interested in trying to create my own stickers from scratch, can you share what program you use?
Thank you 🙂
Jennifer
Can you tell me what size you cut the stickers in design space?
Ashlee Tobon
Do you know which settings to use in silhouette?
Jalina
Hi Kayla! I just bought the cricut maker and I used the settings you suggested to get my stickers and it won’t cut all the way through. I even changed the blade setting to the highest it would go and it’s still not cutting all the way through the sticker? Any suggestions? It’s brand new so my blade shouldn’t be dull right? Thank you so much for your help!
Nicole
What cut setting should Inuse if I add the laminate?
Kayla
The light chipboard setting will easily cut through both layers!
Natalie
Your printable stickers are so cute! What program do you use to draw them?
Jessi
Can you apply these stickers on cups?
Kayla
You can!
Ileana
Hey there!
Just wanted to let you know I think there might be someone downloading and selling your stickers and claiming as their own on Etsy as well as TikTok.
Kayla
Thank you! There are a handful of people doing this. 🙁
Aditi
Hi Kayla! I love your sticker designs and made my first sticker set ever for personal use. Am over the moon with the final product 🙂
Would you be open to selling your sticker designs for commercial use?
Desiree Magner
Hi!!
I love the stickers you have s o much!! I was just wondering if anyone is allowed to make the stickers under free commercial use to sell? I want to double check with you.
Thank you so much 🙂
Desiree Magner
Hi!!
I love the stickers you have s o much!! I was just wondering if anyone is allowed to make the stickers under free commercial use to sell? I want to double check with you. If not, totally understand just wanted to ask 🙂
Thank you so much 🙂
erika
Thank you for sharing tips & free downloads! So very kind of you!
Shanee Ellington
Thanks for sharing
Tanya Landrio
Is it possible to create die cut stickers with the Cricut Joy?
Tracey Smith
any tips for cutting stickers with Silhouette?
Louise Byron
Do you have a tutorial for cutting stickers with a Silhouette Portrait?
Kim
are these for personal use only? sorry I love them, i plan on throwing these in for free with my orders but wondering incase someone asks me. thank you! i love your work!
Jenn
These are great tips ! I wish I would have read them before purchasing the cricut sticker paper 🙁 It keeps getting jammed in the printer. I tried it like 4 times and the paper got stuck every time. Was that an issue you had and why you decided to go with a different brand ?
Frankie
Thank you for sharing your cuts and sticker tutorial! I know you use an ink jet printer and I currently have a laser printer. Have you had any success with or know about printing stickers with a laser printer?
Amber
I tried to print the geeze Louis as a sticker and it printed it as each individual letter- any ideas…I’m new to the circuit world lol
Kellie Bruner
I downloaded the stickers and moved them into my Silhouette but I guess because they are designed for Cricut Design Space they don’t show the cut lines around the edge. Is there anyway to cut these adorable stickers in Silhouette? Thank you in advance!
Danielle Roberts
I don’t see the link either. How do you find the file?
Michelle
Love your blog! I am relatively new to Cricut, so it is really helpful. It first caught my eye because my daughter’s name is Kayla! Anyway…I am not finding the file for the Dunkin cup with the donut on top as pictured in the top picture. Is this available for download or for purchase?
Jo Anne
any coupon code? thank you
Jessica Pacheco
Is this still available! I can’t seem to find it !
Rose Argueta
Hello ,
They are so cute. Wondering if you sold them yourself? Do you sale stickers?
Jennifer
Hi Kayla, Thank you so much for sharing your awesome designs! I know the post is almost a year old but I was wondering if these 4 designs in this post are still available? I went to your free downloads page, section by section, and I didn’t see them. Thank you for your time!
Jana
Hi! I am currently watching Camilla Perez’s video on stickers. She is using your designs. They are a Starbucks and Dunkin iced coffee stickers. I can’t seem to find the free file on your page.
https://youtu.be/XP7FfQQGS3M?si=-z5ENqSqXeR3pSc7
Can you help me? I just found your page and I love it!
Thanks,
Jana Hebert