How To Make Print Then Cut Stickers
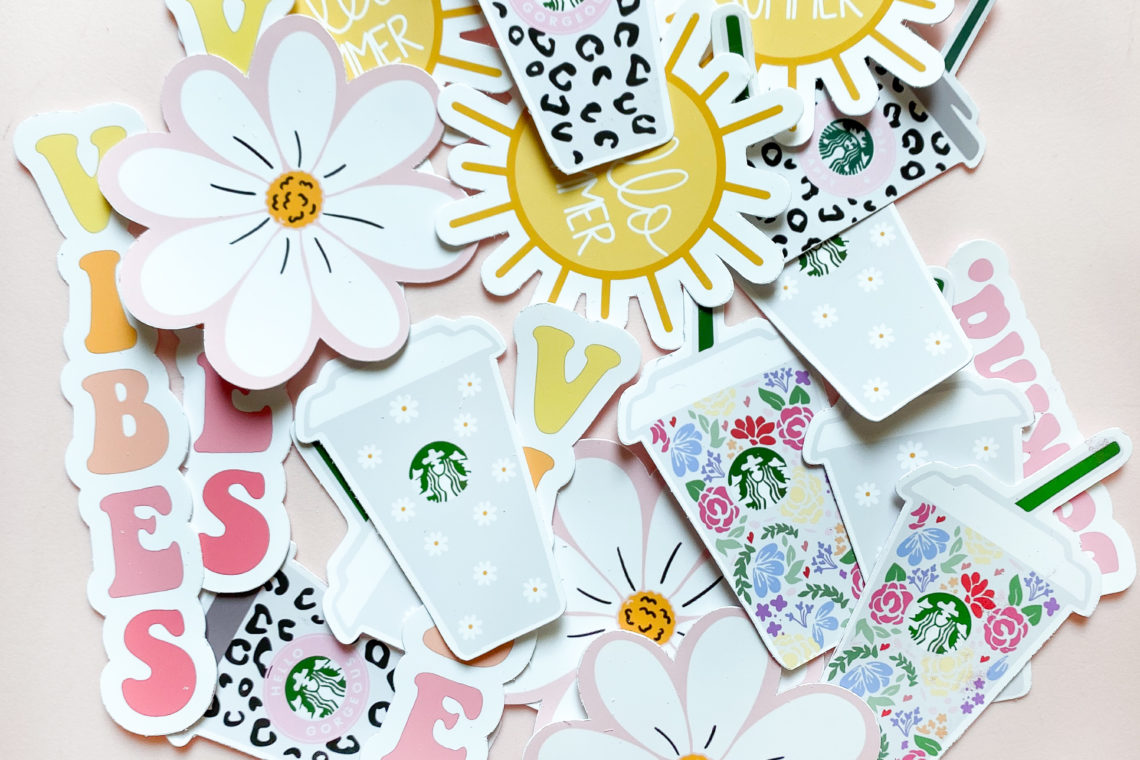
Have you been putting off trying out the print then cut feature? After talking to so many of you it’s obvious that print then cut is one of those things that no one wants to try for fear of messing up and ruining perfectly good material. Trust me, I’ve been there and I came out on the other side A OK.
Today, I’ll walk you through the ins and outs of working with printable vinyl and Cricut’s Print Then Cut feature in Design Space. I’ll take it step by step so you can follow along and successfully complete your first kiss cut!
Gather These Supplies:
- Inkjet Printable Vinyl (I’m linking my personal favorite here but there are several great brands)
- Inkjet Printer (the heat from a laser printer will damage the vinyl so inkjet is necessary)
- Cutting Mat
- Cricut Machine (I use the Maker and Explore Air 2)
Step One: Download Free Printable Stickers
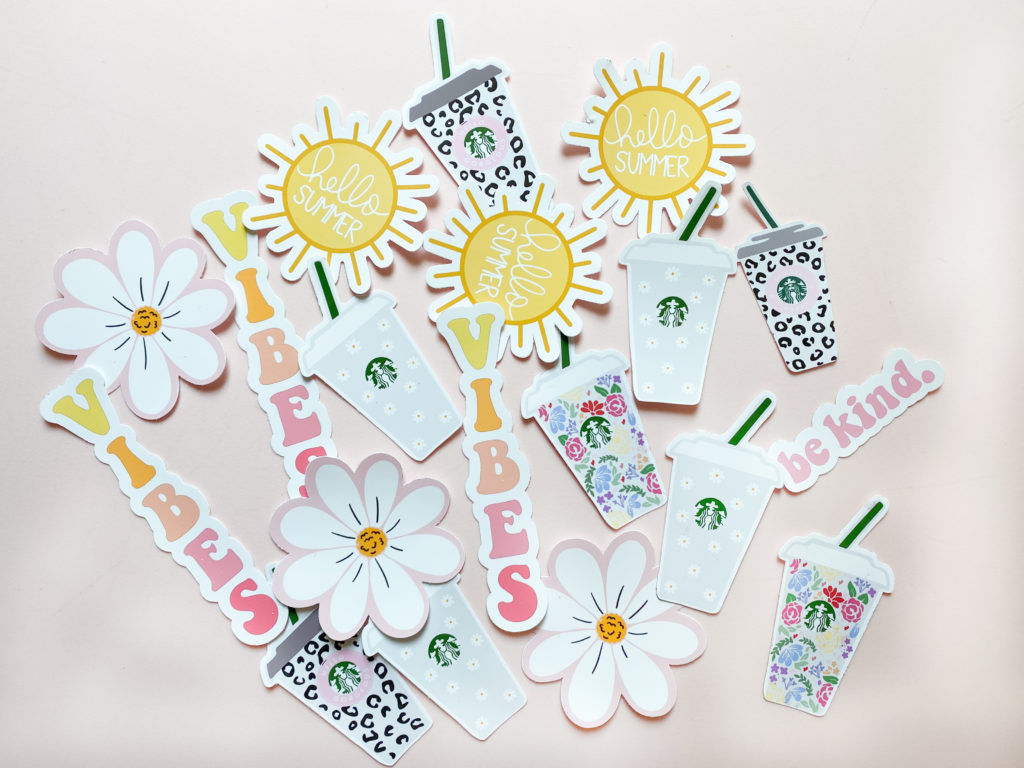
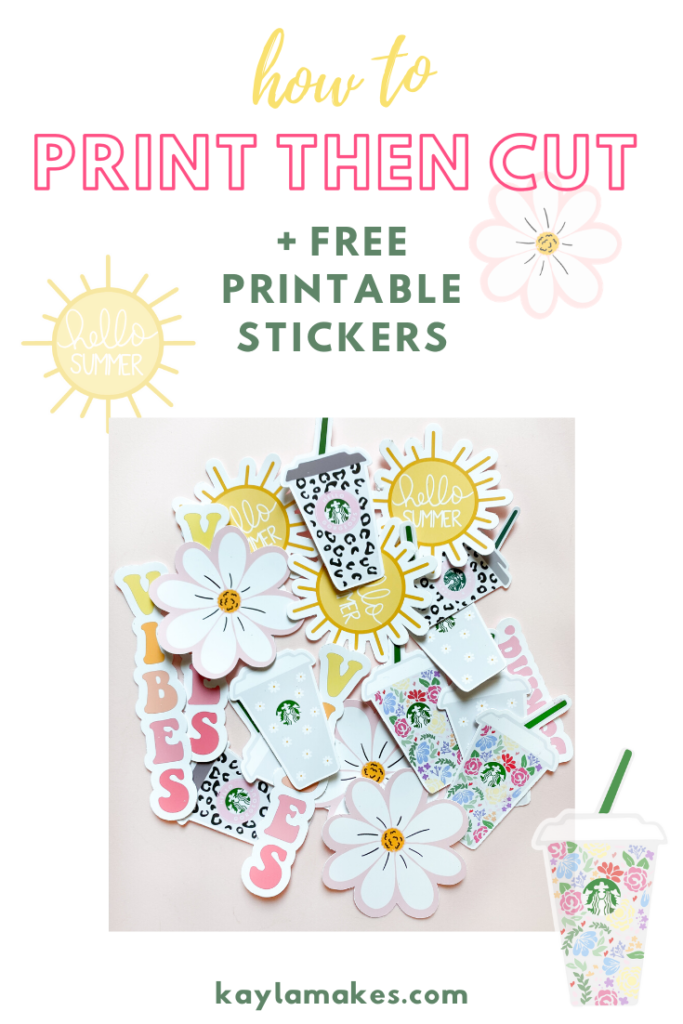
To start, visit the free downloads page here and download any of the free printable stickers. This way we’re working on ta similar project and it’s easier to follow along. Plus, they’re super cute and I’m sure you can find a use for them!
Step Two: Upload To Design Space
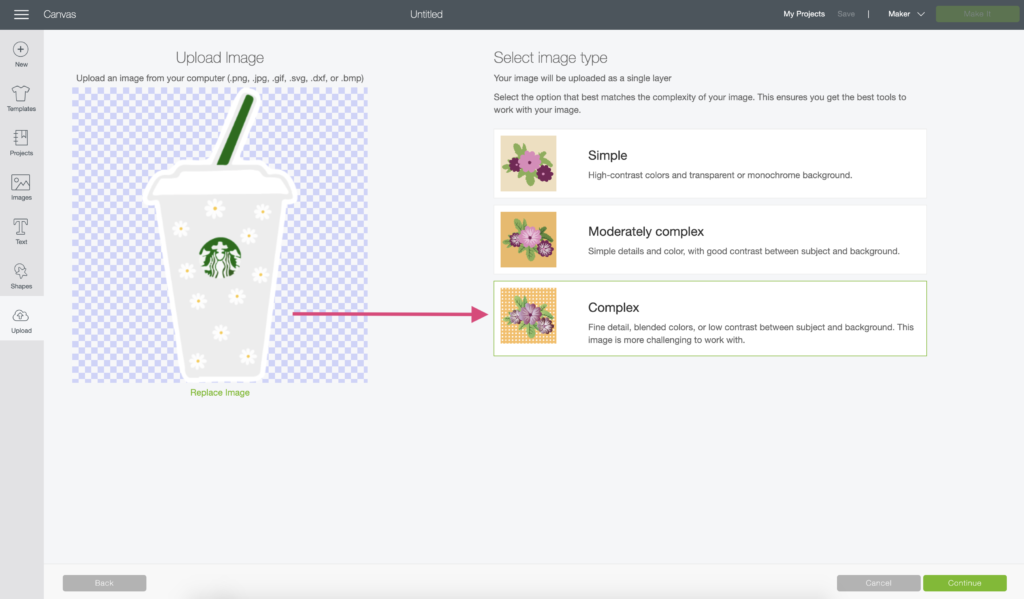
Go to the upload tab on the left side of the screen and drag and drop the downloaded design onto the screen. When you see the window below, select complex as the image type and click continue.
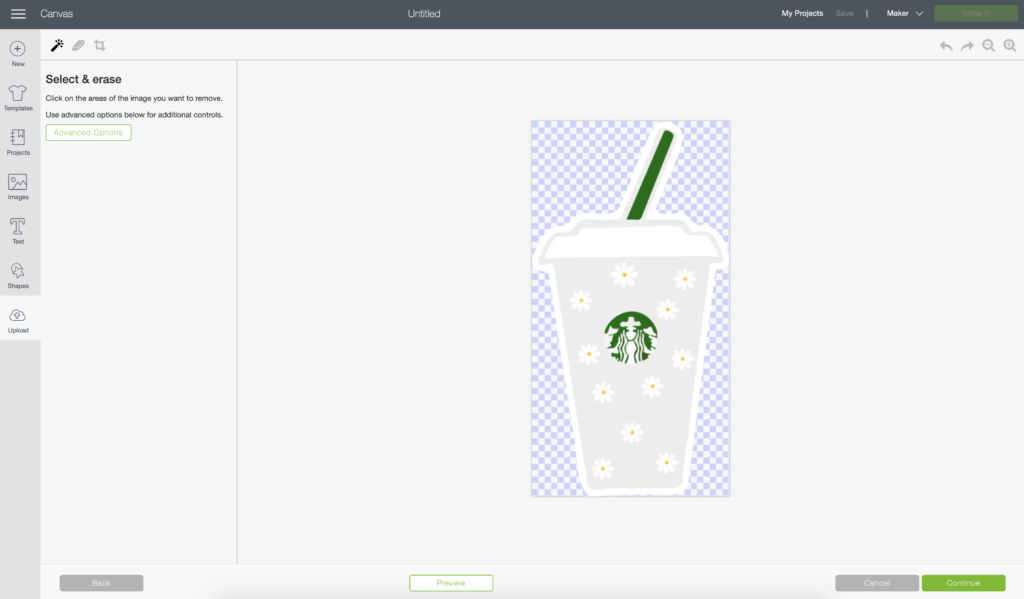
In the “select and erase” window you will not need to do anything, just click continue in the bottom right.
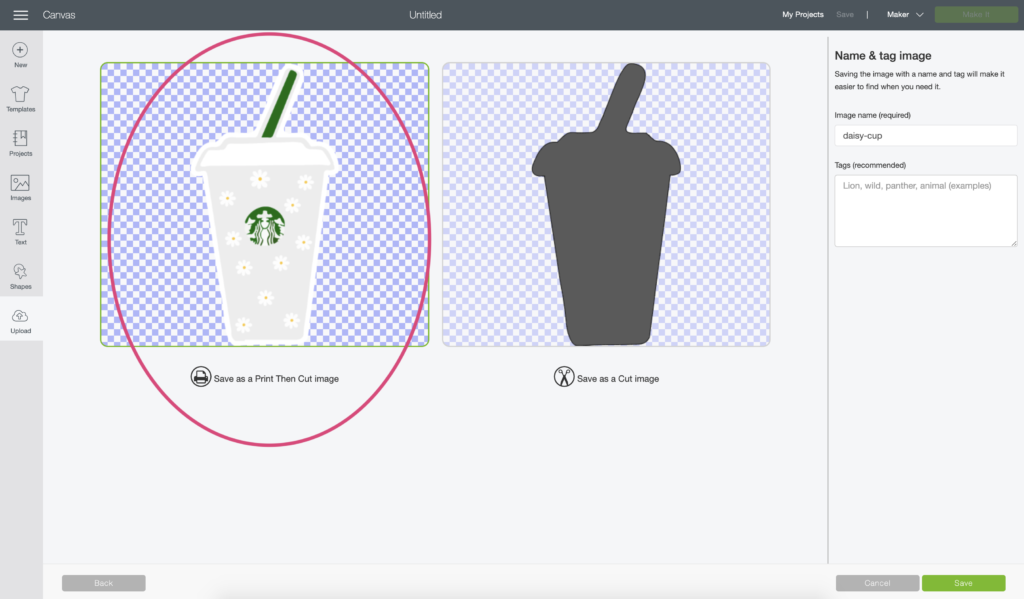
The following window is where you will save the design as either a print then cut image or a cut image. Since we’re making printable stickers you’ll need to choose the print then cut option then click save.
Step Three: Scale and Print
Open up all of the images you wish to print onto the canvas and scale them to the desired size. Most stickers are between 3-3.5 inches so I typically set mine to 3.5″.
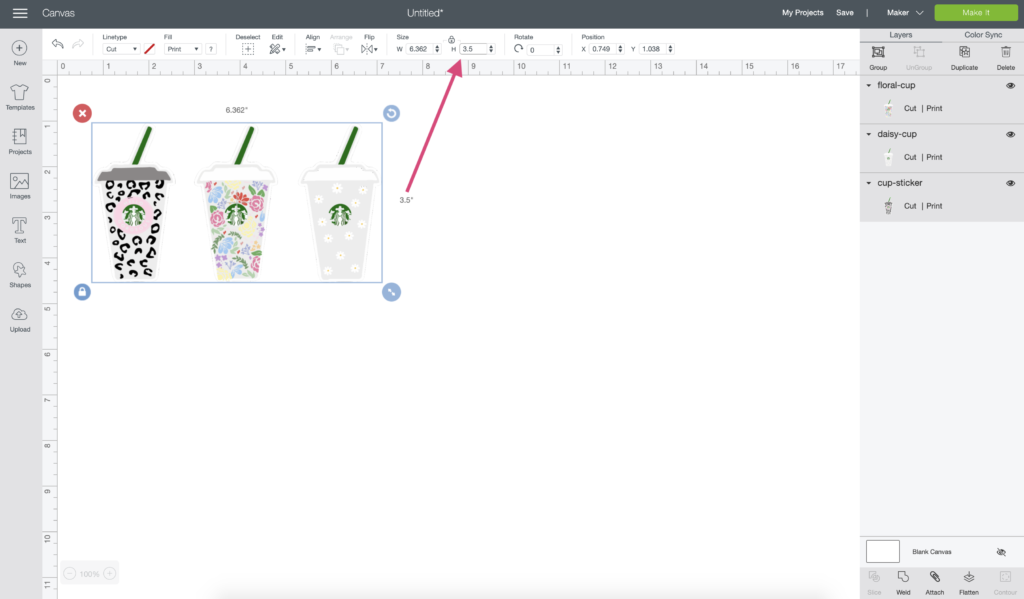
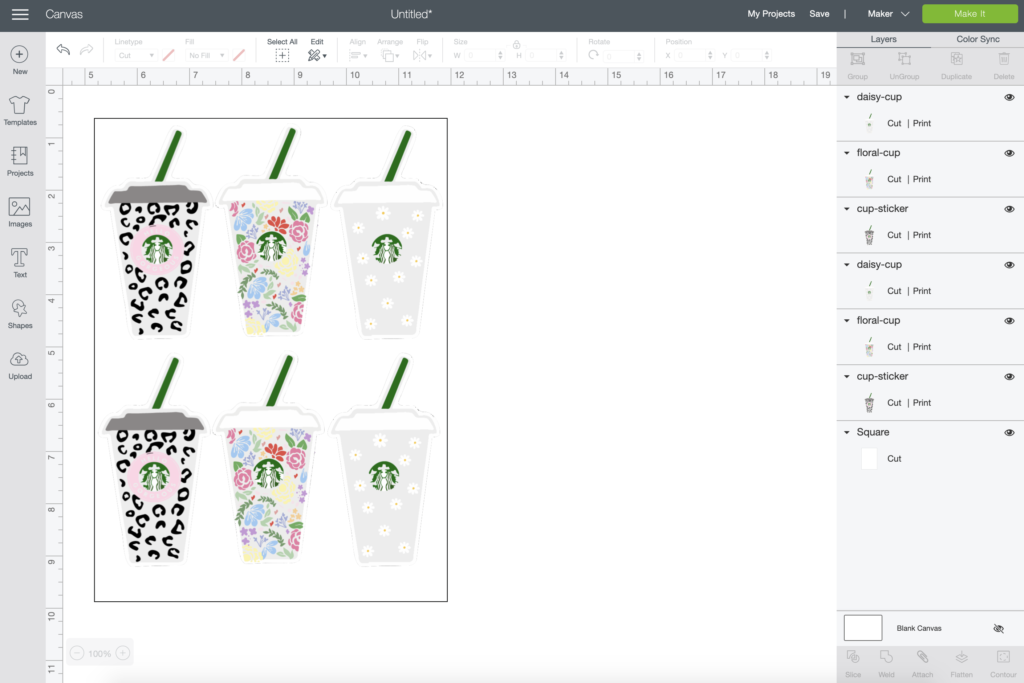
Cricut will only allow you to print then cut up to a certain size. The available print area is 9.25″ by 6.75″. If it helps, you can create a rectangle on your canvas as a guide, that way you know how much space you have to work with.
This is totally optional but it does help with sizing and setup. Just be sure to hide or delete the rectangle before continuing.
Click the make it button to continue.
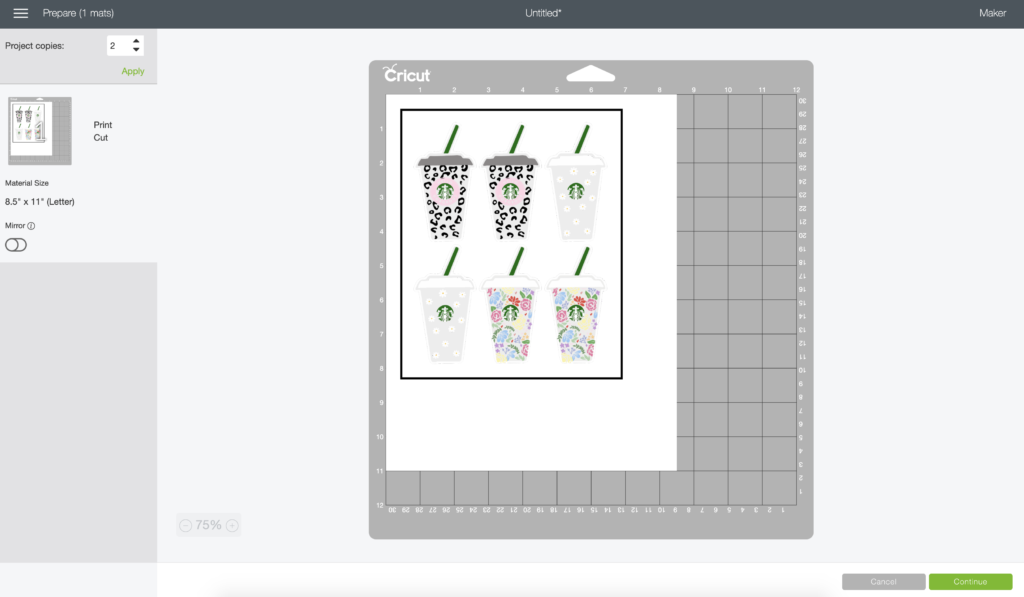
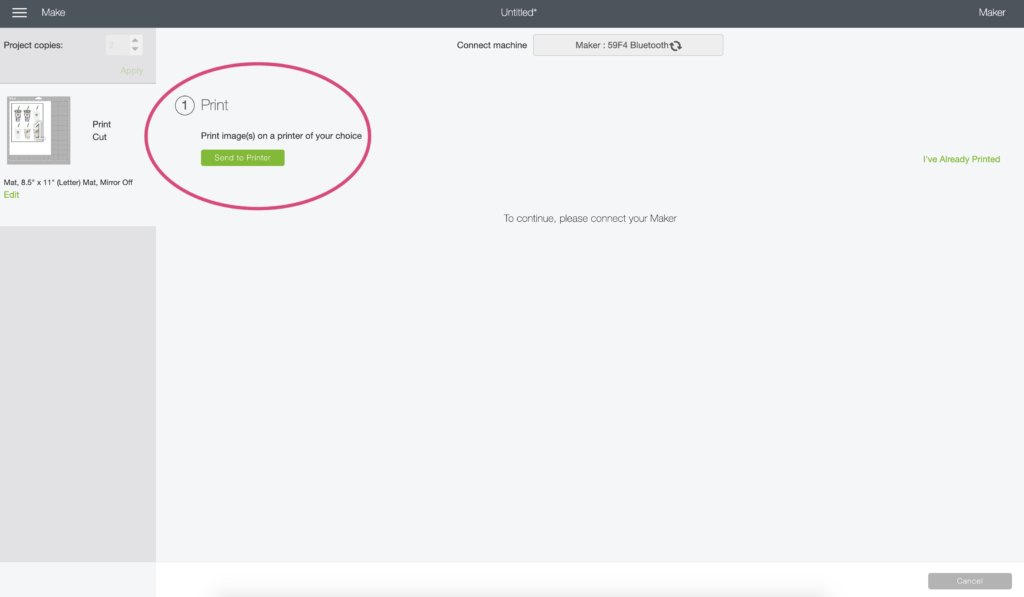
In the next window you can adjust the number of copies to fill up the page or pages. You can see the project copies is set to 2 so the software duplicated each design. The black box around the design is the registration box that the machine will read to determine the cut area.
Click “send to printer”.
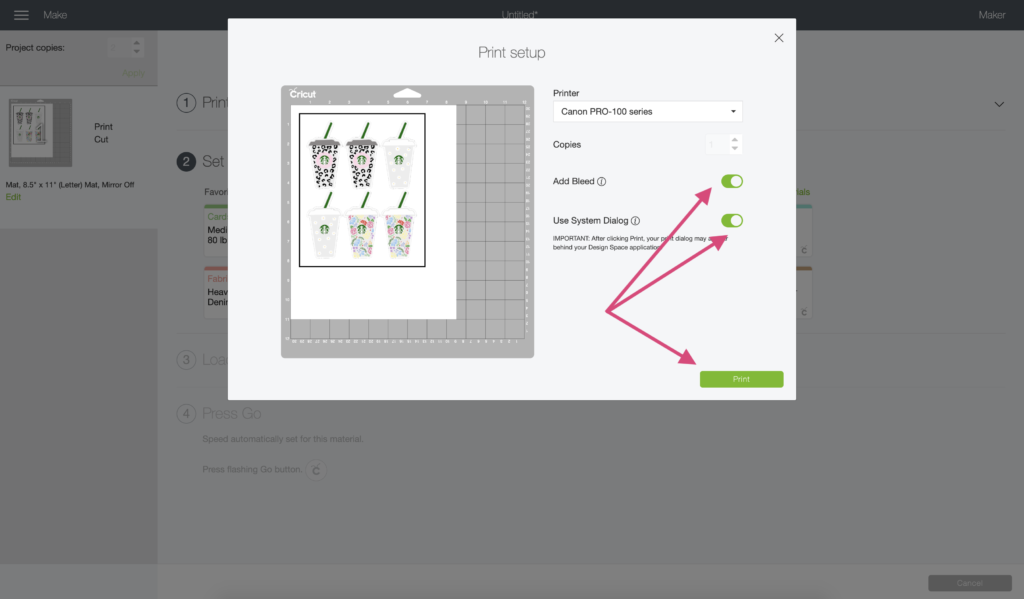
In the print setup window turn on both the bleed option and the system dialog option then click PRINT.
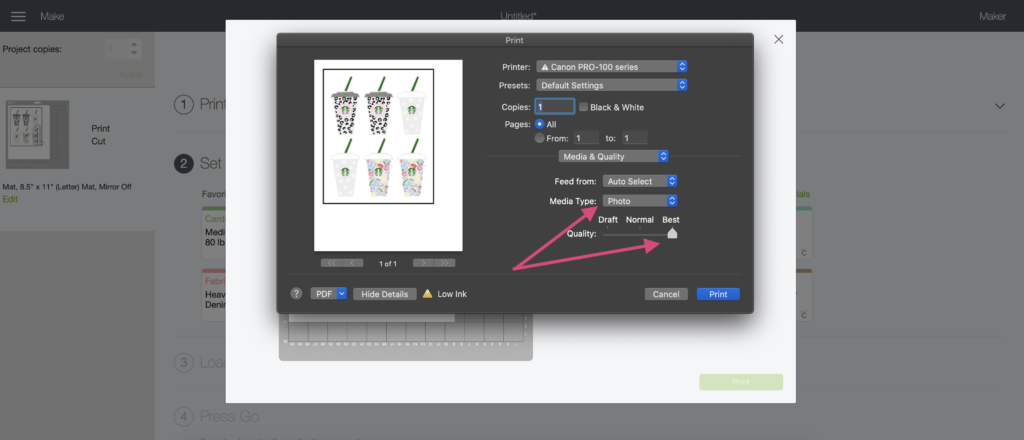
The printer window should pop up and this is where you set your paper type and print quality. I set the paper type to photo paper and slide the quality all the way to best.
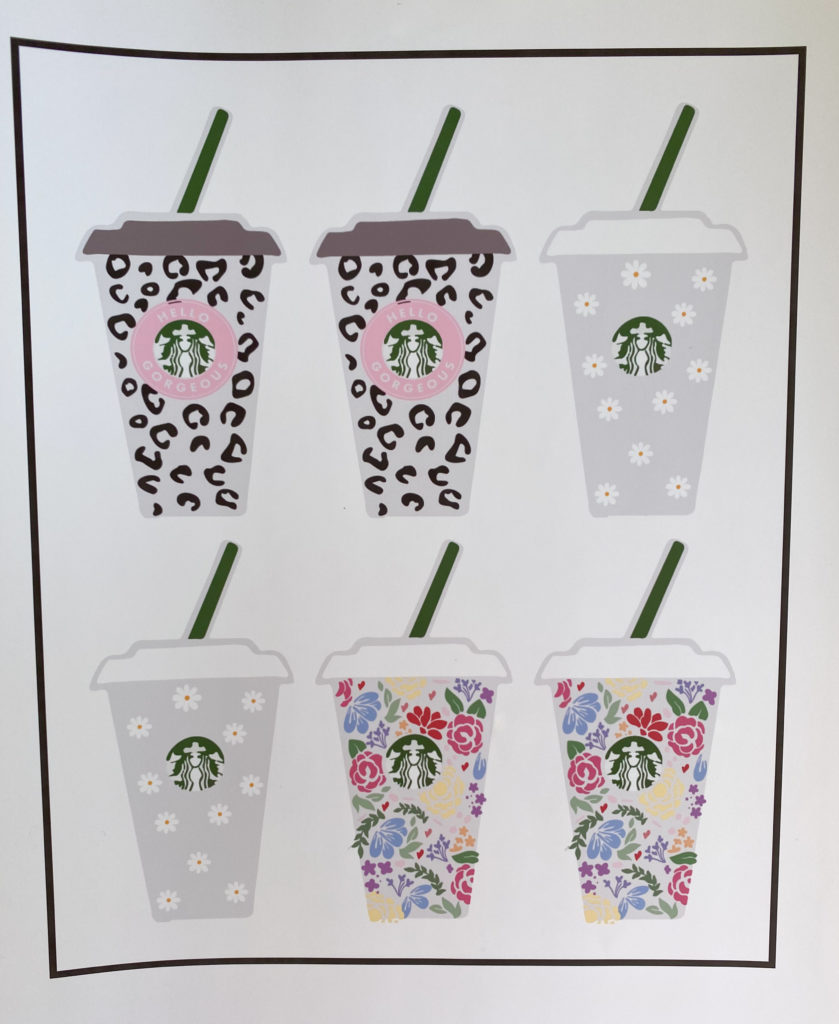
After printing is complete you should have a page that looks similar to the one below.
Step Four: Cut Images
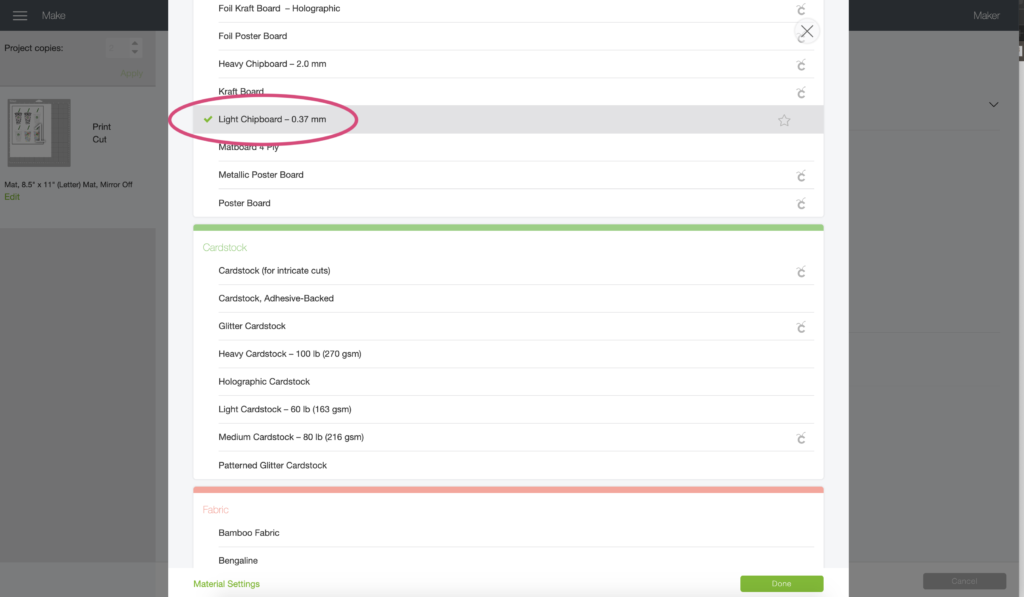
Back in Design Space you now can set the cutting material. Since I want single stickers and not a sheet of stickers, I cut on the light chipboard setting.
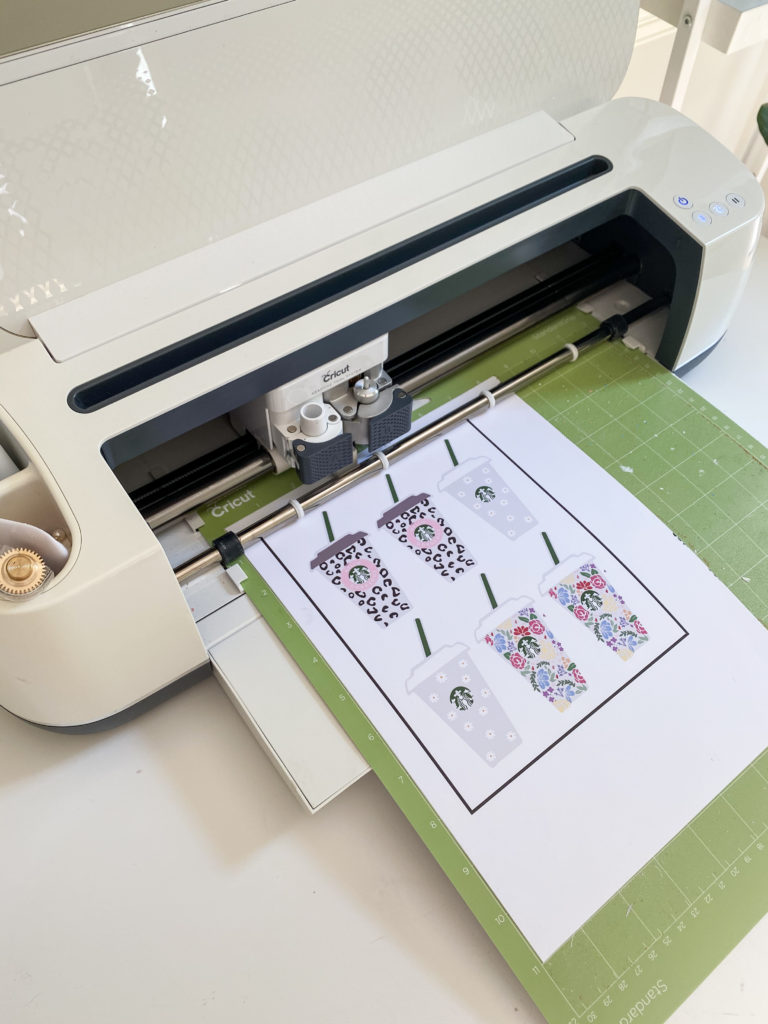
Place the printed sheet on the cutting mat and load the mat into the machine then press the start button. The machine will first read the registration marks and then begin cutting.
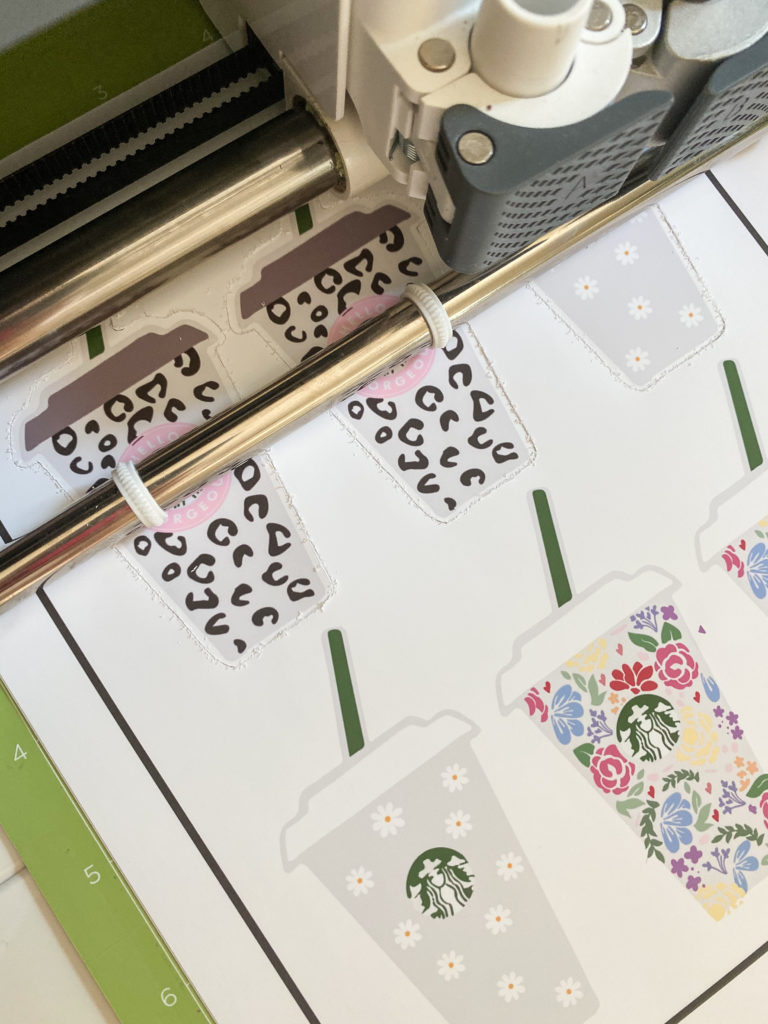
The light chipboard setting allows the machine to make two passes around each sticker, this way you can be sure it’s cutting all the way through the vinyl AND the paper backing.
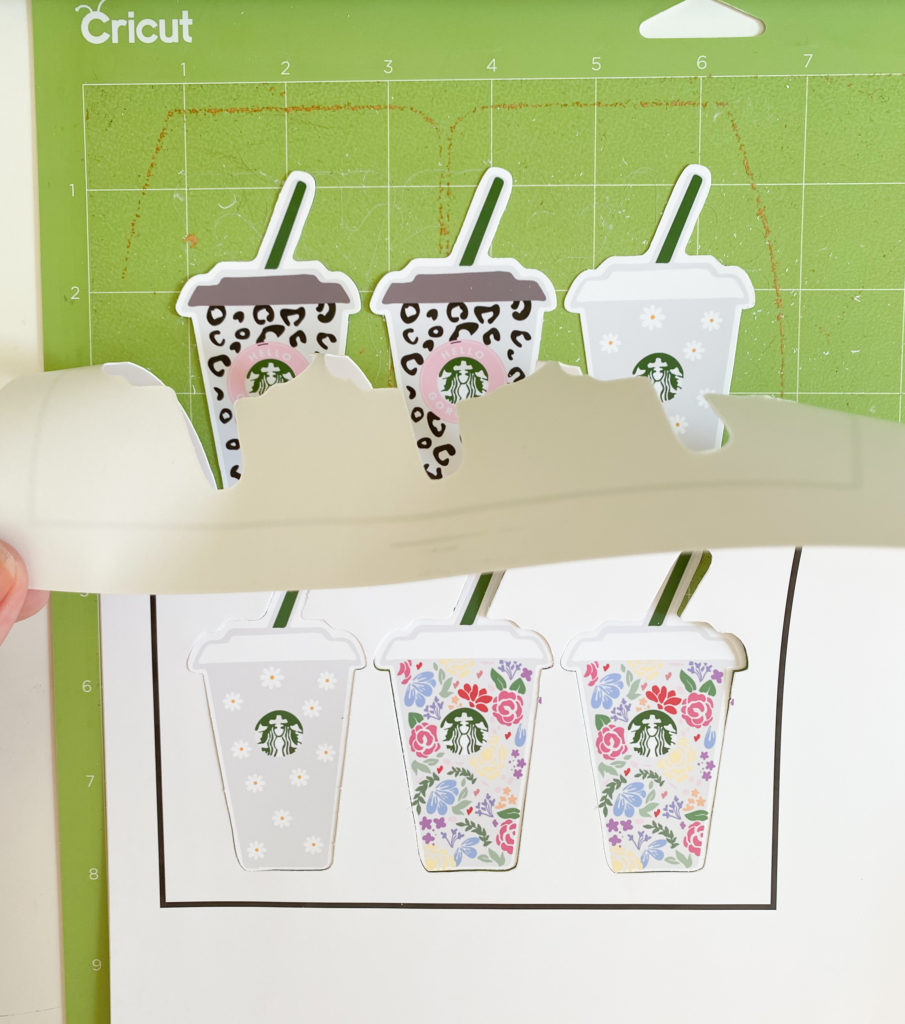
When you unload the mat you can peel away the excess vinyl and you’re left with perfectly cut out single stickers.
If you prefer a sheet of stickers for planner use, simply change the cut settings to printable vinyl and the machine will only cut through the top layer of vinyl leaving the paper backing sheet in tact.
If you have any questions leave them below or send me an email!



Joy
Love it!! Thank you!!
Lauren
Hi Kayla! Love your work! What software do you use to make your stickers? How and what is the clear vinyl used for? Thank you!
Robyn
Hey there!!
Do you seal the vinyl with anything to make it waterproof?
Thanks so much for sharing all your fun designs with all of us!!
nora
THANK YOU!!!
Meghan
Can you make a video that shows how you create your stickers?
Aashiya Wynne
I’m so glad i found you!!!! I love it very informative and i can’t wait to start practicing!!!!!
Ariel
Is the printer you linked, the same printer you use?
Kayla
My specific one is discontinued so I linked the closest version. Same brand and same line of printers. 🙂
Lily
These are so cute! Are the sticker images okay for commercial use?
Kayla
Thanks! They are as long as you leave a little disclaimer stating the design is by Kayla Makes. 🙂
Vanessa Santana
GRACIAS
Daniella
Amazing instructions! Thanks for the chipboard tip 🙂
Marlene Rodriguez
Do you use the printer that it’s linked?
Ana
Thanks for the great explanation!
Carole Kalmes
Thanks. That doesn’t seem to bad.
veronica luong
How much is the ink replacement?
diana
hi!! i wanted to know if i can do this with a silhouette cameo 3?? im a begginer pls heeelp me
Michelle
Question : why select complex when loading the image? I just made stickers for the first time and didn’t think there was really a difference so I chose simple each time.
Tina
Thanks! What do you suggest it we want to put them on a water bottle? Should we later clear vinyl over top of them prior to cutting?
Tina
What if you want to make them waterproof so you can use them on water bottles? I was thinking about putting clear vinyl over them prior to cutting. Will that work?
Kenzie
Any tips on how to do it from the design space app on ipad? Currently my only option right now. Thank You.
Madison
Hi! What do you use to design your own stickers? I want to put my ideas on a creative place but don’t know what to use to make my own designs. Thanks!
Madison
Hi! I was wondering what platform you use to design your own stickers? I would love to make some of my own!! Just not sure what to use?! Haha thanks
Lory
Thank you for your generosity, creativity and kind nature. I love your stuff and it makes me feel happy to see kind people like you willing to share. I would purchase your stuff if you had it out there. I appreciate you.
Kayla
Thank you so much!!
Carrie
I love your designs! Do you have any tips on getting the cricut e2 to cut the image properly and not more to one side or whatnot? I can never get it to cut where it’s suppose to, even after several calibration tests. Help!
Kim Watson
Thank you so much for this!!! The steps were easy to follow
Yesenia
Are we able to use these designs and sell our products with the design?
Toni
Hi Kayla, you’re the best, I follow you on Facebook. I have the Joy writable vinyl, would this work for stickers or is this specifically to use with pens?
Tracey Smith
do you know if these will work on Silhouette? I have tried a couple of the Holiday ones and I cant get them to upload correctly. 🙁
Bobbi
This was easy to follow, thank you. Do you have a tutorial on how to create your own designs? Do you use procreate or canva?
Brenda
Thank you so much for this! Im going to try it out!
Faigie Walter
Kayla, thank you so much for this clear tutorial! I’ve been putting off making stickers FOREVER and finally took the plunge!
Michelle Santana
YAYY! first time making stickers and this was so easy! thank you for sharing
Andrea
Can I also make my own stickers of drawings I did myself on my iPad Procreate?
Kayla
You can!
Yem
Hi, thank you so much for this blog post and for sharing your beautiful designs. I am having issue when it comes to cutting. It’s giving me an error and it not cutting. Have you encountered this issue before? Thanks in advance
monica m tena
how do you slice words for the starbucks circle
Dessire
Kayla ! I love your page ! I bought the adhesive vinyl you recommended , modified my settings, but my paper is still bleeding. It looks like little droplets. I do not have a mac/apple, I am using Microsoft but I chose matte photo paper, bleed option on, & high quality chosen. Do you suggest anything else I can try?
Linda McDaniel
Thank you so much for this tutorial. It’s been the easiest to follow!