Print Then Cut Planner Stickers With Inkjet Printable Vinyl
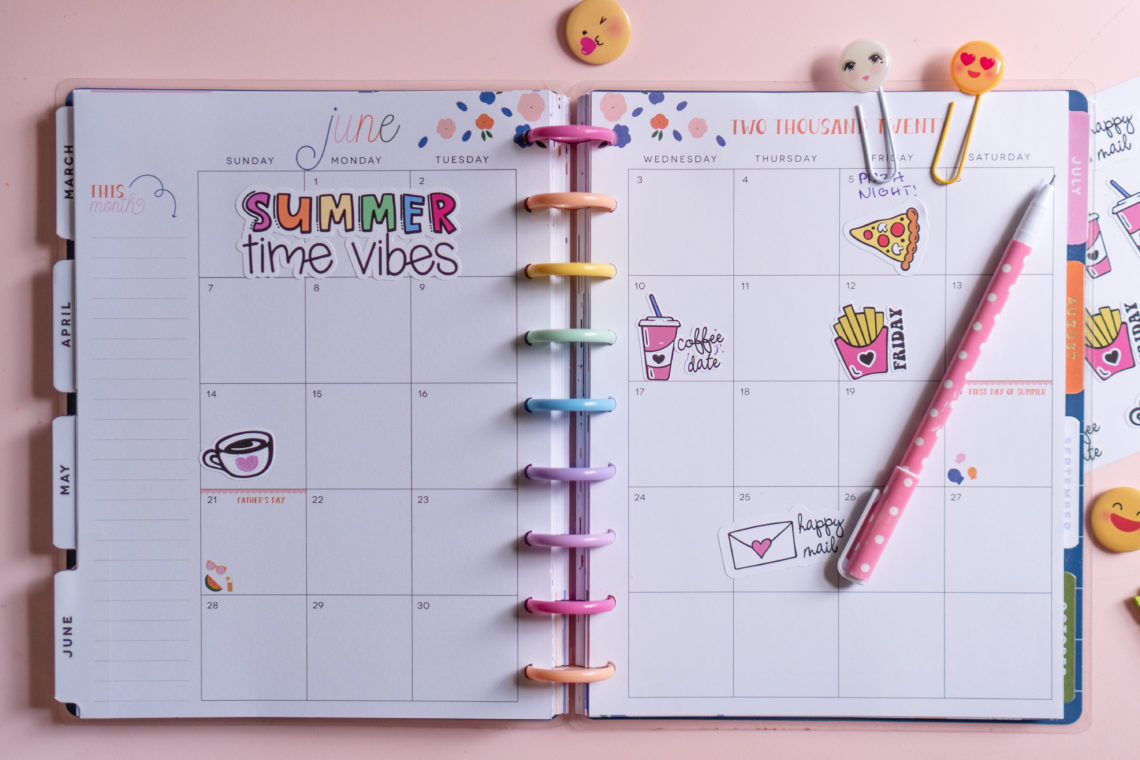

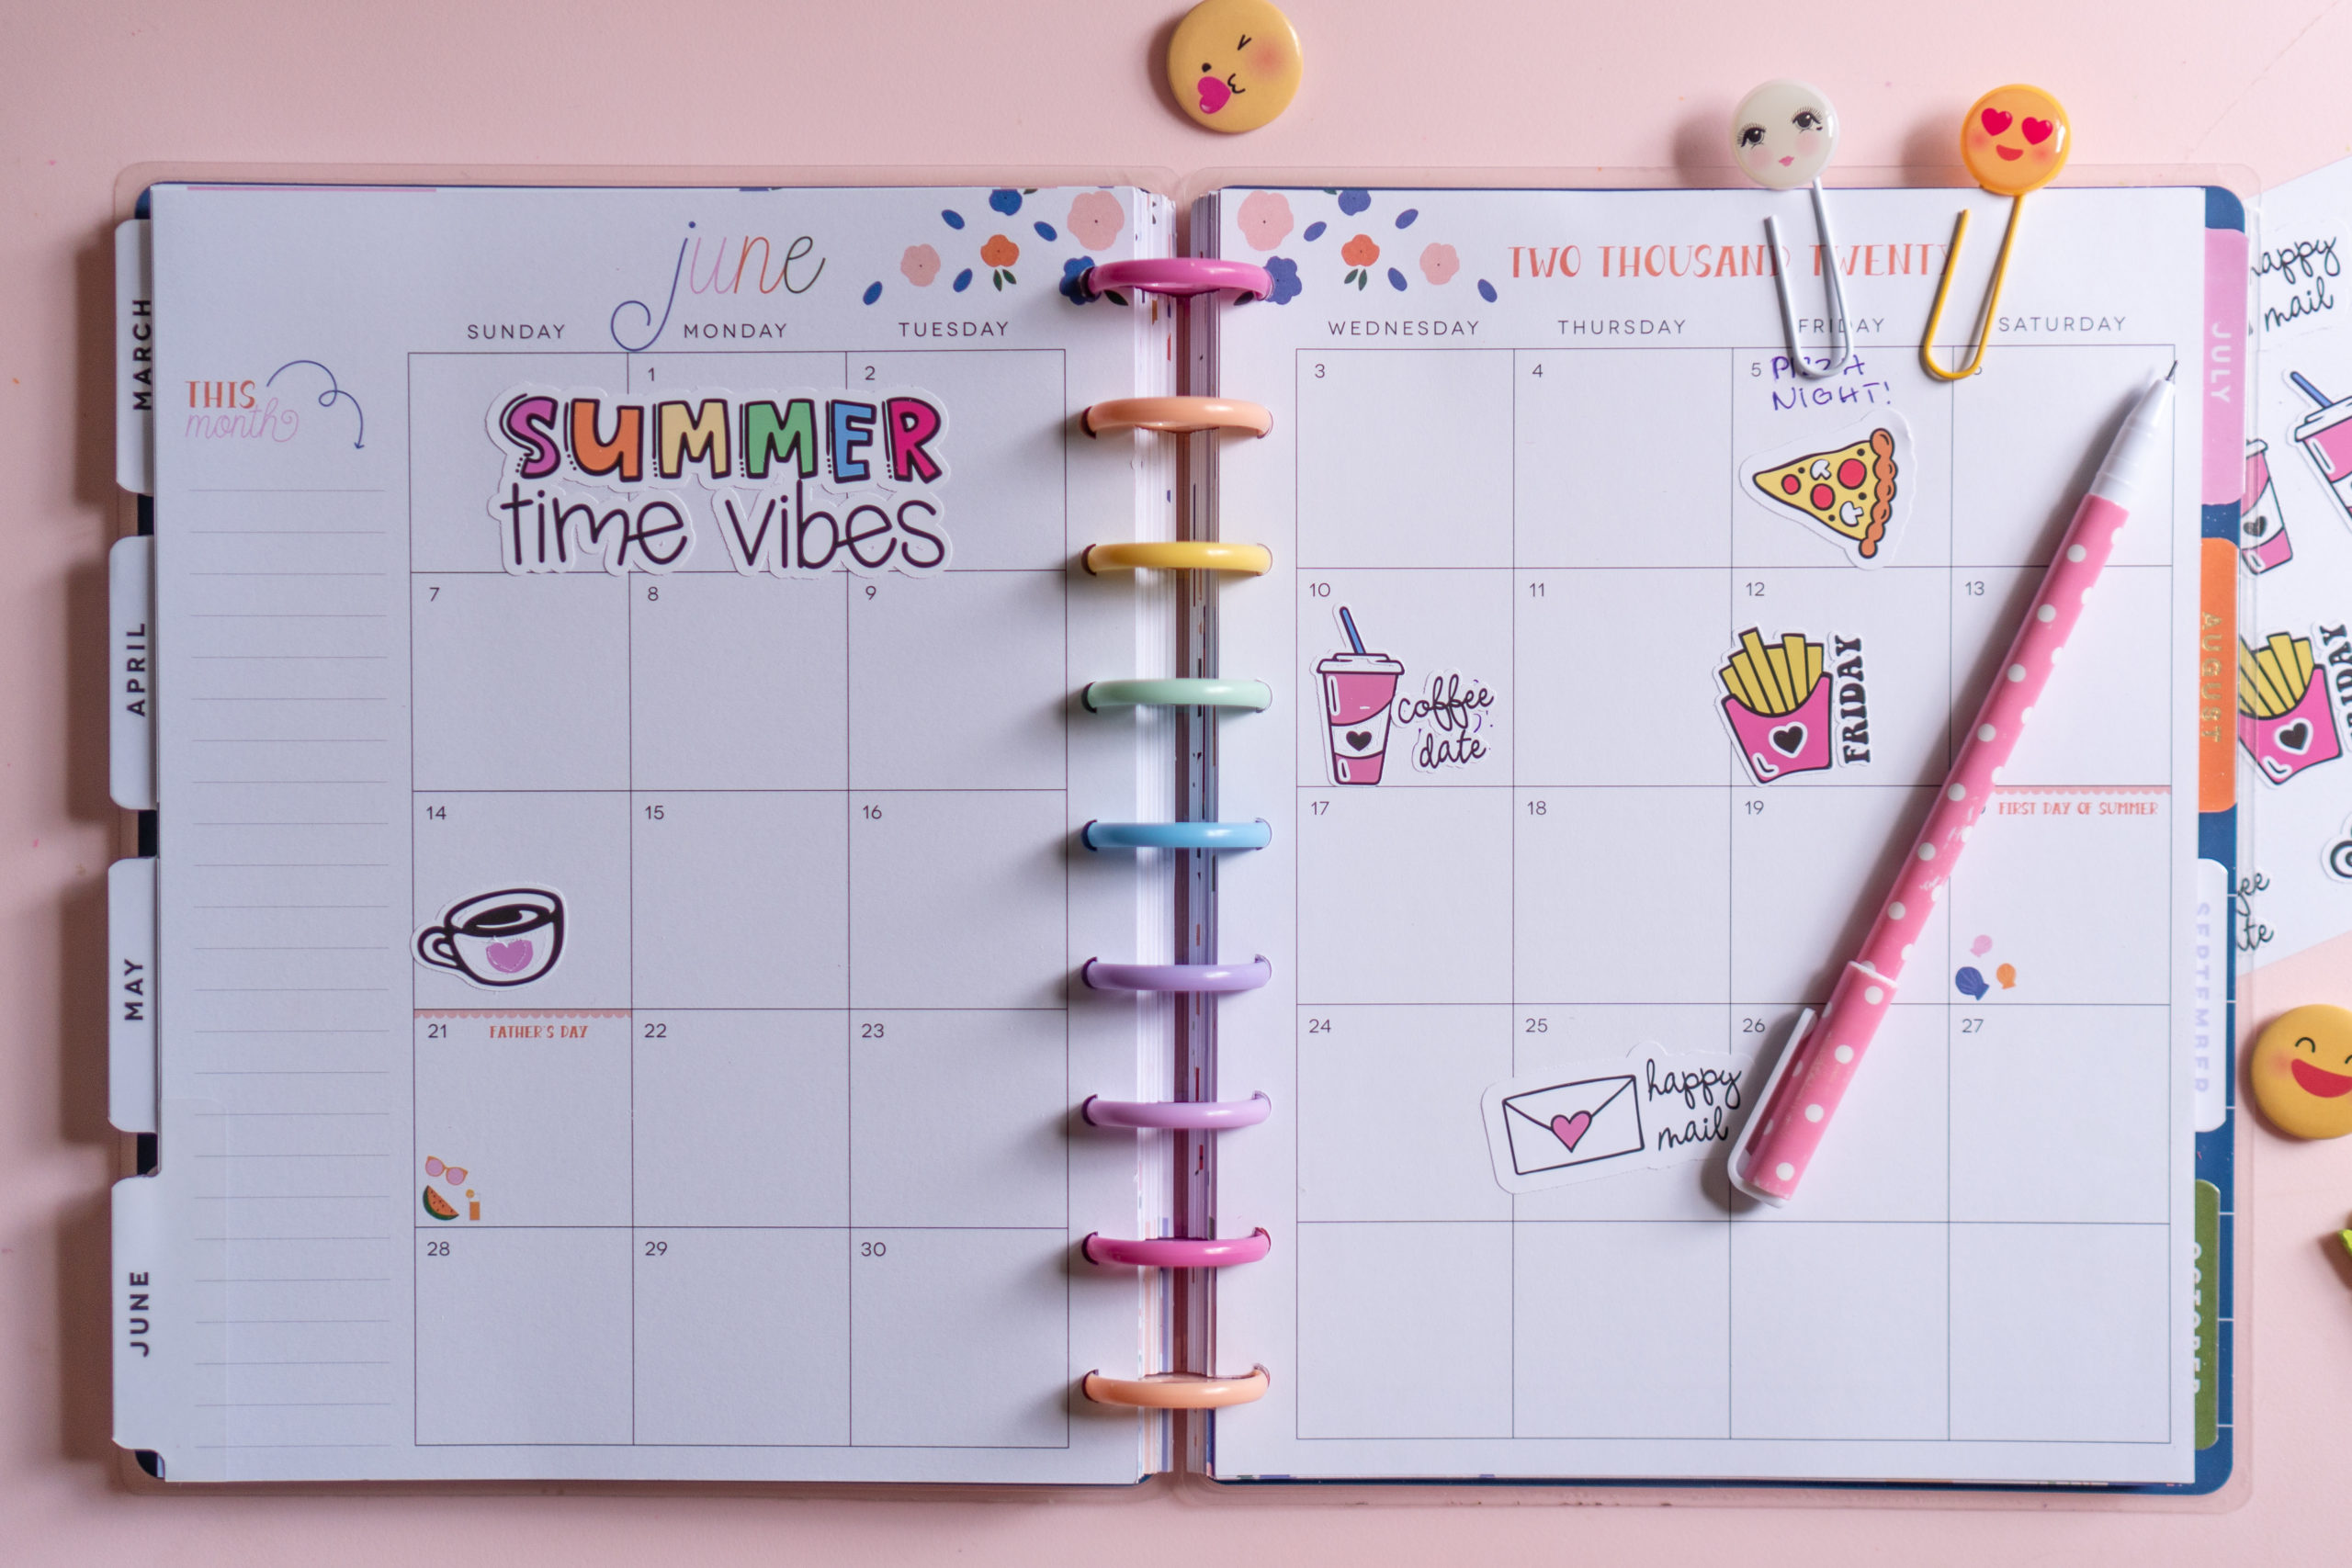
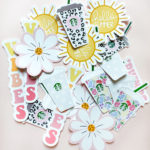
The print then cut feature in Design Space is a life saver when it comes to multi colored graphics. In today’s step-by-step tutorial I’ll show you how easy it is to utilize this feature along with Inkjet Printable Vinyl to create your own customized set of planner stickers.

Estimated Time To Complete: 25 mins
Supplies:
- Inkjet Printable Vinyl
- Inkjet Printer
- Cutting Mat
- Cricut Maker or similar machine
Step One: Design Set-Up
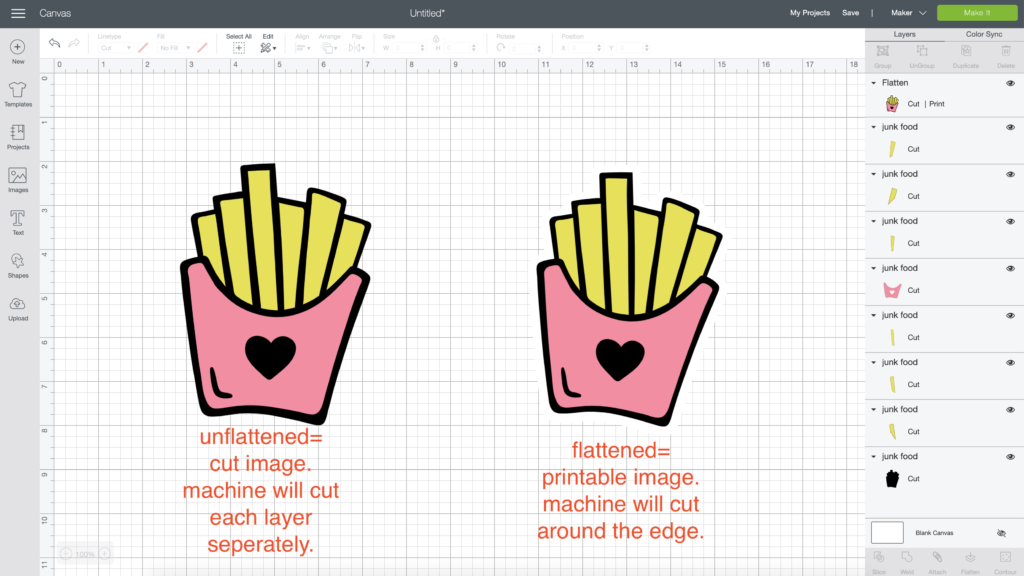
When you’re working with print then cut images the first thing you need to do is make sure that the images you are using are flattened into one single print layer instead of multiple cut layers.
To do this, select everything and click flatten. You can see in the layers panel to the right that one of the images is flattened into a single print layer and the other is in 8 separate cut layers.

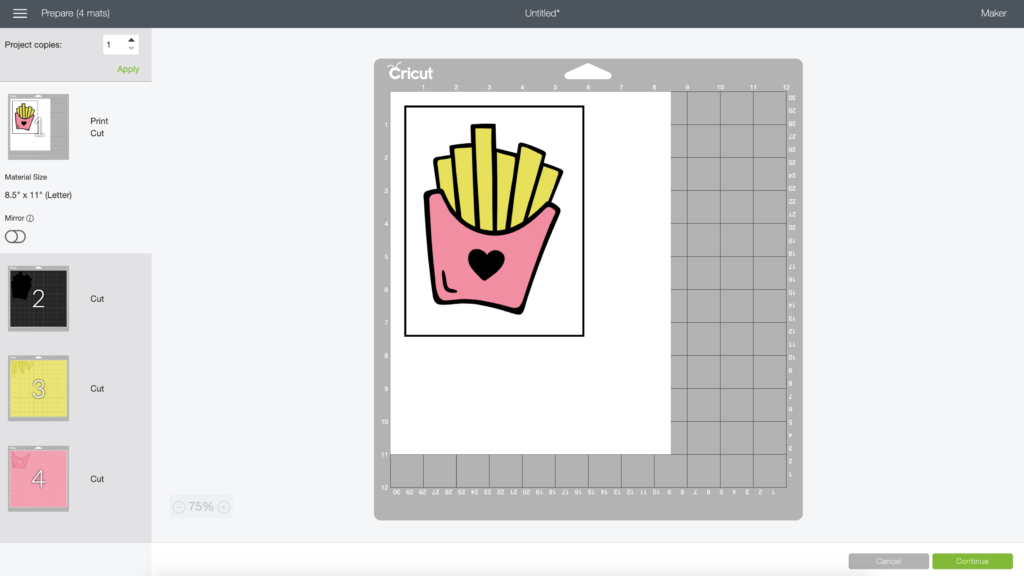
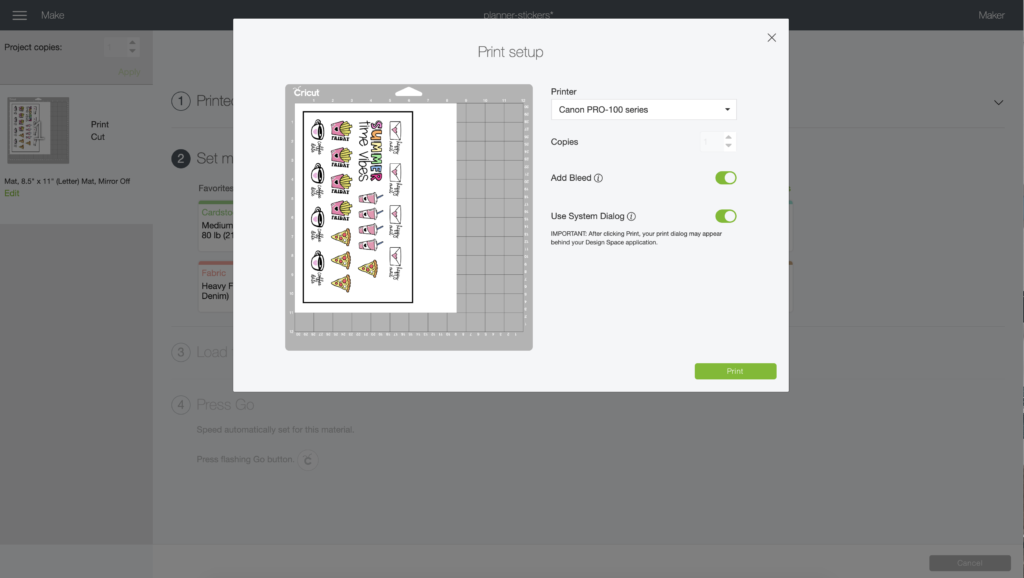
When you click continue you can see that the flattened image is setup to print as a whole, with a registration box around it. This is what you want when working with print then cut images.
The unflattened image is setup as multiple cut images on 3 separate cutting mats. This is what you want when you plan on layering adhesive vinyl or htv.

Once you’ve arranged your images on the canvas and made sure everything is flattened you can continue to printing. The software will prompt you to print the images before cutting.
You can toggle the bleed switch depending on your preferences. I like to leave the bleed option on to create cleaner lines.

Step Two: Print Then Cut
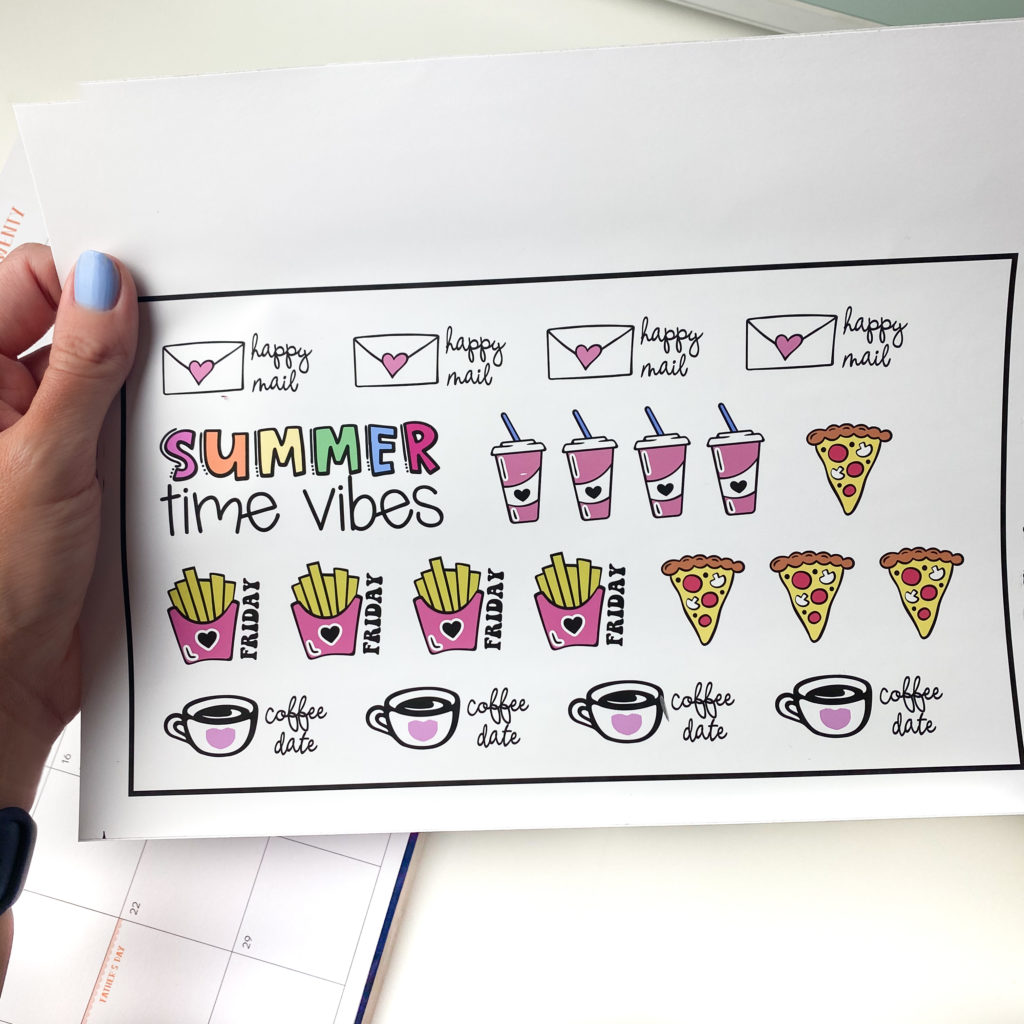
Load a sheet of inkjet printable vinyl into your printer following the manufacturers instructions. Just be sure to feed the paper correctly so that the print ends up on the front of the paper.

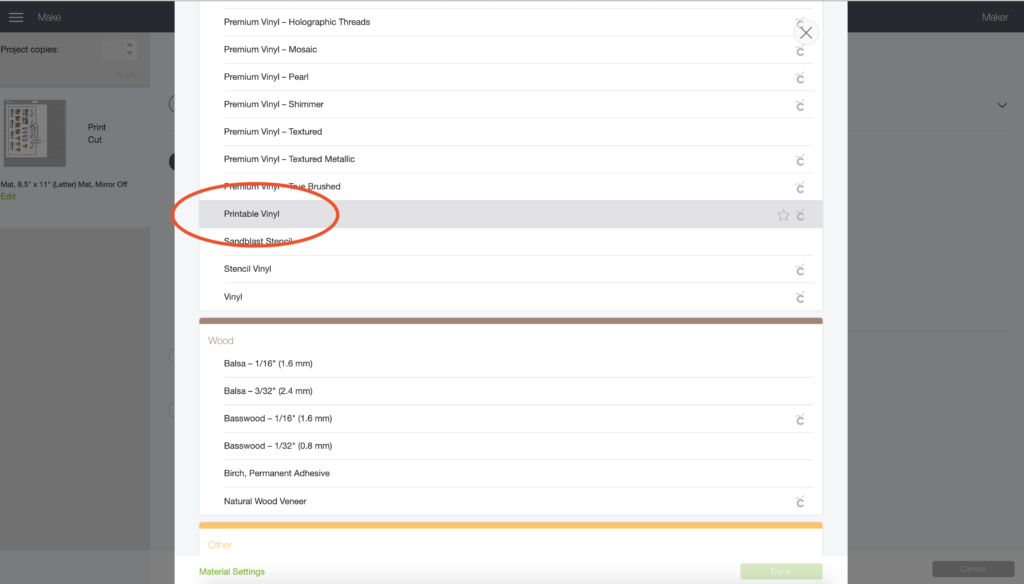
After printing, go back to Design Space and select printable vinyl as the cutting material.

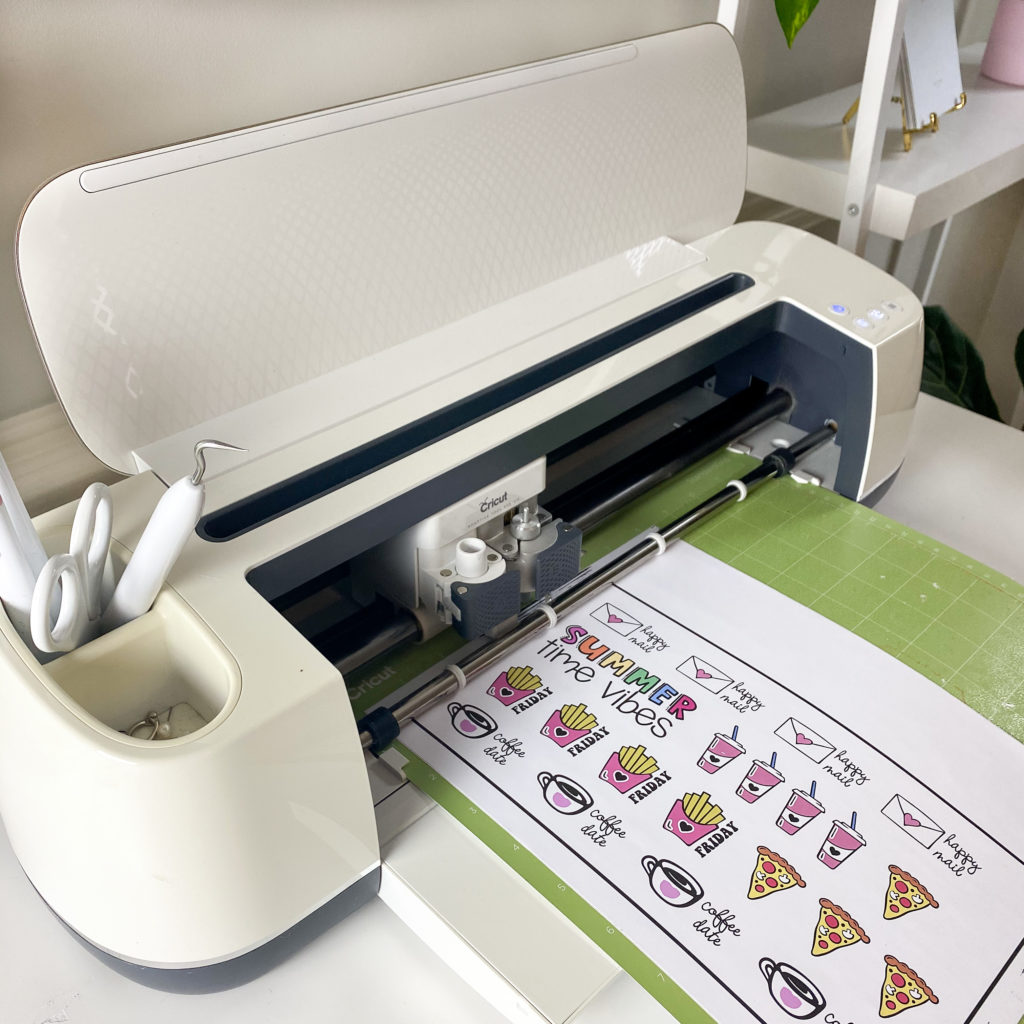
Place the printed sheet on a cutting mat and load the mat into the machine. Press the start button and the machine will detect the black registration box and carefully cut around the edge of each image.

Step Three: Weed
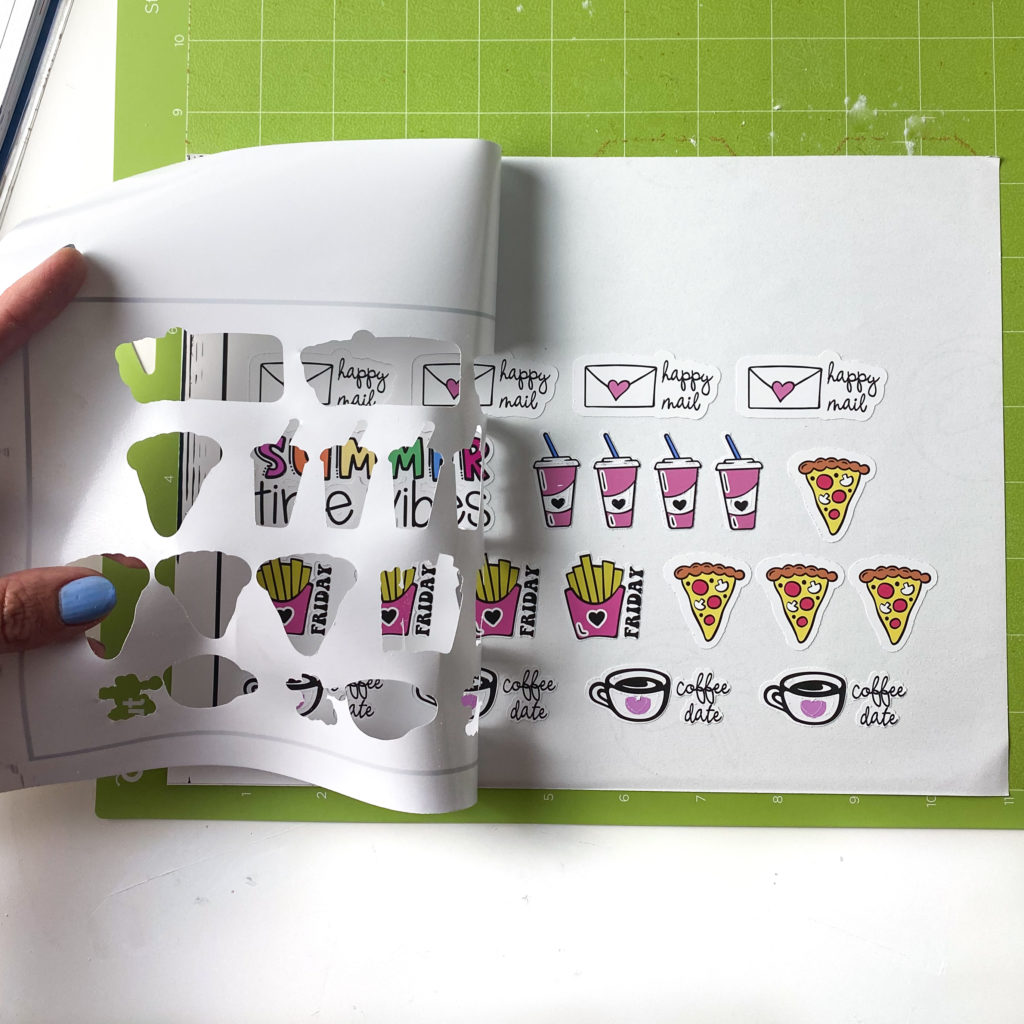
When cutting has finished you can peel away the excess vinyl from around the printed images. Trim away the excess paper backing to create a sheet of stickers that will fit inside of your planner pocket.

Step Four: Enjoy
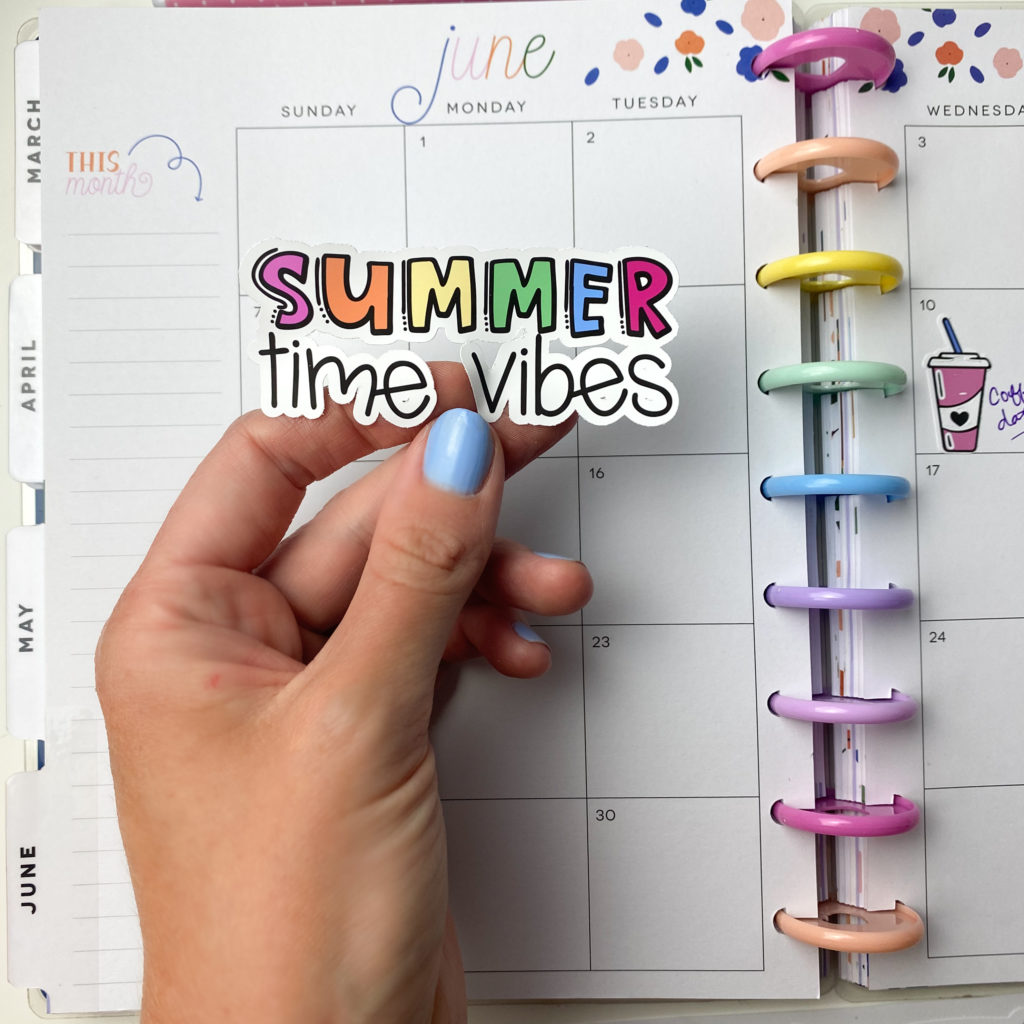
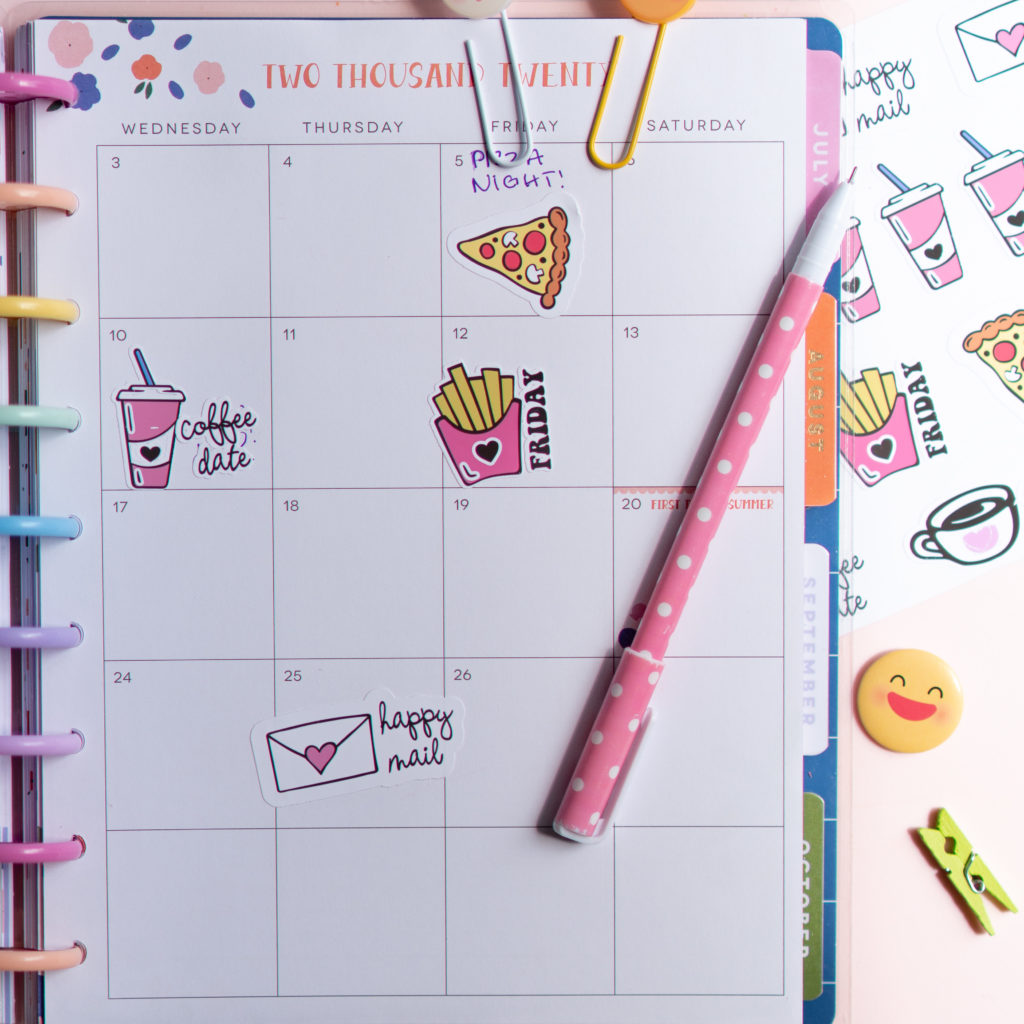
Now you can peel and stick your planner stickers as needed! These are stronger than standard sticker paper and can even be repositioned without tearing.


Check out some of the other posts using Inkjet Printable Vinyl like these Laptop Decals.




Ana
Impressive how clear and specific you teach how to make stickers. For a long time I wanted to learn to do it for my grandchildren. Thank you and much success in your plans and goals.
Ana
Impressive how clear and specific you teach how to make stickers. For a long time I wanted to learn to do it for my grandchildren.Thank you and much success in your plans and goals.