Dollar Store DIY – Turning $1 Birdhouses Into A Tiny Christmas Village
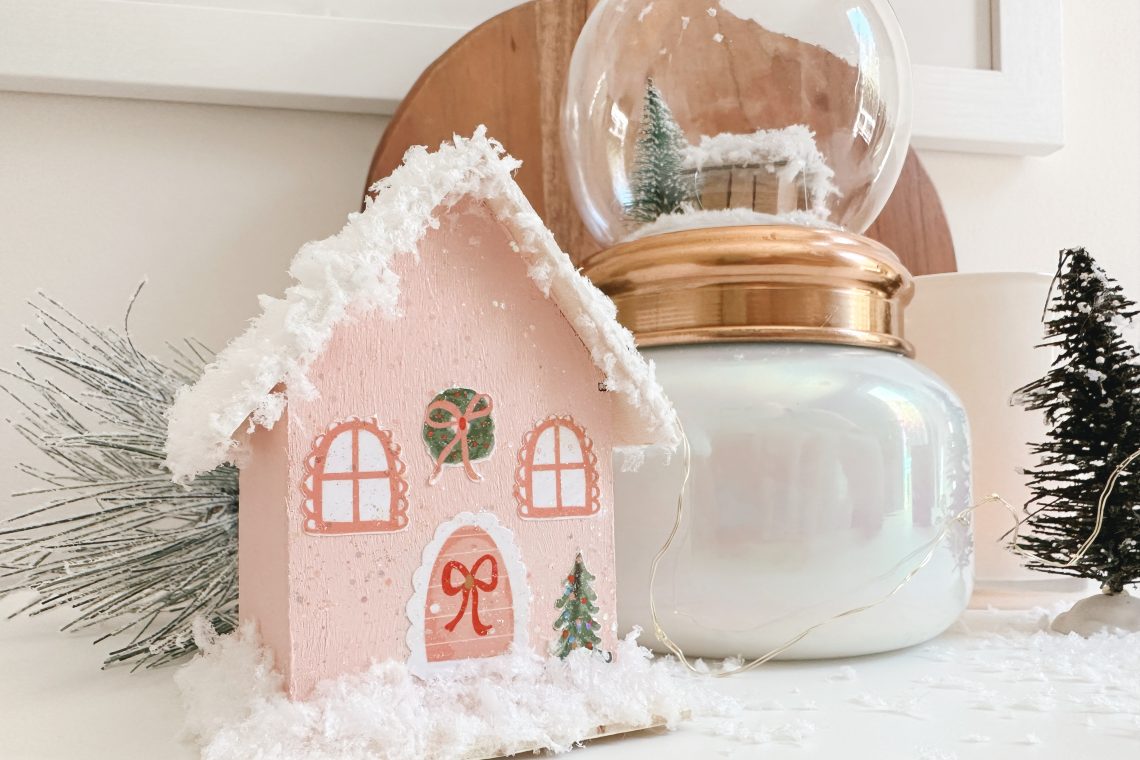
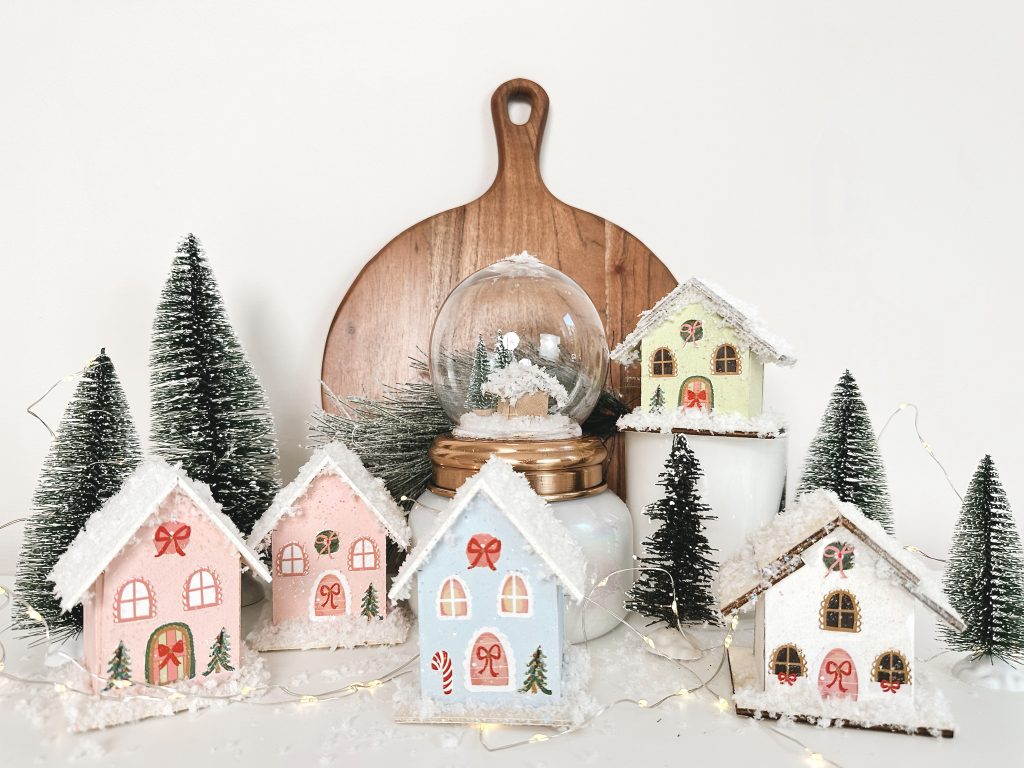
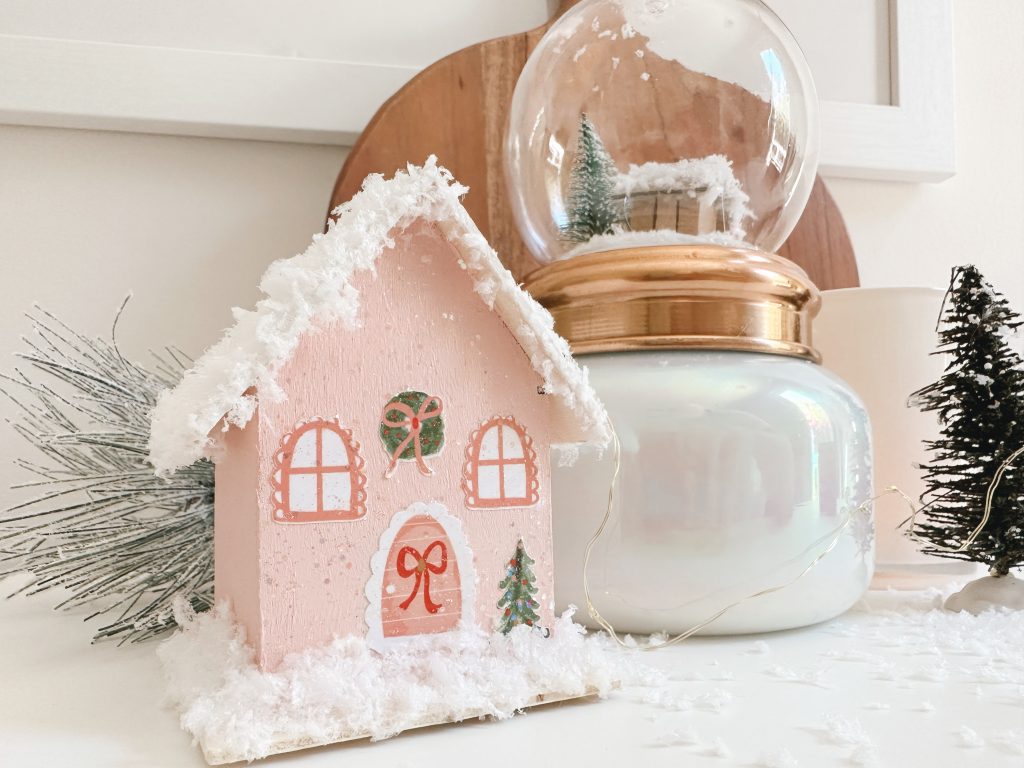
I don’t know about you but I love a good dollar store DIY. There’s something satisfying about transforming something budget friendly into something that looks like it came from Anthropologie. Today, I’m taking one dollar mini birdhouses and turning them into a tiny village of Christmas houses. Let’s jump in-
Here’s What You’ll Need:
- Dollar Store Birdhouses
- Various Acrylic Paints
- Free Christmas Village Stickers
- Mod Podge
- Faux Snow
- Hot Glue Gun
Step One: Prepare and Paint
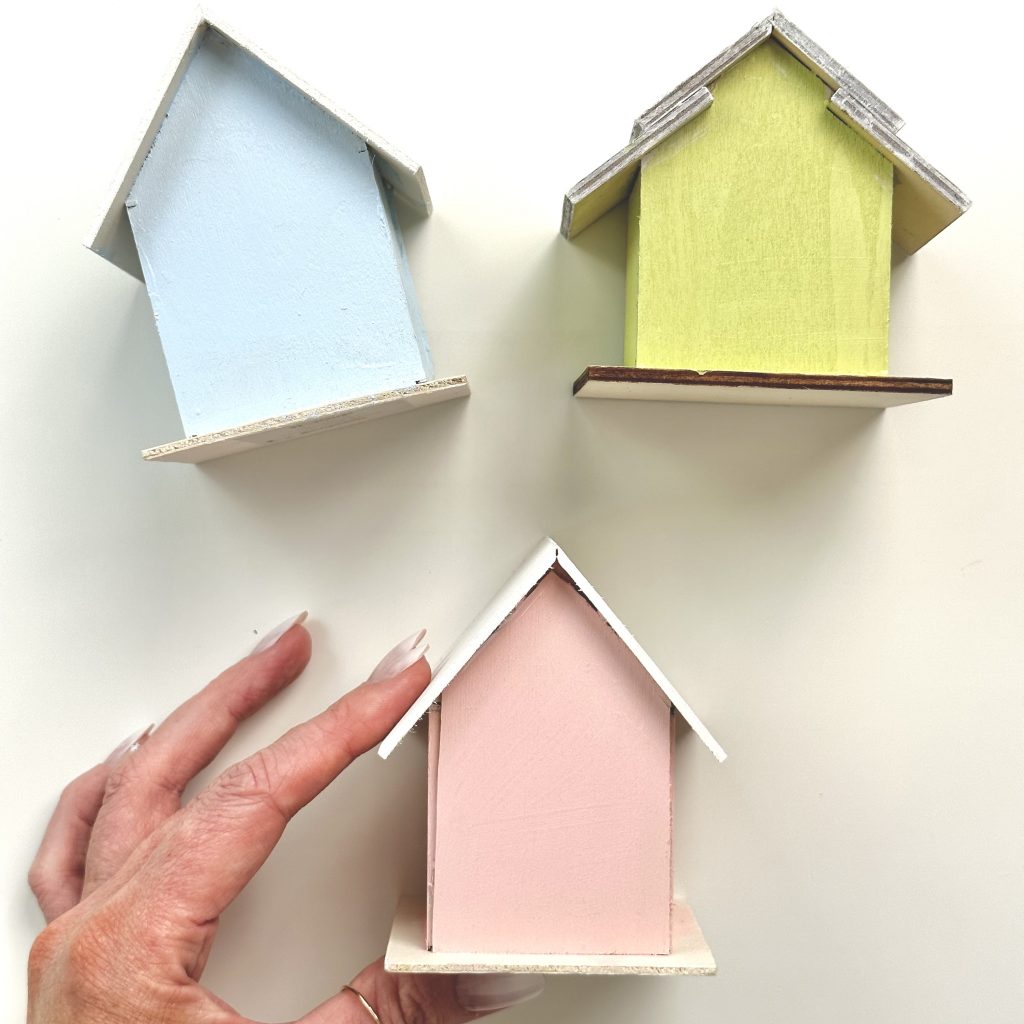
Before we can turn these little birdhouses into mini homes, we need to un-bird-ify them. Start by carefully snapping off the perch. There will be a hole underneath, plus the hole for the birds, both of those need to be covered. I cut a thin sheet of balsa wood down to size and attached it with hot glue. You could also use chip board, heavy card stock or kraft board for this step. Or, if you don’t mind having holes on the backside of the houses, you can just leave them as is.
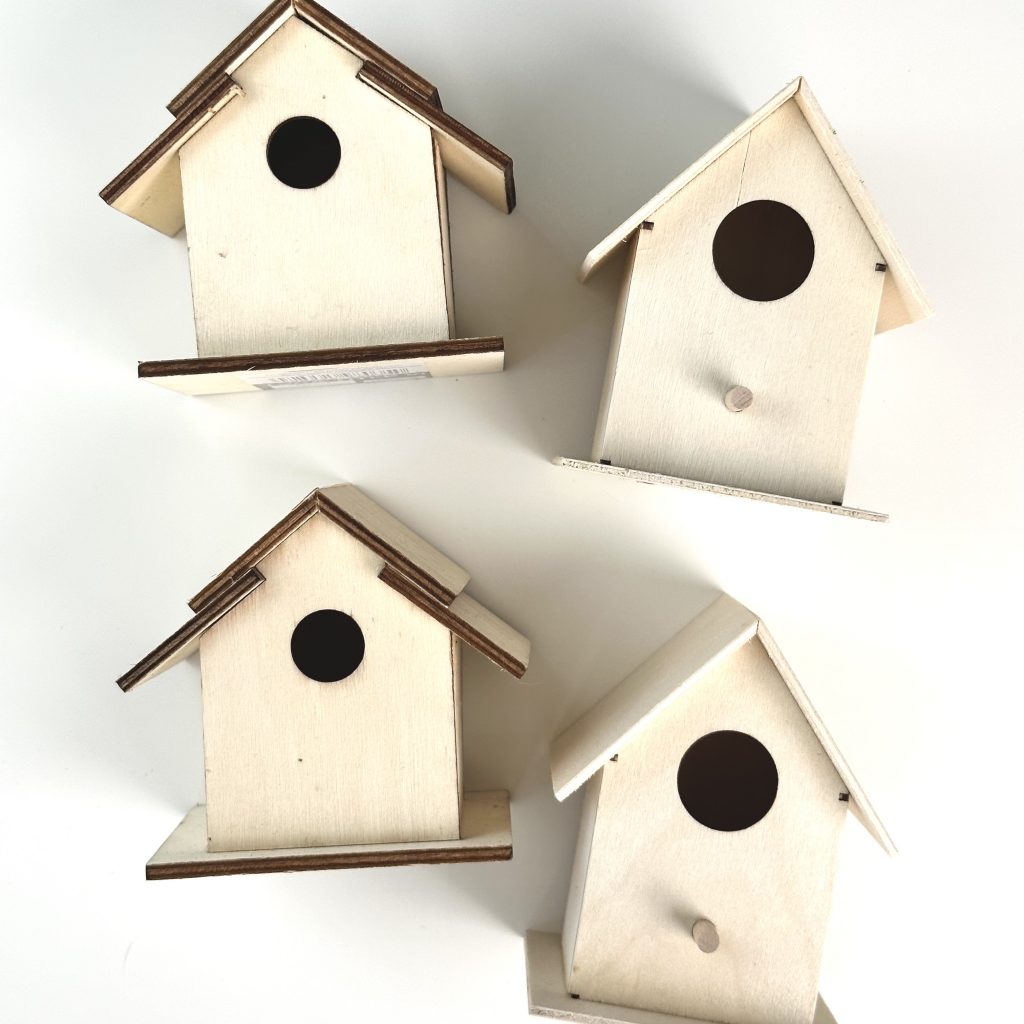
Next, choose your paint colors and paint the sides of the house and the roof. I painted the roofs white so they look extra snowy.
Step Two: Print and Cut Stickers
Download the Christmas village stickers, print them and then use your machine to cut them out. If you don’t have a cutting machine you can easily cut these out by hand.
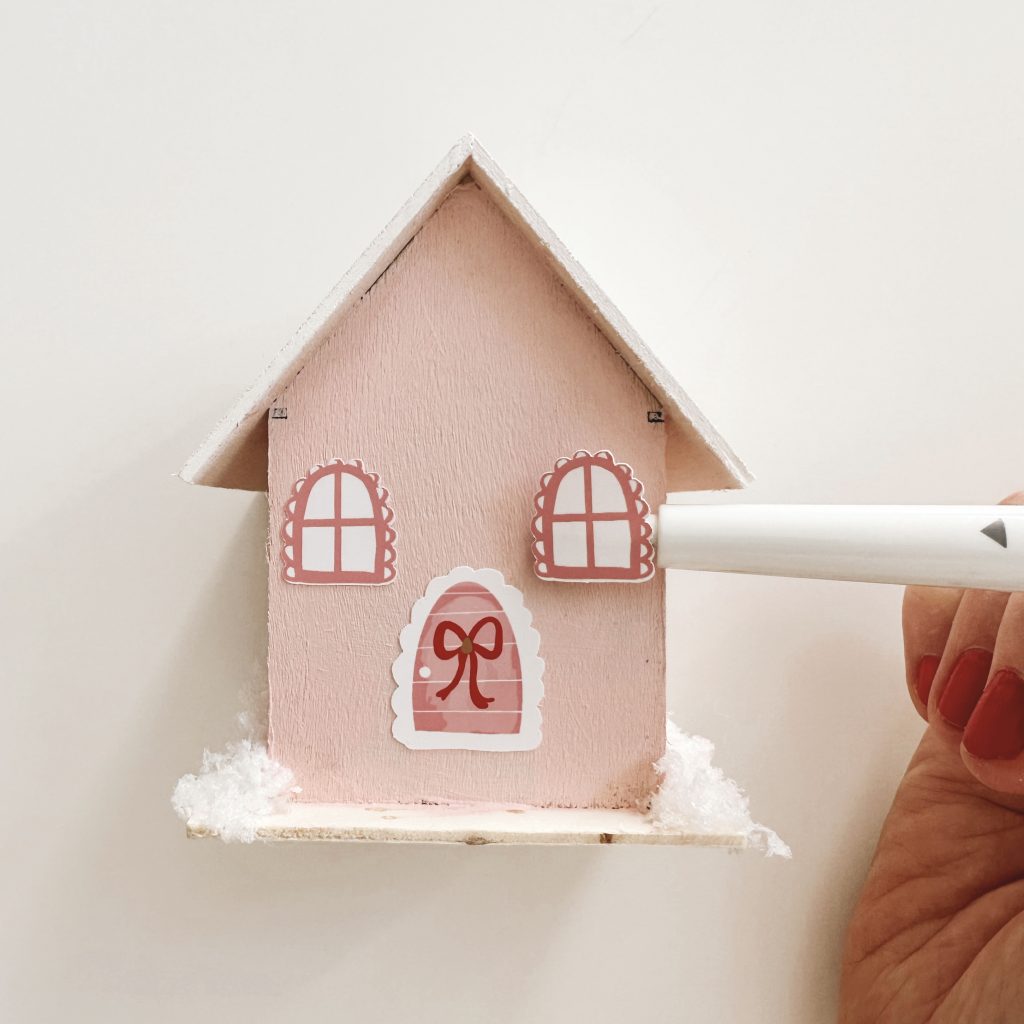
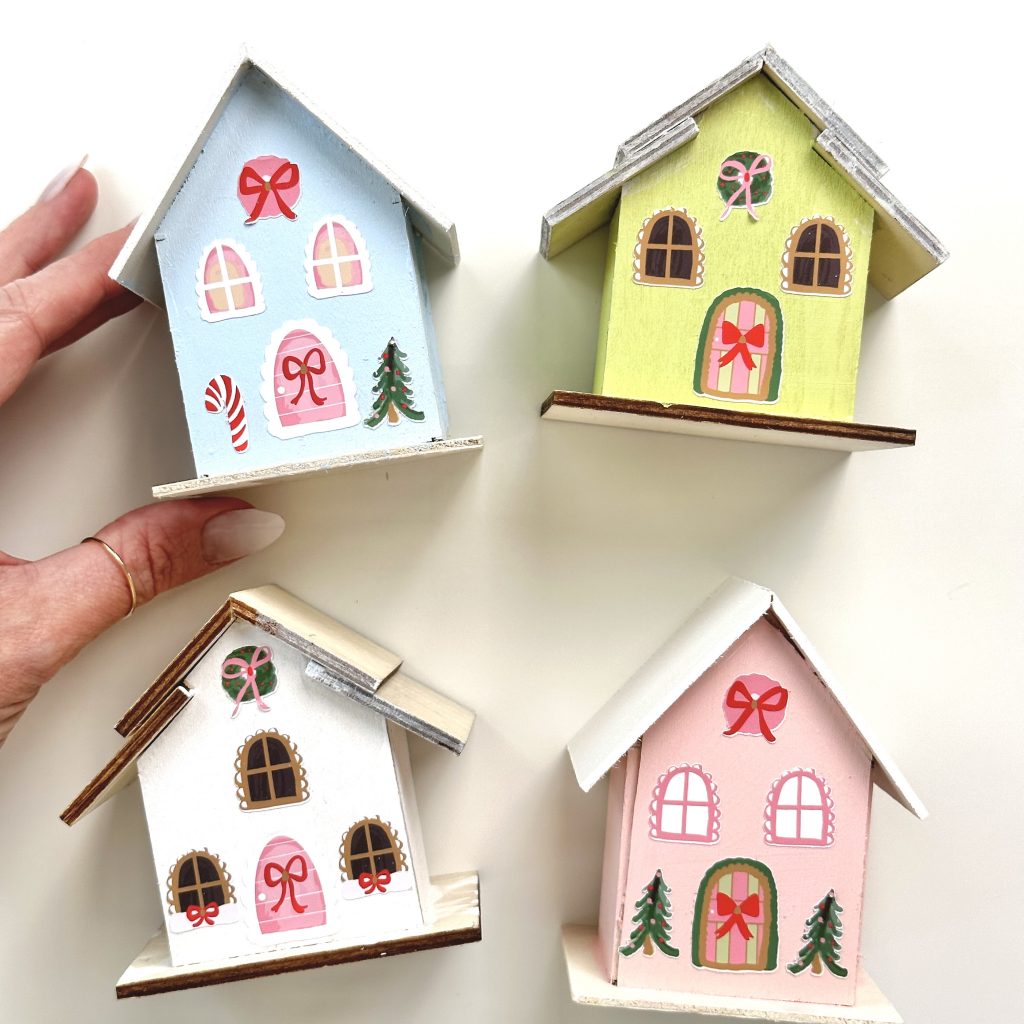
Apply the stickers to the houses however you want, this part is so much fun!
Step Three: Apply Faux Snow
Apply a layer of mod podge to the roof and while it’s still wet, dip the house into a bag of faux snow. Do the same for the base to create a snow covered land.
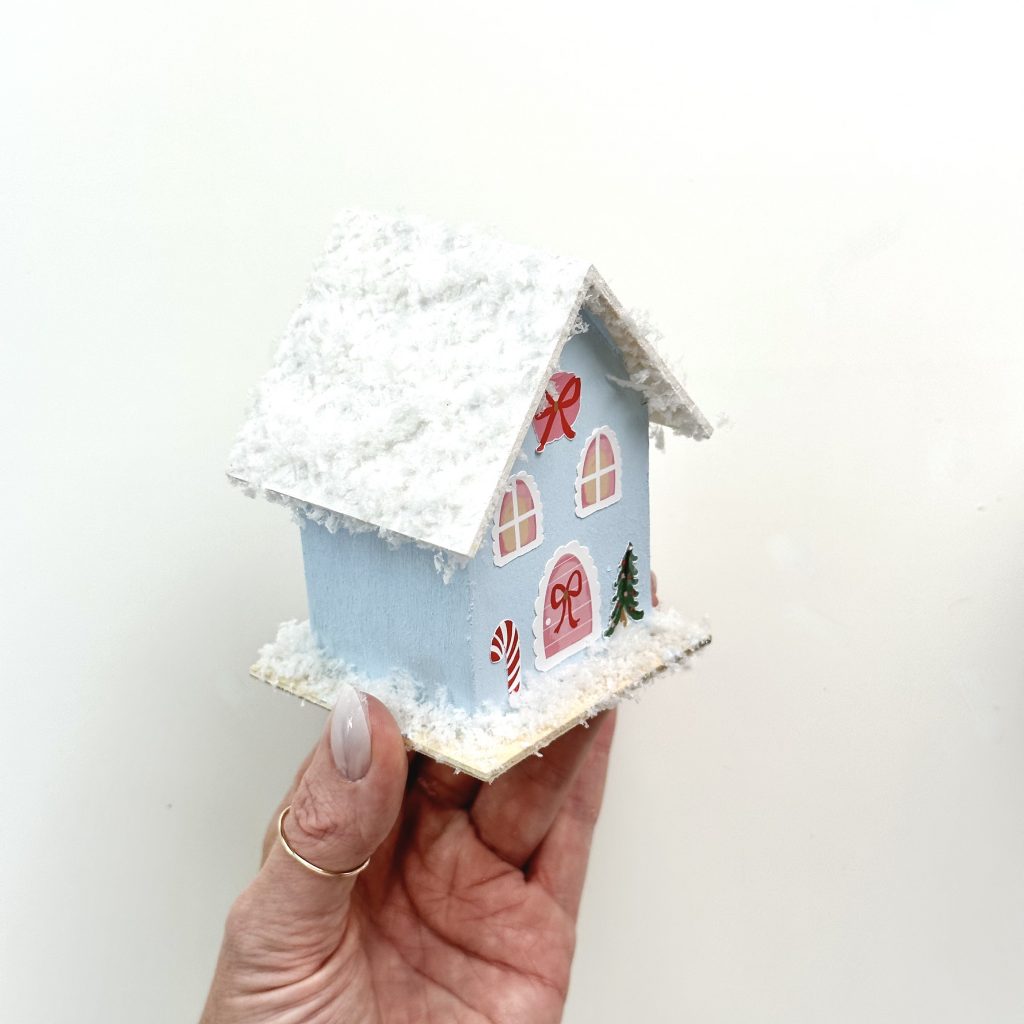
That’s it! You can create an entire village of these tiny houses or attach a ribbon and use them as ornaments! Either way, I think these are super cute and really fun to make.
Happy crafting!
