Halloween DIY – Out Of Treats Door Sign + Free File
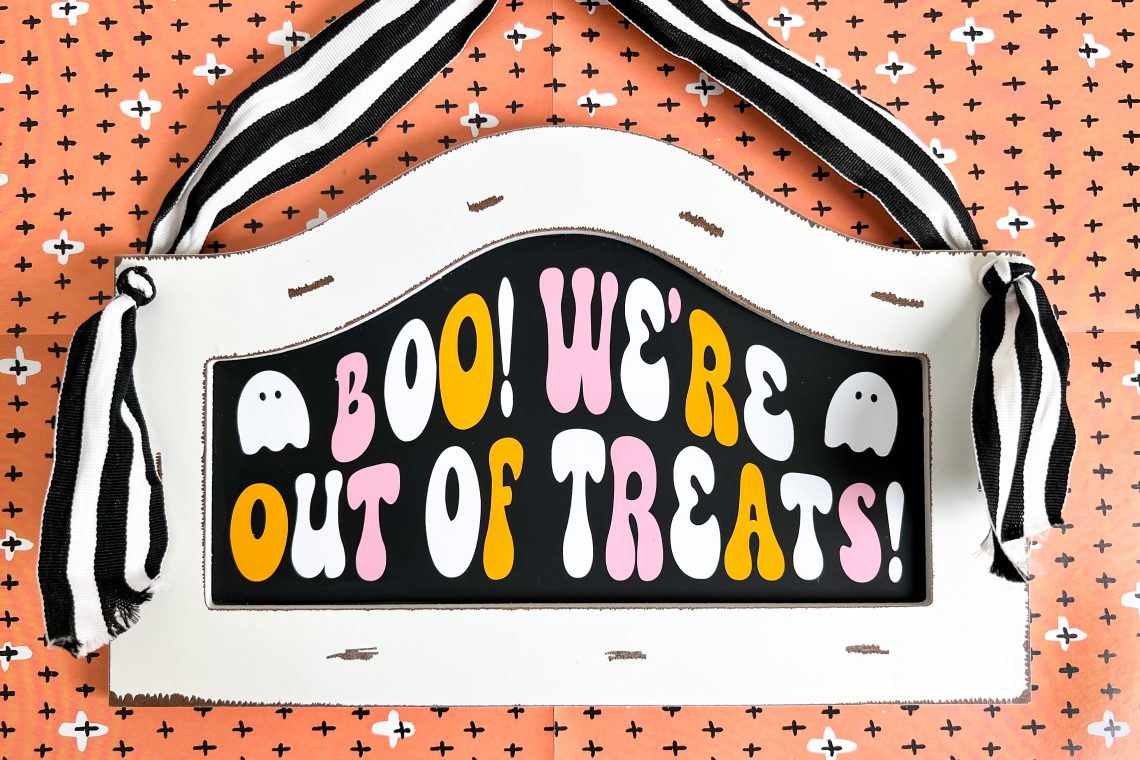

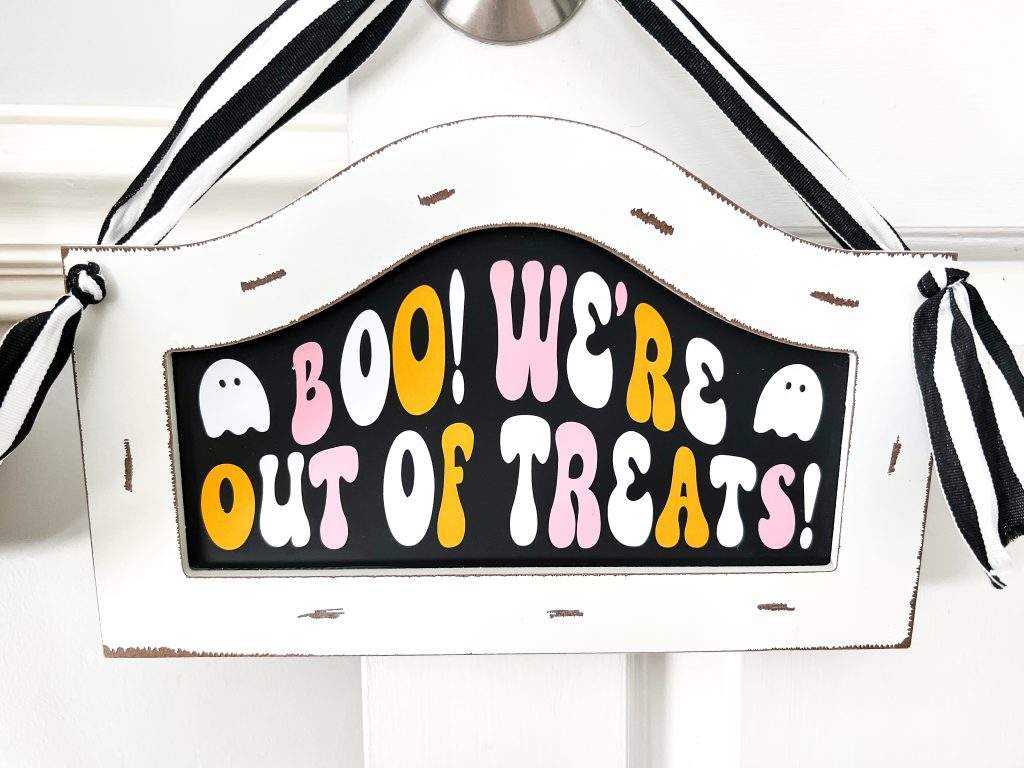

One of my favorite parts of Halloween night is handing out candy to all of the trick or treaters. From the tiny toddlers who show up before dark to the teenagers swinging by long after the street lights go off, I enjoy seeing each one. The only downside, sometimes I run out of candy.
That’s where this cute “out of treats” door sign comes in handy. Using a pre-made chalkboard sign, a few sheets of adhesive vinyl and this free download, this sign was ready in under 15 minutes.
Difficulty: Beginner
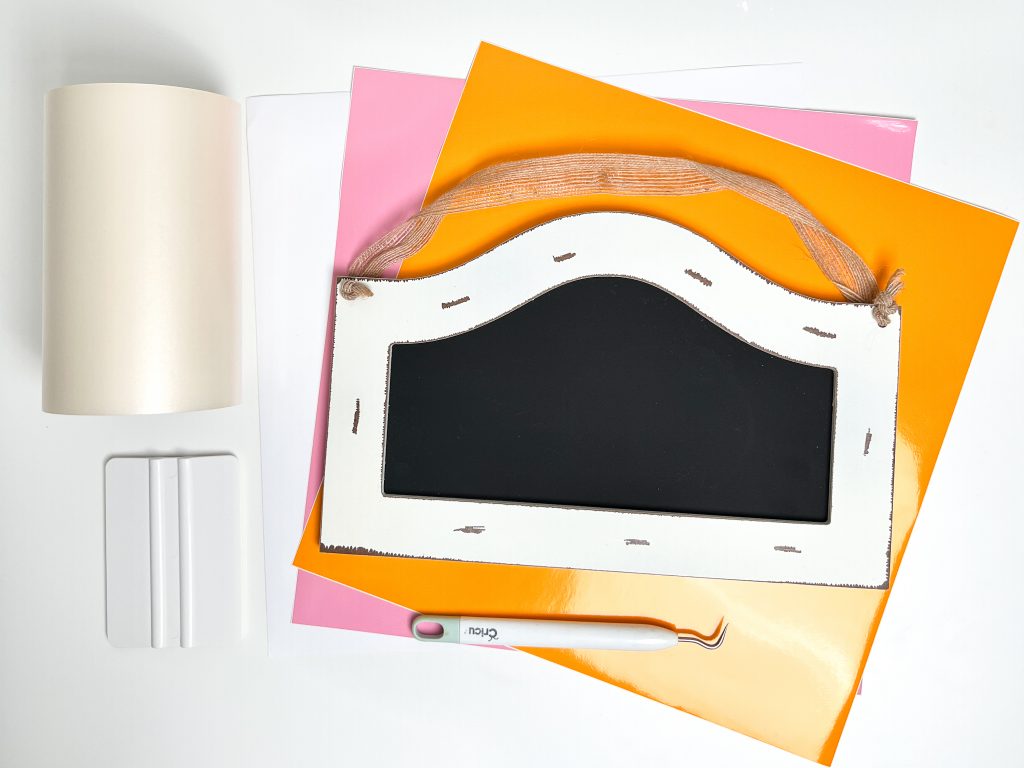
Here’s What You’ll Need:
- Blank Chalkboard
- Adhesive Vinyl
- Transfer Tape
- Weeder
- Scraper Tool
- Cutting Machine (I’m using the Maker 3)
- Ribbon (optional)

Step One: Upload and Customize Design
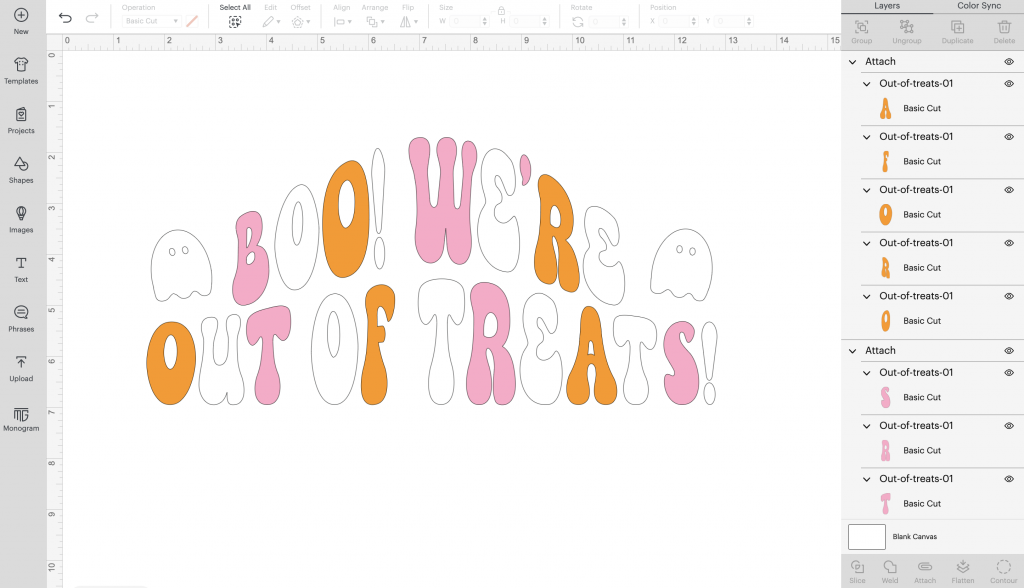

Once you’ve downloaded the free cut file, upload it to your design software. I’m working in Design Space but this project is totally doable in Silhouette Studio or any other design program. This is where you can adjust the colors to fit your style, adjust the size, etc. *Be sure to attach all like colors before continuing to cutting.
Step Two: Cut and Weed Adhesive Vinyl
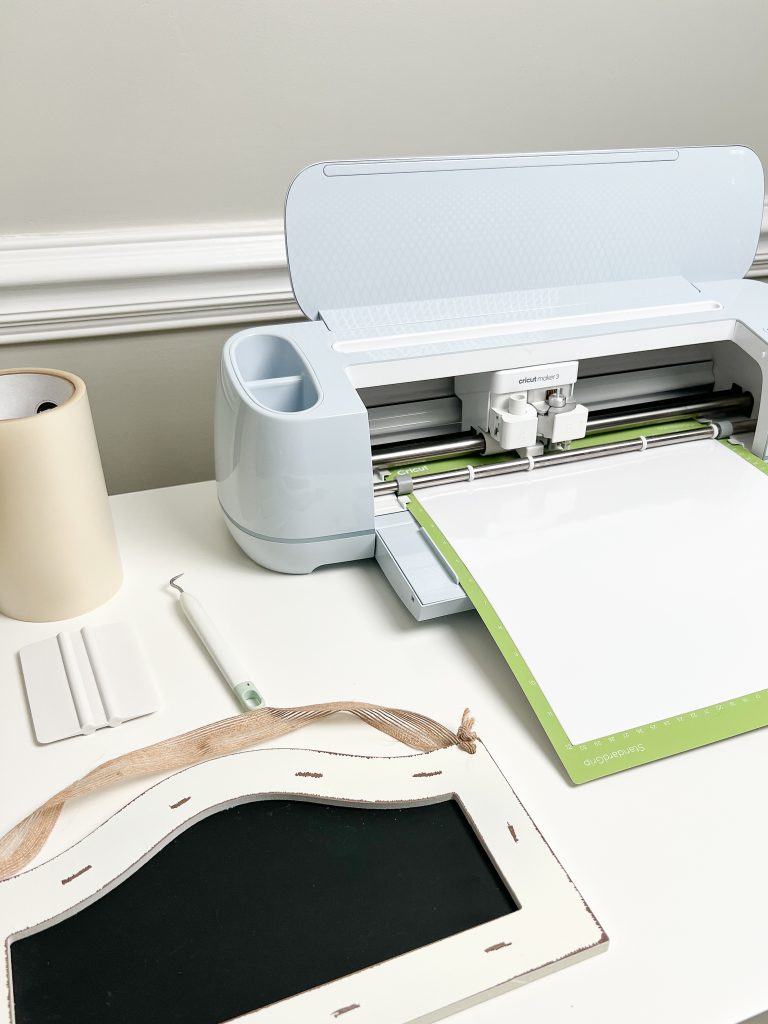

Follow the on screen prompts to load and cut each color of vinyl. I used the premium vinyl setting in Design Space.
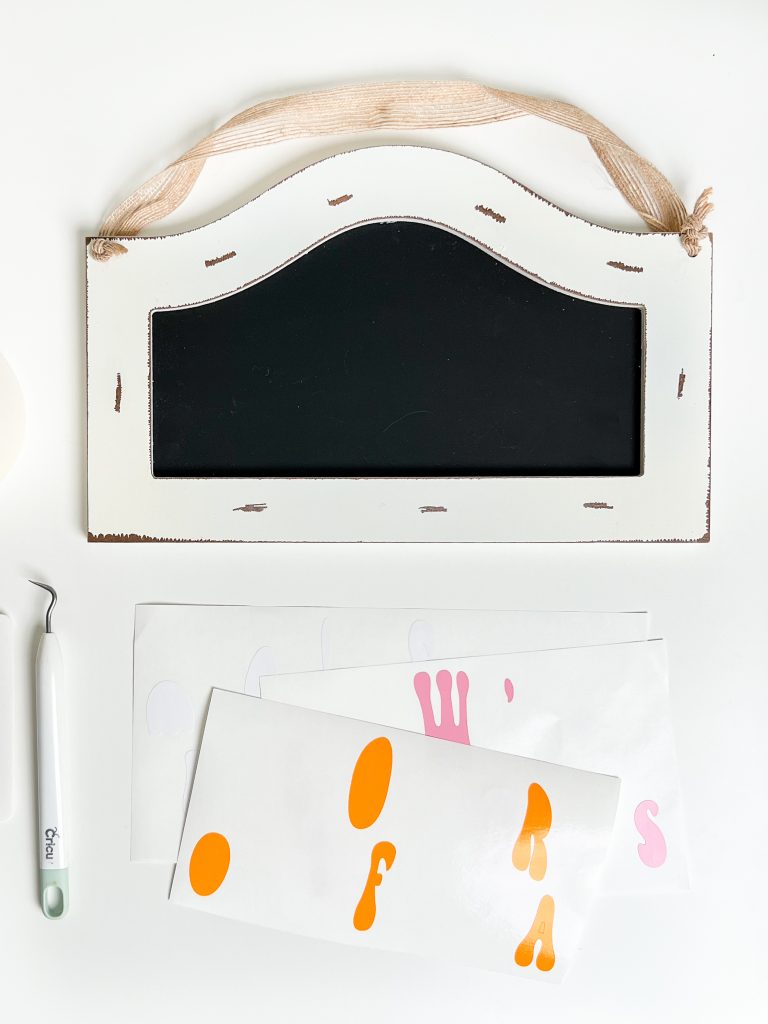

Use the weeding tool to remove the excess vinyl and weed out the centers of the letters and then apply transfer tape.
Step Three: Transfer Vinyl
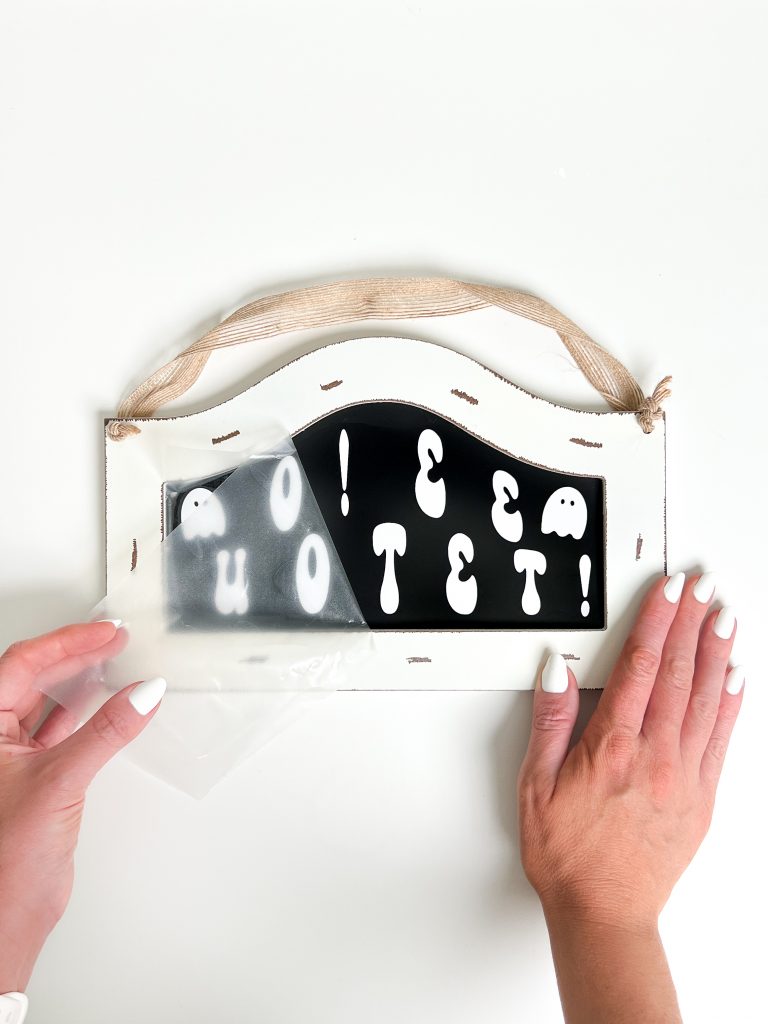

This part can be a little tricky if you’re brand new. First, you’ll want to be sure to use a quality transfer tape. I’ve tried them all and forever stand by my two favorites: Expressions Vinyl and Kassa.
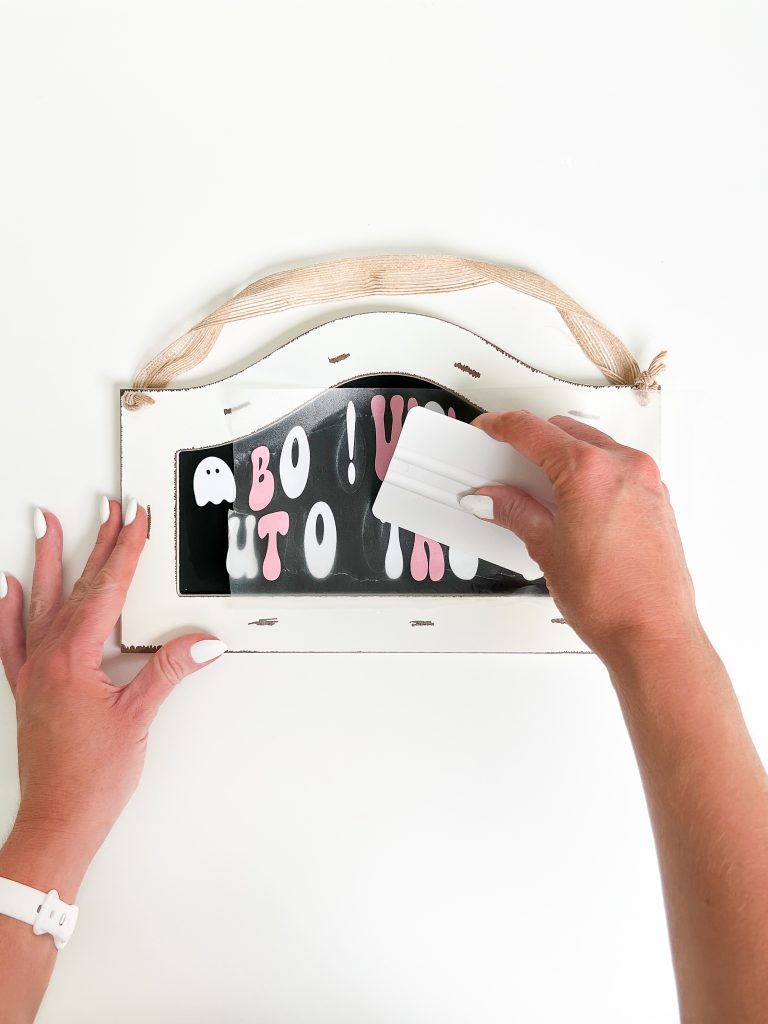

Second, burnish well. If you think you’ve burnished enough, hit it one more time for good measure. You want to make sure it’s really on there!
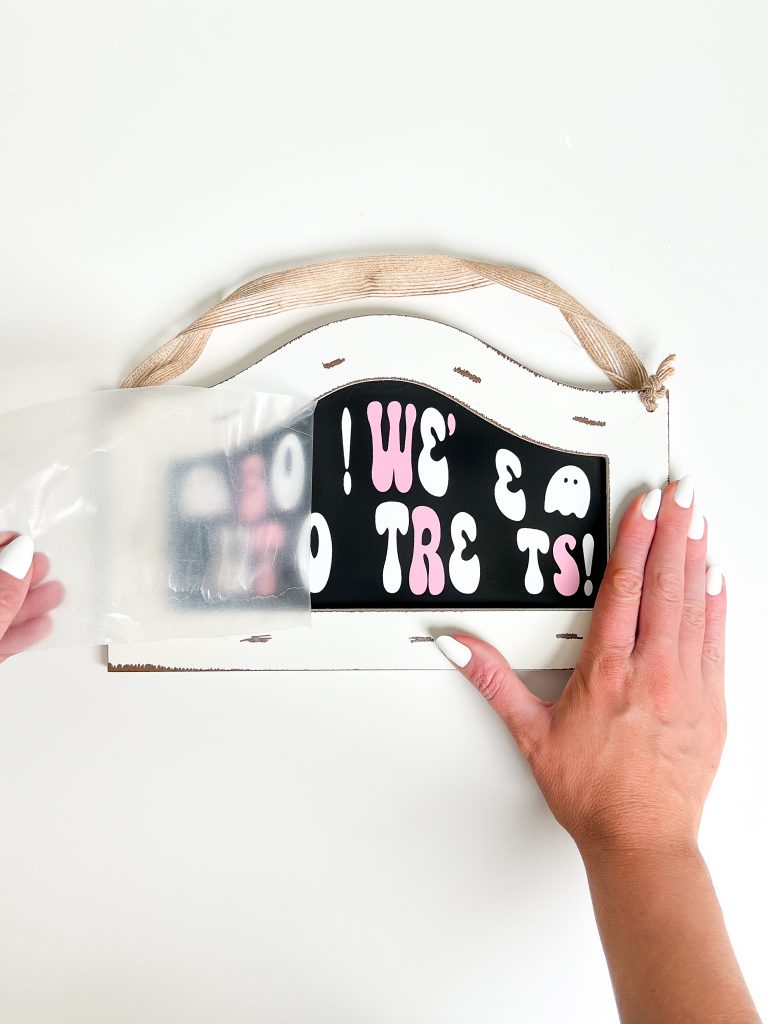

That way, when you remove the transfer tape, the vinyl stays put.
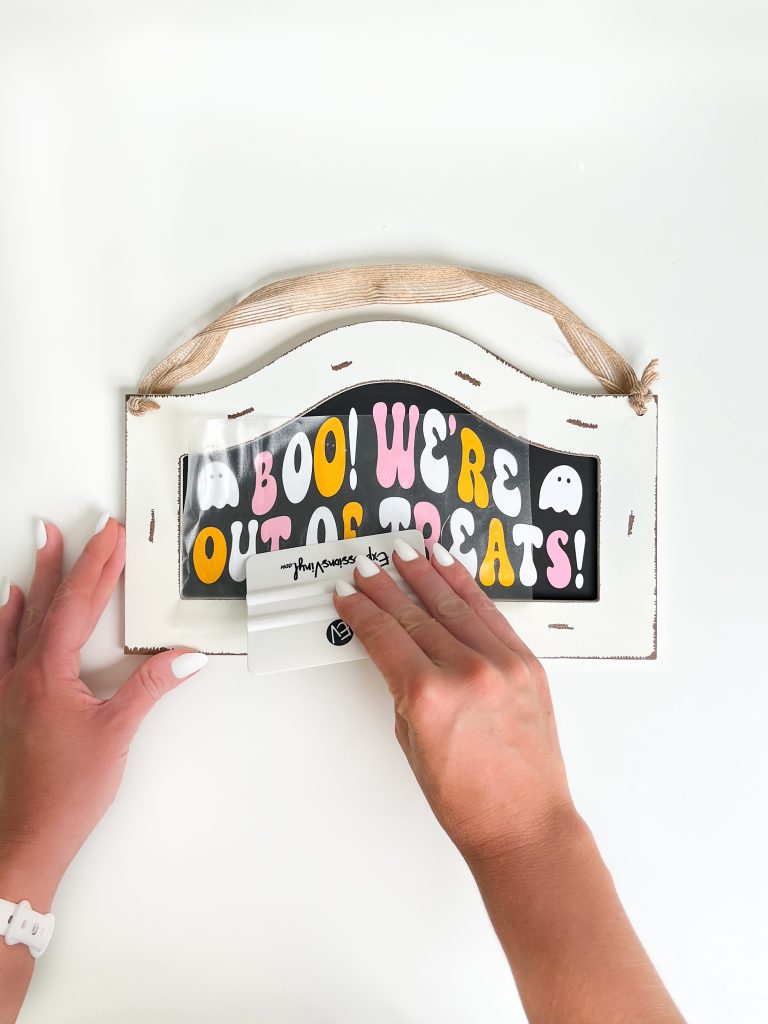

Continue applying each color of vinyl until the whole design is on the sign. 🙂
Step Four: Change Ribbon
This last step is optional but I think it completed the whole look!
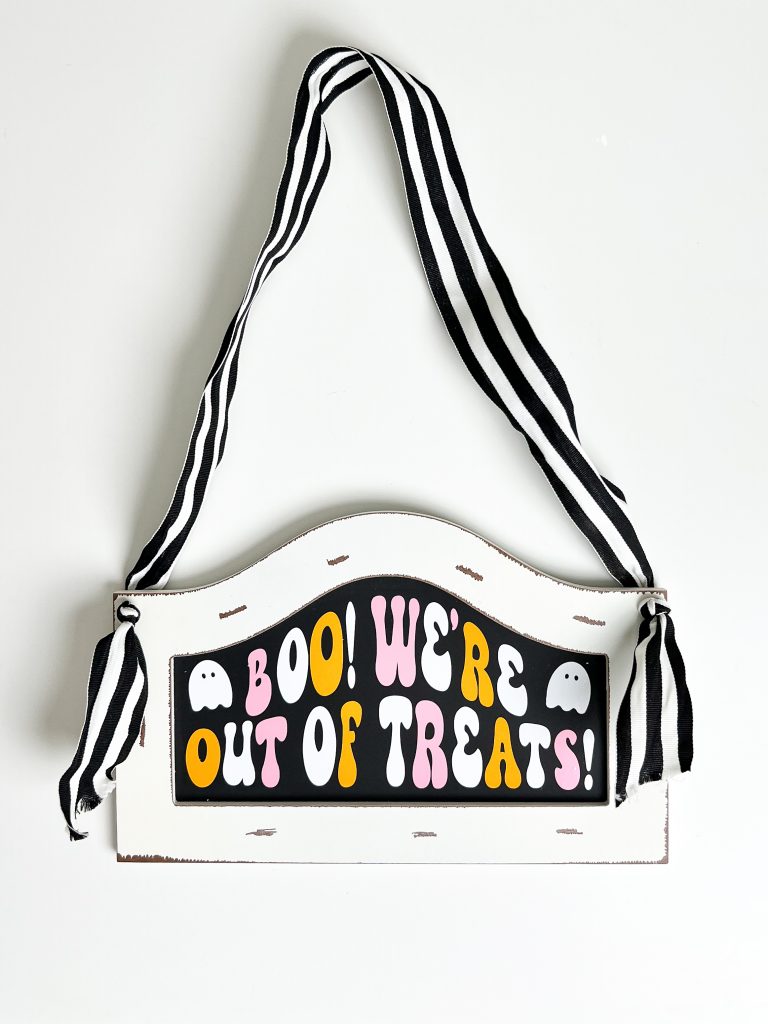

Let me know if you have any questions! Happy Spooky Season and Happy Crafting!


Janet
Adorable sign! Thank you for cute ideas and the freebies!
Kayla
Thank you so much!!
Kaylene
Hi, lovee your work! Question how do you get those letters and make it curvy on circuit ?
Cassie Stark
HI Kayla! Can you show how you get the letters in this design to be “wavy” or in the “up and down” pattern, please ?
Cassie Stark
also….I LOVE THIS DESIGN!! I’m searching in vain for the freebie?!?! I can’t locate it at all….. help…???? THANK YOU