Trendy Canvas Shoes With Heat Transfer Vinyl
Hey, crafty friends! Kayla here again from the Kayla Makes blog and today I have the cutest DIY to share.
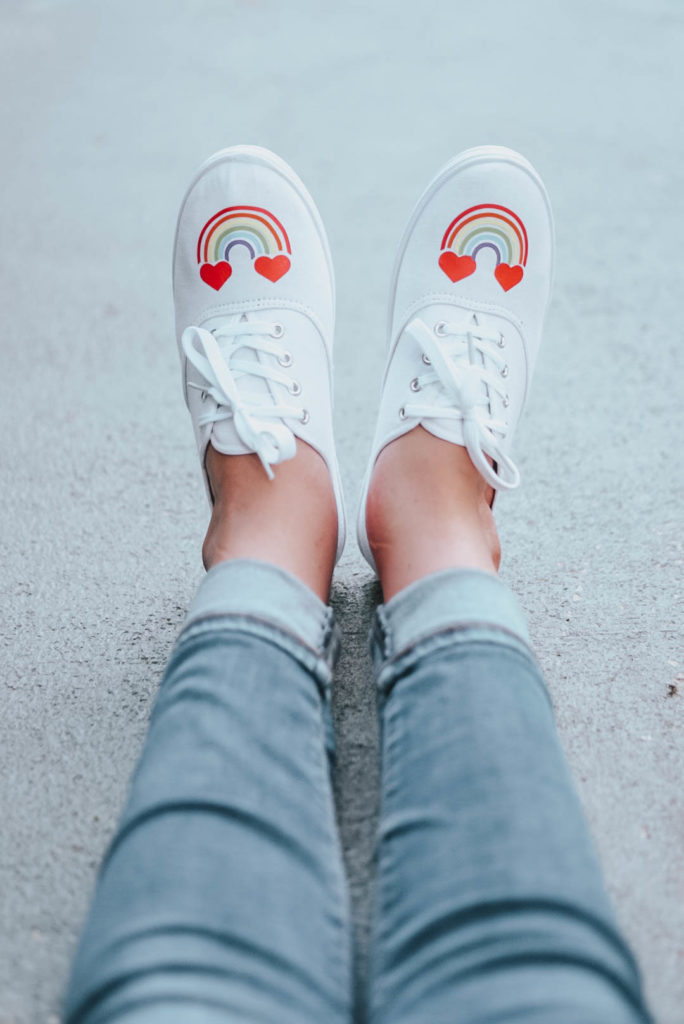
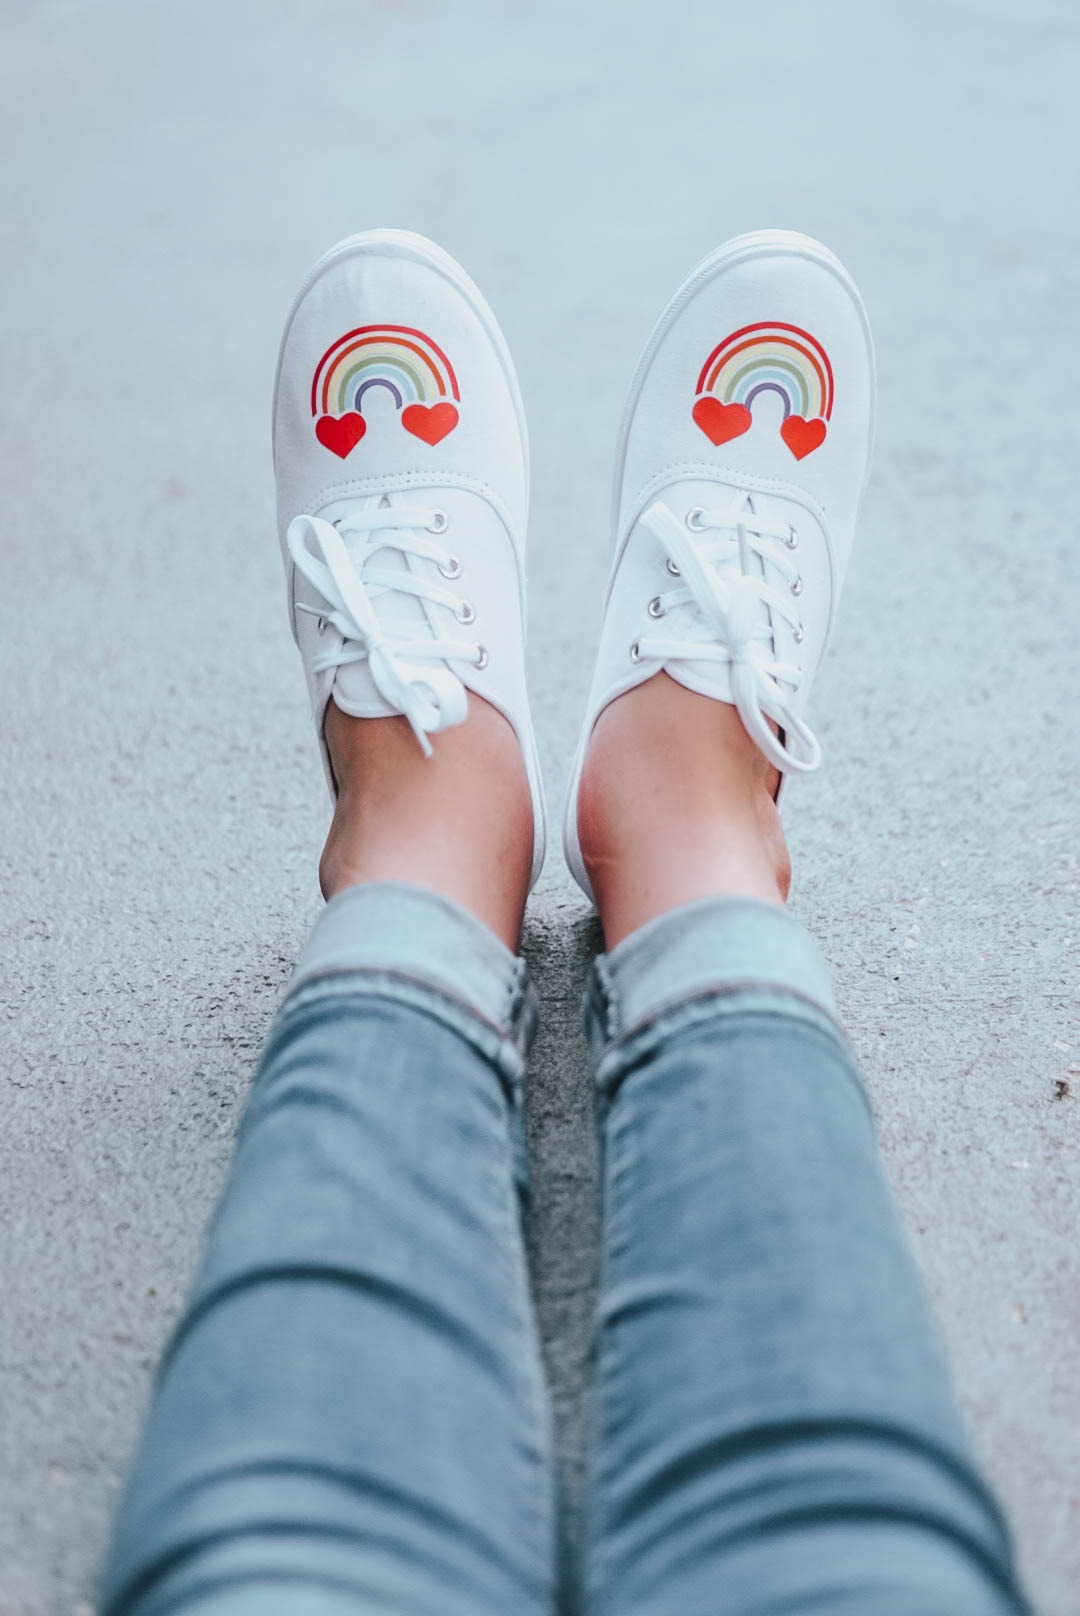
Statement sneakers are so trendy right now but they can also come with a hefty price tag. With this htv hack you can create your own customized pair of canvas shoes for under $15!
Here’s What You’ll Need:
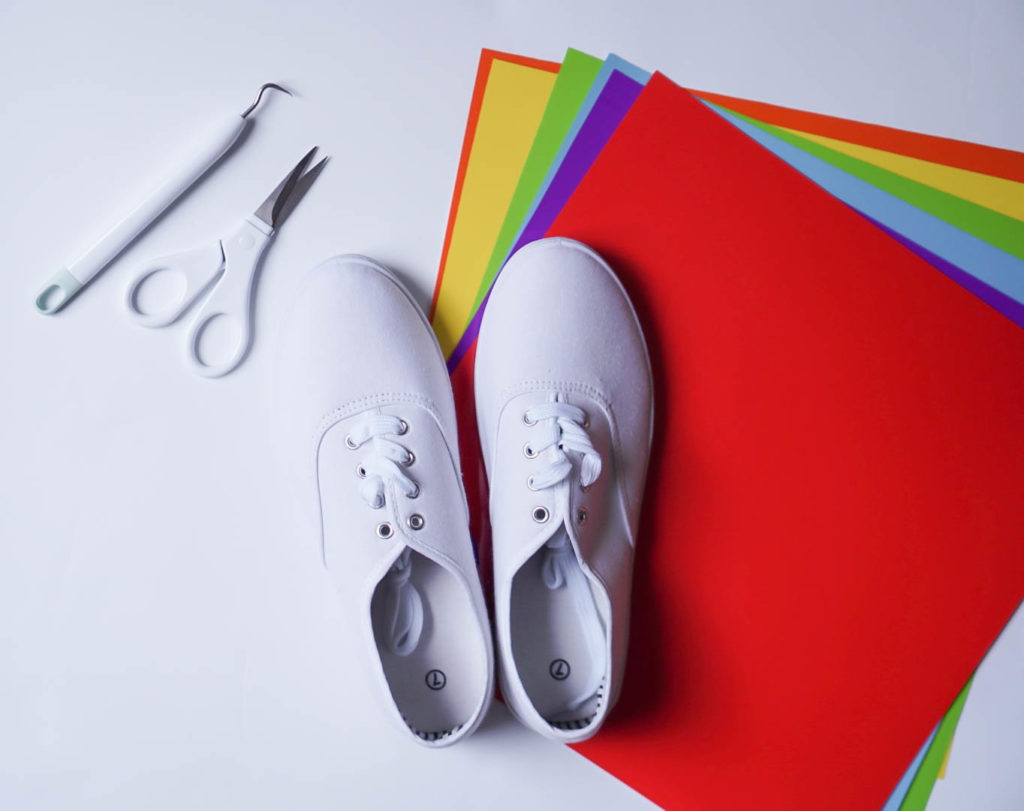
- Easy Weed Heat Transfer Vinyl
- White Canvas Sneakers ($9.99 from Hobby Lobby)
- Cutting Machine (I used the Cricut Maker)
- Mini Iron *this is a must have for shoes!
- Rainbow With Hearts SVG from Design Space
Step One: Design Set-Up
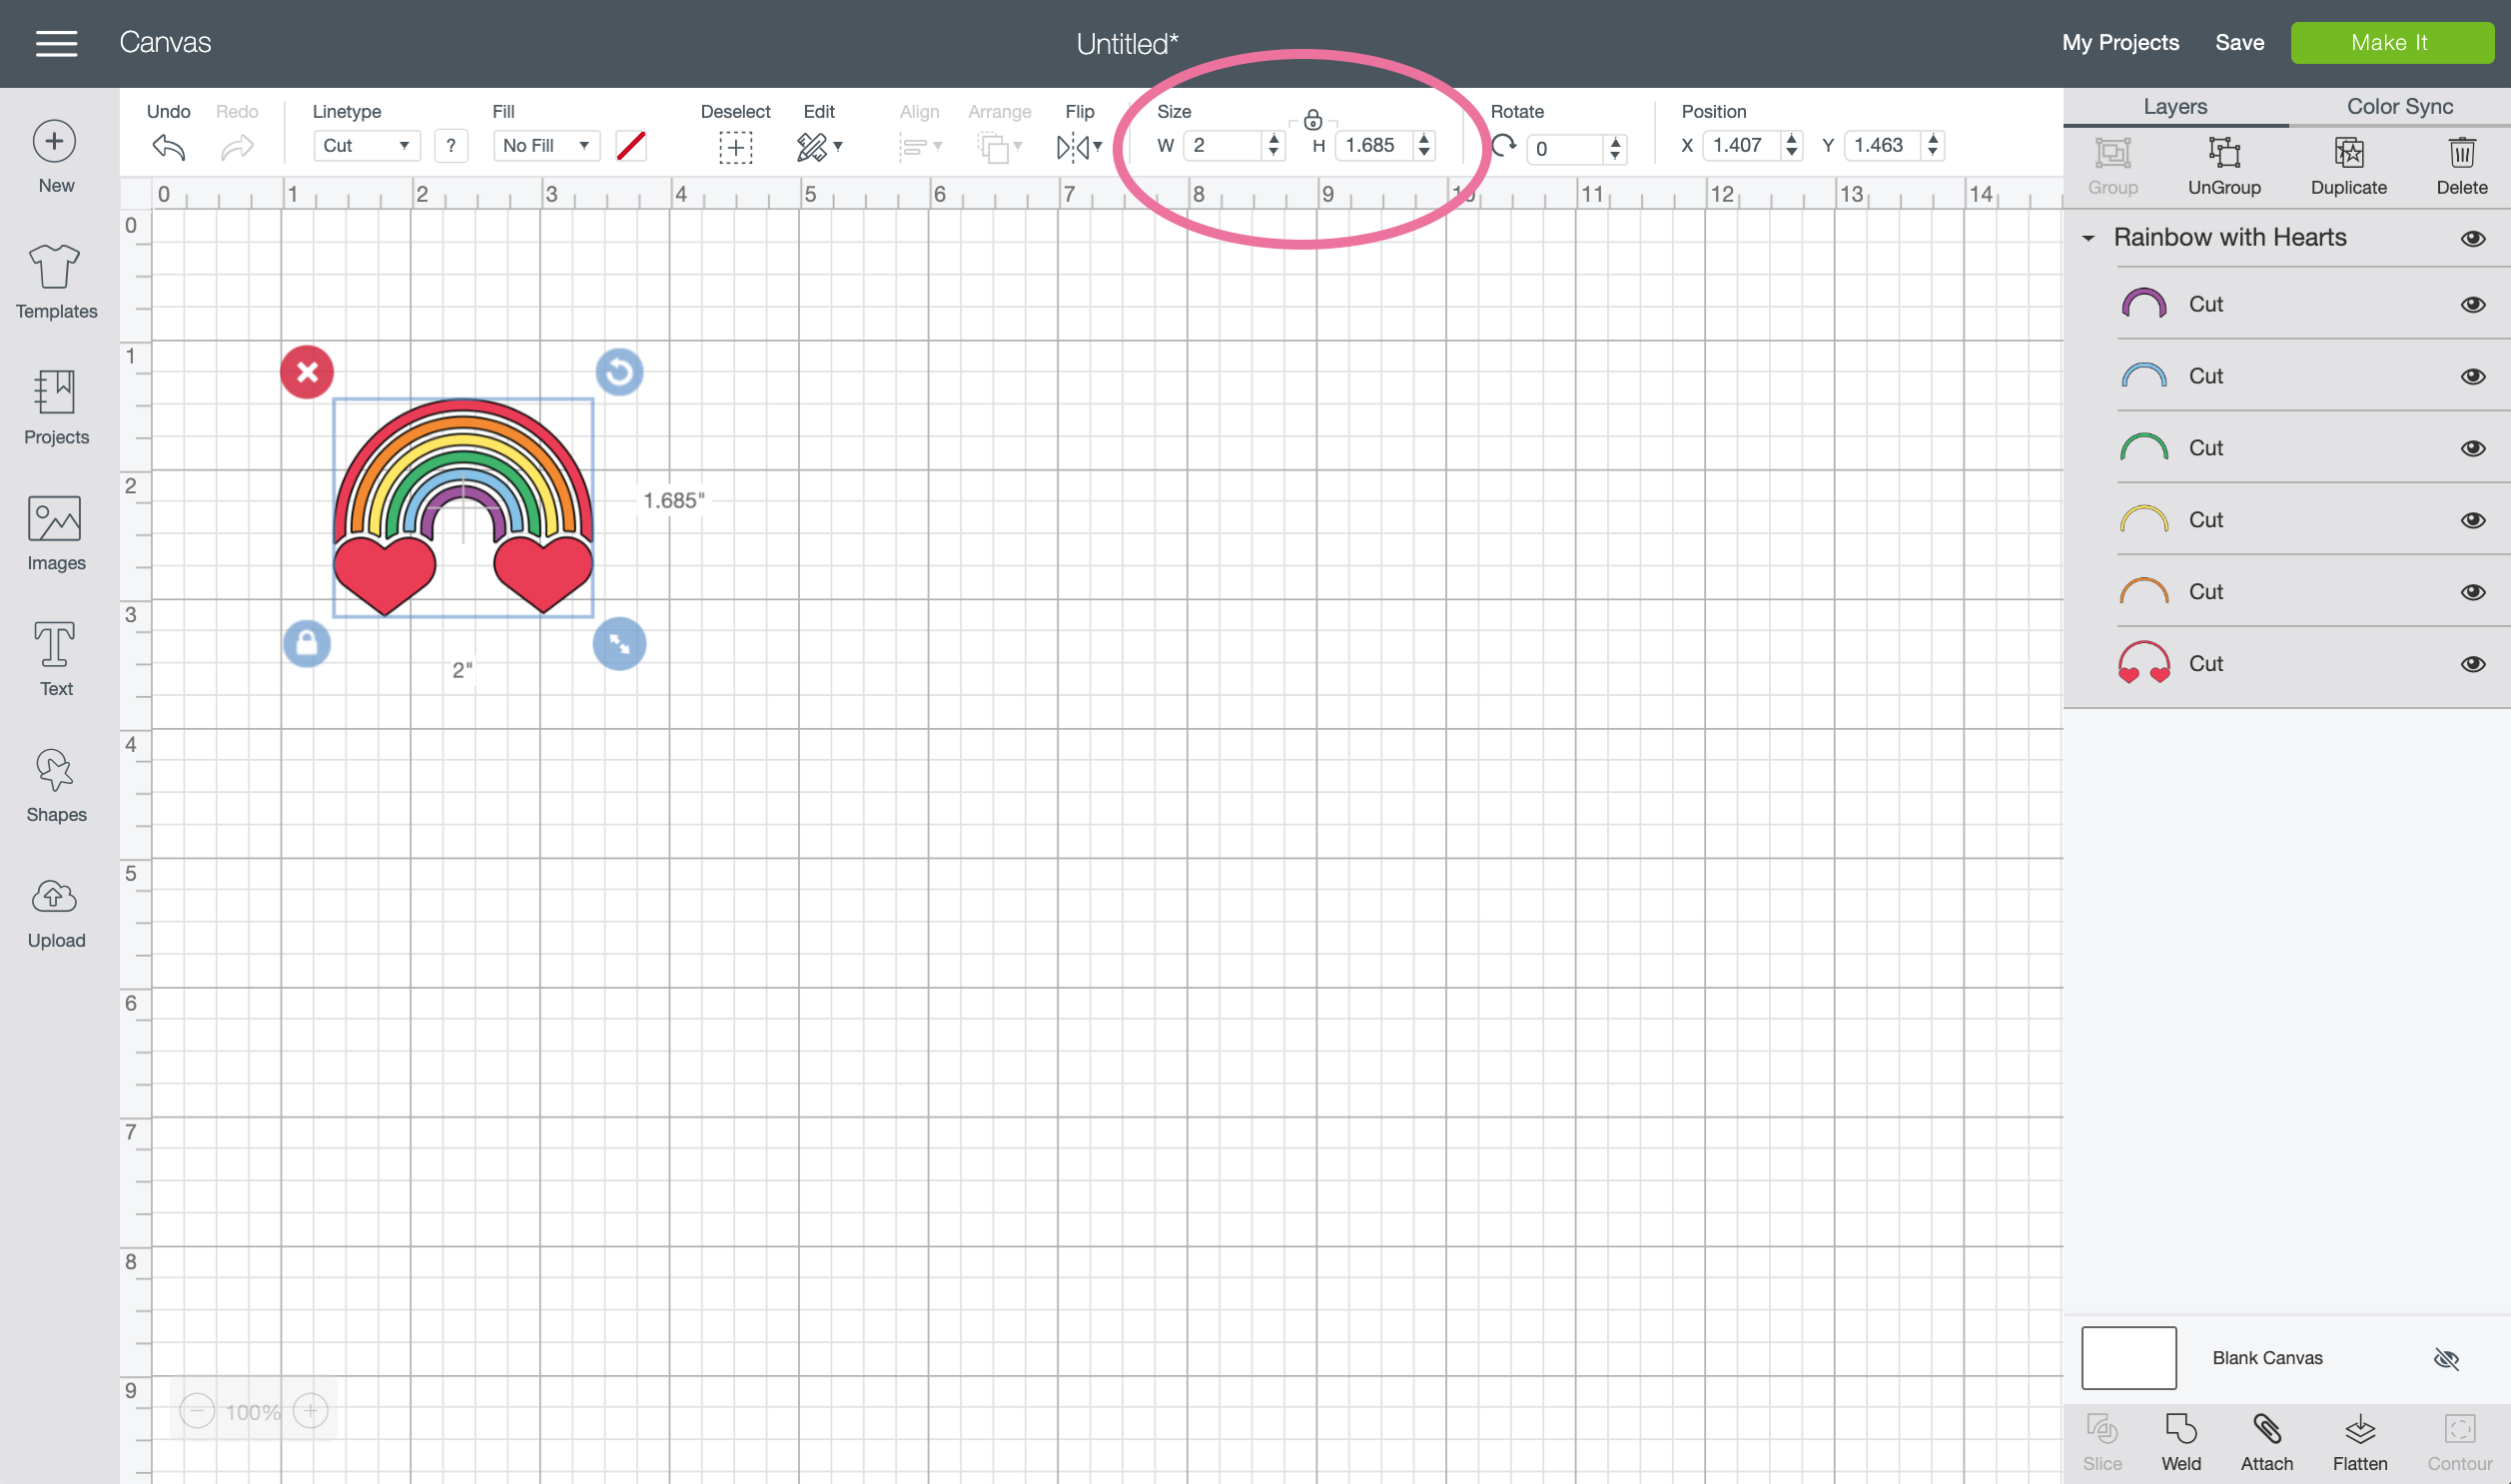
I am a stickler for the old saying “measure twice, cut once” so I always start by measuring whatever surface I’m working on. Once I know how much space is available to work with, I scale the design to fit by adjusting the width and height at the top of the screen.
After that, just click the make it button and the software will automatically sort the image onto mats to be cut by color. Click through the row of mats and turn the mirror option ON for each one.
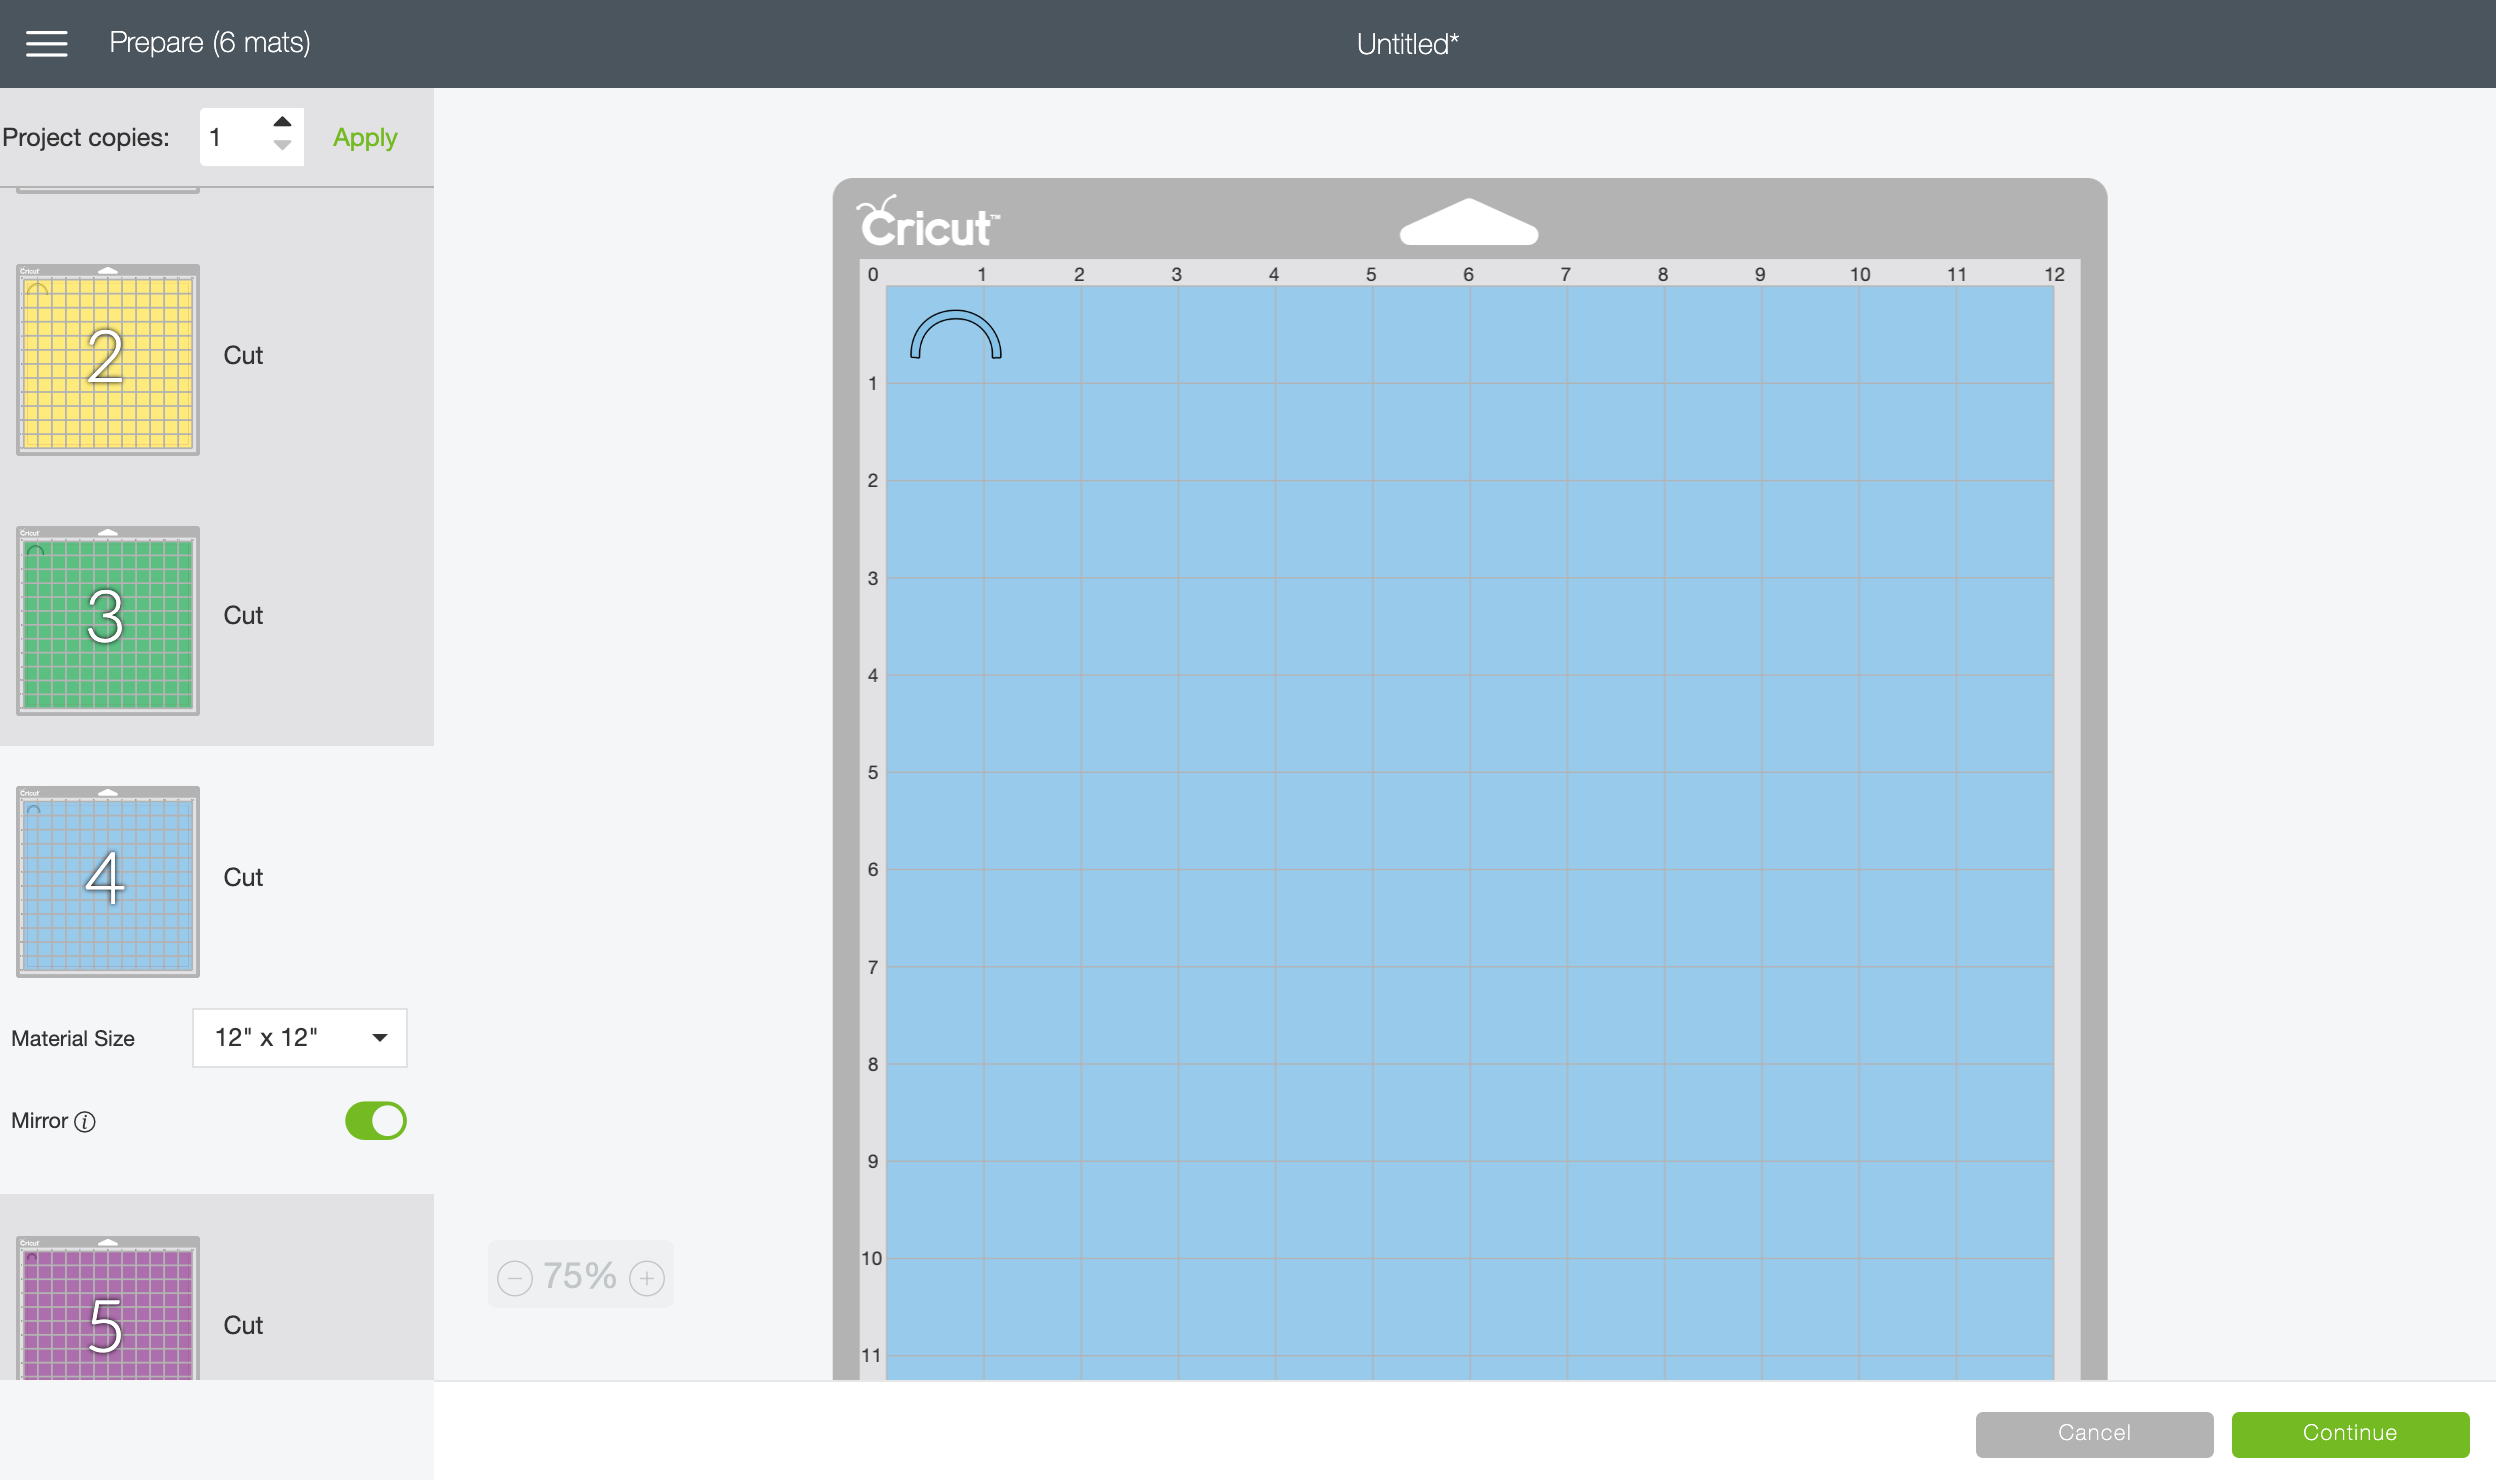
Click continue and select iron-on as the cutting material.
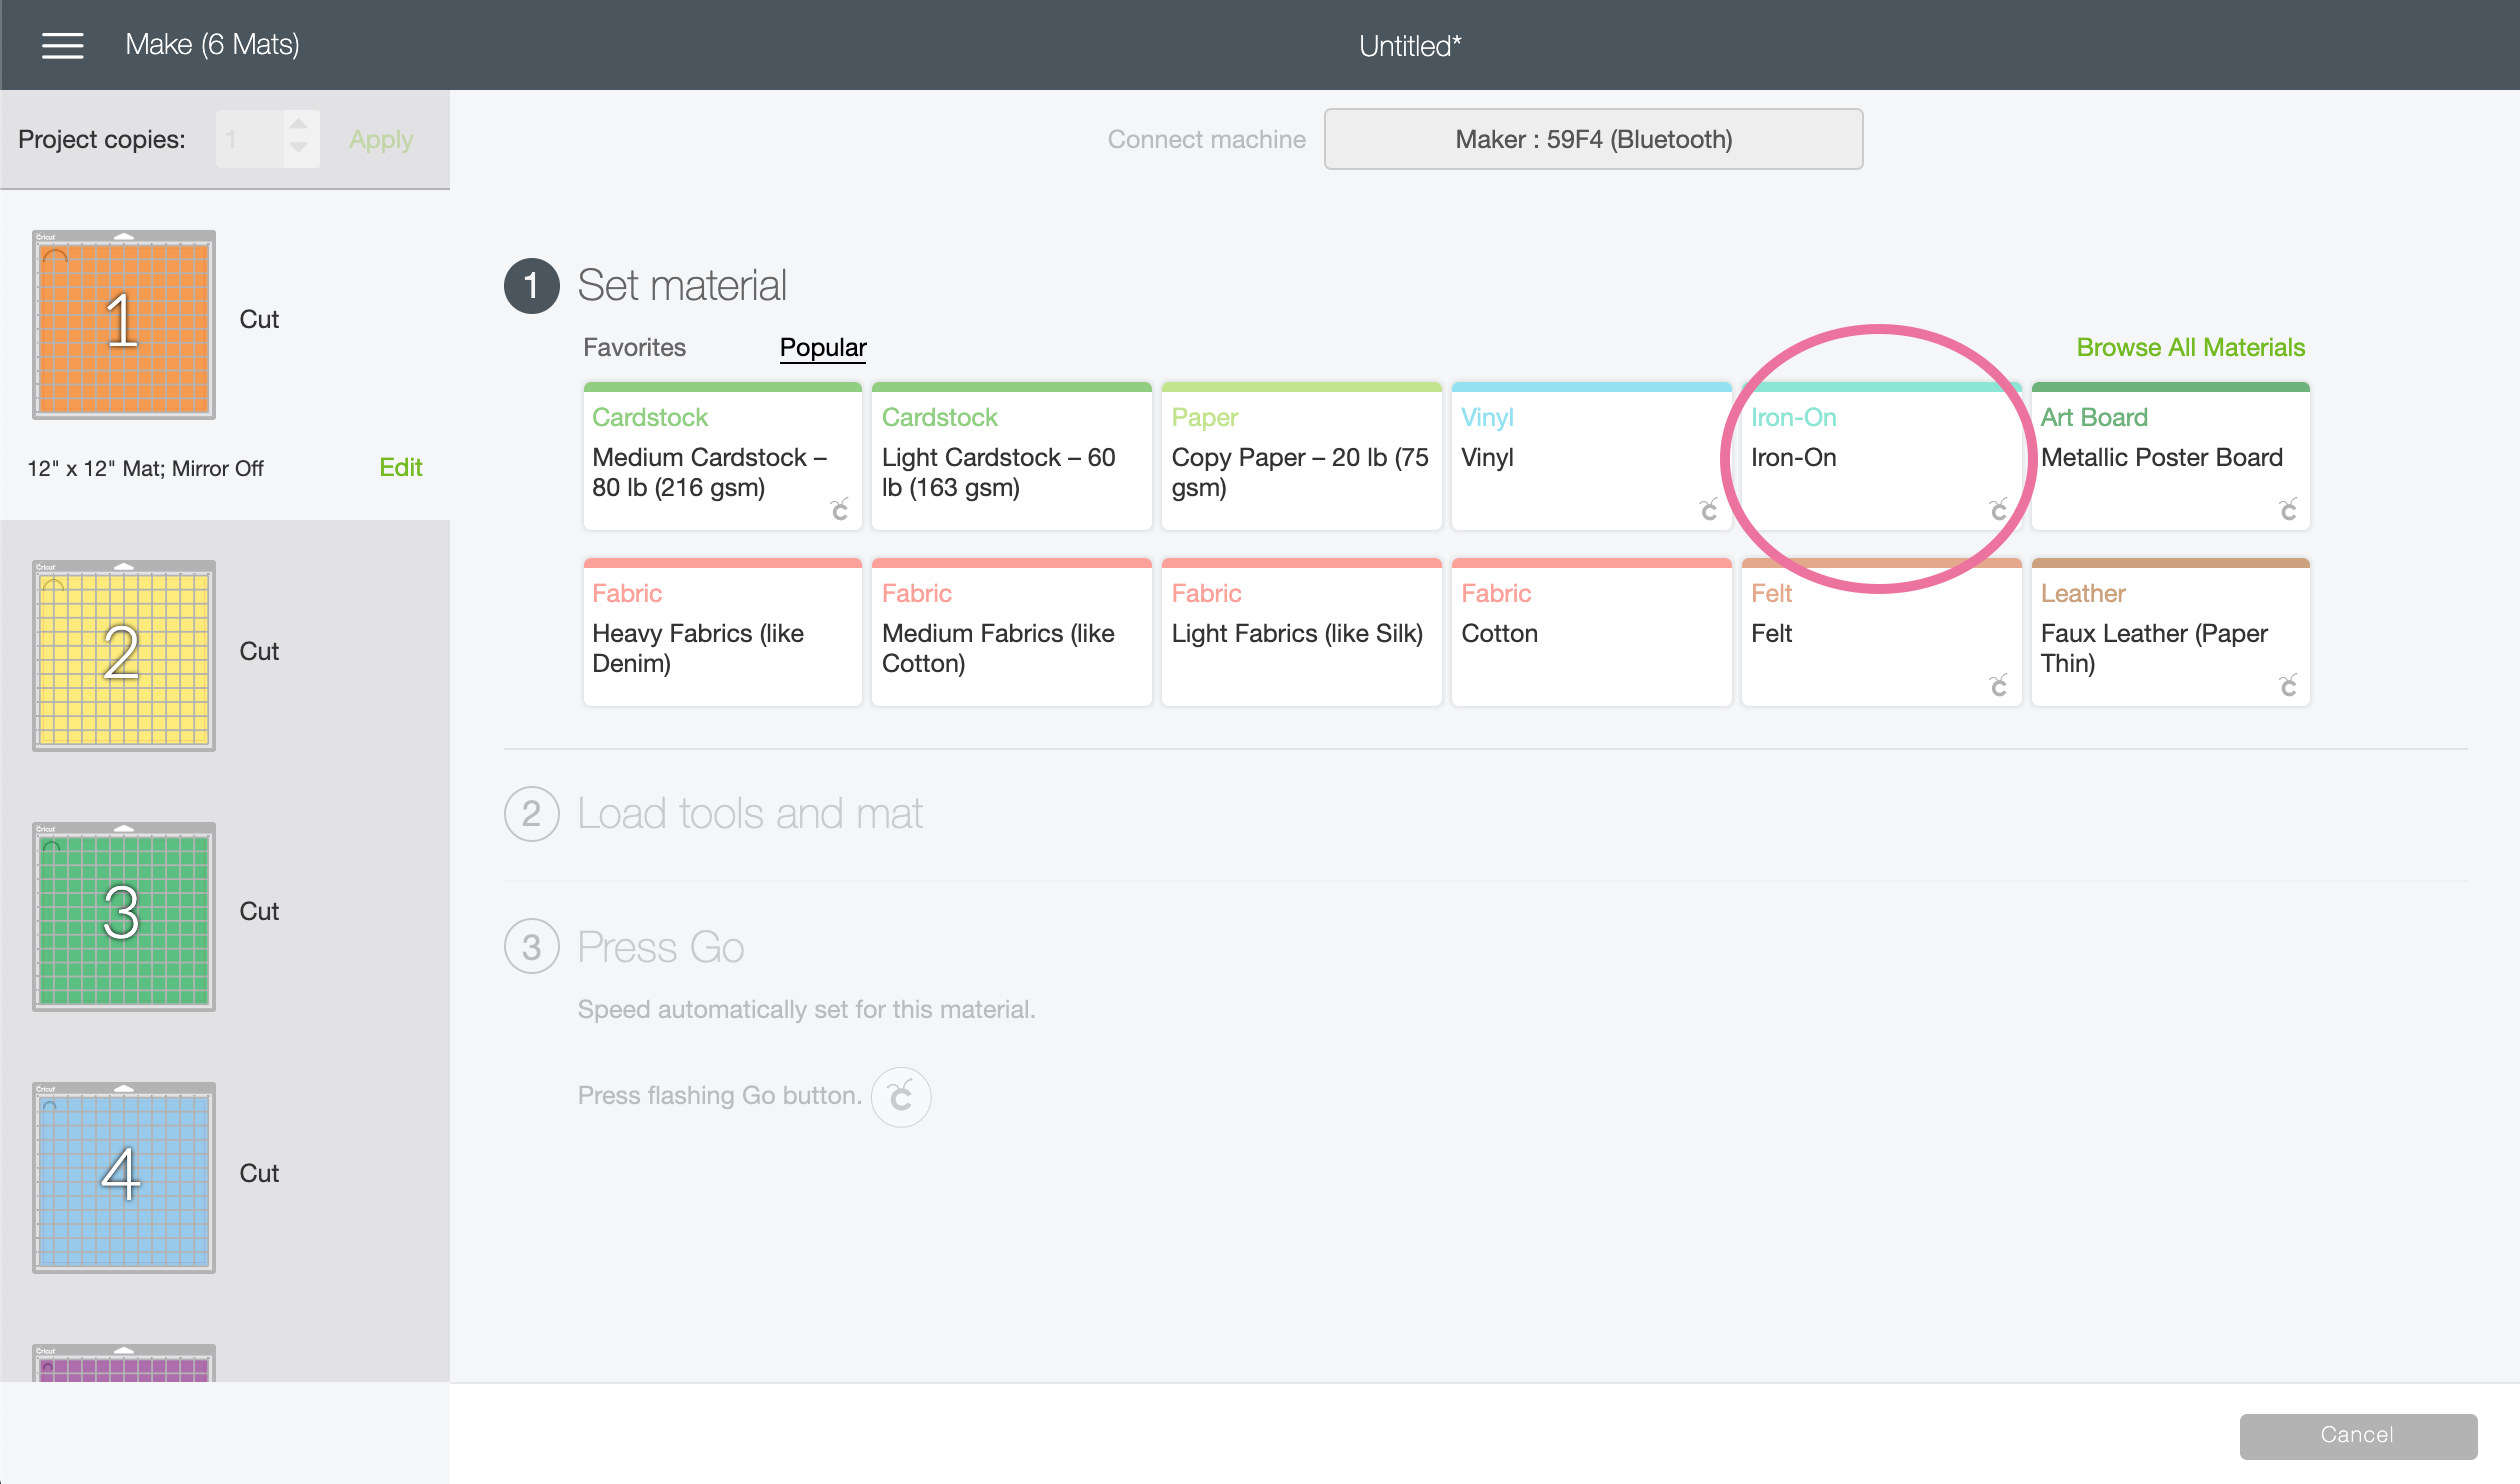
Step Two: Cut
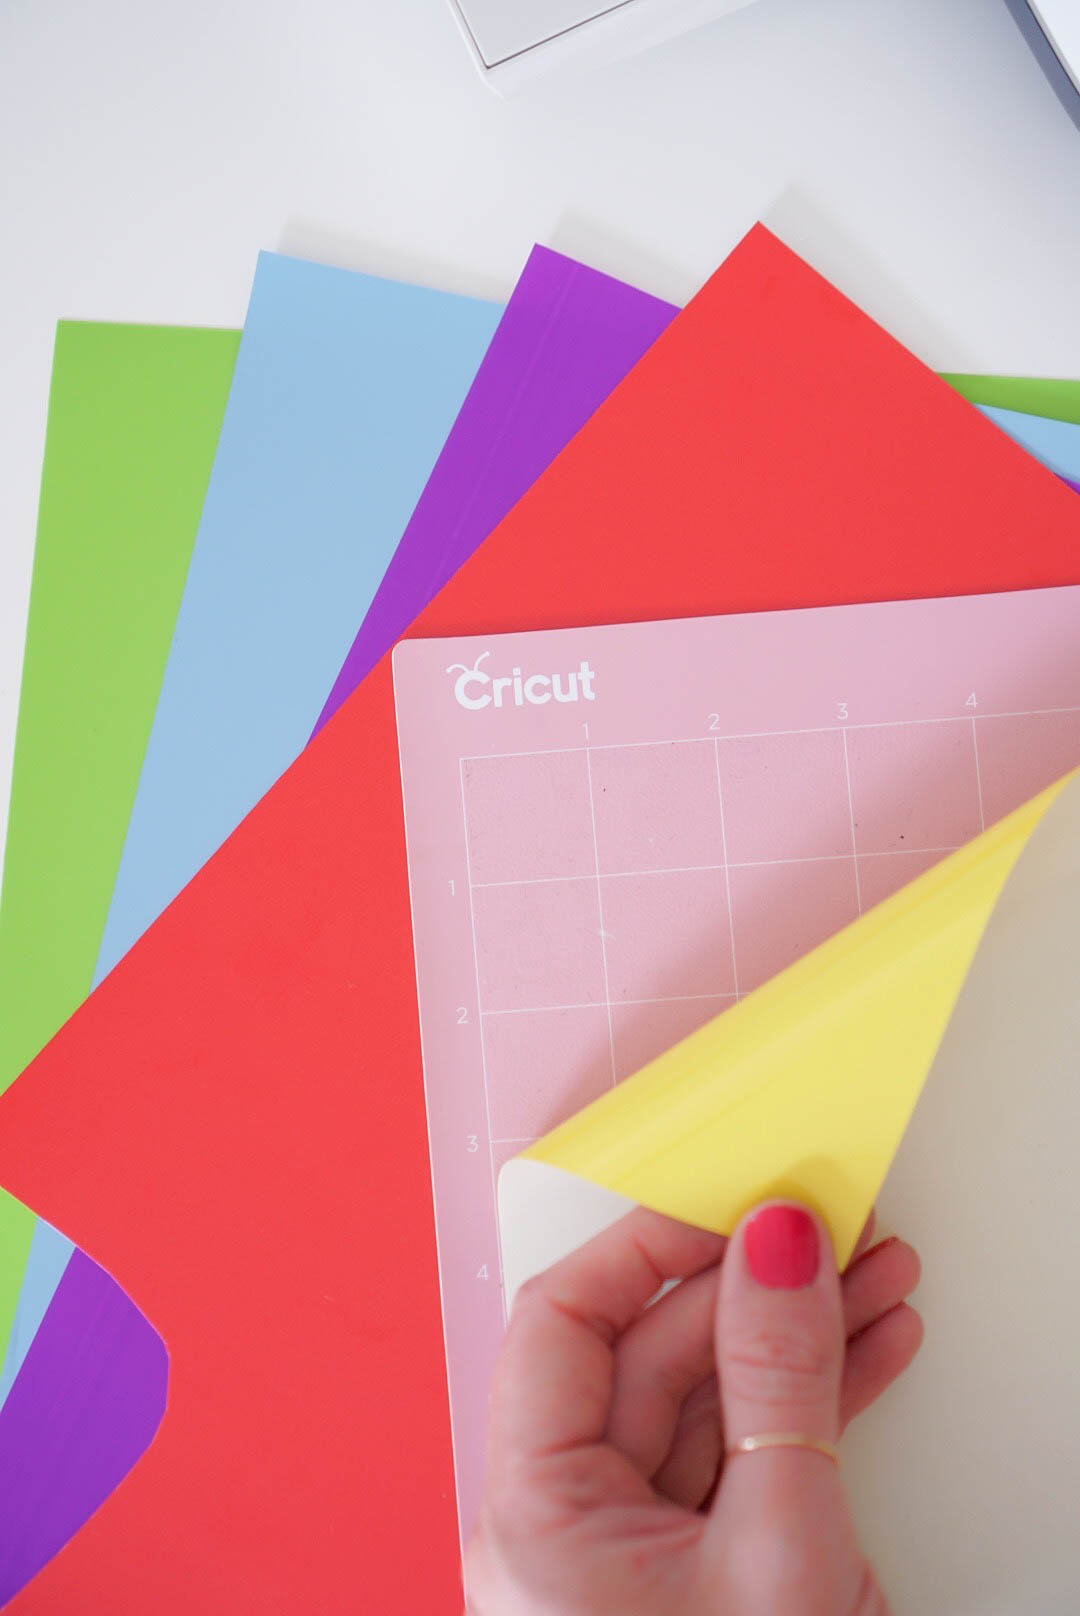
Now you’re ready to load the machine and begin cutting. Start with the first color on the screen and make sure to place the heat transfer vinyl shiny side down on the mat.
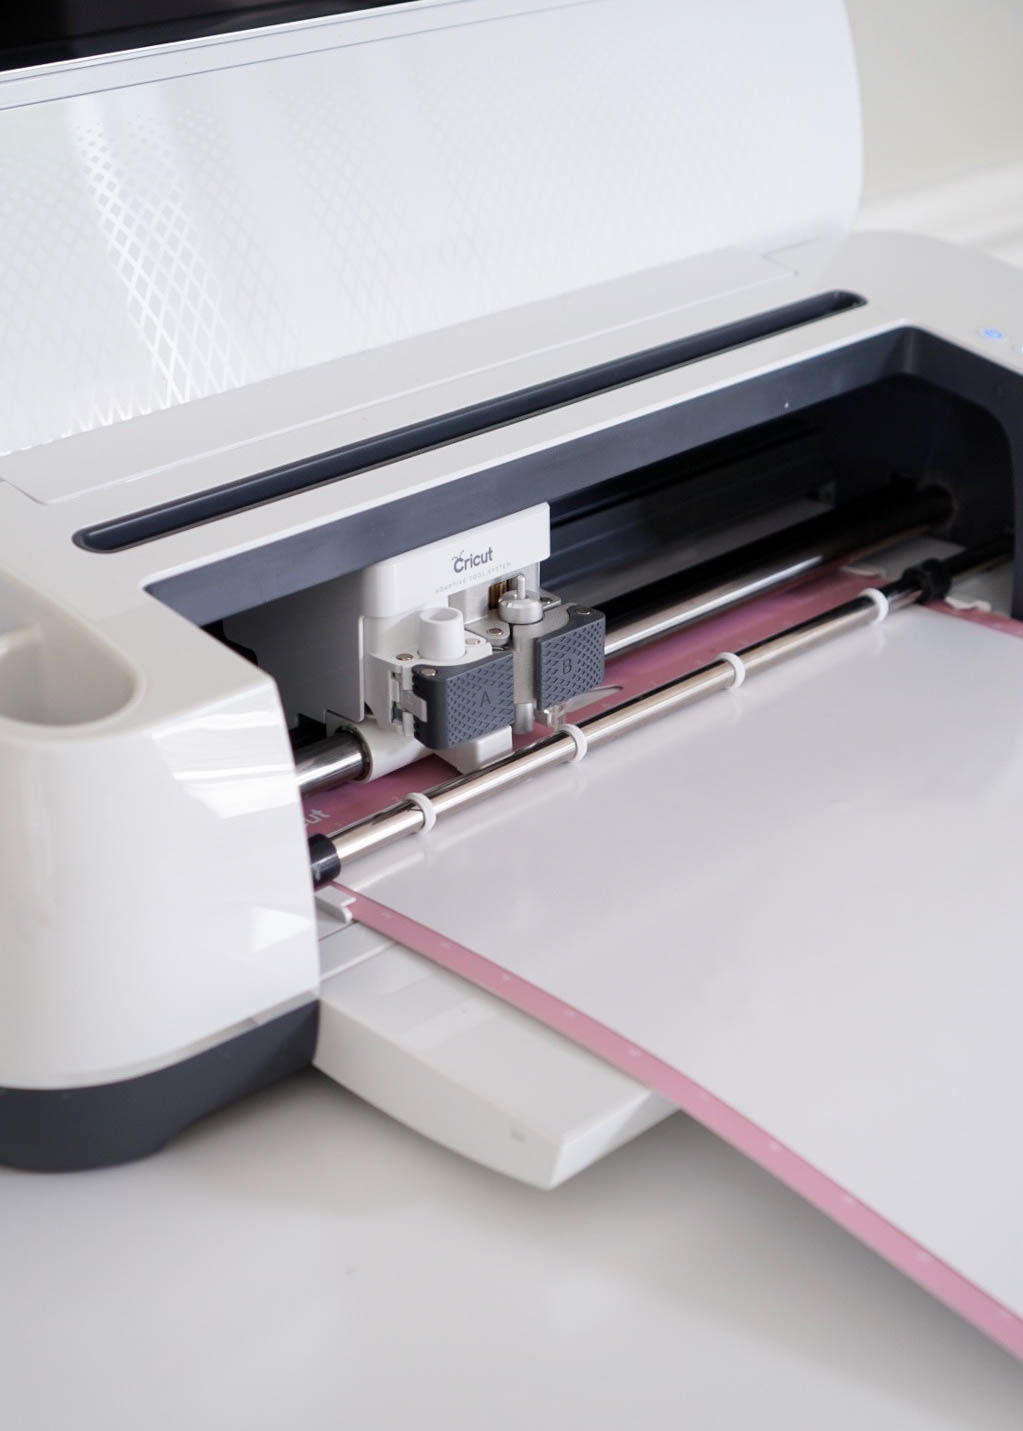
Load the machine by aligning the mat between the guides and pressing the load/unload button. Press the flashing start button to begin cutting.
Continue loading each color into the machine according to the numerical order you see on the screen.
Step Three: Weeding
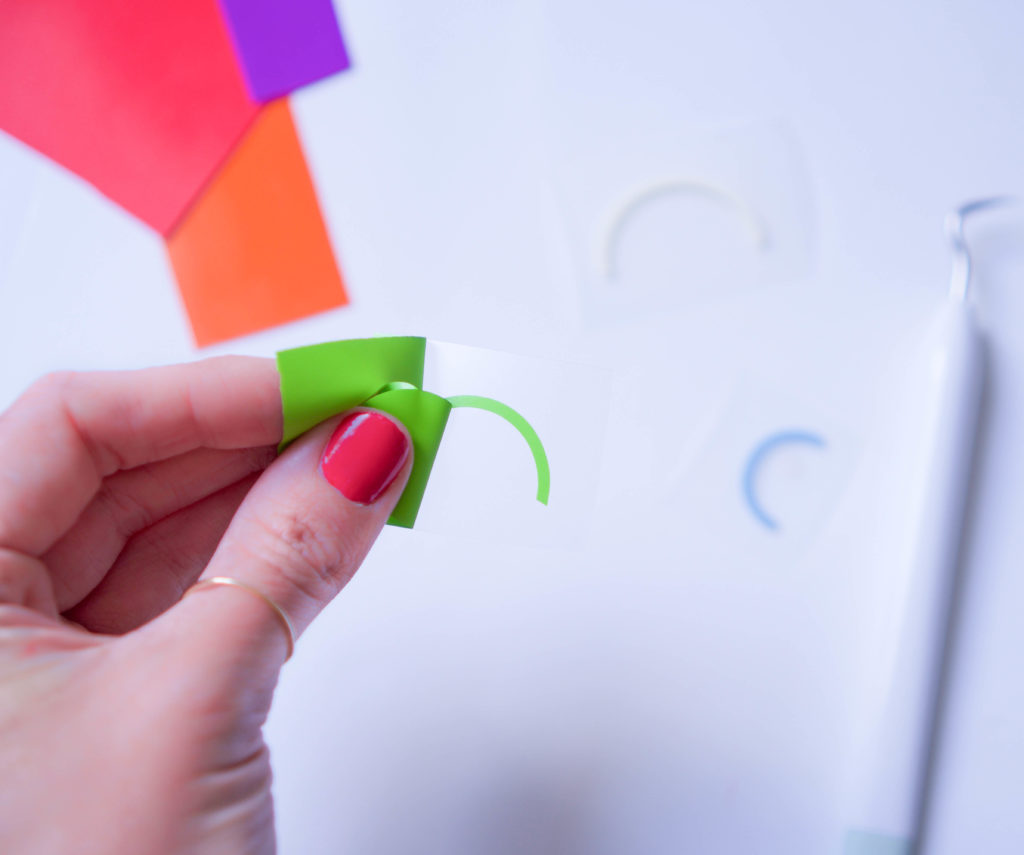
Remove and discard the excess vinyl from around each part of the design.

Step Four: Iron On
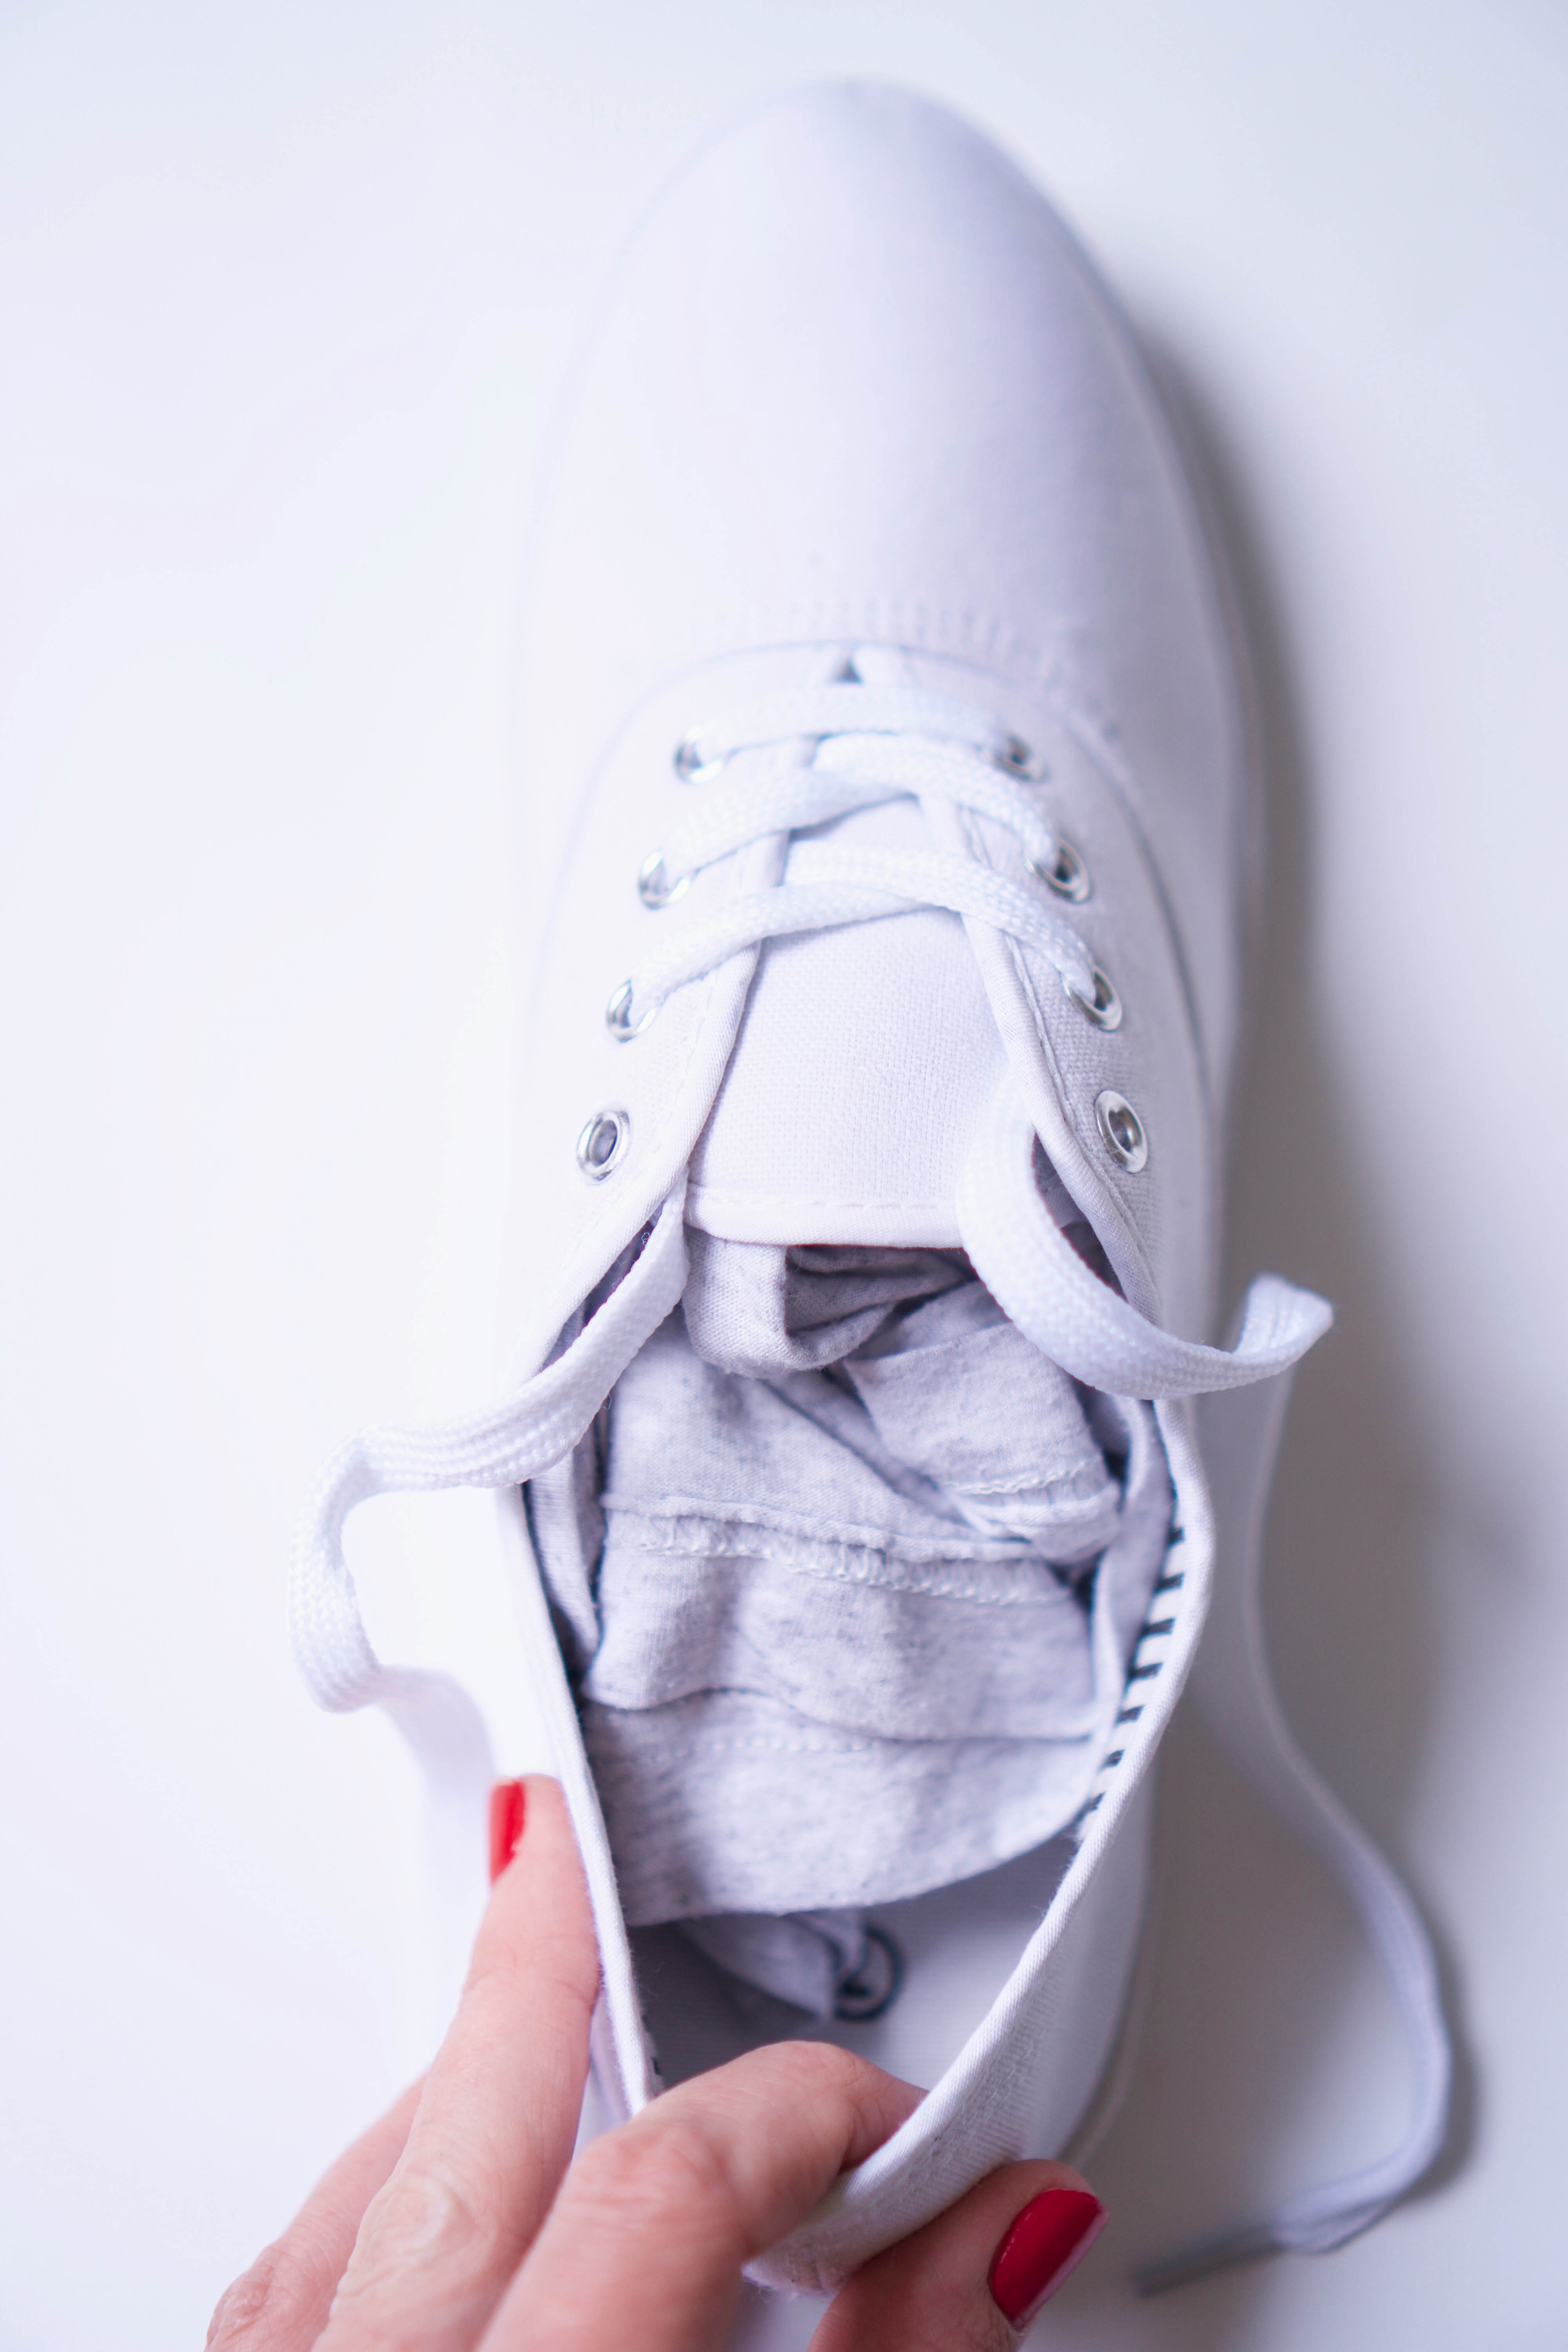
Prep the shoes by stuffing the inside with a small hand towel or something similar. Push it tightly into the toe of the shoe. This helps the shoe hold it’s shape while you iron and also gives you a nice sturdy surface to press on. While you’re doing this, preheat the mini iron (I placed mine on the high setting).
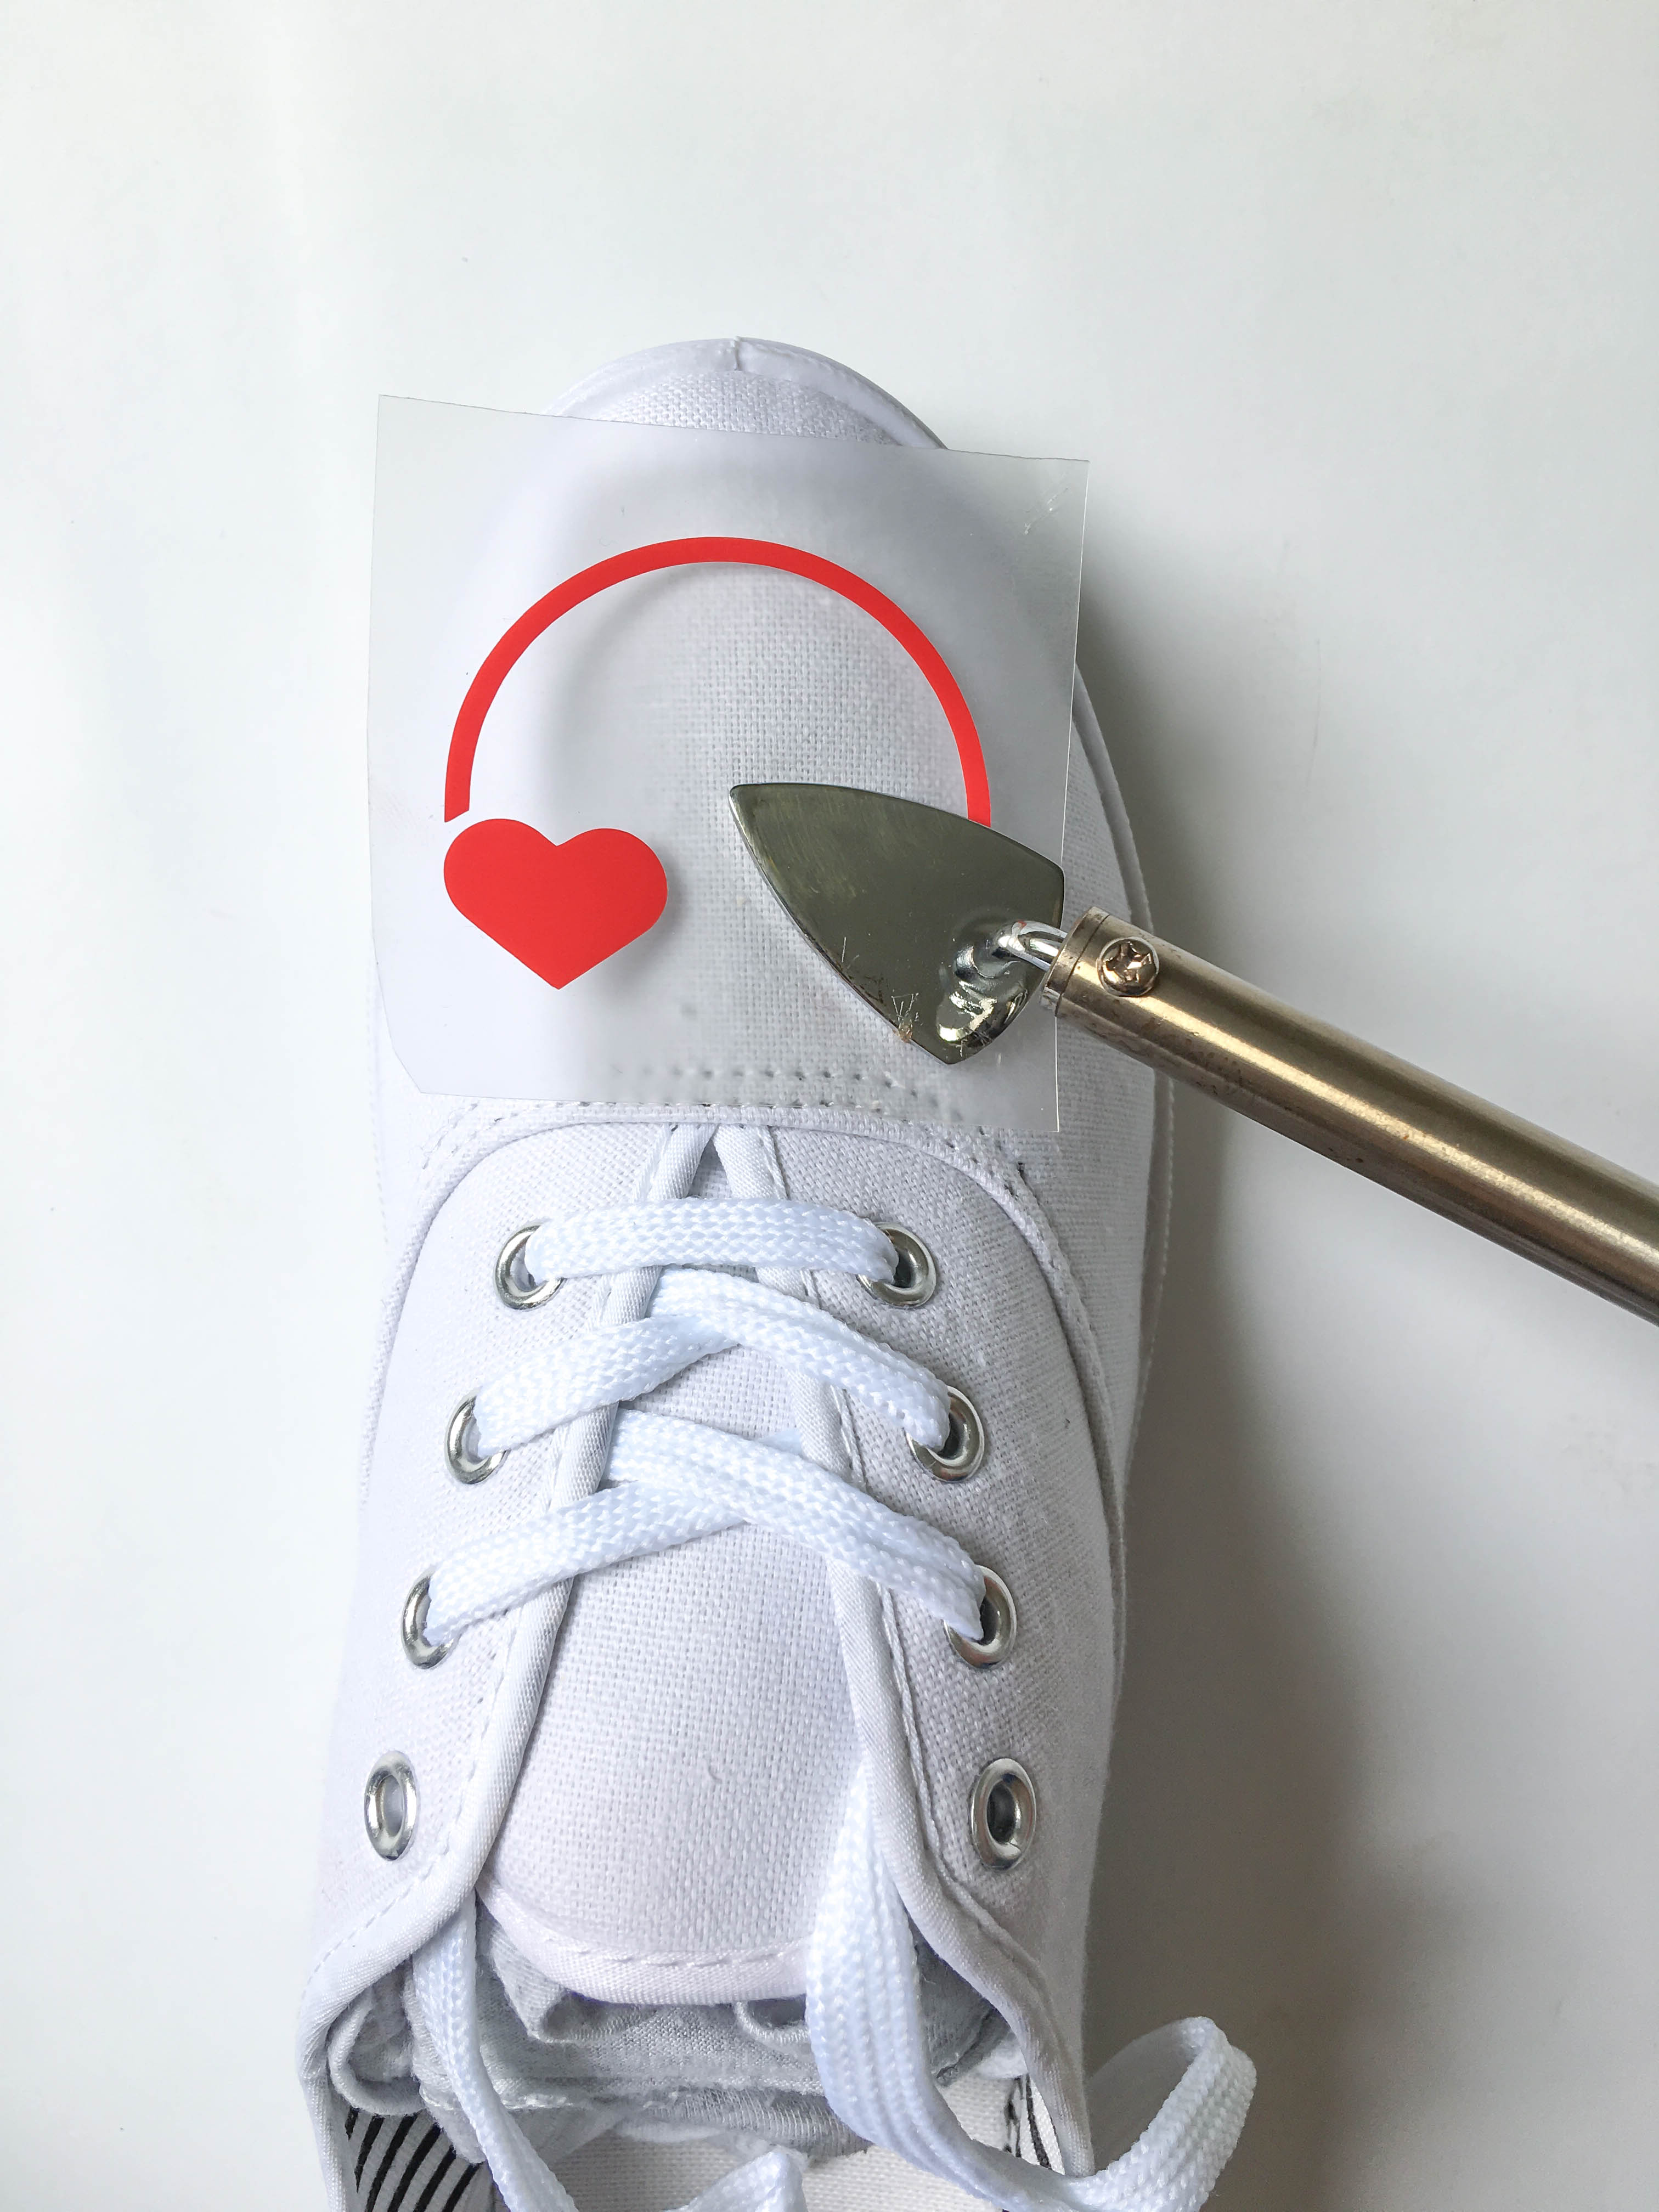
Place the first part of the rainbow design on the shoe and use the preheated mini iron to apply pressure over the design for around 20 seconds.
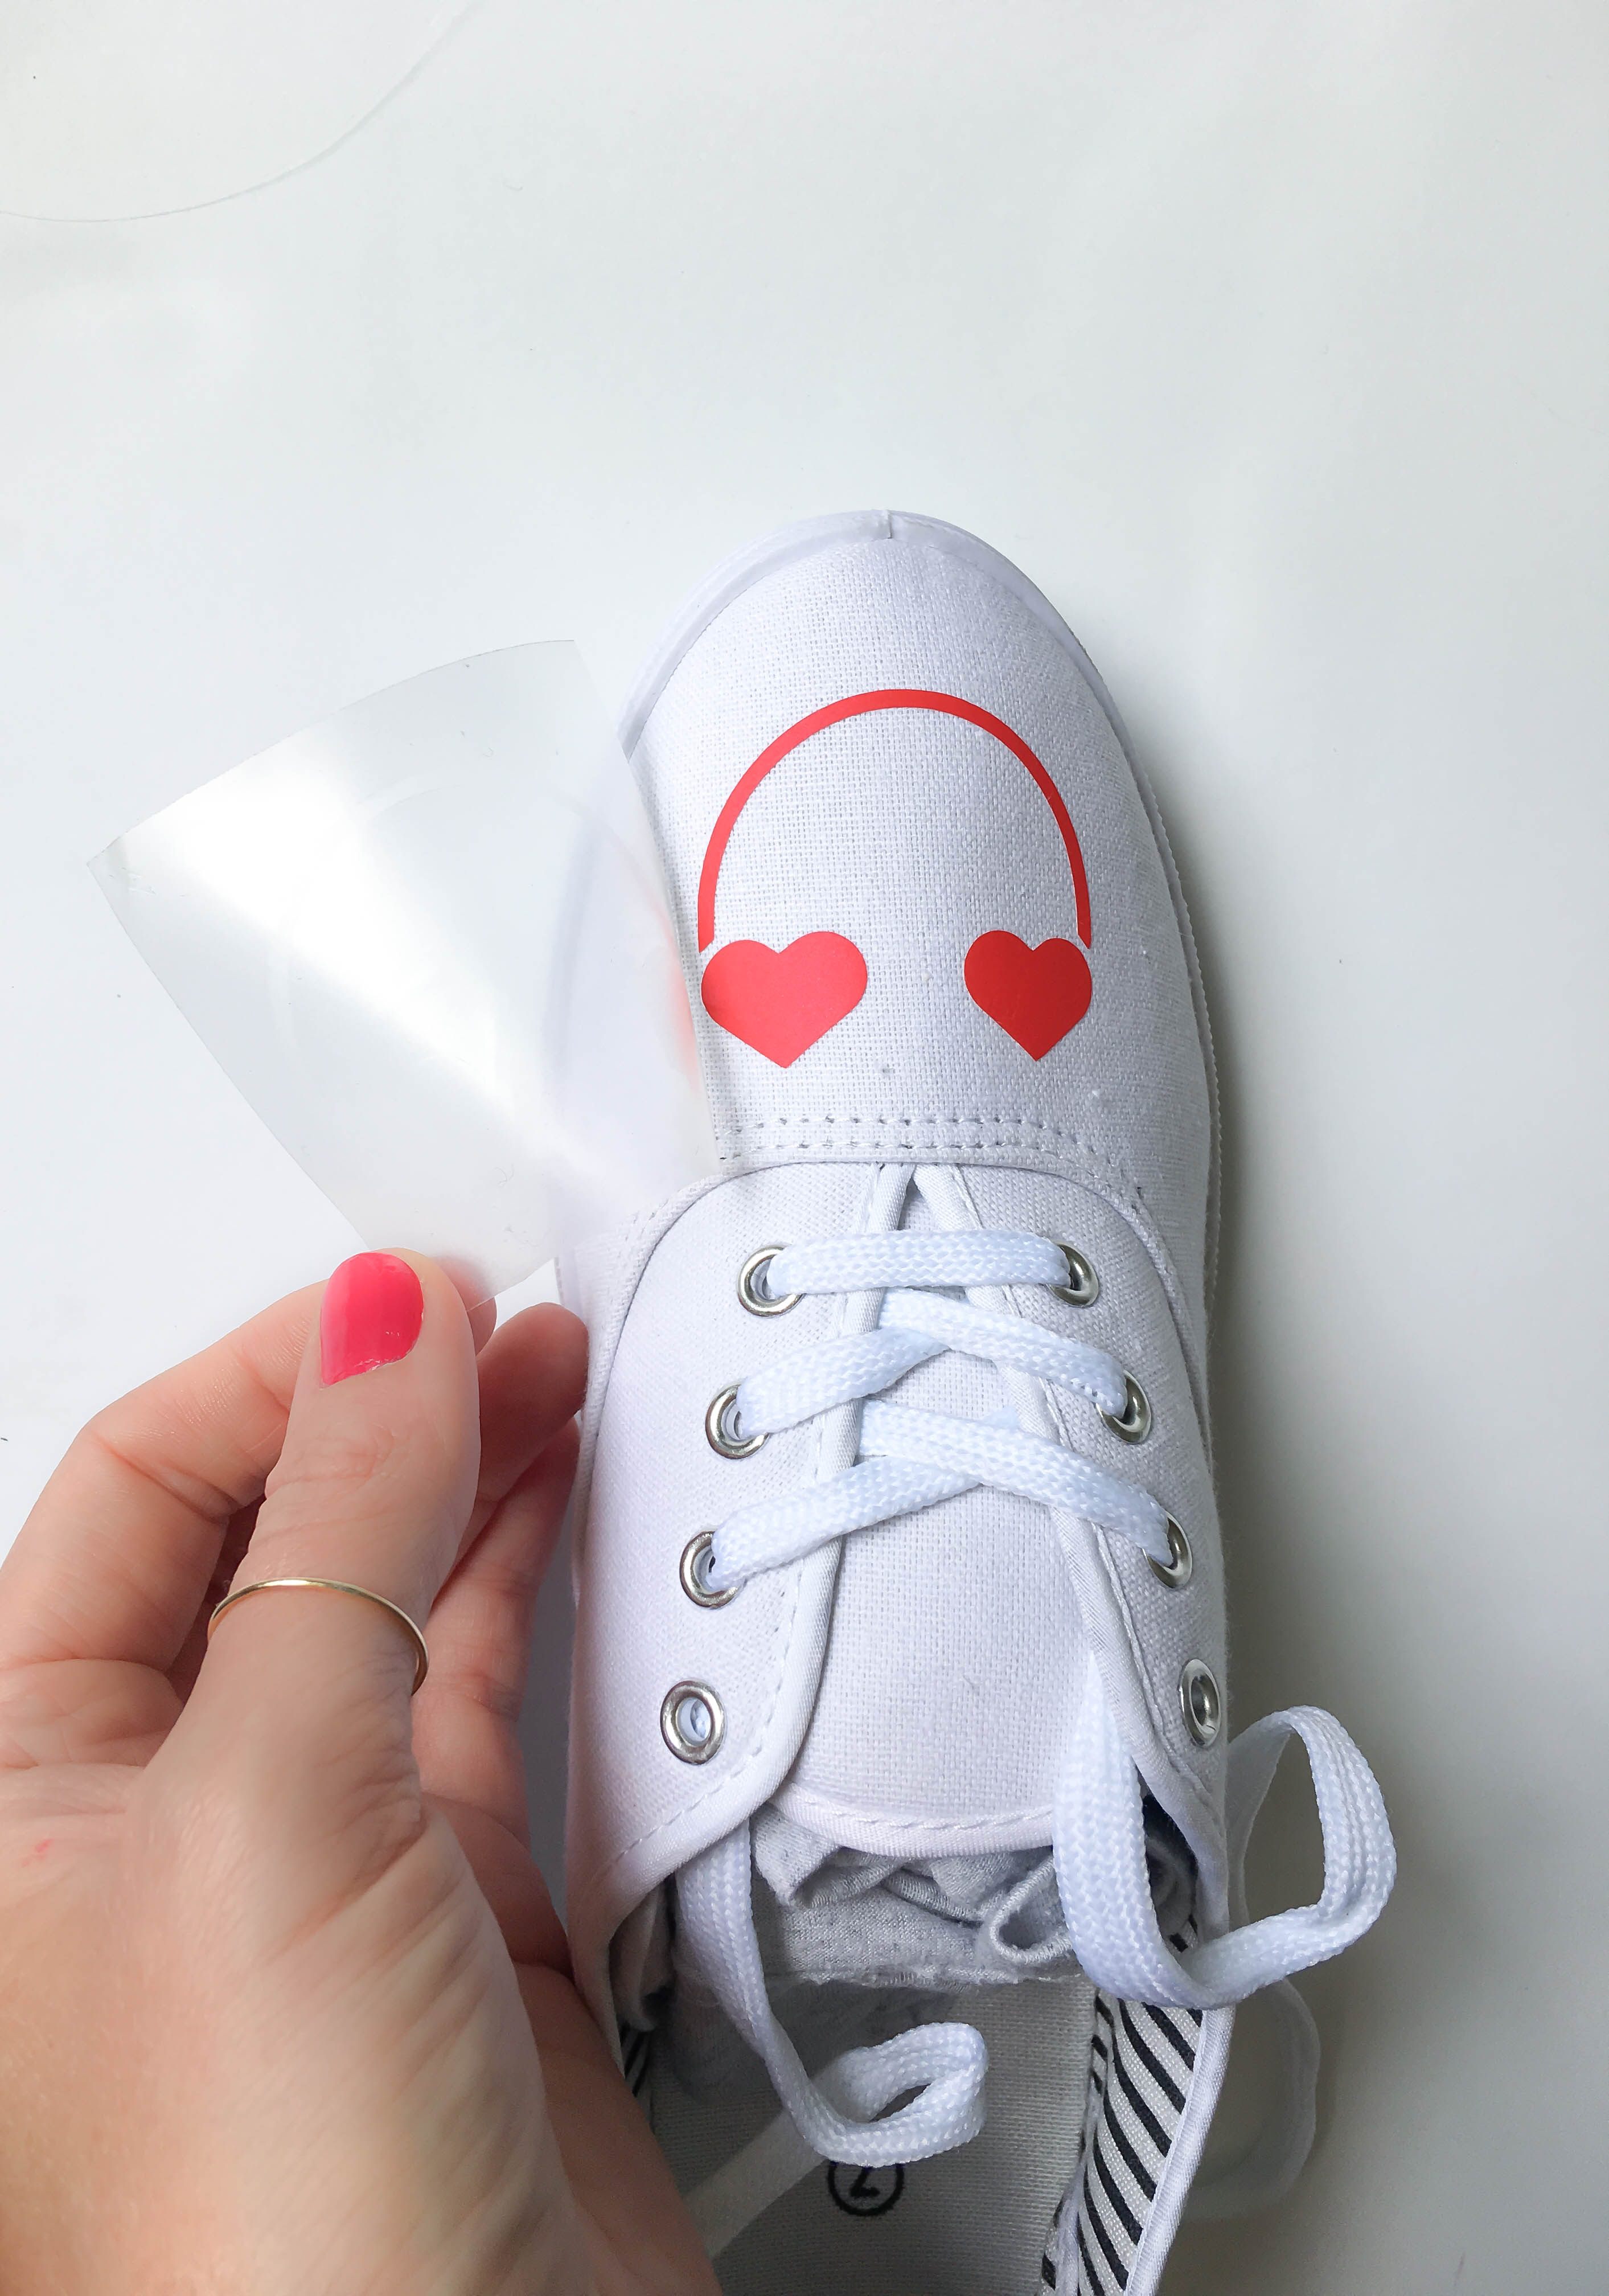
After the vinyl has cooled completely, remove the clear carrier sheet.
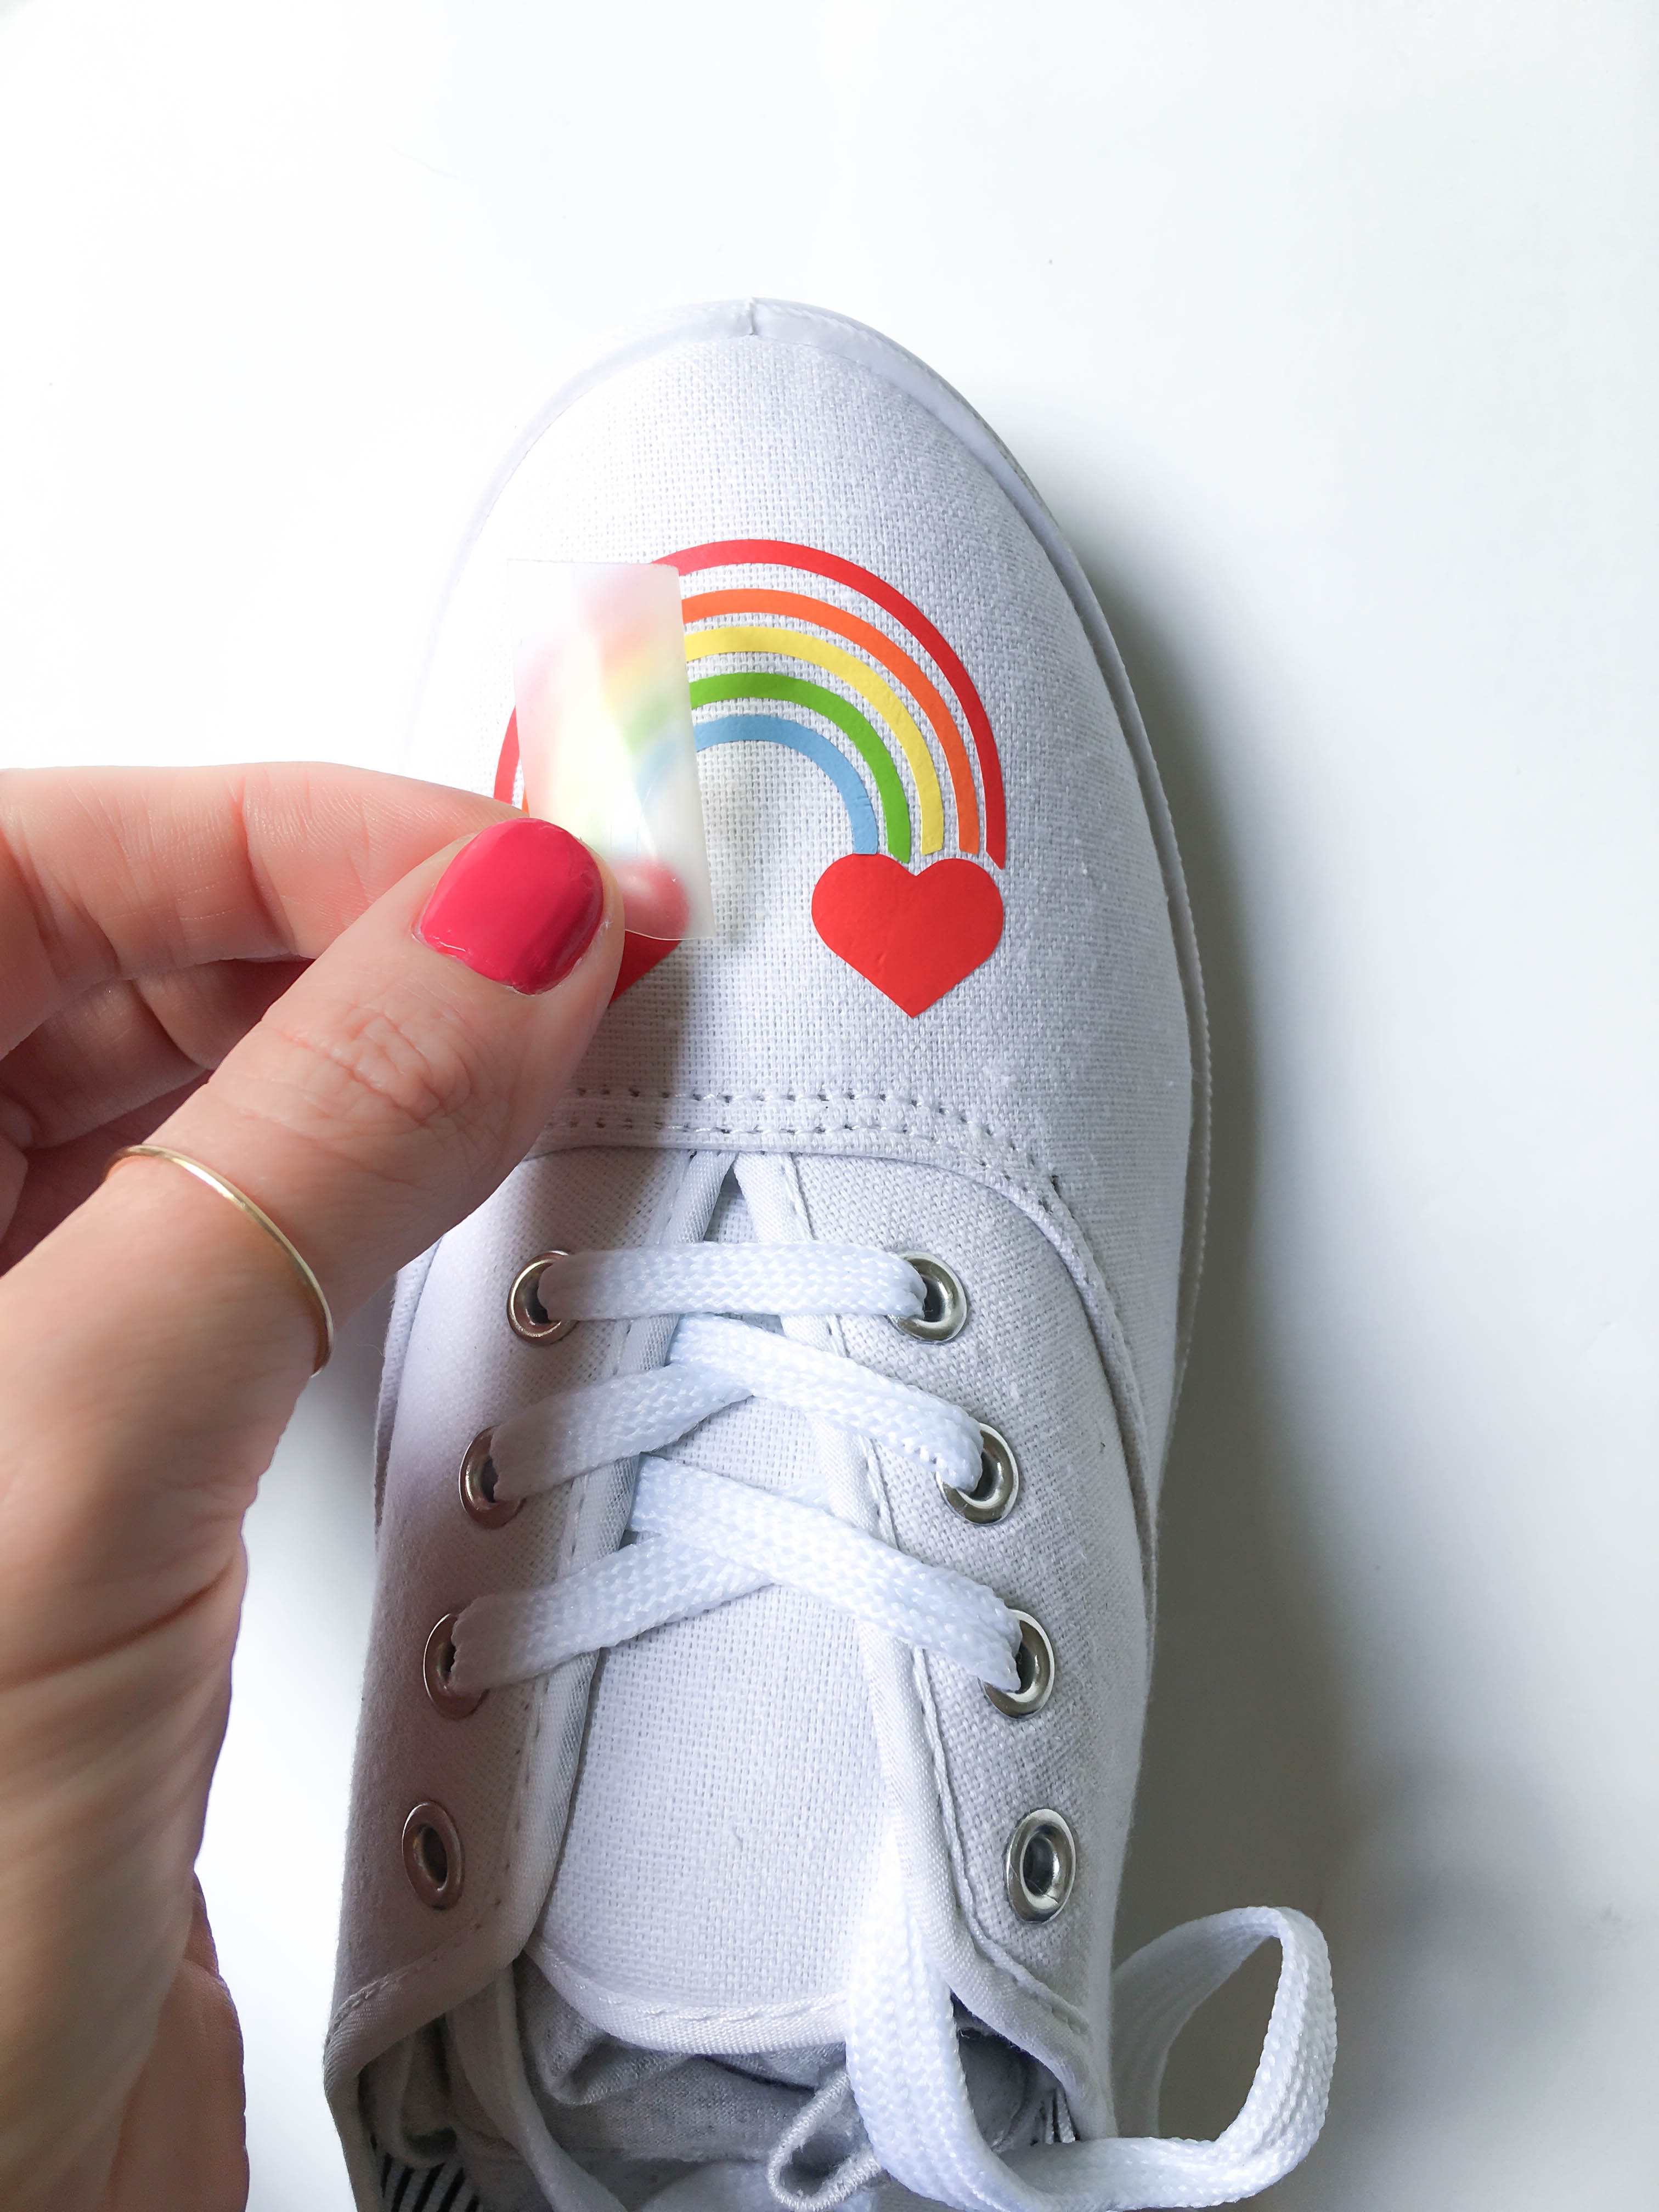
Continue ironing on each color of the rainbow, one at a time until the whole design is attached.
I placed a teflon sheet over the entire design at the end and gave everything one last press just to be sure the vinyl adhered really well.
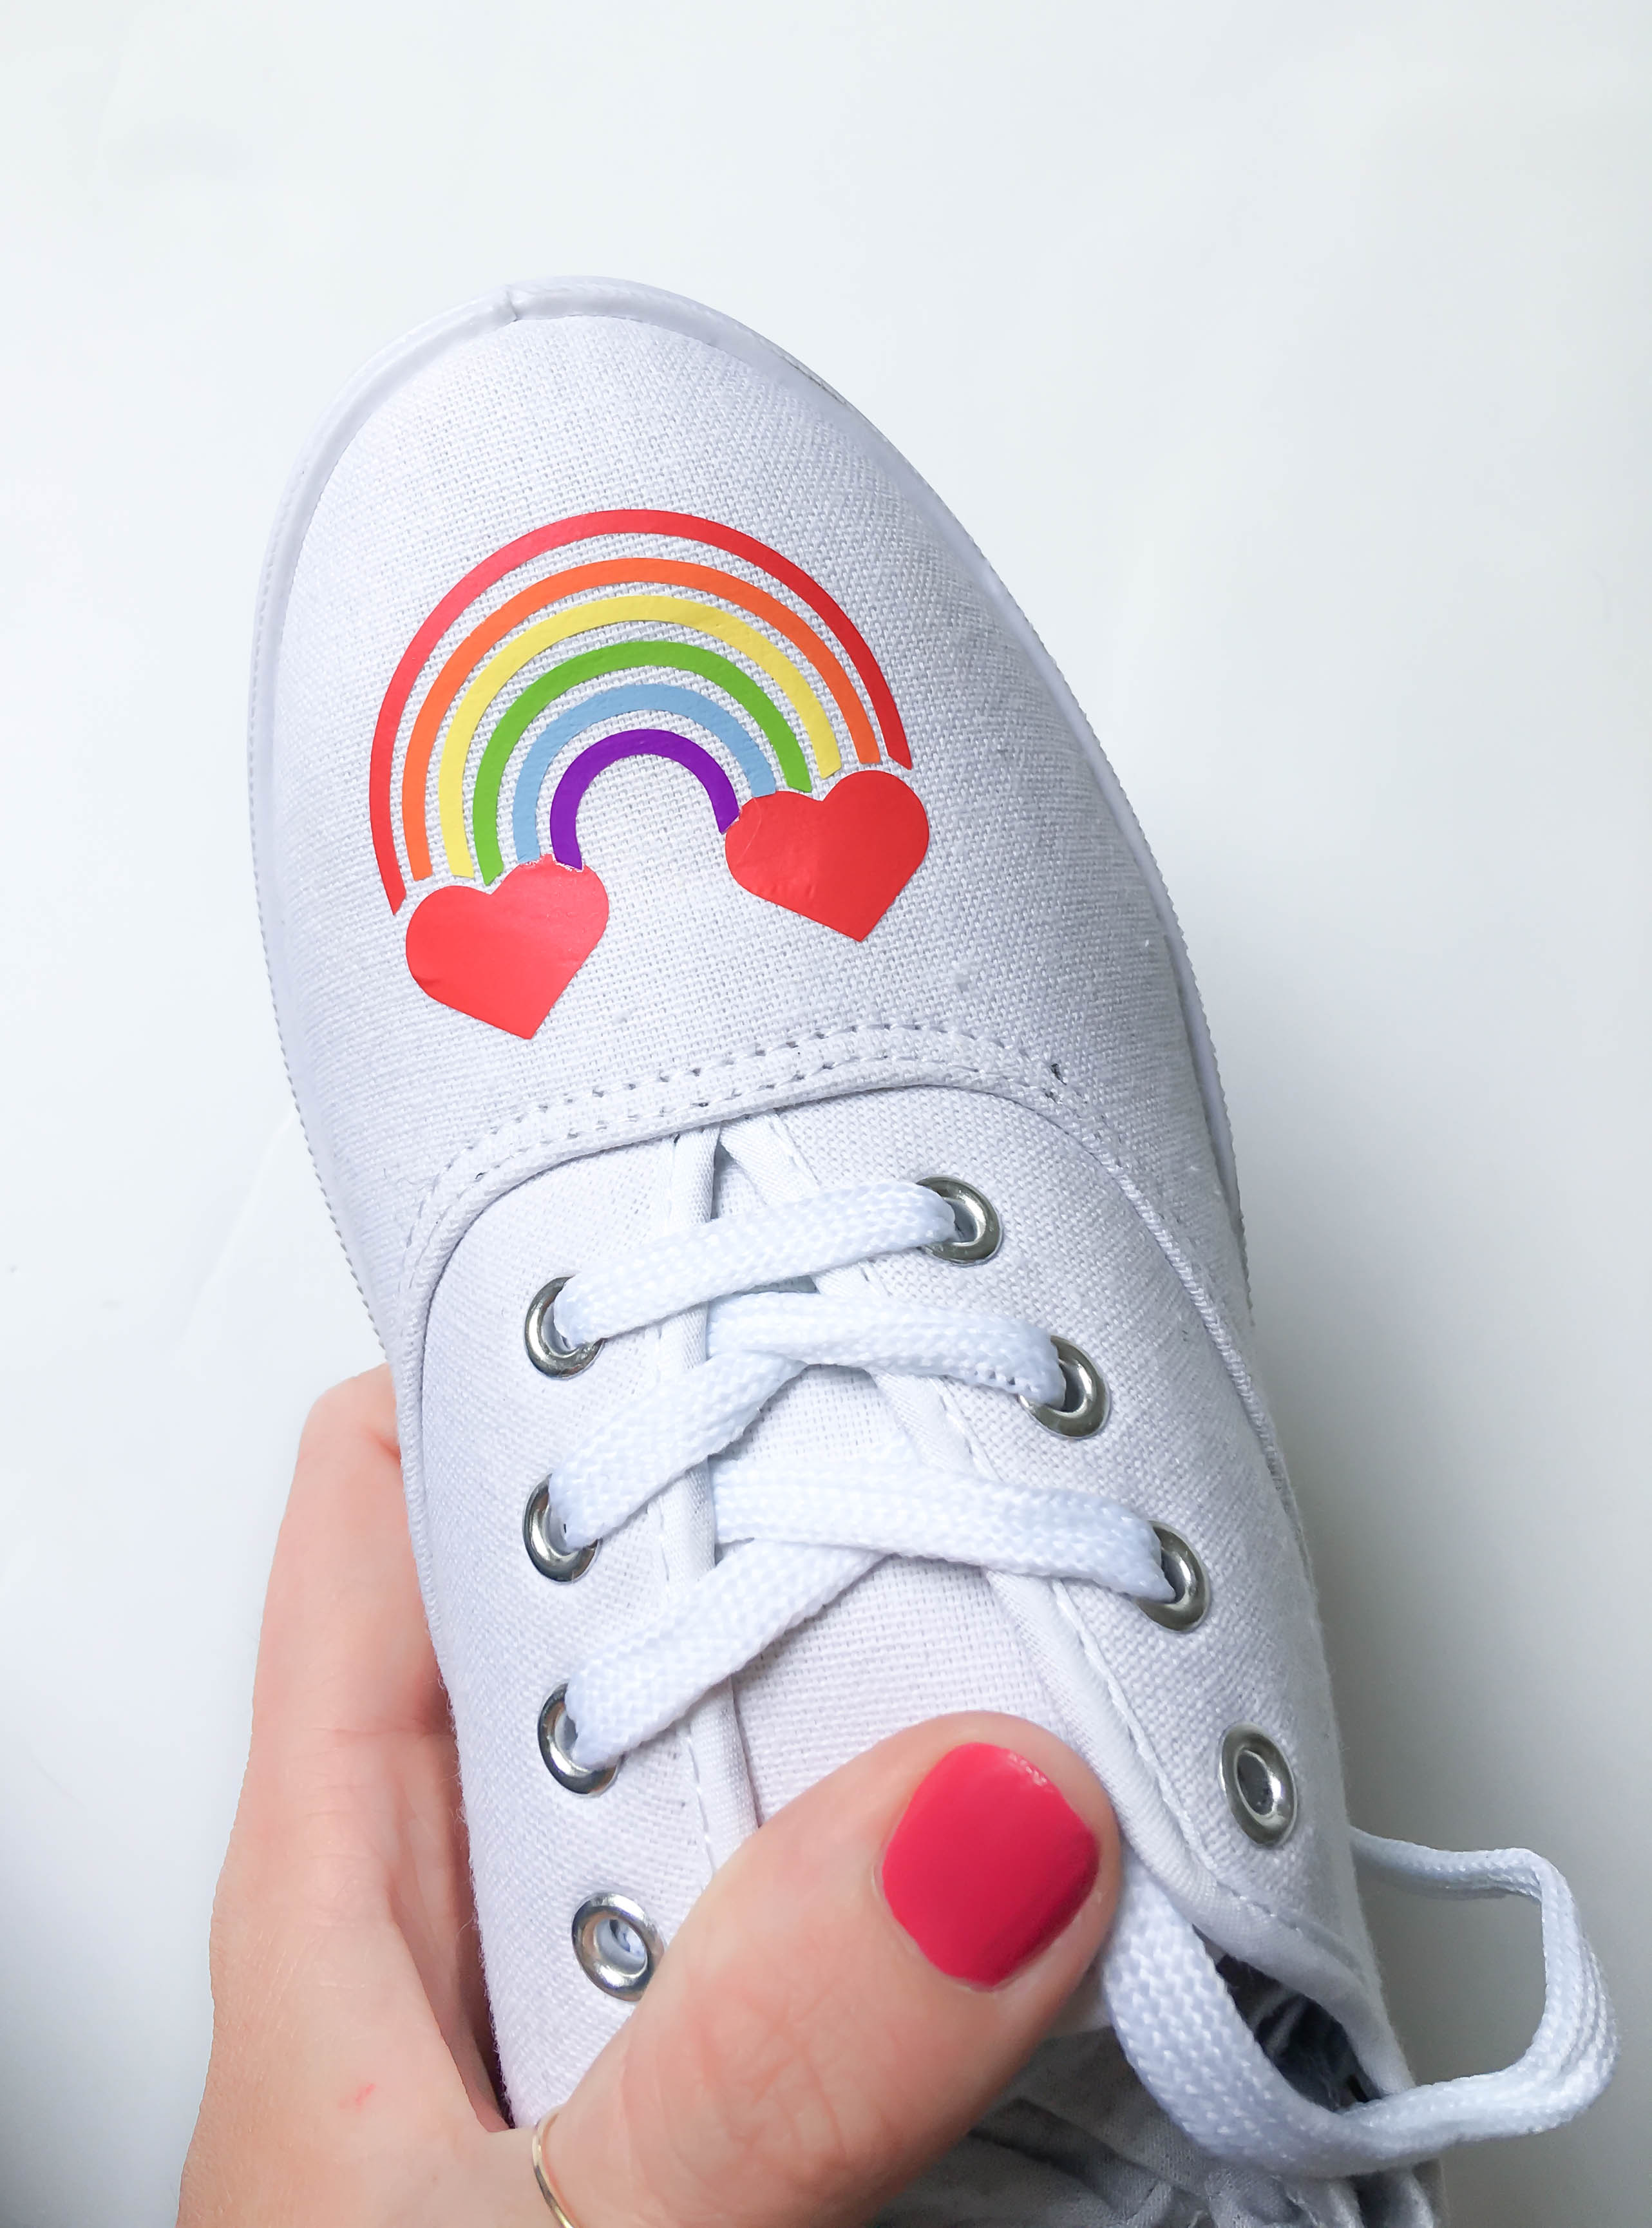
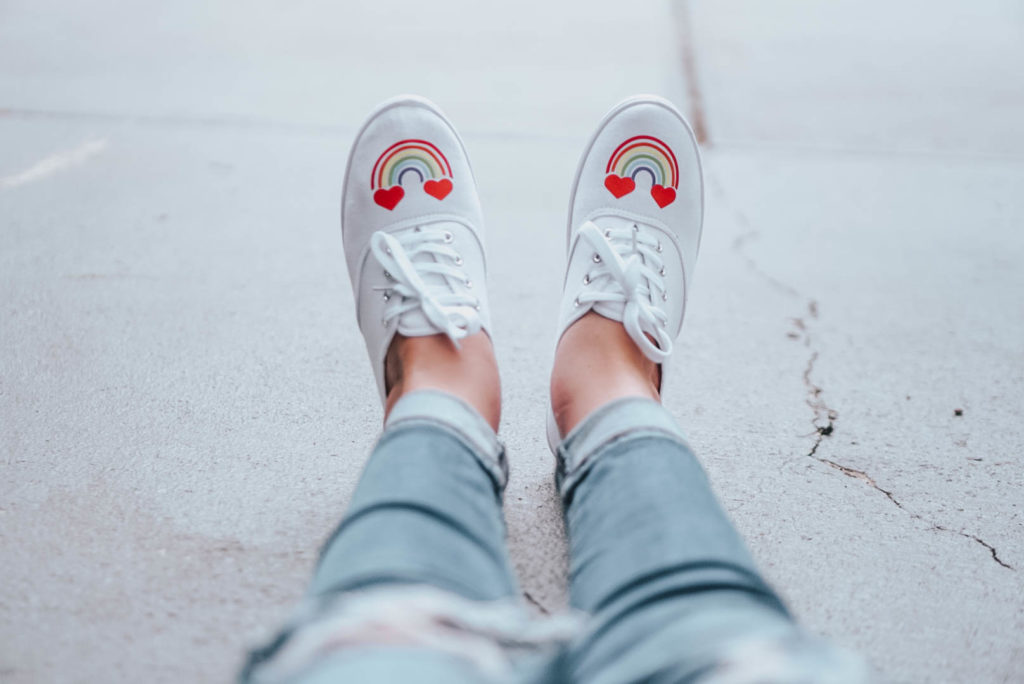
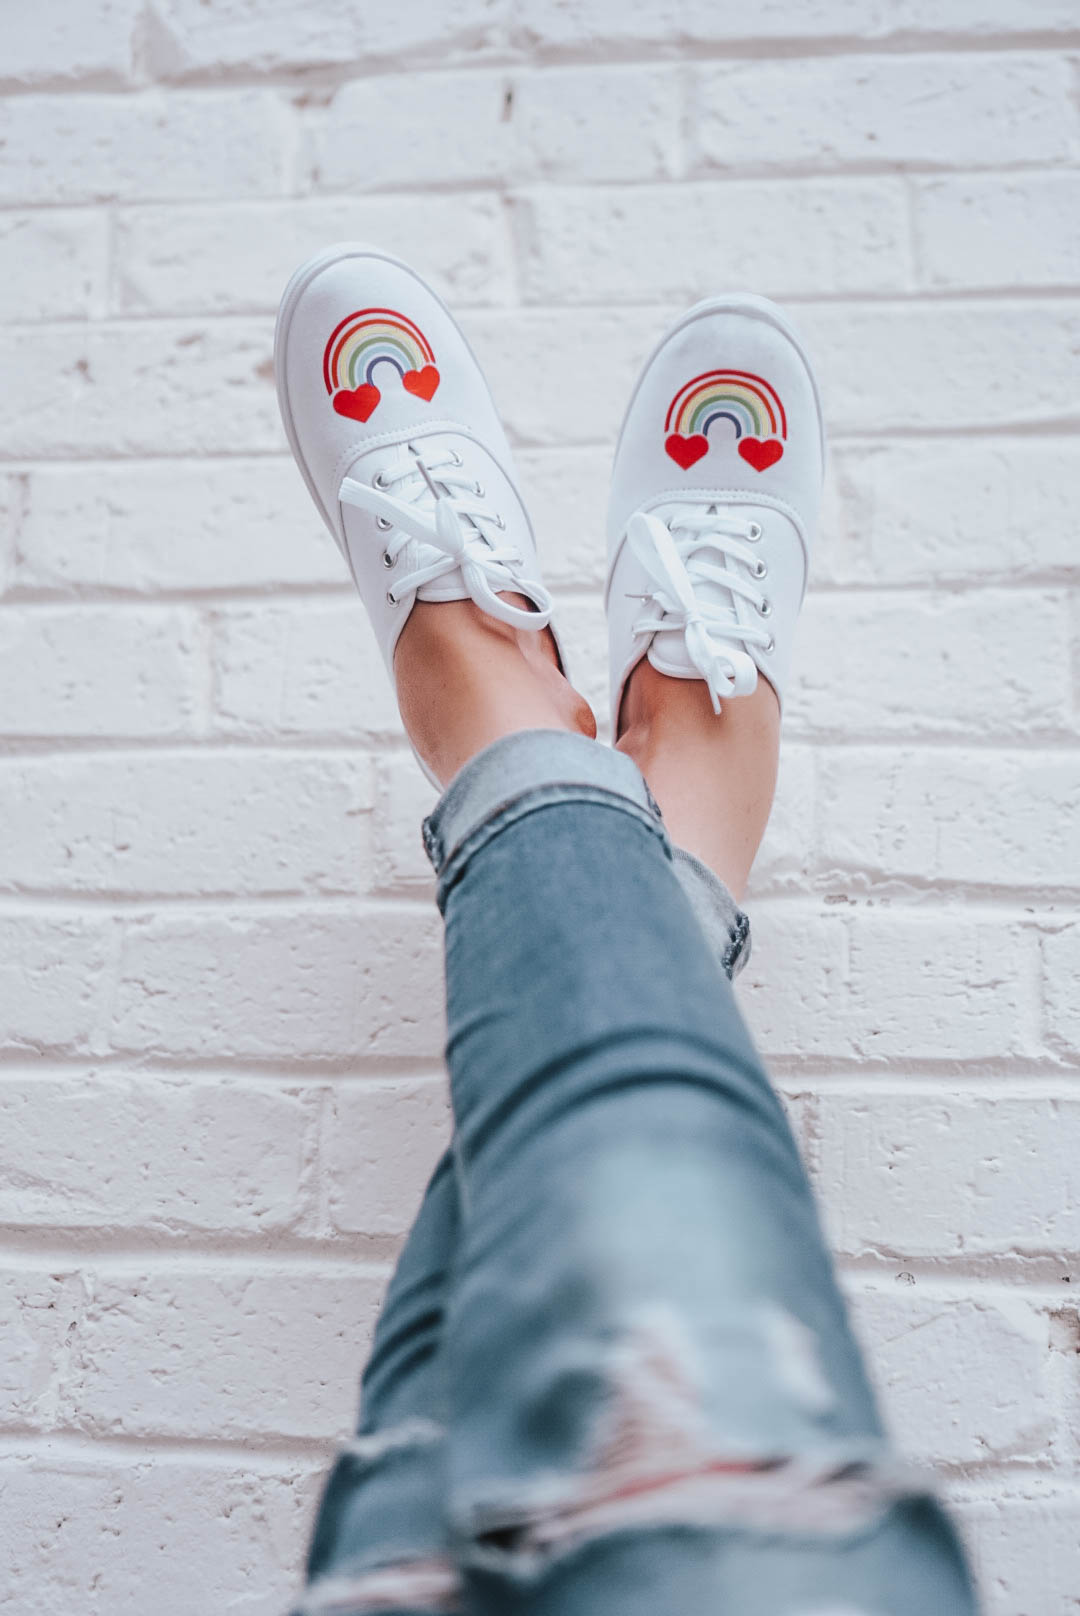
That’s all there is to it. Now you can put on your cute new shoes and smile every time you look down!
Happy crafting!


