
DIY Tutorial- How To Apply Adhesive Vinyl On Glasses For Father’s Day

Father’s Day is just around the corner and if you need a last minute easy gift idea, I have you covered. Kayla here from the Kayla Makes blog and in todays step-by-step tutorial I’ll show you how to use the Cricut Maker to cut and apply adhesive vinyl on glasses for Dad.

Estimated Time To Complete: 20 mins (beginner)
Here’s What You’ll Need:
- Permanent Adhesive Vinyl
- Cutting Mat
- Weeding Tool
- Transfer Tape
- Scraper Tool
- Glasses
- Cutting Machine ( I used the Maker but the Air II works great!)
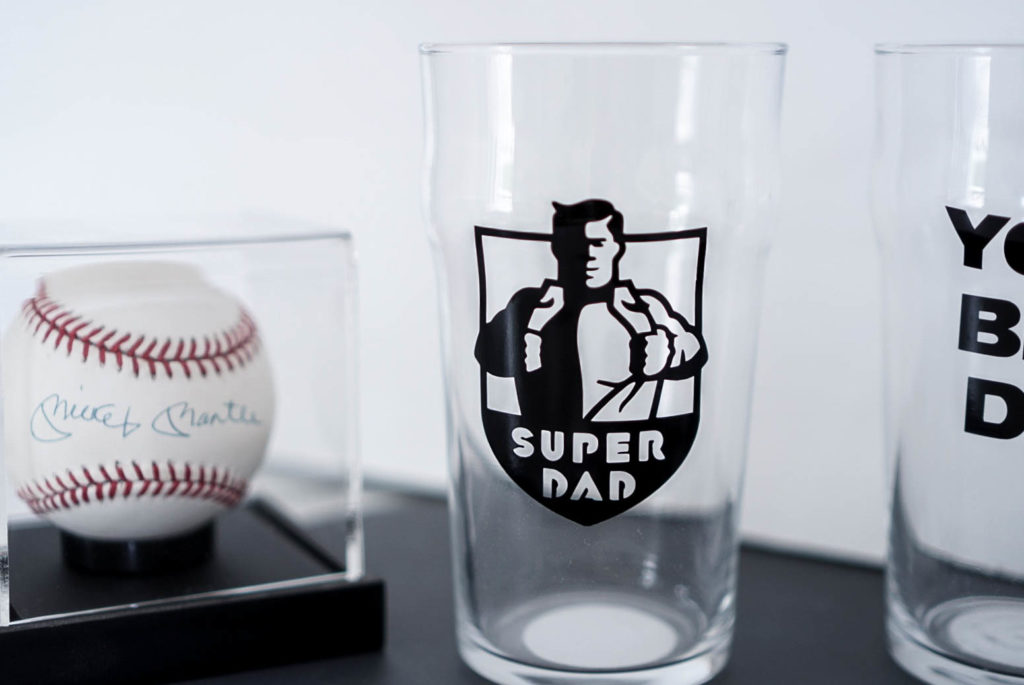
- Yoda Best Dad, Super Dad, and Rad Dad Cut files
Step One: Design Set Up
Start by opening all of the images in Design Space and scale them to fit on the glasses.

If you aren’t good at eyeballing, use a tape measure to get an idea of how much space you have to work with. After measuring I decided 2.5 inches wide would be the best fit for my glasses.

Step Two: Cutting
Place the adhesive vinyl on the cutting mat with the shiny side face up and load the mat into the machine.

In the cut settings window, select vinyl as the material type. Press the start button on the machine to begin cutting.

Step Three: Weeding
Once cutting is complete, use scissors to free the images from the sheet of vinyl then remove the excess vinyl from around each design.

Grab a hook tool to help remove the smaller pieces.

Step Four: Transfer Decal
Cut a piece of transfer tape to fit over the designs and use a scraper tool to apply firm pressure.

Seperate the designs with scissors or a paper trimmer.

Peel the transfer tape away from the paper backing, the adhesive vinyl design should lift along with it.

Align the decal on the glass and rub firmly over the entire design. When I’m working with curved surfaces I always start from the middle and work my way out to the edges of the decal.

Peel away the transfer tape to reveal your new personalized glass!
I think any Super Dad would be happy to drink out of these glasses and be reminded of his kiddos! As always, don’t forget to check out the blog for even more gift ideas!


cricut.com/setup
The Cricut is a die-cutting machine for creating crafts of all sorts. Go to cricut.com/setup and check out the materials you can cut with your Cricut machine. For such a big investment, you cannot afford to lose your way while setting up Cricut. And that is why we have gathered the steps for you. From setting up the machine, setting up the cutting mat, cleaning the mat to downloading the design software, cricut.com/setup is the only answer.
https://cricutsetjoy.com/