How To Apply Flocked Heat Transfer Vinyl On Jean Shorts
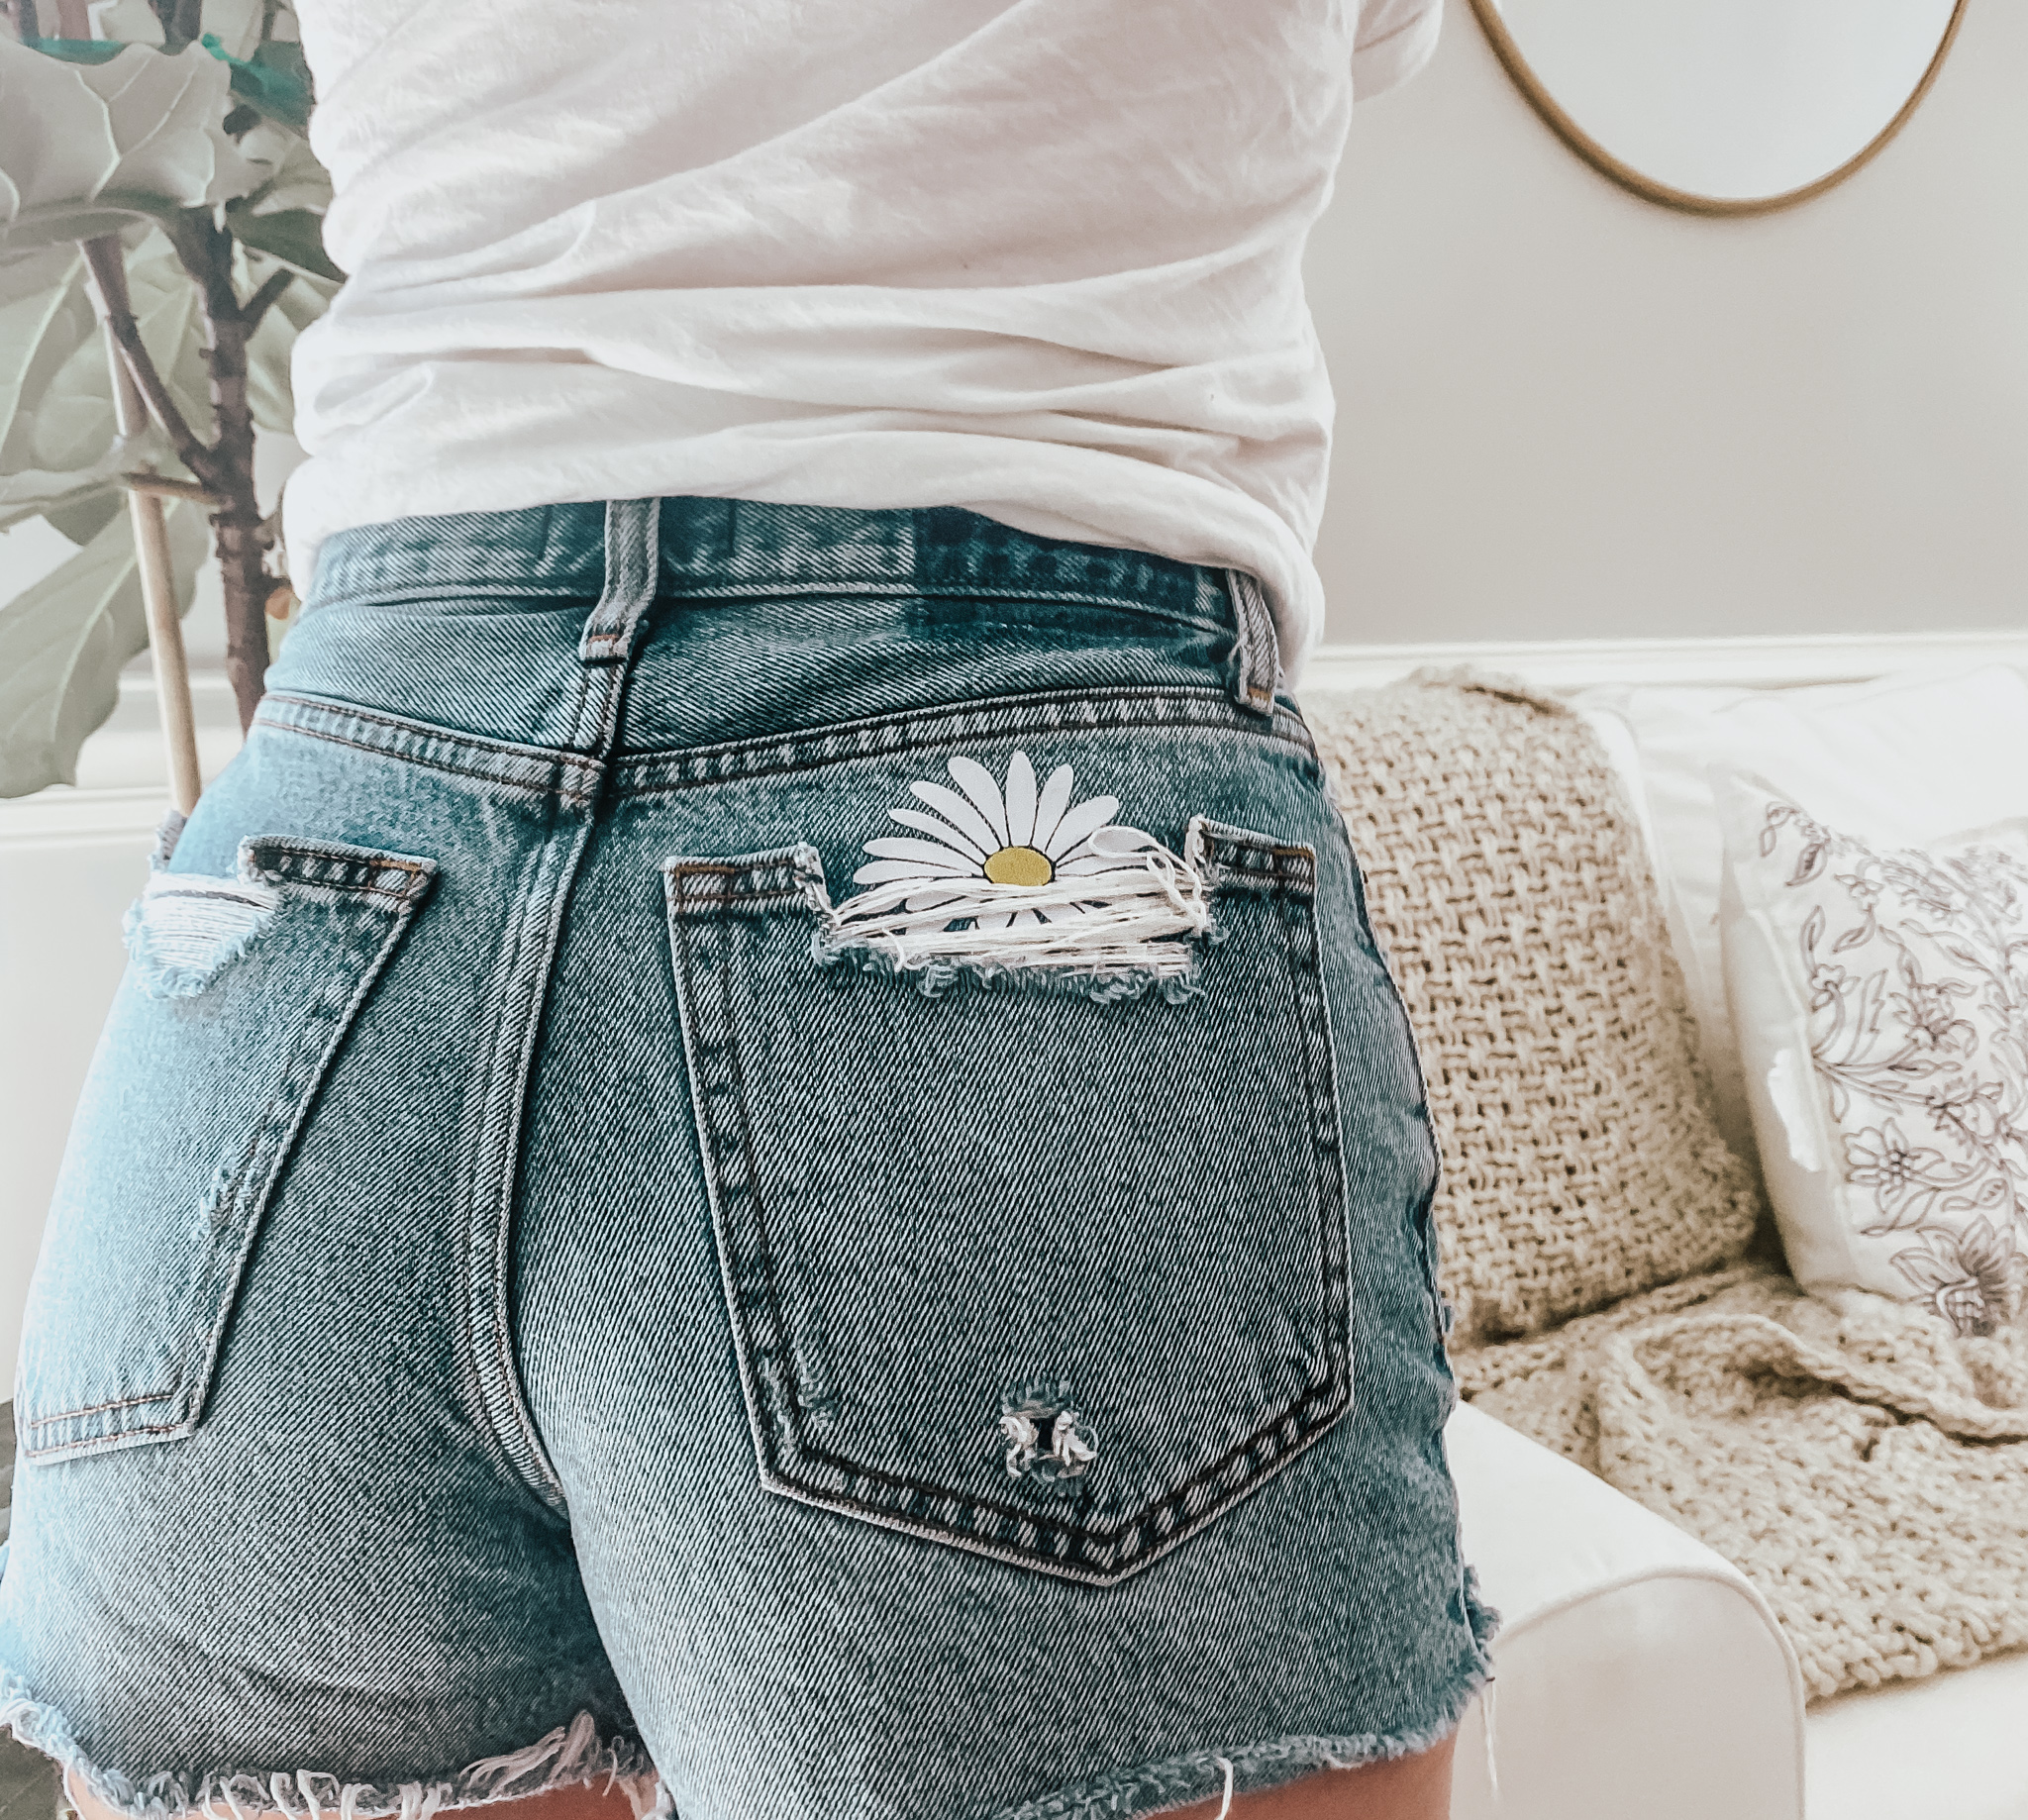

Hey, crafty friends! I’m so excited to show you how to apply heat transfer vinyl on jean shorts to add a little summertime flair to them! Follow along with the easy step-by-step tutorial below.
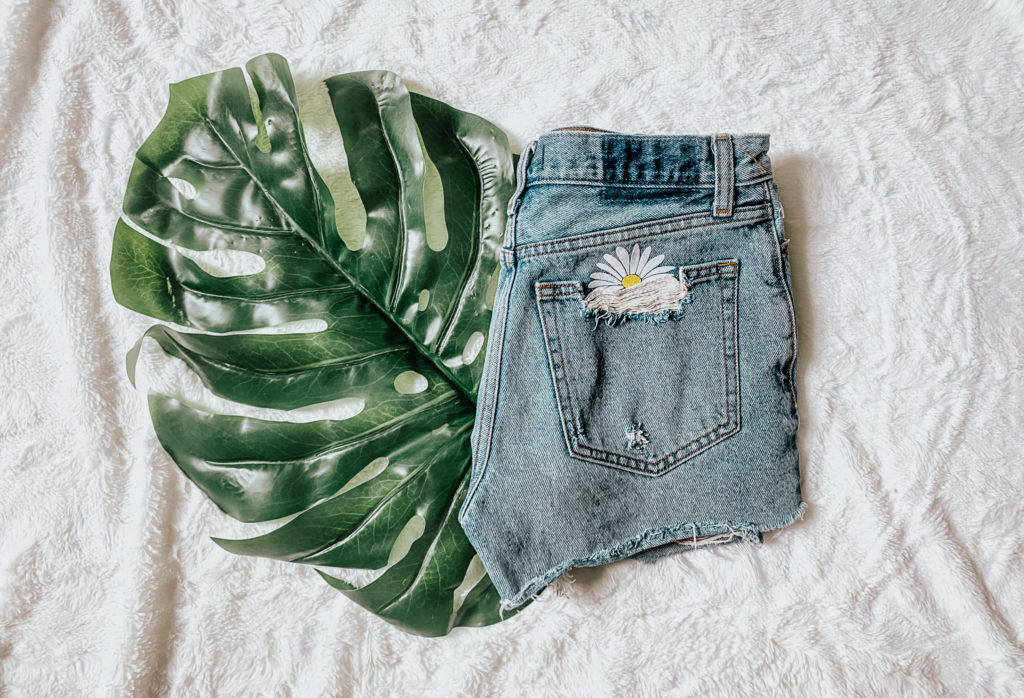

Estimated Time To Complete: 15 Minutes (Easy)
Here’s What You’ll Need:
- Flocked Heat Transfer Vinyl
- Cutting Mat
- Iron
- Cutting Machine ( I used the Cricut Maker)
- Jeans or Jean Shorts
Step One: Upload and Setup Design
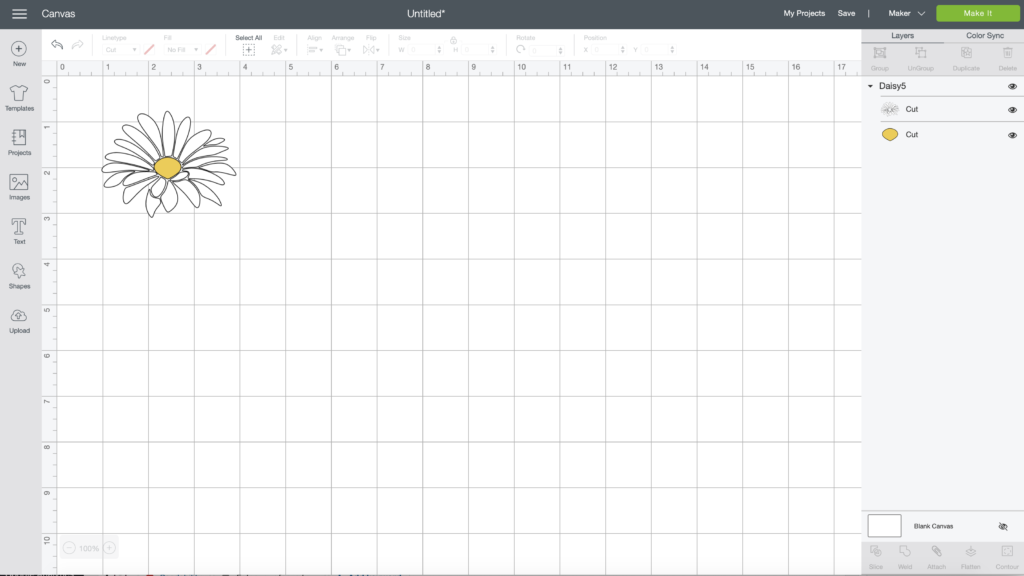

Start by uploading the design into Design Space. You can find the daisy SVG here. Measure the pocket of the jeans you’re using and scale the image to fit.


Turn on the mirror option for all mats and click continue.
Step Two: Select Cutting Material
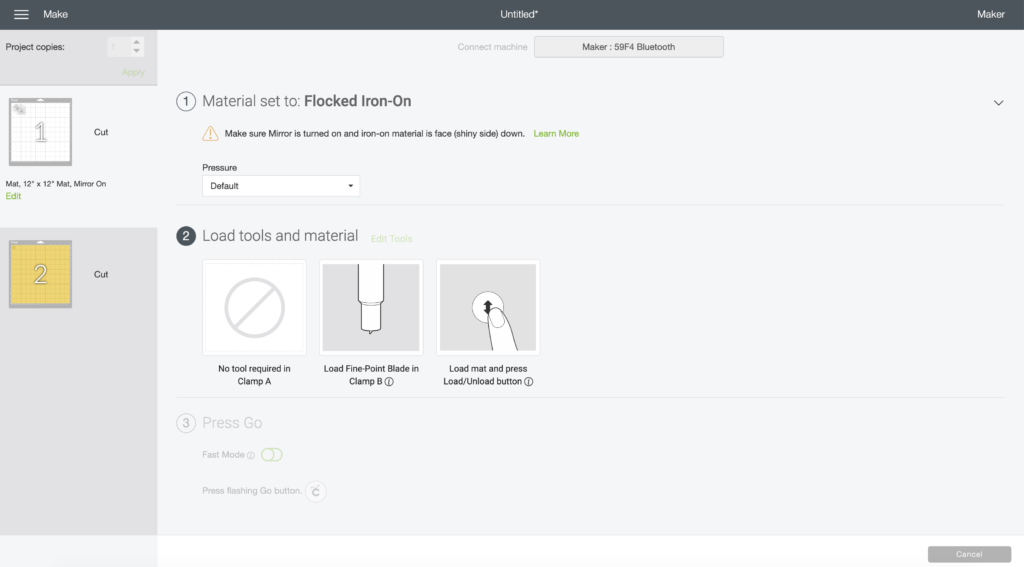

In the following window select the cutting material. For this project I used flocked iron-on. Smooth iron-on would also work great!
Step Three: Load Machine and Cut
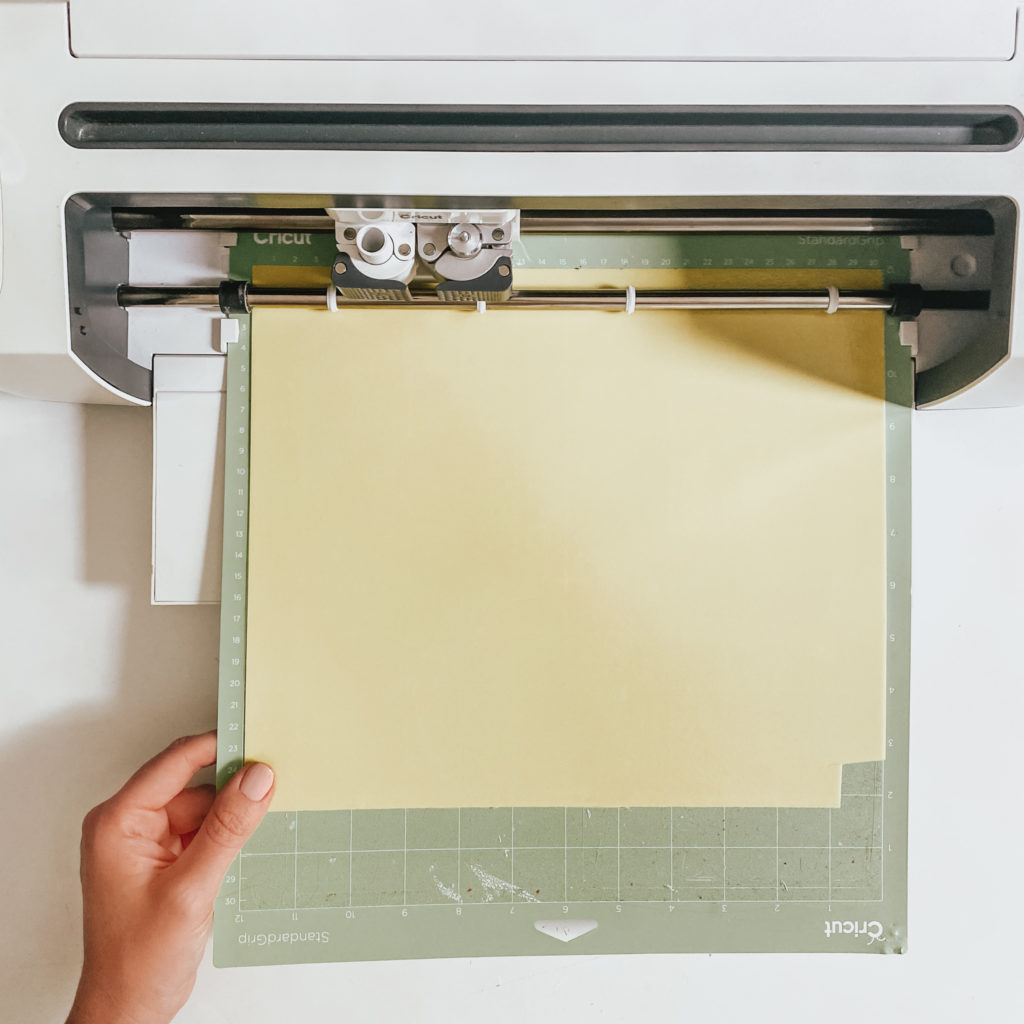

Place the sheet of htv on the cutting mat with the shiny side facing down and load the mat into the machine. Press the start button and wait for the machine to finish cutting. Repeat this step until each color of htv has been cut.
Step Four: Weed Designs
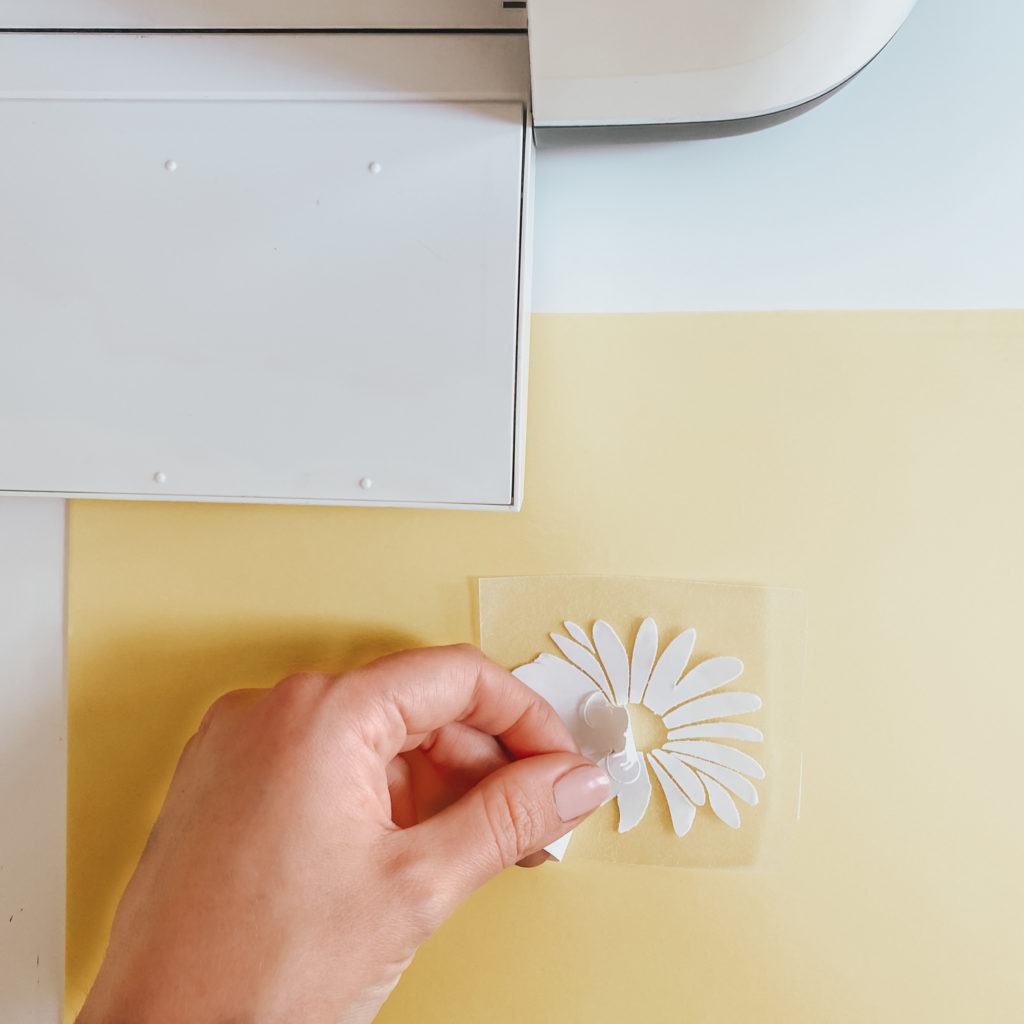

Use scissors to free the cut image from the remaining sheet of heat transfer vinyl. Carefully remove the excess htv from around the cut image. Flocked heat transfer material weeds really easily so you typically won’t need to use a weeding tool.
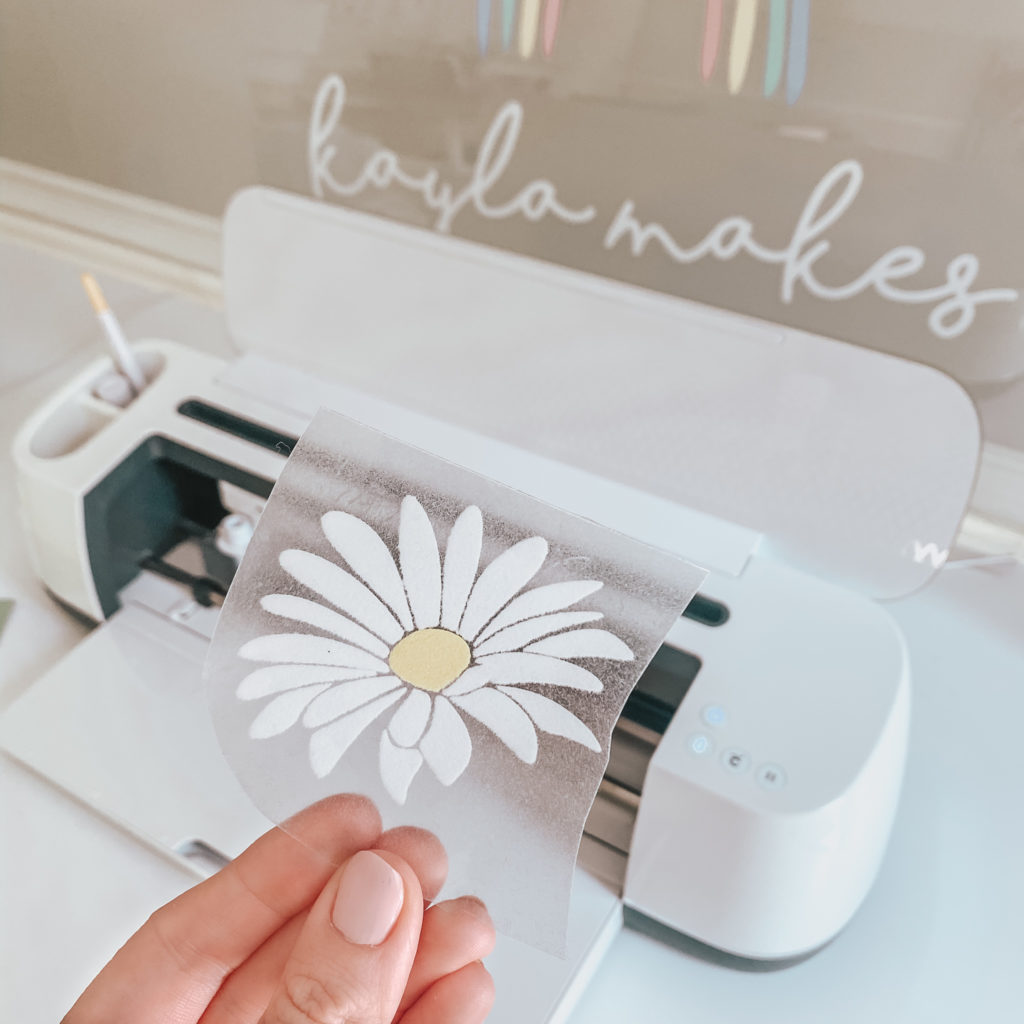

Since the center circle of the flower is small, I peeled it away from the carrier sheet and placed it on the same carrier sheet as the white flower petals. This just makes it easier to iron on in one swift step but you can definitely iron the two pieces on separately.
Step Five: Iron On
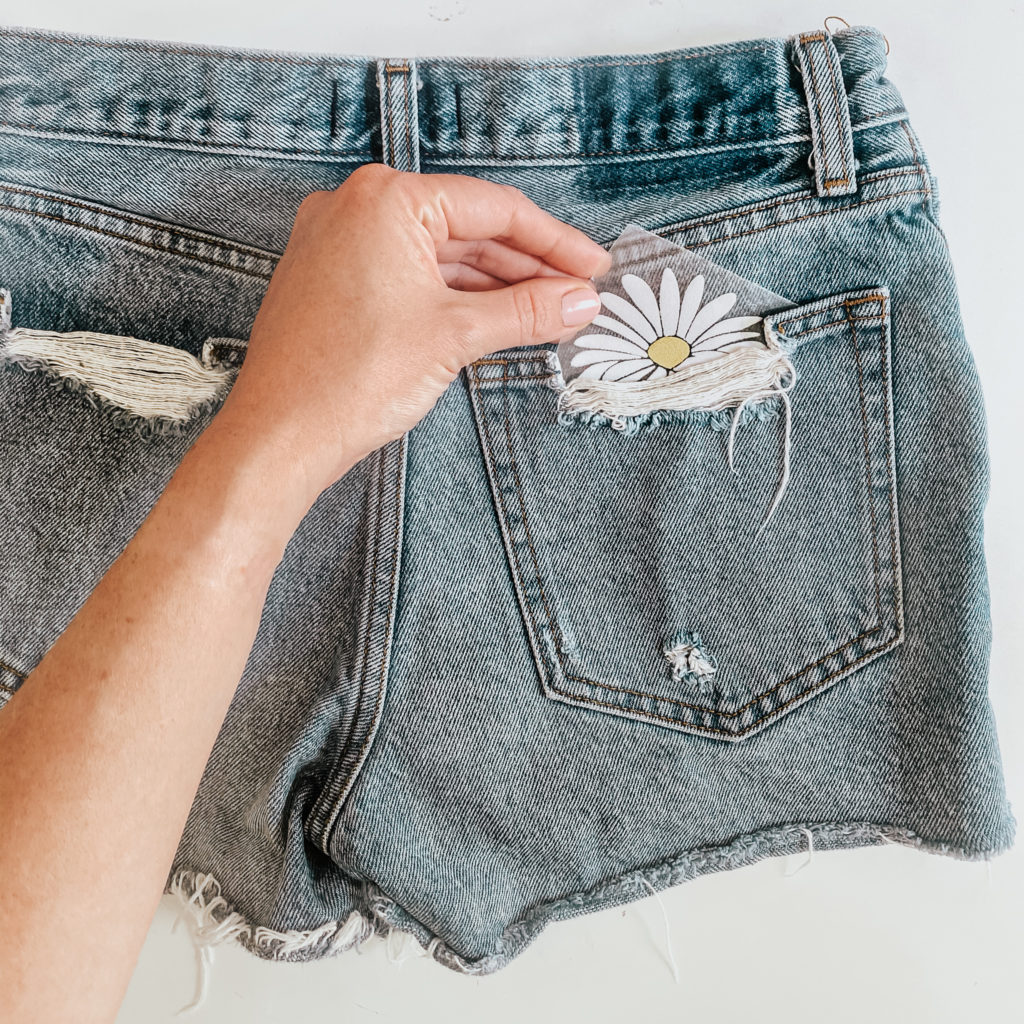

This is a good time to play around with the placement of the decal and decide where you want to iron it on. I like the way it looks peeking out of the back pocket!
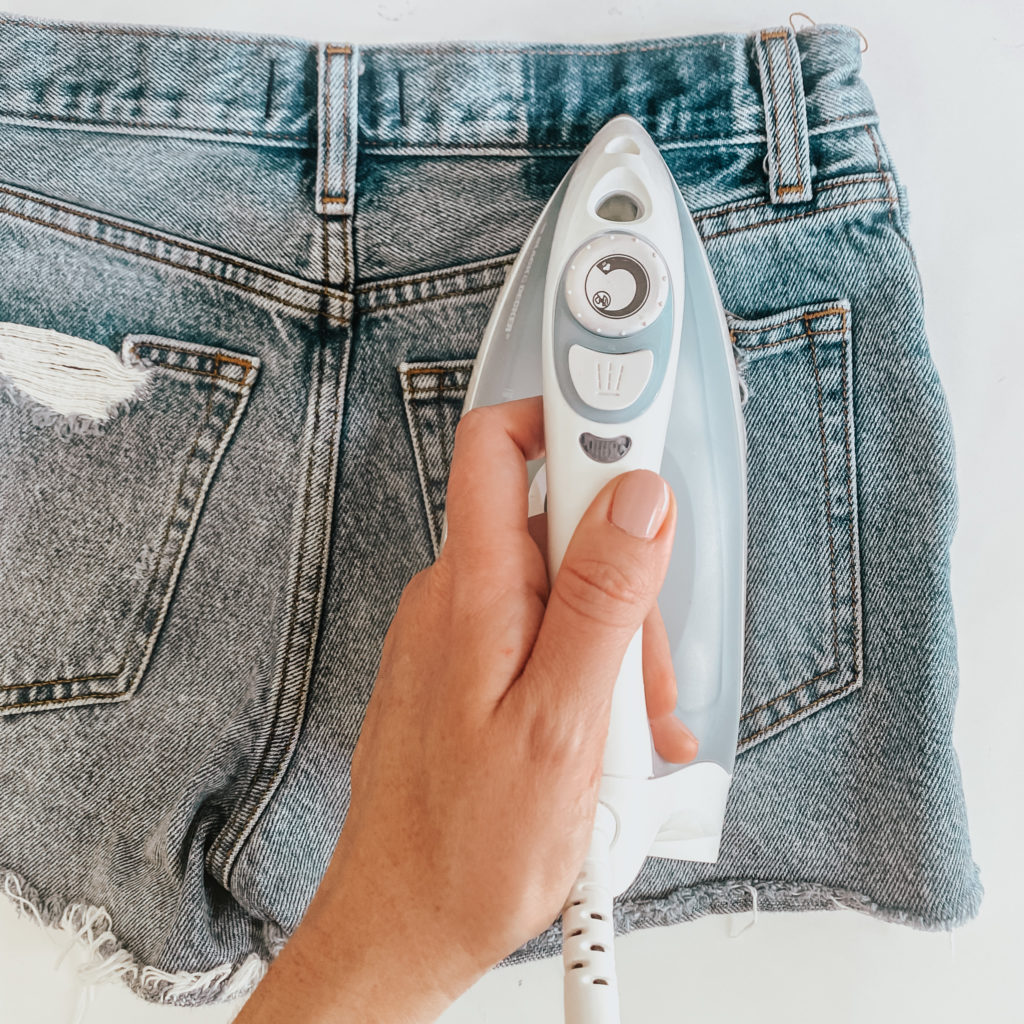

Once you’re settled on a spot, use an iron on the hottest setting and apply pressure over the carrier sheet for 30 seconds.
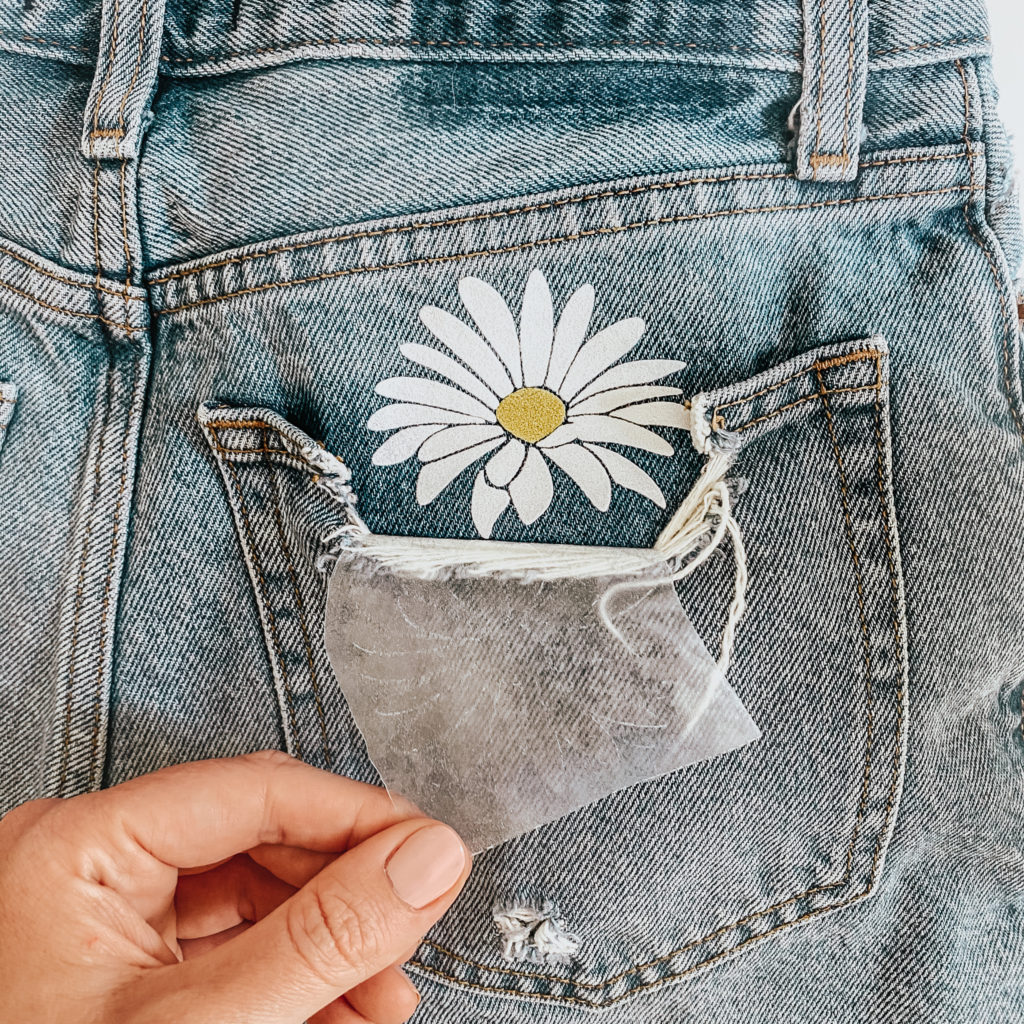

Allow the vinyl to cool, then remove the carrier sheet and you’re finished!
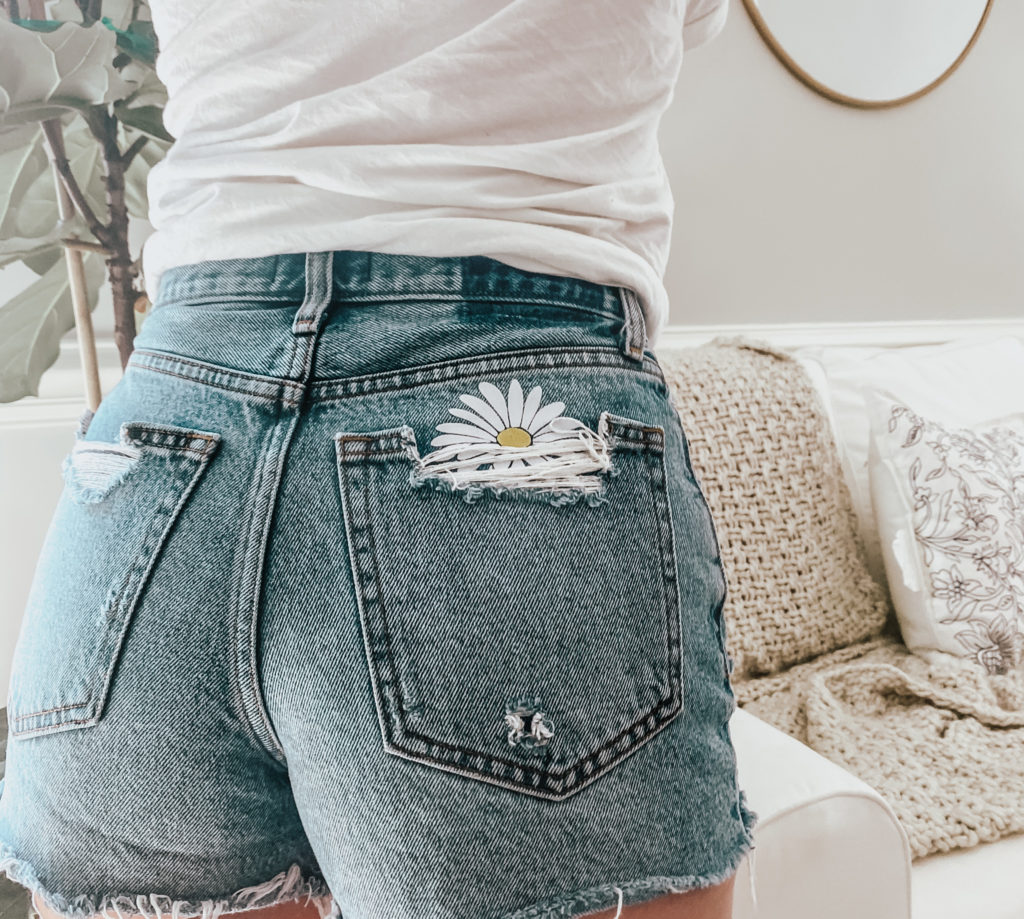

Such a cute and simple project that screams summer plus, it’s a great way to give new life to old jeans!


