
How To Make A Super Bowl Themed Car Decal With Adhesive Vinyl

It’s Super Bowl season and everywhere you look fans are representing their favorite teams. What better way to show the world your team spirit than with a custom car decal? In today’s step-by-step tutorial I’ll show you how to layer multiple colors of adhesive vinyl to create a NFL themed car decal with the Cricut Maker.
Difficulty Level: Intermediate
Estimated Time To Complete: 30 Mins
Here’s what you’ll need:
- Craftables Permanent Adhesive Vinyl
- Cutting Mat
- Transfer Tape
- Weeding Tool
- Scraper Tool
- Cricut Maker or Similar Machine

Step One: Upload Design
I purchased a Steelers logo SVG from an Etsy shop and uploaded it into the Design Space software. You can see in the layers panel to the right that each element of the design is a seperate layer and that’s what you need when you plan to layer mulitple colors of vinyl.

After clicking the “make it” button the software will seperate each element of the design by color and prompt you to load the first color into the machine.

Step Two: Load and Cut Vinyl Decals
Place the adhesive vinyl on the cutting mat with the paper side facing down and load the mat into the machine.

Set the material to vinyl and proceed with cutting each color.

Step Three: Weed Designs
After all cuts are complete, cut around each design element with scissors to seperate it from the rest of the sheet of vinyl. Then, peel away the excess vinyl from around the edges.

Use a weeding tool to remove the smaller pieces of vinyl, like the tiny letters in this Steelers logo.

Step Four: Layer Designs
Now you can start layering the different pieces to create a complete logo.
When the shapes are simple like these stars are, I place them by hand. You could use transfer tape if you wanted but I find it’s easier to line up simple shapes this way.

So far, so good! Let’s keep layering.

This is where transfer tape is necessary. Use a small piece to pick up and transfer the word to the white background.

Apply firm pressure with the scraper tool once you have the word lined up inside the white background. It’s like putting together a vinyl puzzle!

Once you peel away the transfer tape you can’t even tell that these are all seperate pieces of vinyl. They fit perfectly together!

Now, cut a piece of transfer tape a little larger than your design and transfer the whole thing inside the grey circle outline.

Use the scraper tool again to attach everything together.

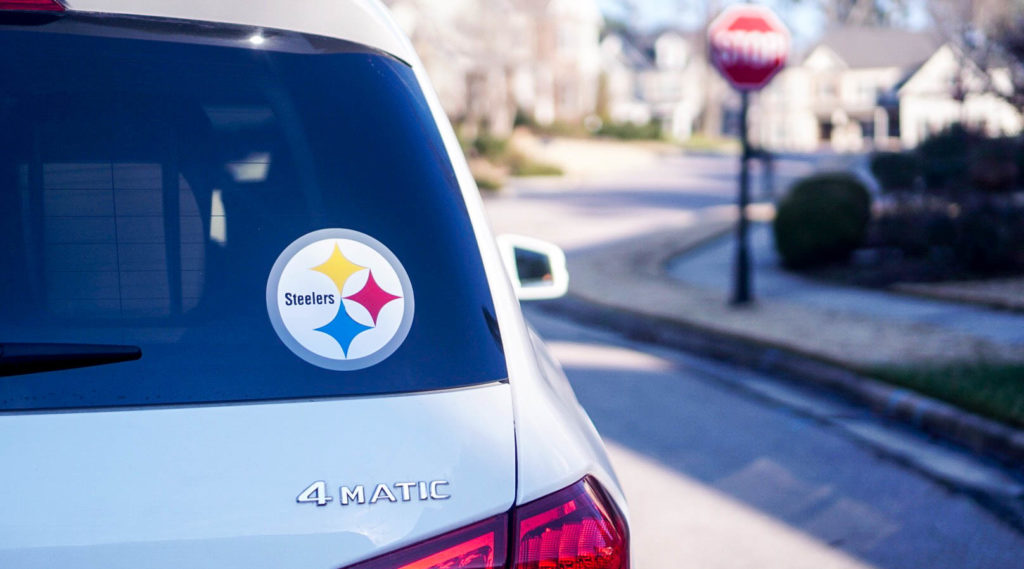
Step Five: Apply Decal To Car

Clean the area where you plan to apply the decal. I chose the back windshield of my car so I used a glass cleaning wipe to remove any dirt and debris from the area. This ensures a really good stick!
Place the decal on the window and use the scraper tool to push out any creases or bubbles.
![]()
Peel away the transfer tape and you’re finished!
![]()
Craftables permanant adhesive vinyl is a high quality adhesive vinyl that will stand up to the elements and continue looking great for years. However, if you need to remove the decal for any reason simply peel it off and wash away any residue with soapy water.


