“Spooky” Halloween Home Decor
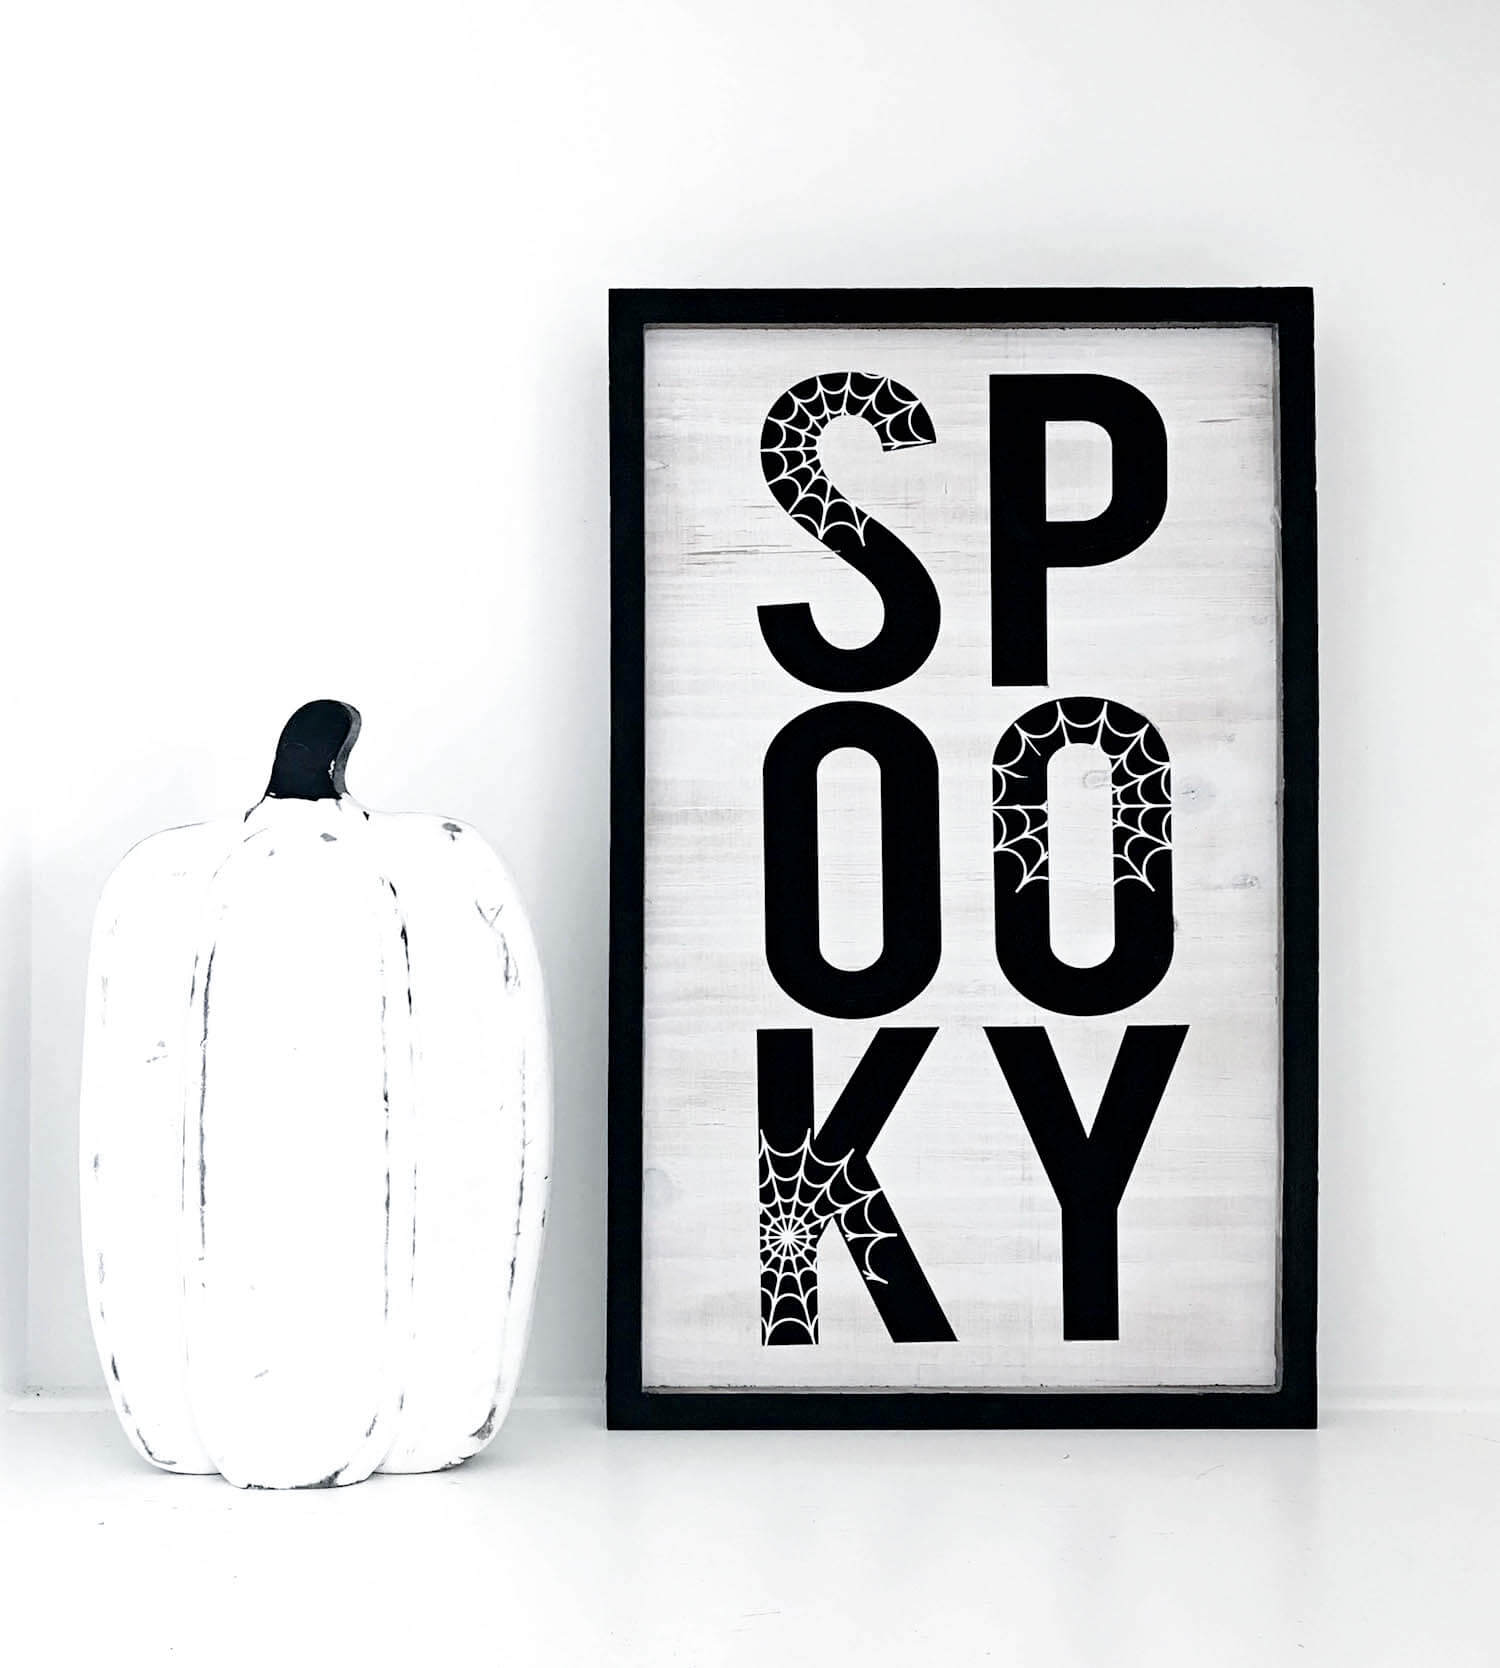
I LOVE decorating for Halloween! Almost as much as I love decorating for Christmas, but we’ll save that for another day! Today I DIY’d an easy “Spooky” sign to add to my Halloween decor. And I mean SUPER easy!
Here’s what you need:
- Cricut Explore Air II
- Oramask Stencil Vinyl
- Blank Wood Sign
- Chalk or Acrylic Paint
- Spooky/Spiderweb PNG Files
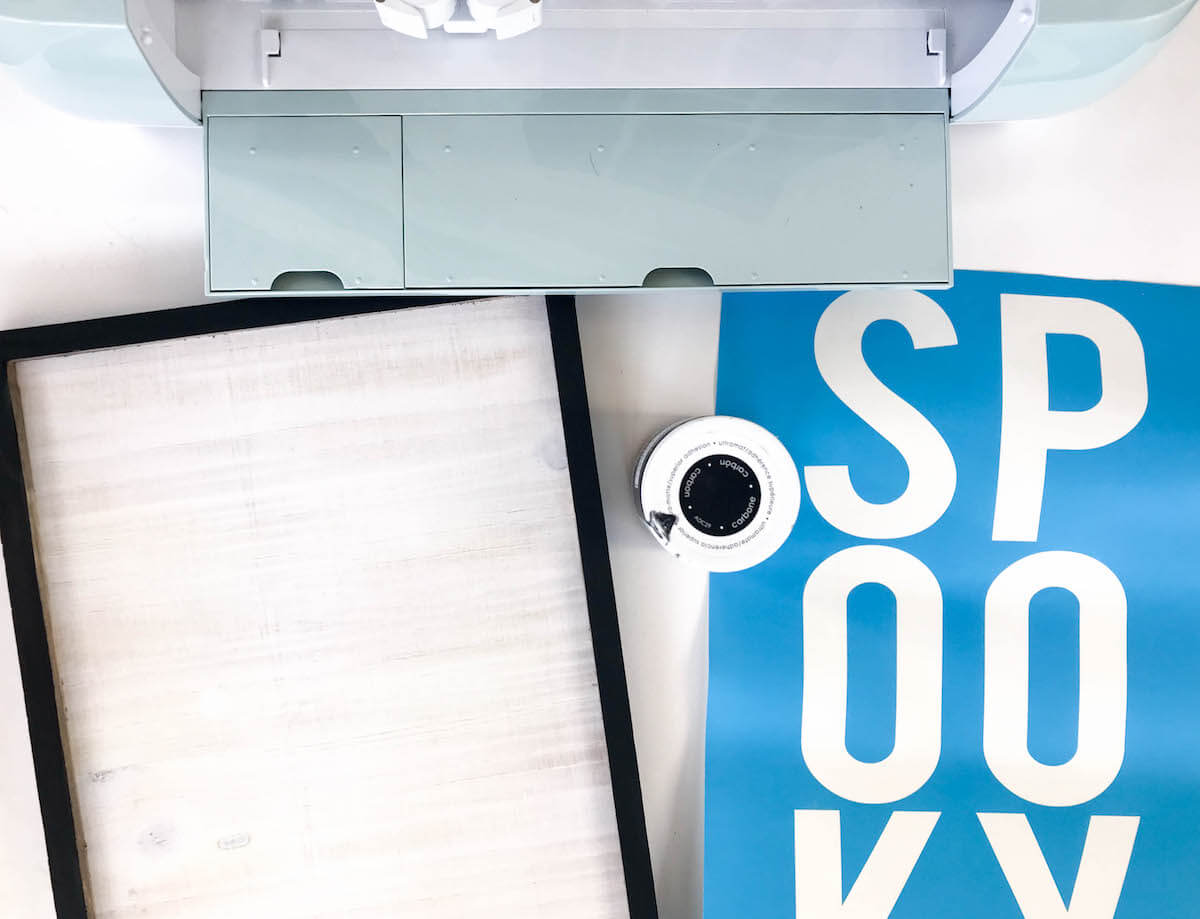
I used to use Oracal 651 to make stencils on wood signs, then I found Oramask and my life changed. I will never go back. I used my Cricut to cut the word “spooky” out of the Oramask, I just cut it using the vinyl setting, no mat.
(1) Cut and Apply Stencil
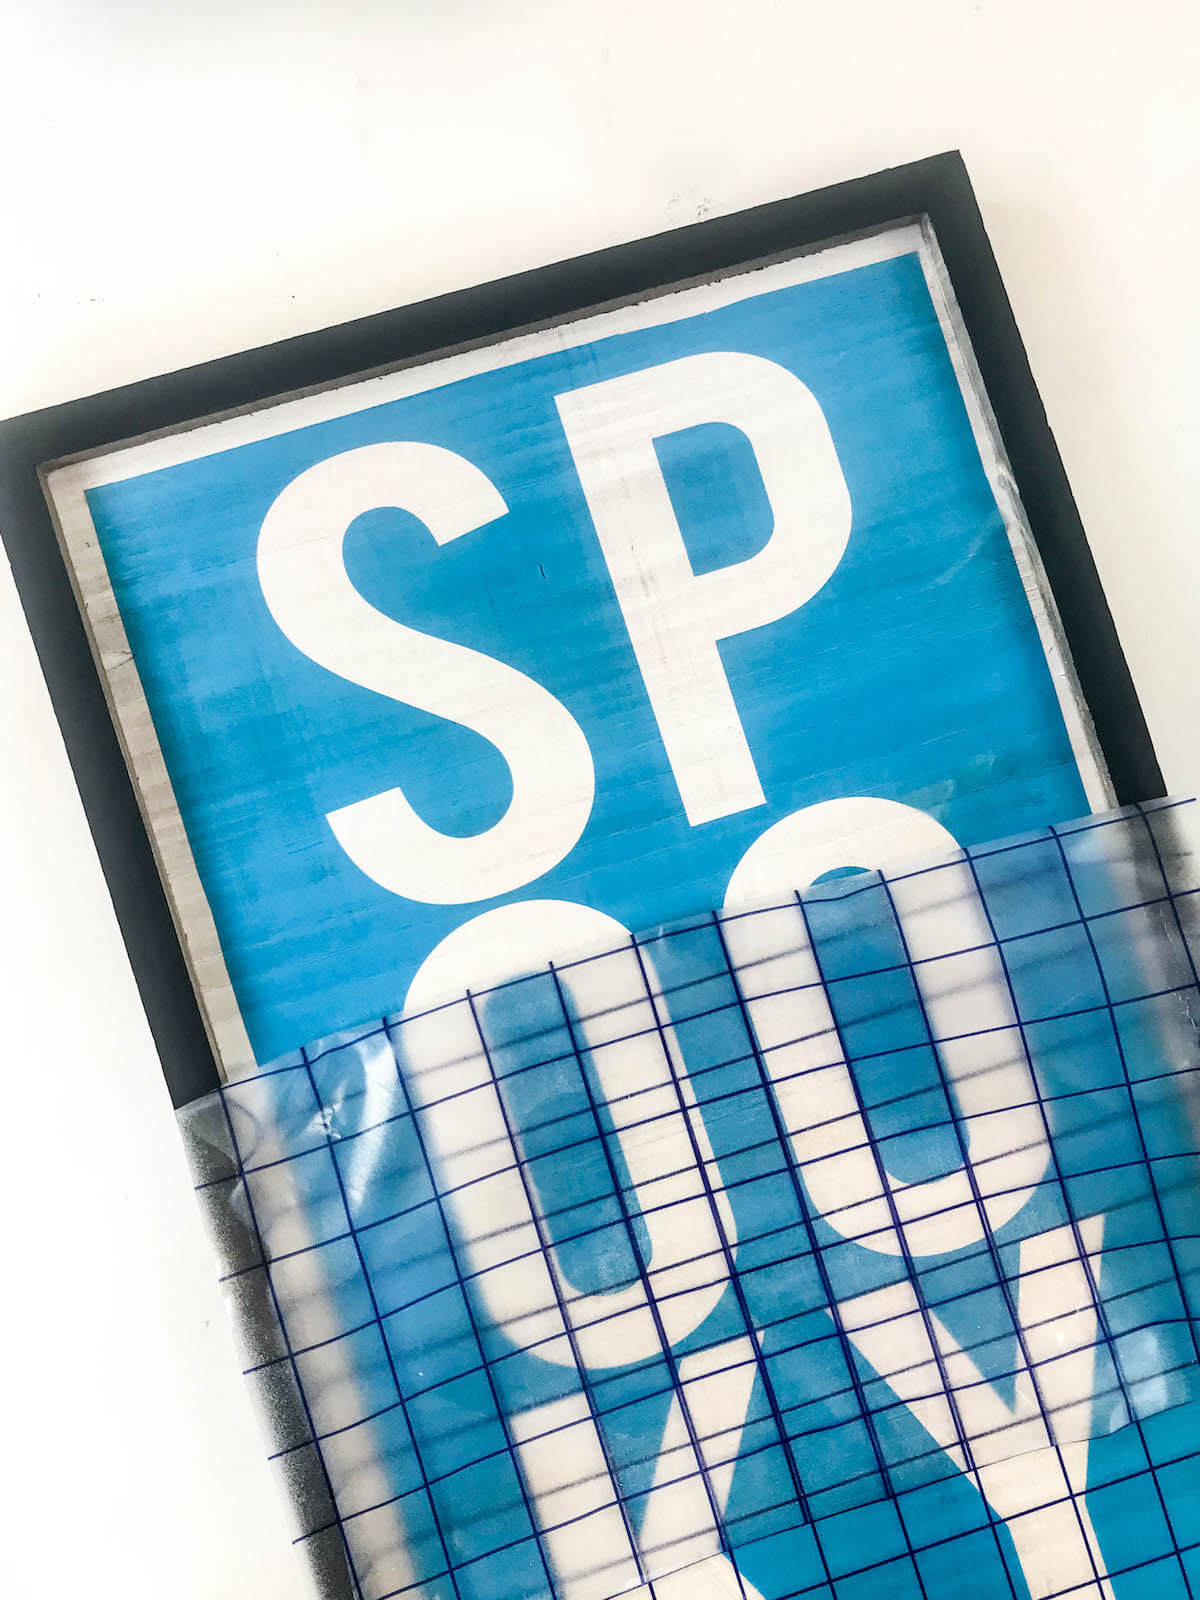
Remove the letters leaving behind just the stencil of the word. Use transfer tape to transfer the stencil onto the wood then use your scraper tool to make sure everything is stuck down really well. Peel away the transfer tape!
(2) Paint Letters
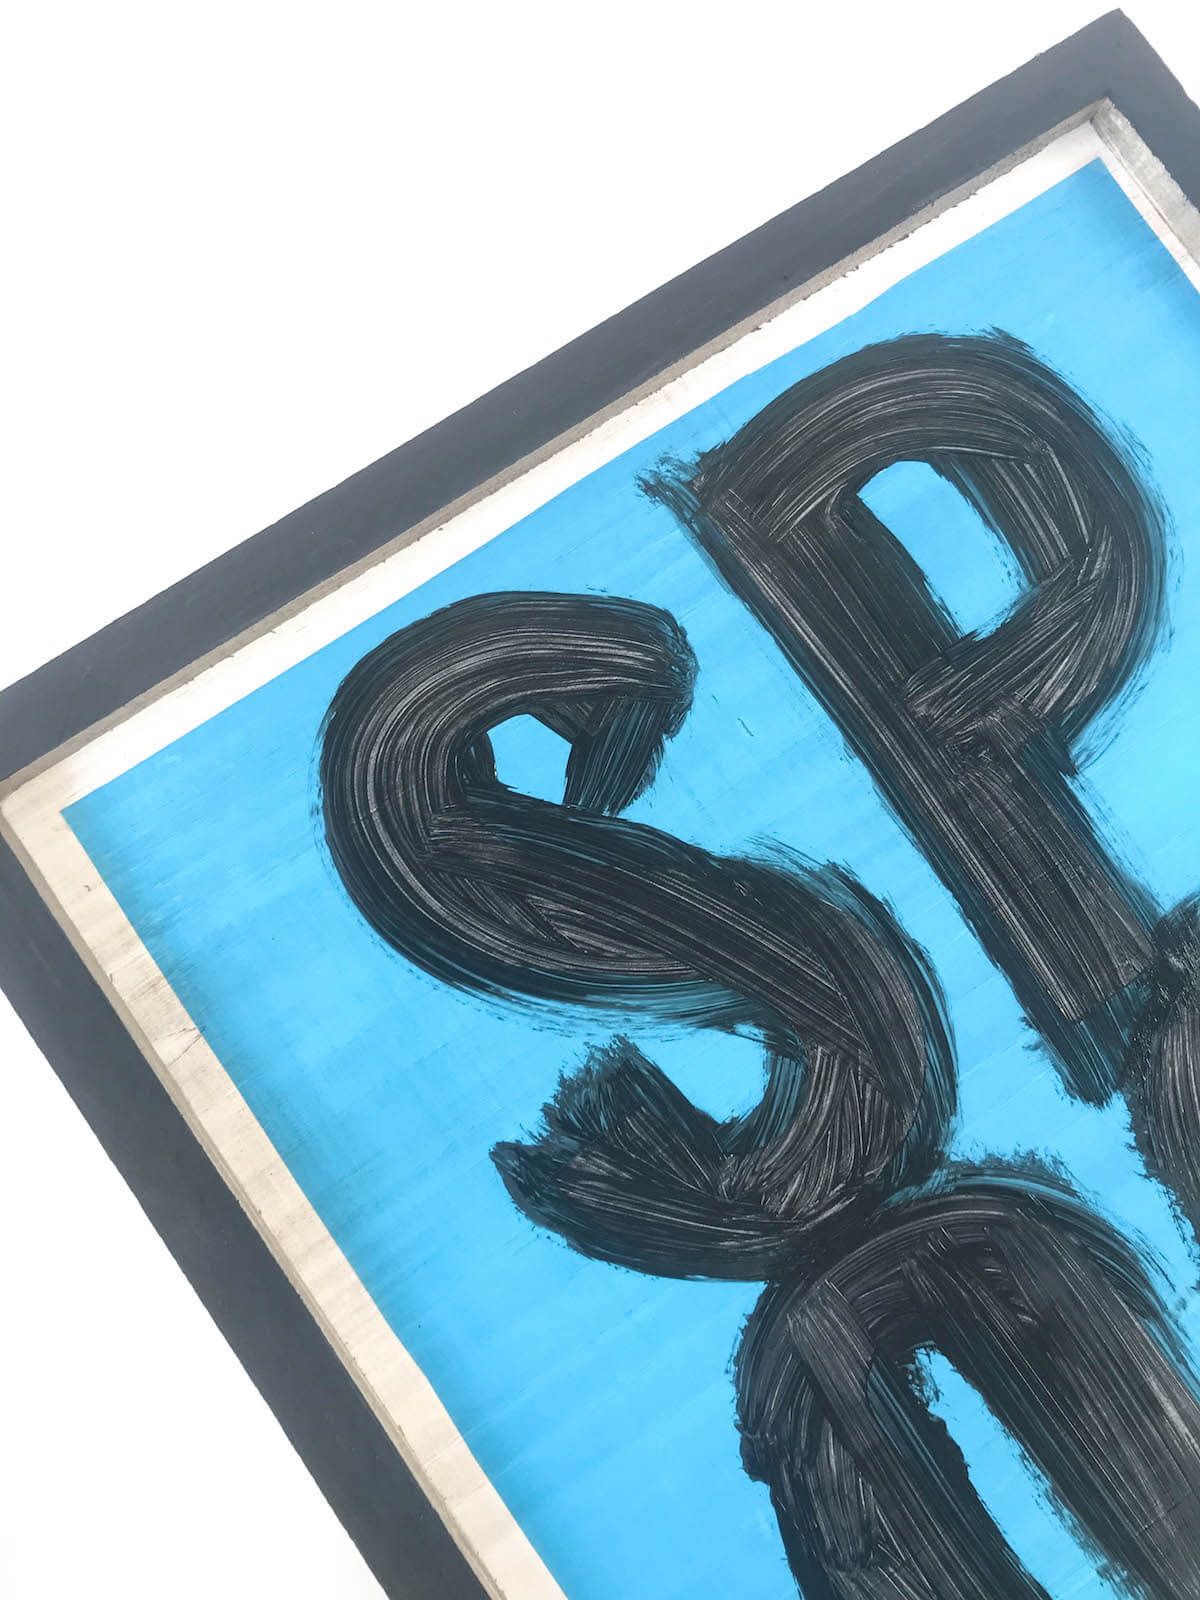
Now use a brush (paint brush or foam brush, either will work) to paint on the chalk paint. I chose black because helllooo its Halloween. I do two coats!
(3) Remove Stencil
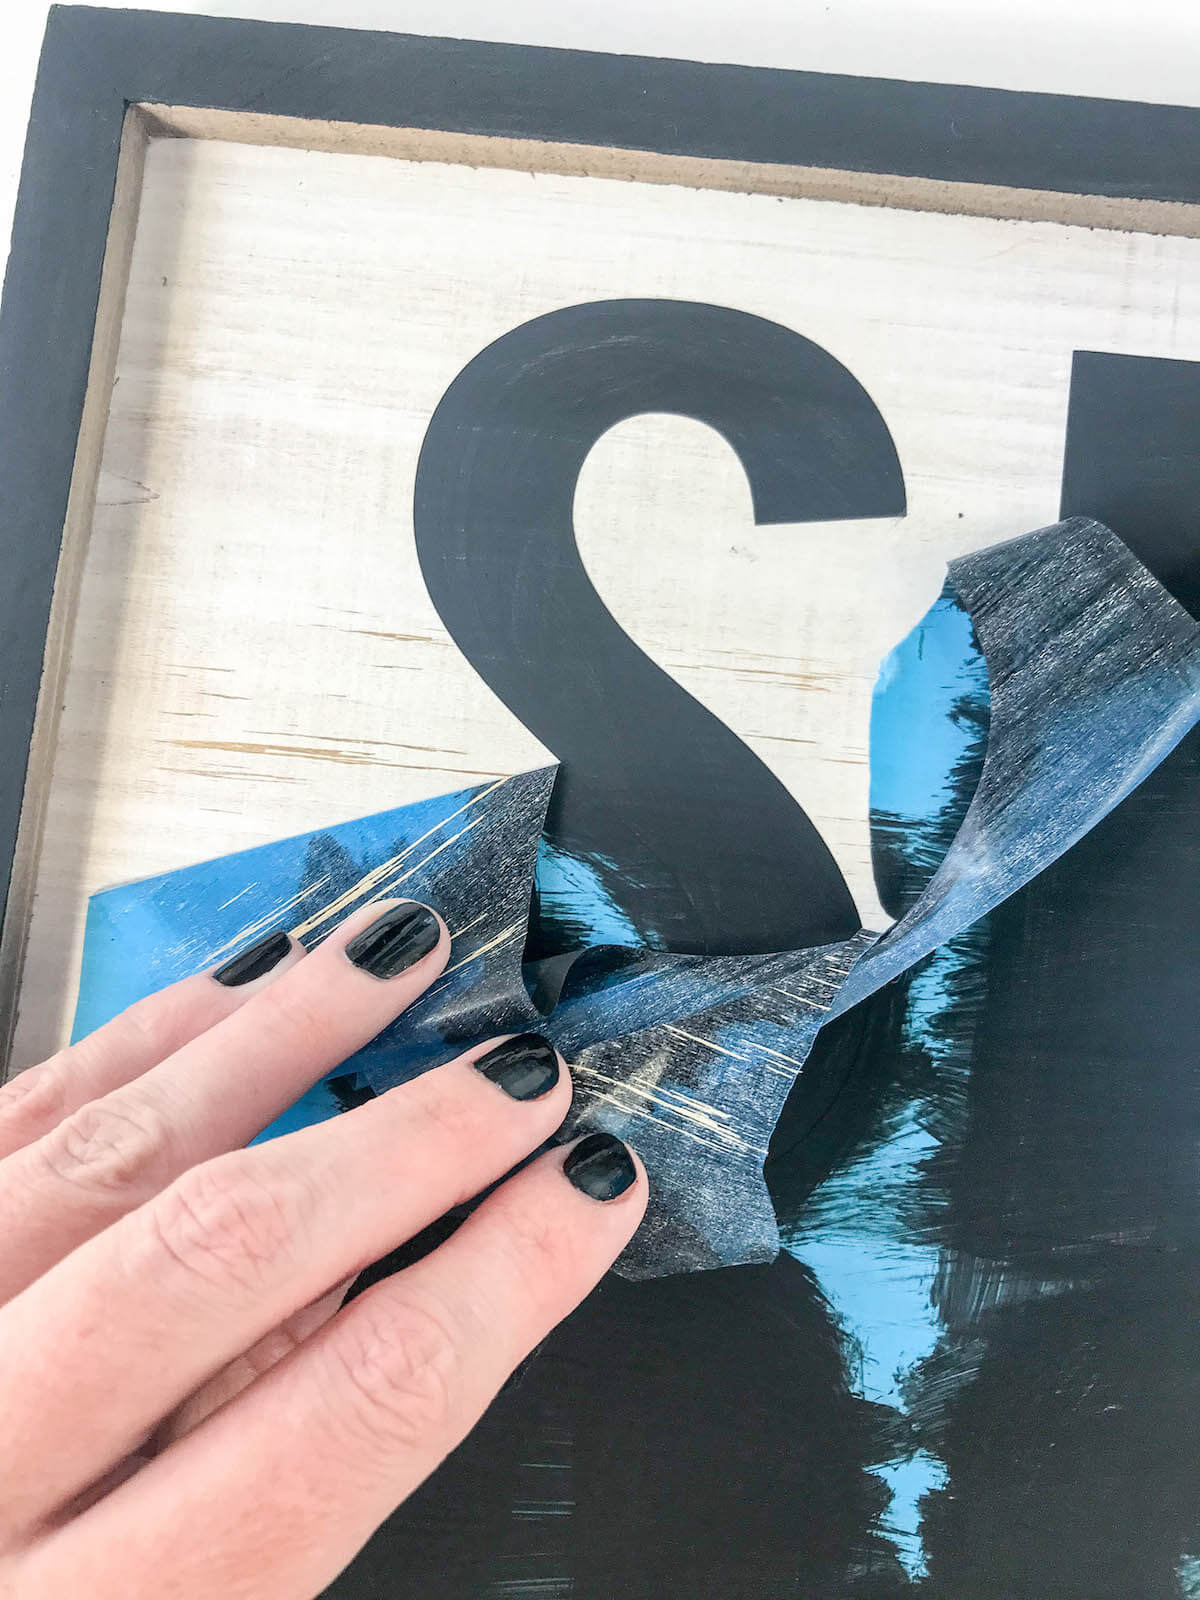
Let it dry and then peel away the stencil. As always, crisp clean lines. You can see the Oramask took a little bit of the white paint off of the board. I don’t mind that look but if you do I suggest making it less sticky by sticking it to your shirt before applying it to the board.
(4) Add Vinyl Webs
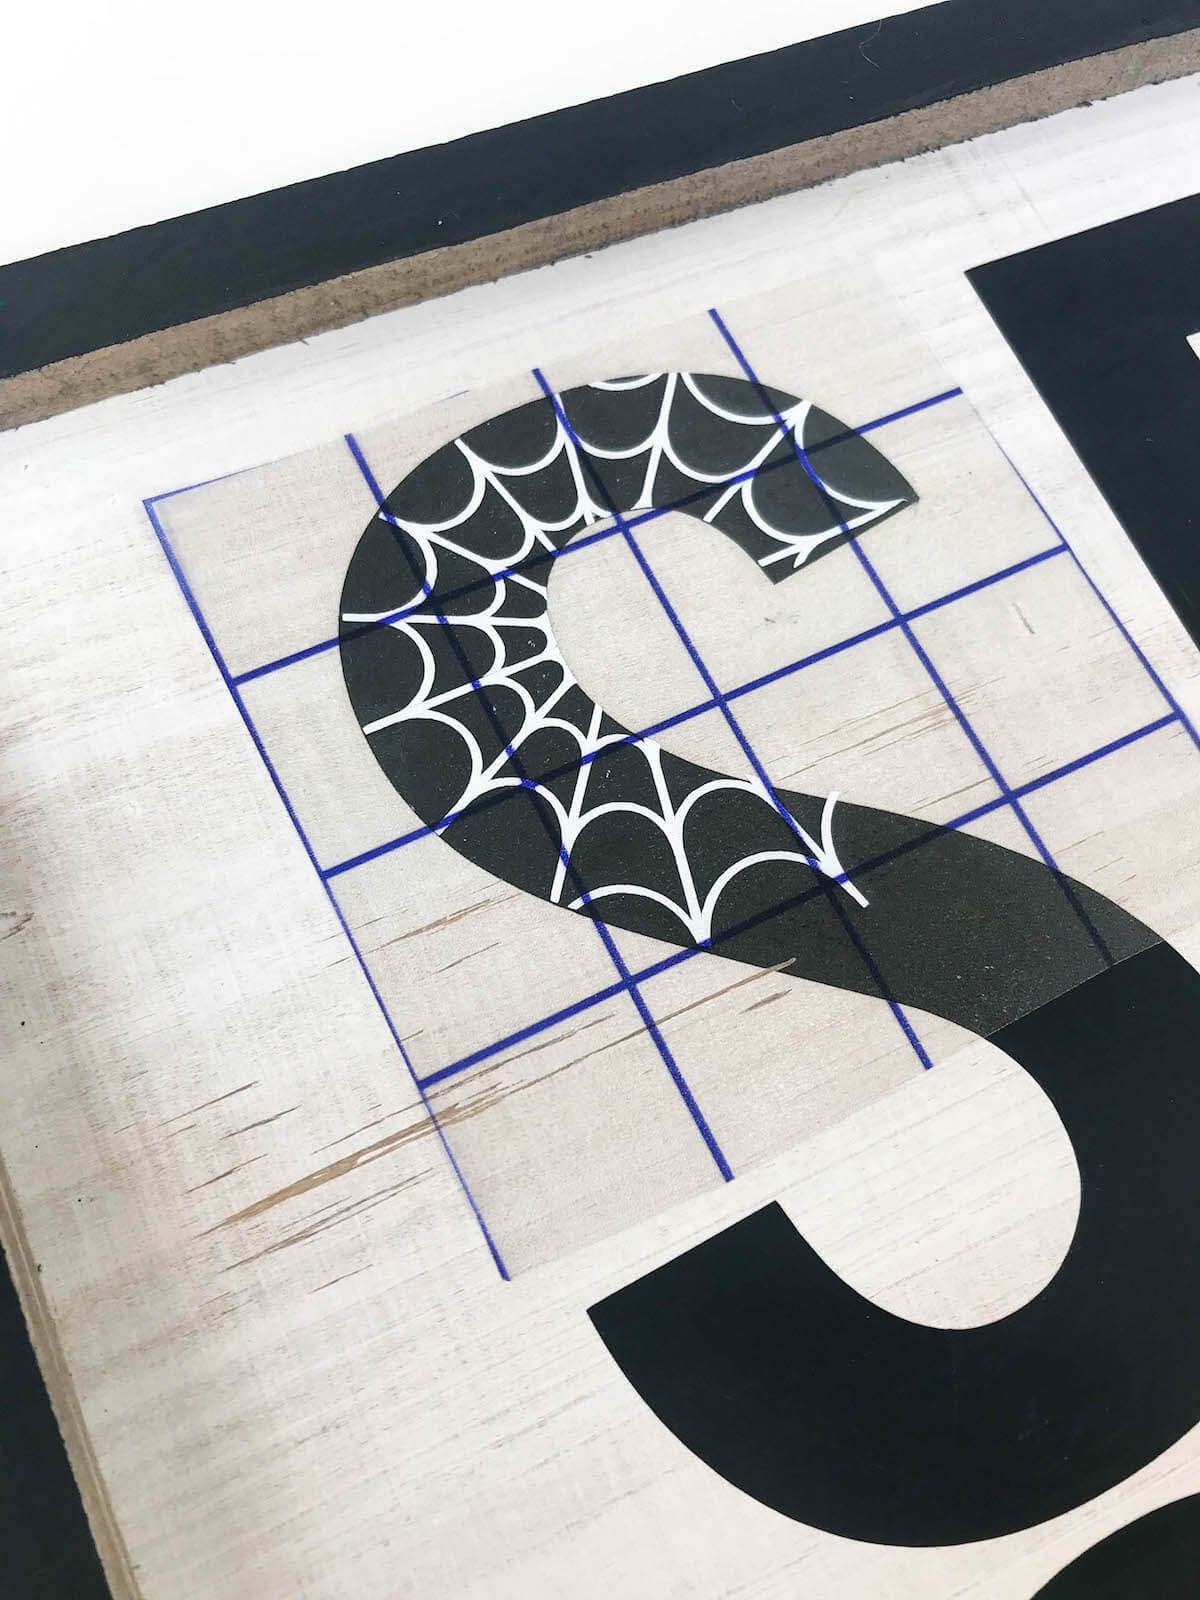
For a fun detail I added white spiderwebs on a few of the letters to really spook it up! It’s just regular Oracal 651.
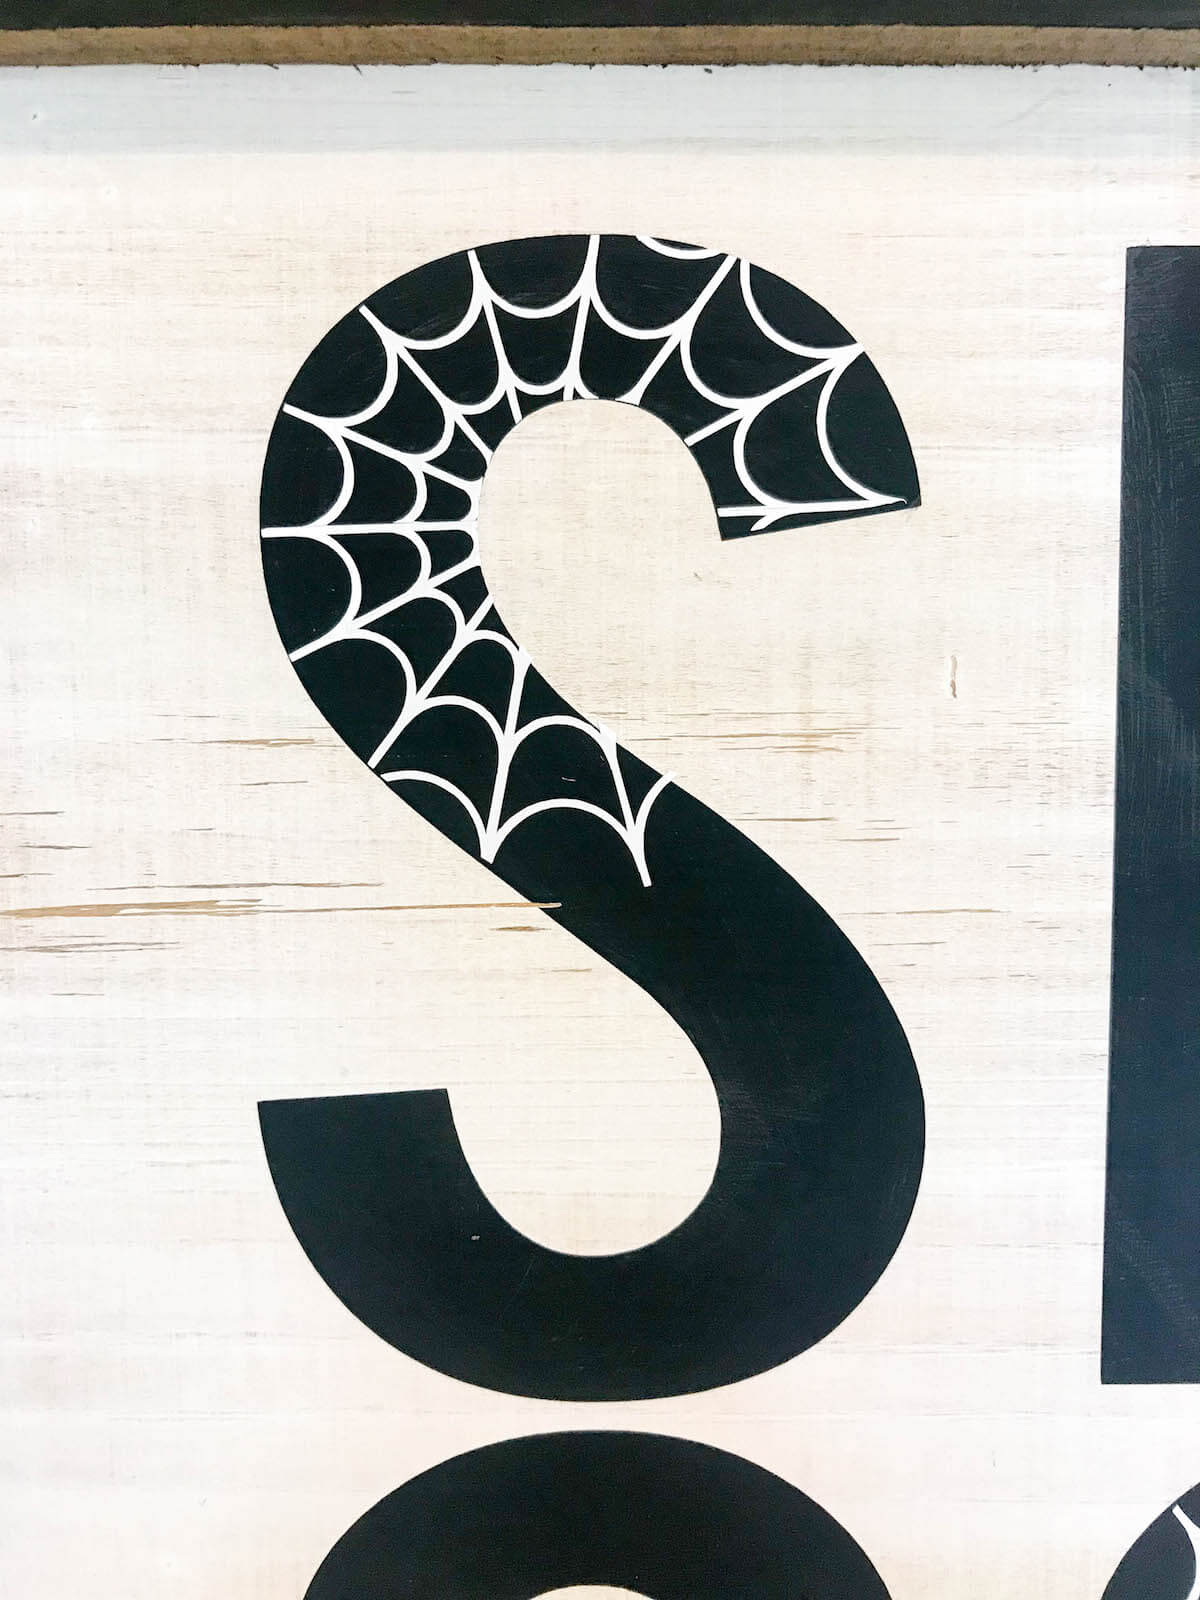
I love how the webs add the perfect amount of detail!
Get your spook on!

Happy Crafting!
*this post may contain affiliate links but I only promote products I love and use regularly. 🙂


Jordann
Can you share this design so we can upload on design space? Like the font and webs? Thanks 🙂
Kayla
Of course! I’ve updated the post to include the PNG downloads. Enjoy!
Lin
Thank you for sharing! I have never used my Cricut to make stencils before, I didn’t realize it was that easy! 🙂
Kayla
Yay! I’m happy to have shared it with you! Thanks for stopping in. 🙂
Susan
This is so great! Thank you for sharing. Just have to step outside my comfort zone and try stencils and vinyl.
Susan
So cute. I have an original Cricut and want to upgrade. Is the air 2 a good fit for these vinyl projects? Or the maker? I don’t plan on cutting patterns so … thanks for input. Love your page!
Kayla
The Air II is perfect for vinyl projects! The Maker is mostly for seamstresses and people who have a need for cutting fabric. I can’t sew a straight line so I probably won’t ever upgrade to the Maker. Haha! Thanks for stopping by! 🙂