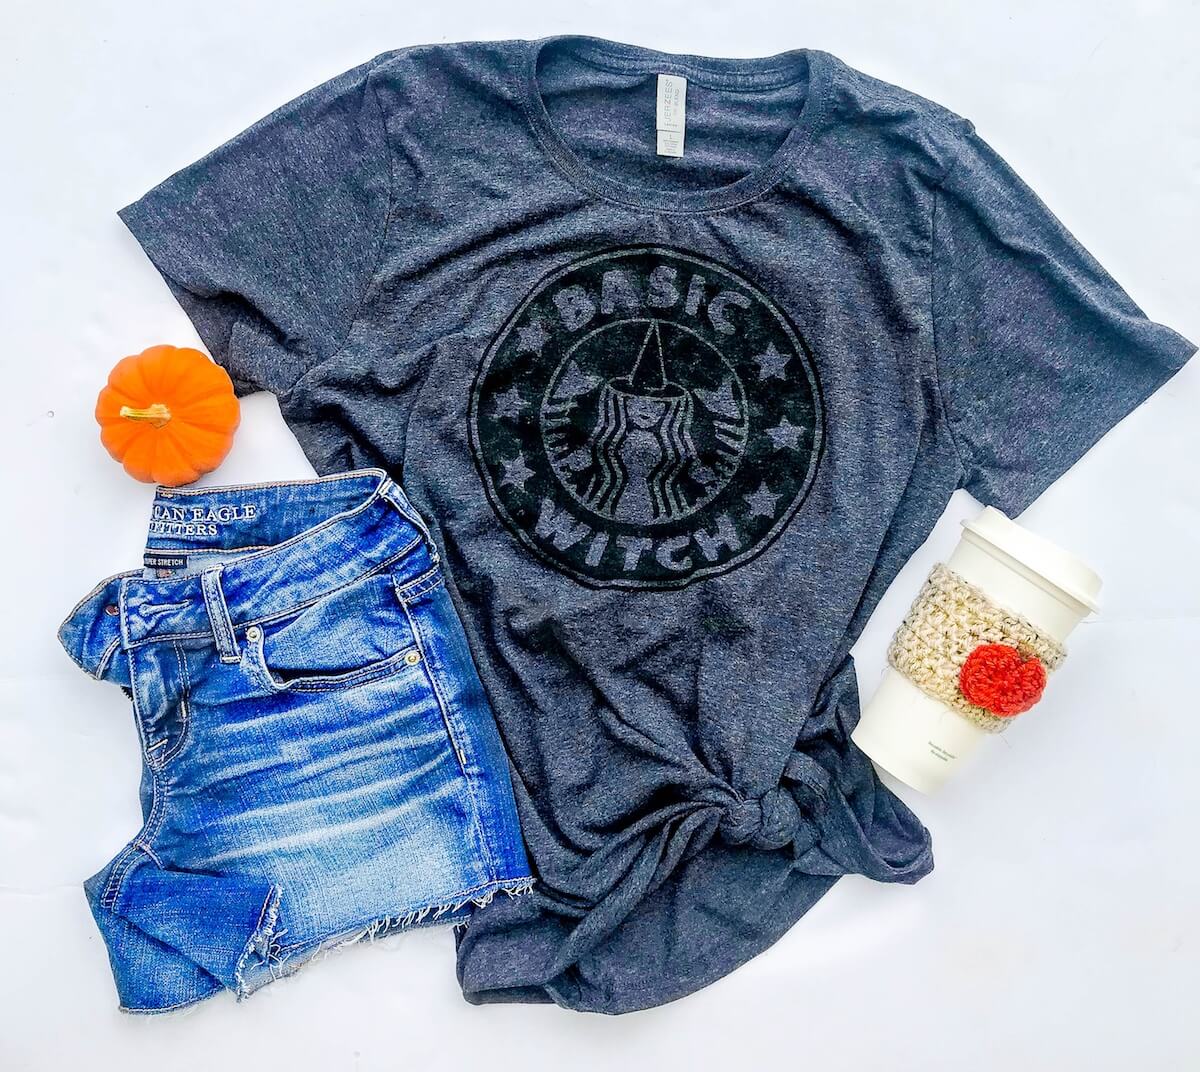
I’ve been wanting one of these trendy tees since the beginning of October! I almost bit the bullet and ordered one but, I’m a maker and it’s hard for me to order things I can easily make myself for a fraction of the price.
I like to pass along my tid bits of know how every now and then so today I’m showing you how easy it is to create a t-shirt that has a vintage feel to it. No HTV required!
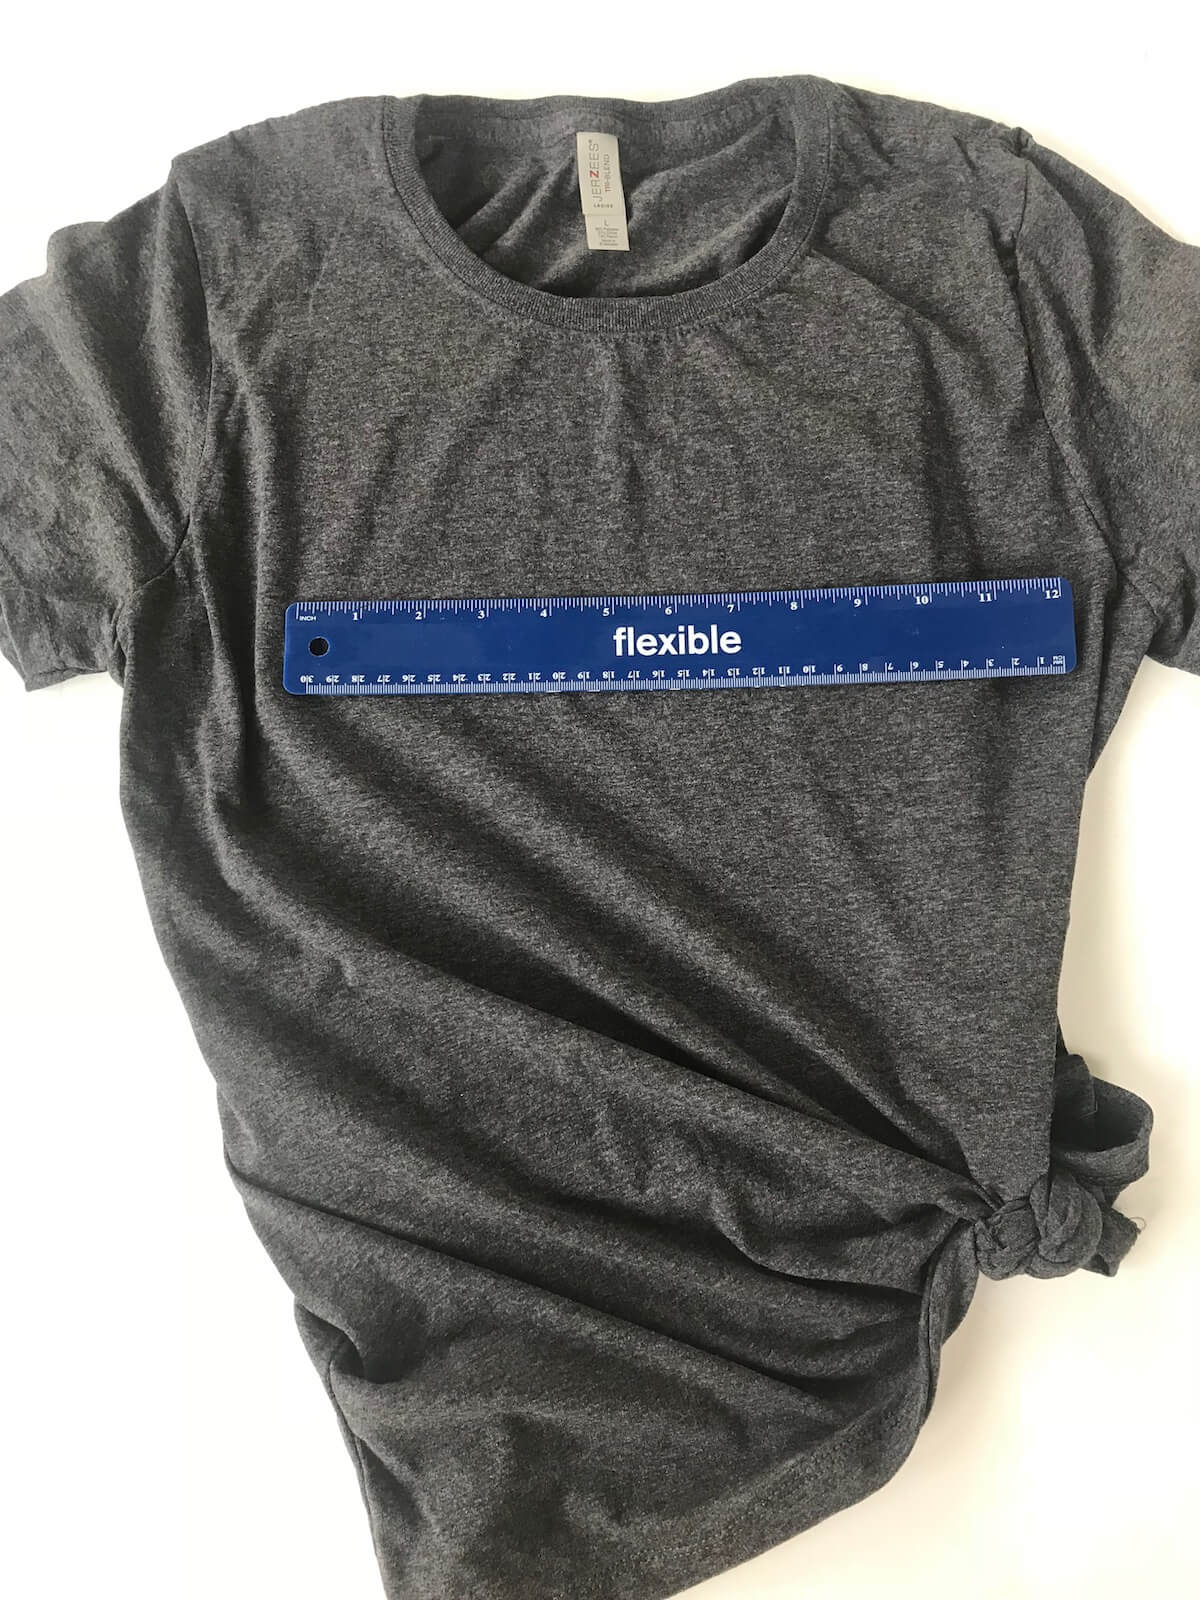
I always measure first. It keeps me from putting designs under my armpit. Find the center of the shirt and press or iron it so that you have a line to center your design on. Also, now is the percent time to place cardboard or even paper inside of your shirt to prevent bleeding.
(2) Cut and Weed Design
I use the Cricut Explore Air II for all of my cutting needs. I highly recommend this machine if you’re in the market for one! Cut the Oramask on the vinyl setting and weed away the parts of the design that you want to be black.
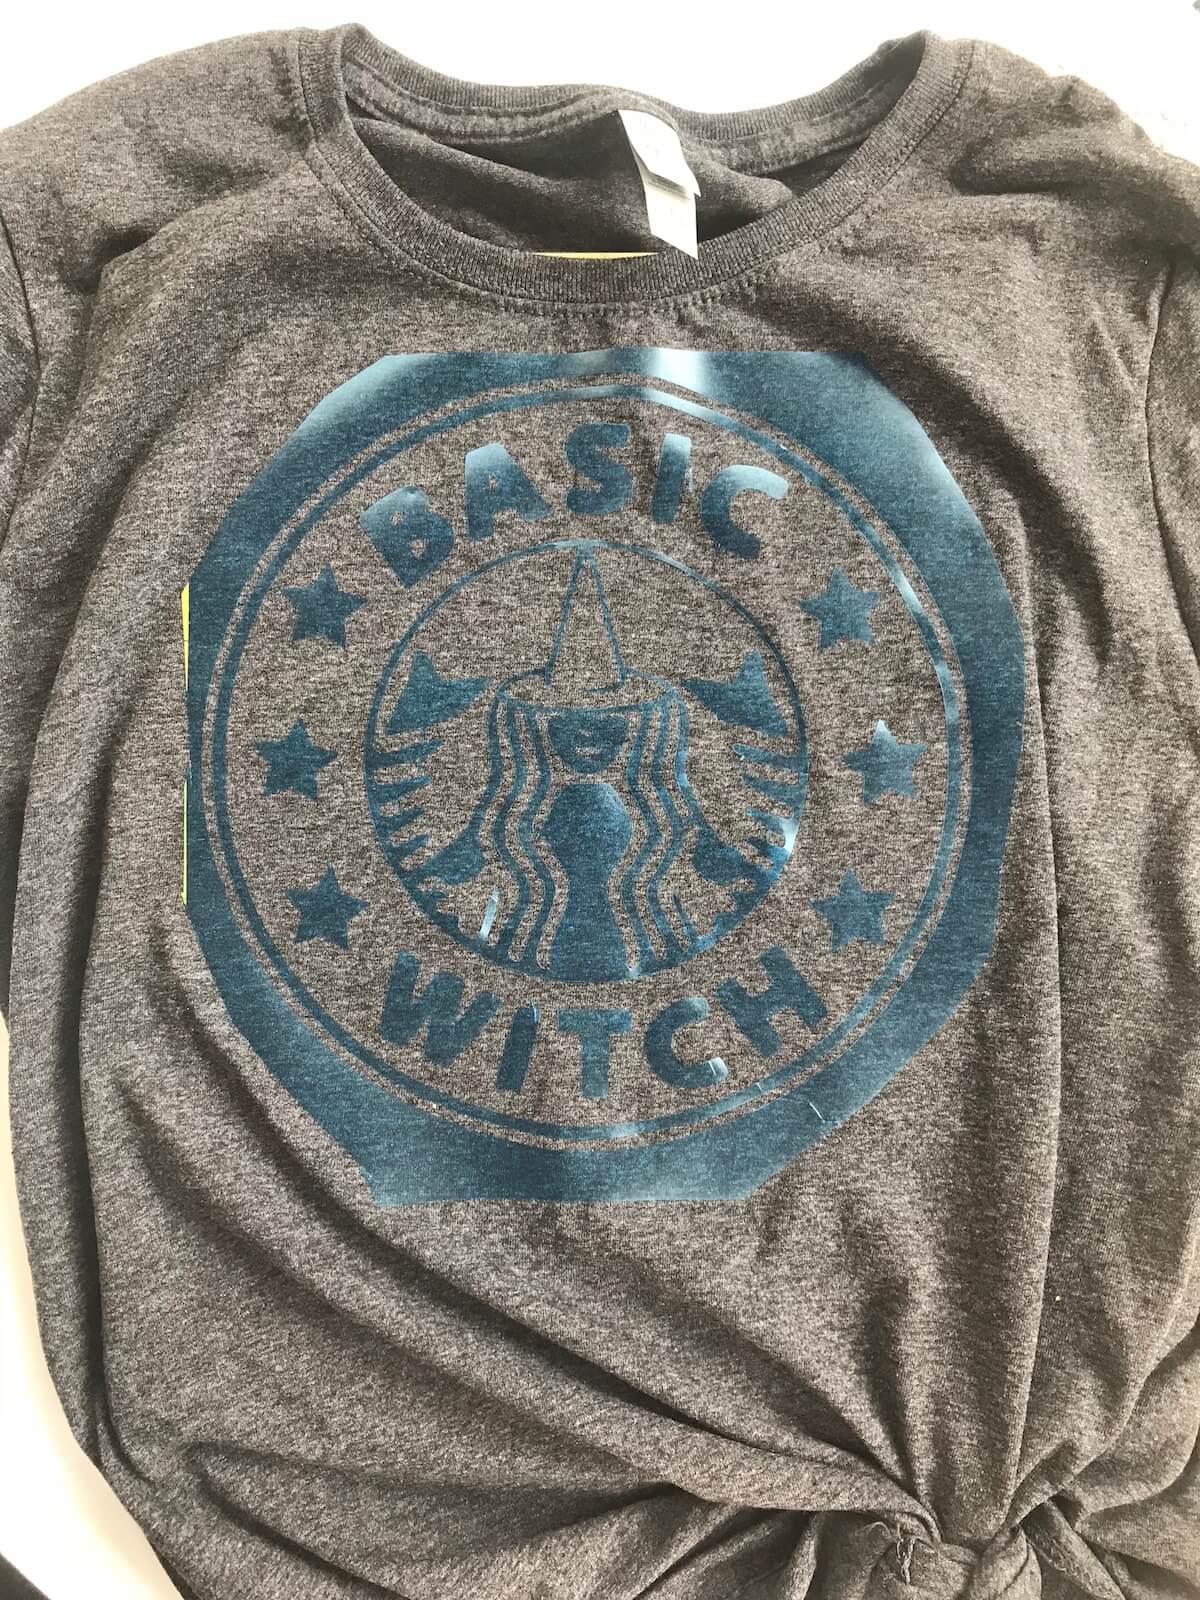
(3) Transfer Stencil
Use transfer tape to pick up the design and transfer it to your shirt. I used plain old contact paper because it’s less sticky. If you use a transfer tape that is to sticky you might have a hard time getting the stencil to adhere to the shirt.
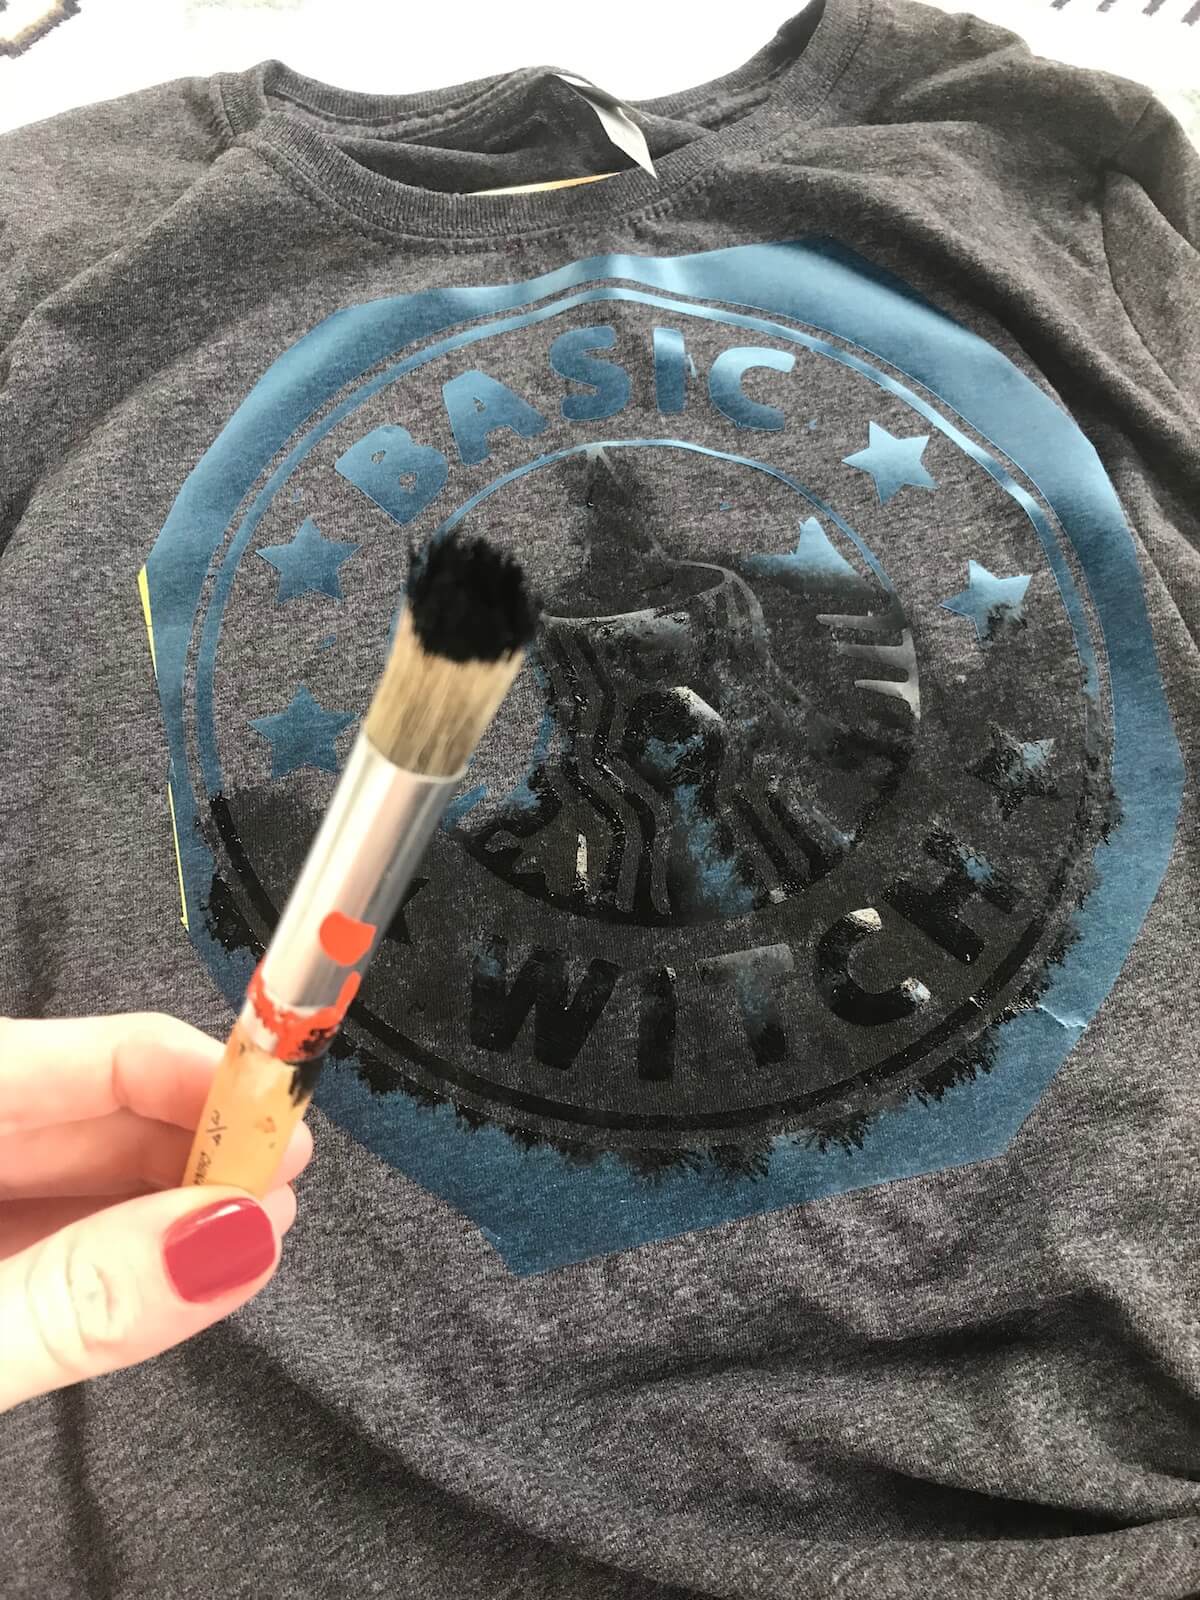
(4) Apply Fabric Ink
Apply the fabric ink with a stiff brush, using a pouncing motion. I applied it sparingly to get the vintage t-shirt look.
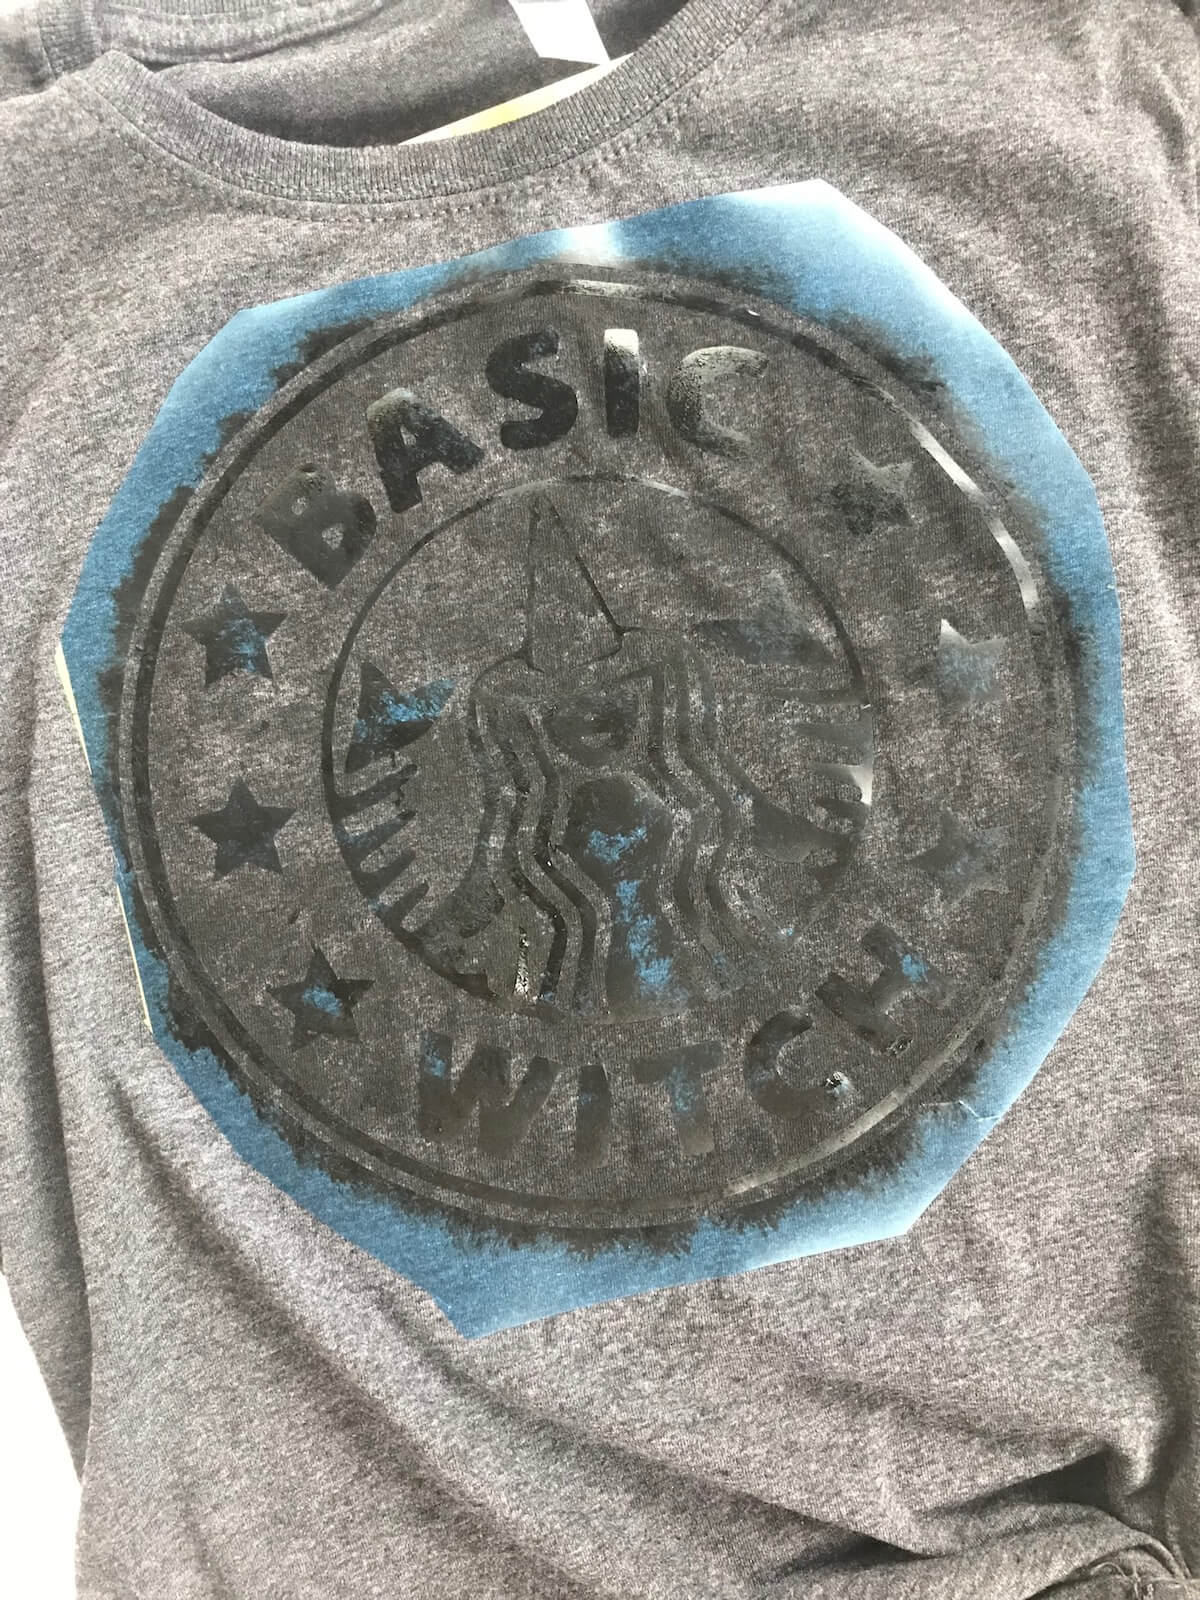
Cover the entire design and let it dry for a few minutes before removing the stencil. If you want a darker image, do another coat of fabric ink.
(5) Remove Stencil and Iron Over Design.
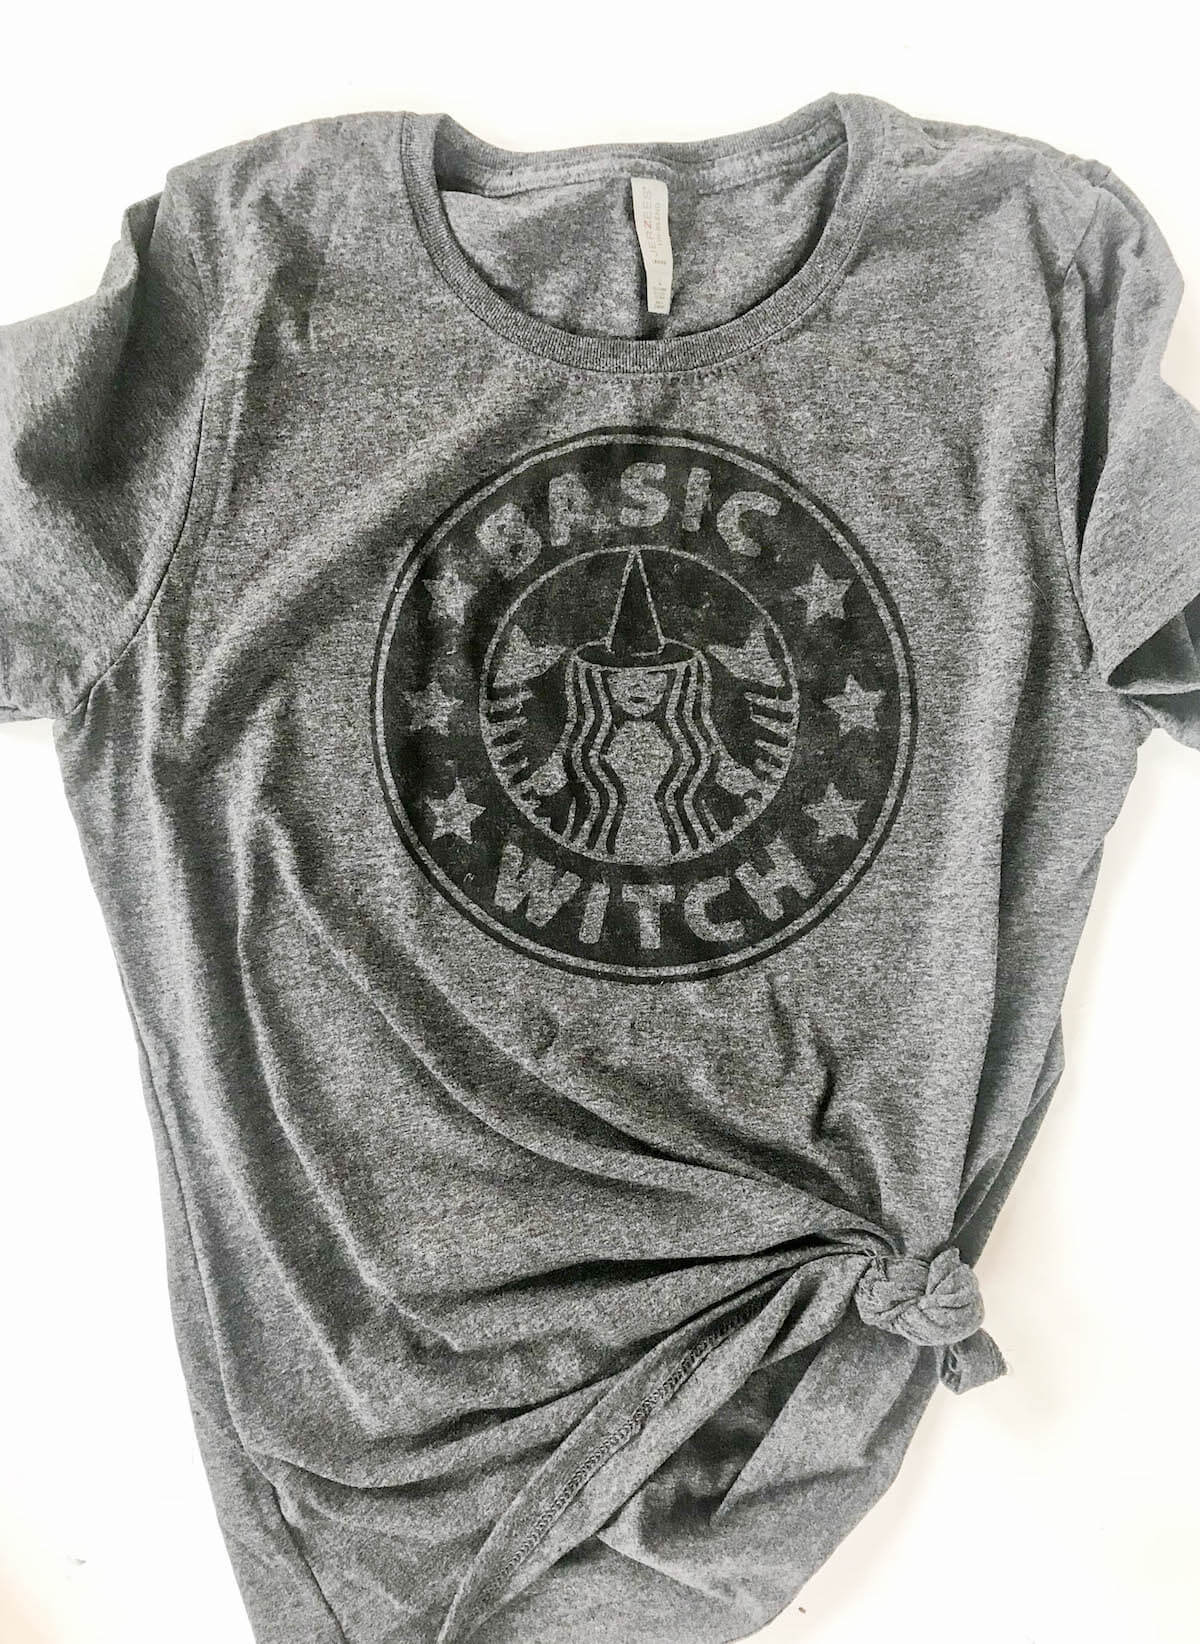
Once it’s all dry you can peel away the stencil and reveal the perfect, crisp design! Iron over the design or pop it under the heat press for a few seconds. This sets the fabric ink so it doesn’t just wash out.
(6) Show Off!
Now you can wear your totally awesome DIY’d shirt and when everyone asks where you got it you get to say, “I made it!” Go you. You rock.
Happy Crafting Friends! <3
Kayla
** this post contains affiliate links but rest assured I only promote products I absolutely love! – K
How does it do after some washings? Air dry or gentle cycle? I’ve been wanting to make some shirts for my self that I do can’t buy since I can easily make it but I’m scared to make the leap. Lol.
I am so very new to the cricut world (just bought mine this week)! I love the shirt idea! This is probably a dumb question but when you mention transfer the oramask stencil using contact paper, what do you mean? What type of contact paper should I use? Any types would be helpful!
Hey, Bree! Totally not a dumb question! I transfer Oramask using clear contact paper from stores like target/walmart.. The kind that you would use to line shelves or drawers. Lots of vinyl companies make transfer paper but I find it to be too sticky to transfer the Oramask. Hope that helps!
Do you use an Easy Press heat press to set the ink? I would like to use that, but I don’t know what settings to use or if I have to put a layer of something between the shirt and the press.
Thanks! Would I need a teflon sheet or parchment paper to cover the shirt? And would this work with Speedball ink? Sorry about all the questions, I got some fun stuff for my birthday and want to have an idea what I am doing before I start creating.
Welcome to Kayla Makes! Your source of inspiration for projects you’ll actually want to make. I’m sharing step by step tutorials, printable downloads and SVG’s, holiday home decor, seasonal crafts and more.


Rachel
Thanks for sharing!
Kayla
You’re welcome!!
Tara
Love this! How do you think this design would work using heat transfer vinyl?
Kayla
I think it would work just fine! It’s a bit of weeding but not that bad.
Angie
Where did you get your shirt that you used?
Kayla
It’s a Jerzees brand shirt from Amazon. I’ll link it in the post.
Julie
Hi! Love this! Is the fabric ink you use like speedball? Thanks!
Kayla
Hey! It’s very similar to speedball ink. Maybe a little bit thicker but works the same way! I used Silhouette brand fabric ink.
Tara Fossett
Love this idea, thank you so much for sharing!!
Kayla
You’re so welcome!
Jennifer
How does it do after some washings? Air dry or gentle cycle? I’ve been wanting to make some shirts for my self that I do can’t buy since I can easily make it but I’m scared to make the leap. Lol.
Kayla
They hold up well!! I made one for July 4th in 2016 and it has been washed 20+ times and looks great!
Carol
Oh my ! Being the coffee addict that I am ( and not ashamed!) this is PERFECT!
Kayla
Yay for coffee addicts!! Thanks for stopping in!
B Pressley
You rock Kayla!!
Kayla
Aw, thanks!! So happy you stopped by!
Bree
I am so very new to the cricut world (just bought mine this week)! I love the shirt idea! This is probably a dumb question but when you mention transfer the oramask stencil using contact paper, what do you mean? What type of contact paper should I use? Any types would be helpful!
Kayla
Hey, Bree! Totally not a dumb question! I transfer Oramask using clear contact paper from stores like target/walmart.. The kind that you would use to line shelves or drawers. Lots of vinyl companies make transfer paper but I find it to be too sticky to transfer the Oramask. Hope that helps!
Nicki Trott
Do you use an Easy Press heat press to set the ink? I would like to use that, but I don’t know what settings to use or if I have to put a layer of something between the shirt and the press.
Kayla
I used an iron bc I didnt have an easypress at the time but it would work the exact same. Just set it to 350 and press for 30 seconds. 🙂
Nicki Trott
Thanks! Would I need a teflon sheet or parchment paper to cover the shirt? And would this work with Speedball ink? Sorry about all the questions, I got some fun stuff for my birthday and want to have an idea what I am doing before I start creating.
Emma
LOVE this shirt!!! Do you think it would work and look the same on baseball hats??
Kayla
Thanks! Hats will be a little harder bc of their shape but it’s doable!
Kori
Have you tried this with bleach?
Kayla
I haven’t! I have seen others do it with success!