Screen Printing With Vinyl and Speedball Ink
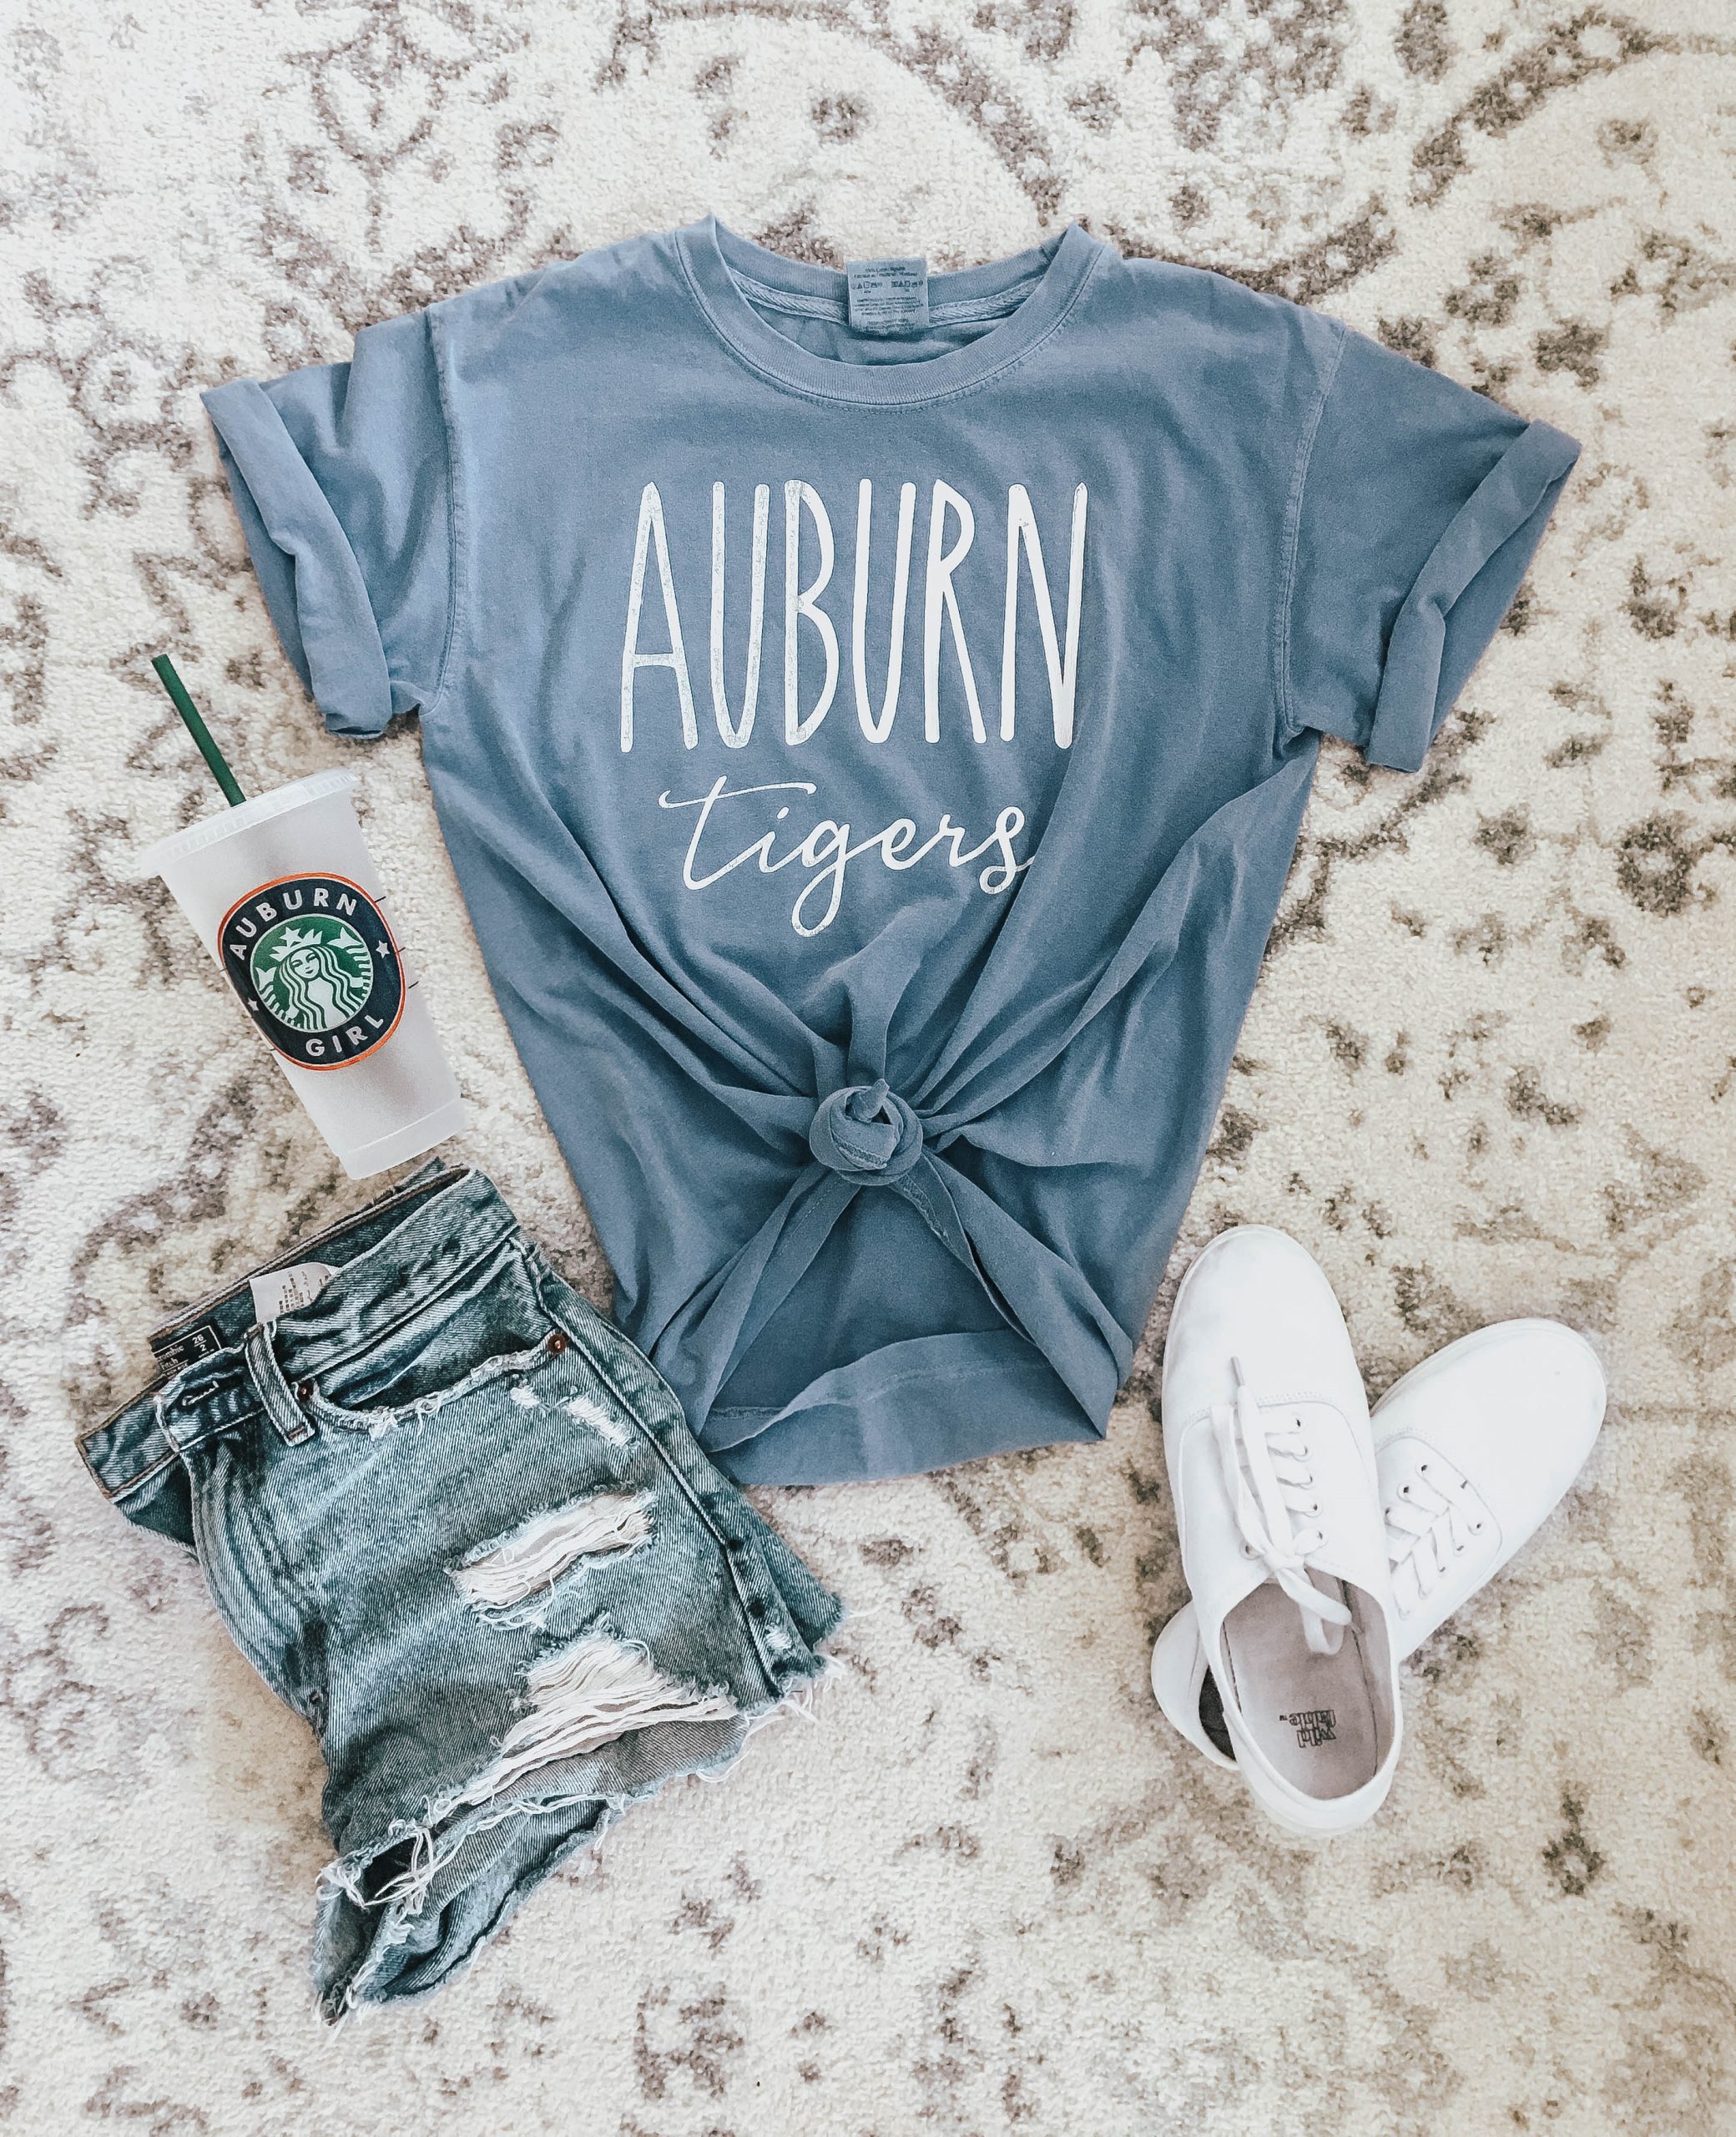
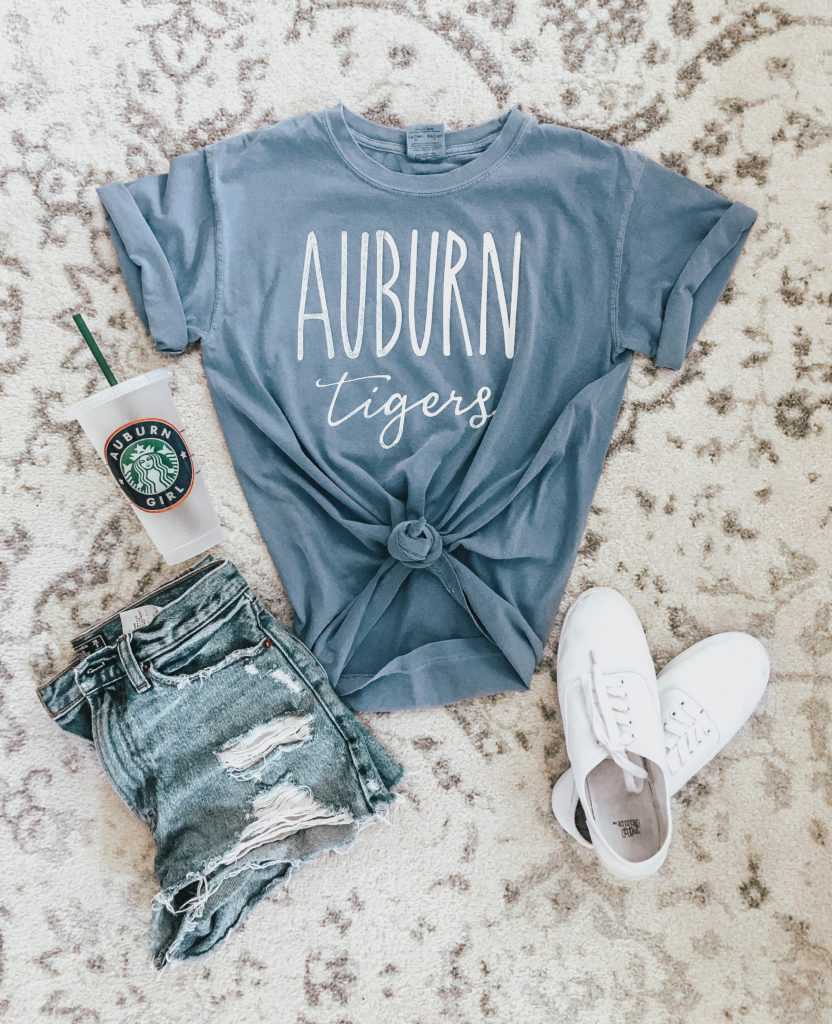
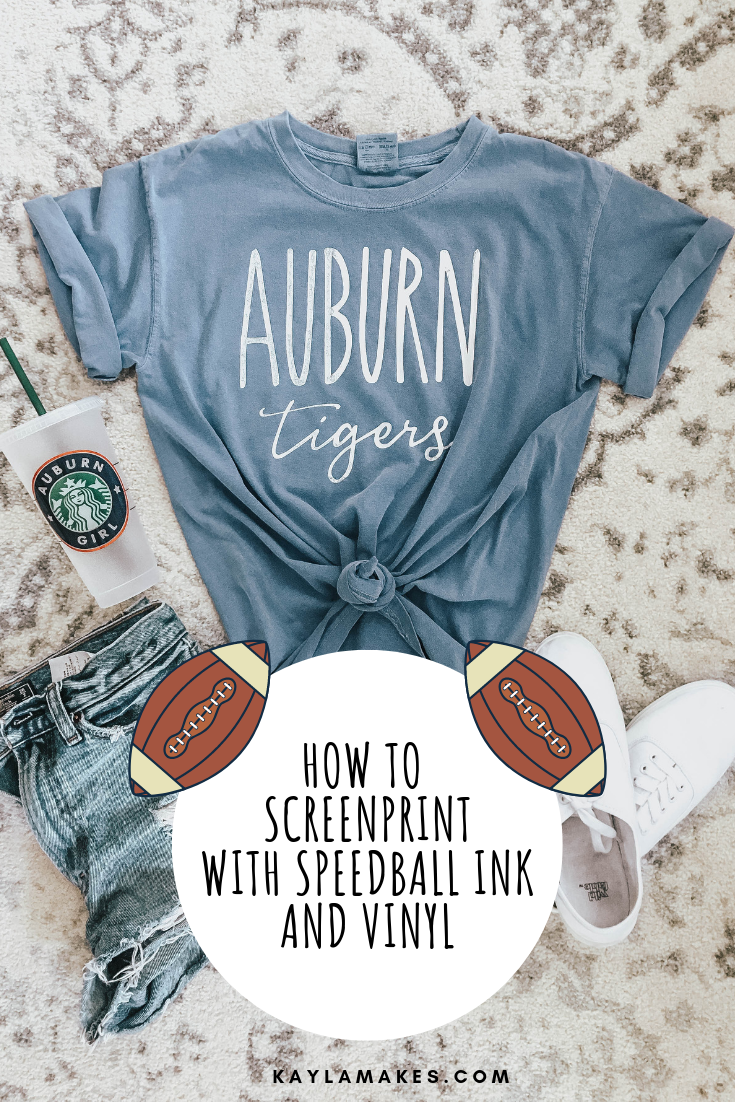
Hey crafty gals! I’m so excited for today’s post! I just tried screenprinting with Speedball ink and vinyl for the very first time and I am OBSESSED with the outcome. I may never use heat transfer vinyl again. Like, ever. It’s that good. Keep reading to learn how!
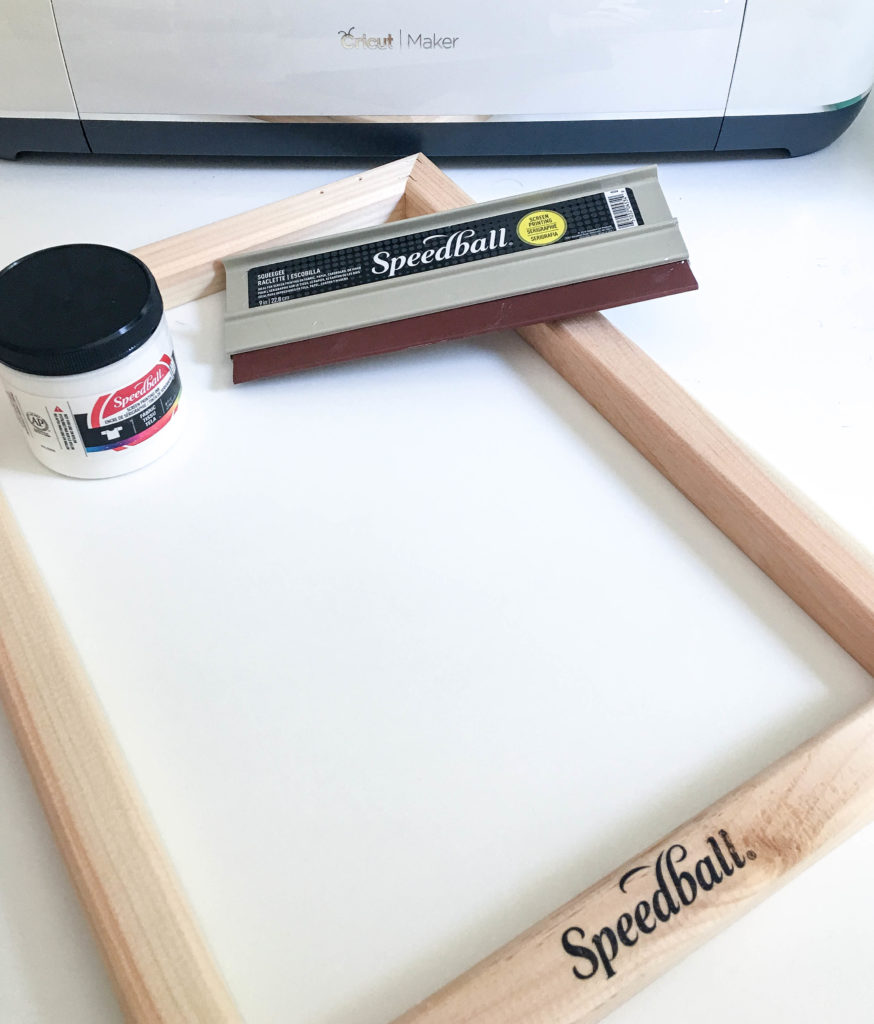
First let’s chat about Speedball’s products. Since this was a new thing for me I started small and ordered the 10×14 screen, the 12 inch squeegee and fabric ink in black and white. Speedball has a ton of colors to choose from though and I immediately clicked “add to cart” on all of them when I finished this project. Need! They also carry various sizes of screens and squeegees but if you’re a newbie I would recommend starting small like I did.
Here’s What You Need:
- Speedball Fabric Printing Ink
- Speedball 10×14 Screen
- Speedball 12 inch Fabric Squeegee
- Blank T-Shirt (I used Comfort Colors)
- Oracal 651
- Transfer Tape
- Iron or Heat Press
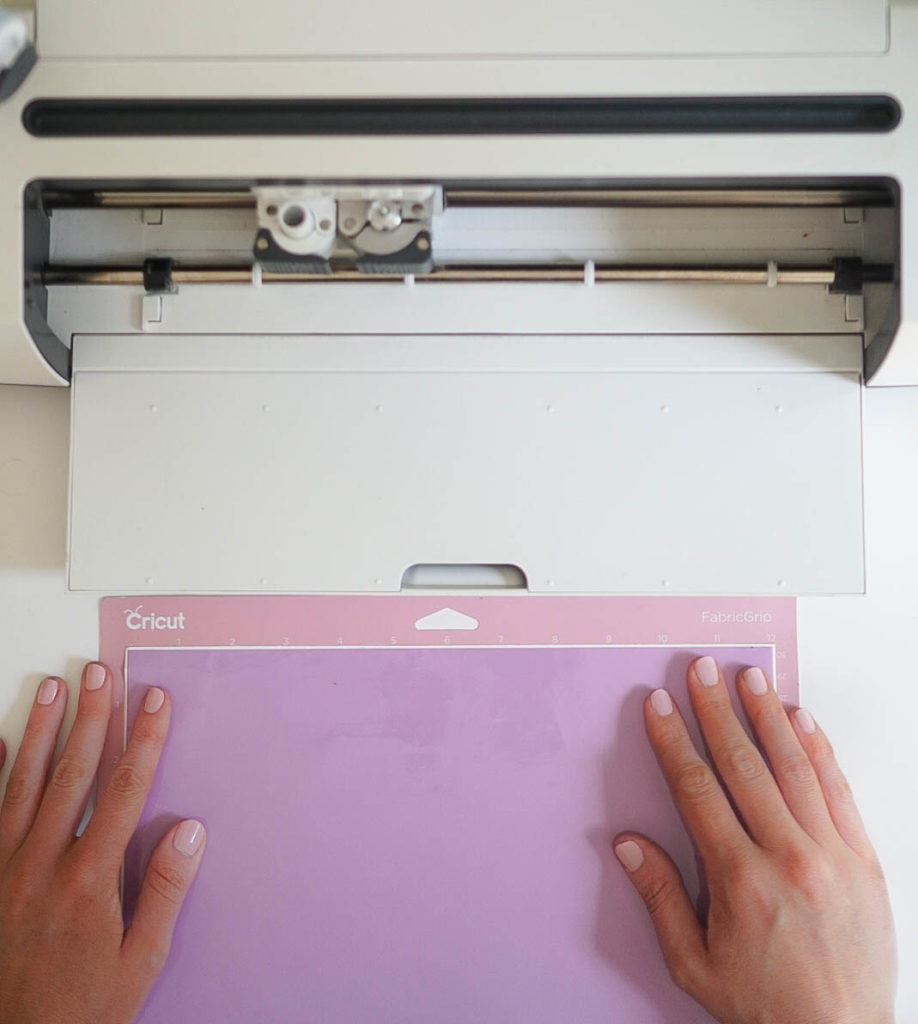
1. Cut Design From Oracal 651 Vinyl
Start by choosing a design and cutting it out of the vinyl just as you normally would a decal. Don’t reverse the image or anything like that.
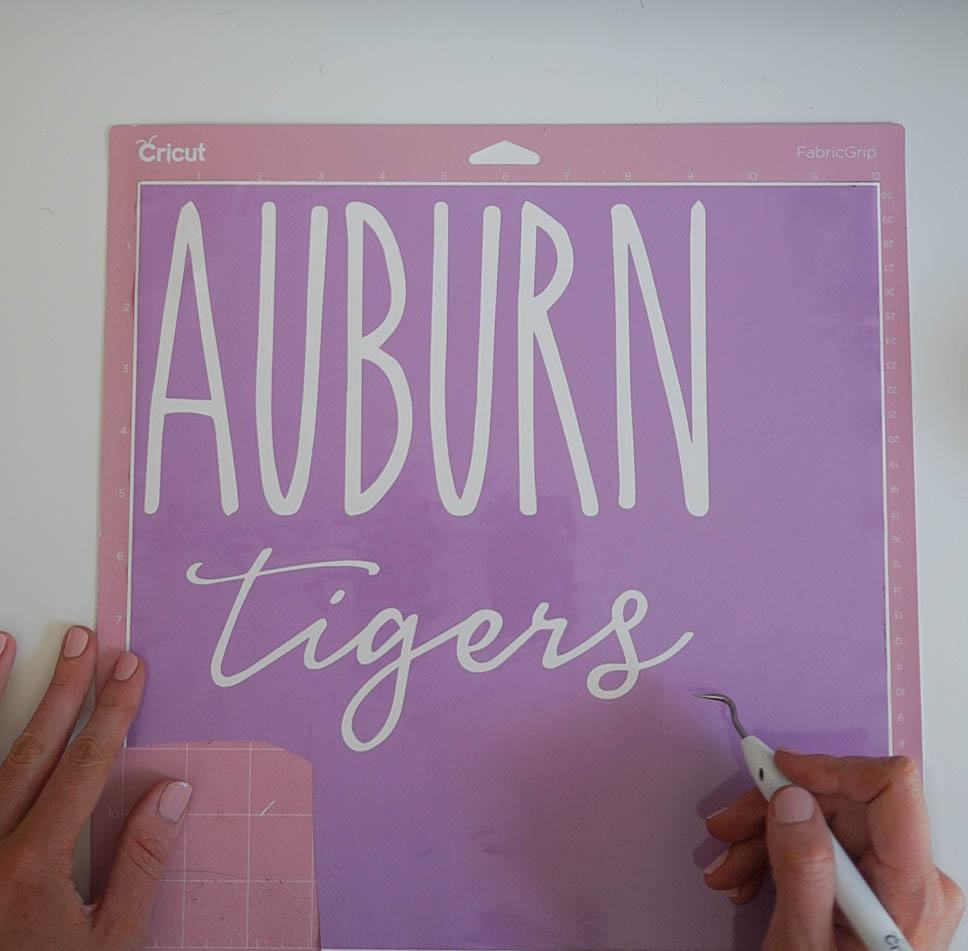
2. Weed Letters To Create Stencil
After your design finishes cutting, weed away the letters (or whatever) leaving behind a stencil.
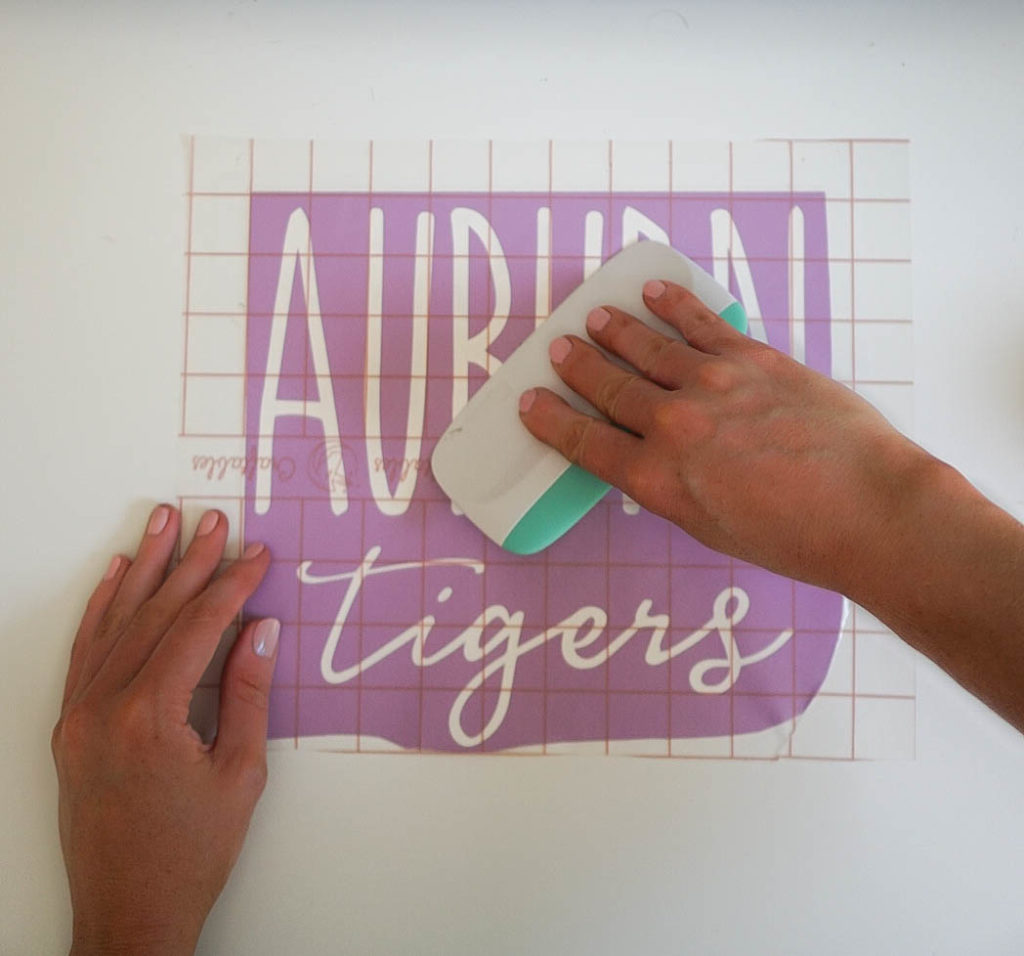
3. Apply Transfer Tape To Vinyl Stencil
Apply a piece of transfer tape over the vinyl stencil and use a scraper tool to make sure it sticks really well.
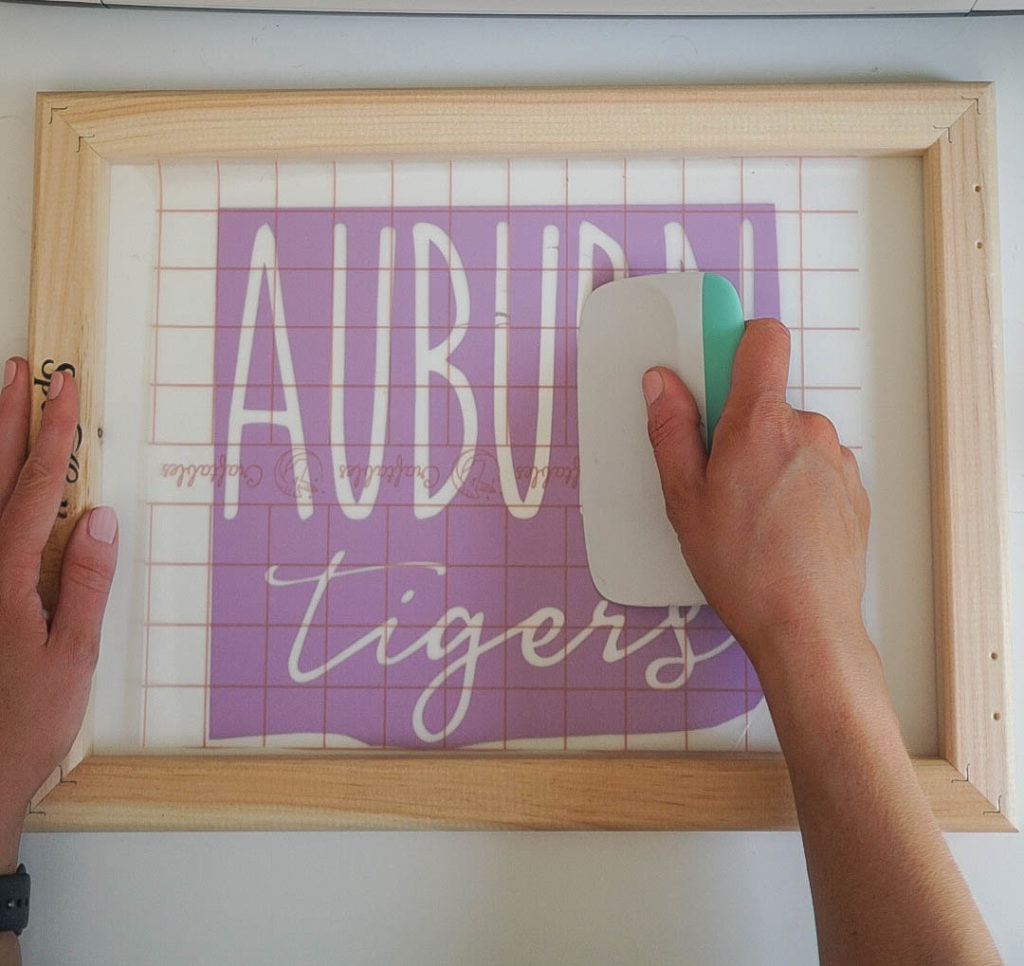
4. Transfer Stencil to Speedball Screen
Peel the transfer tape and vinyl off of the vinyl’s paper backing and transfer it to the screen. Use the scraper tool again to make sure the vinyl is fully adhered to the screen.
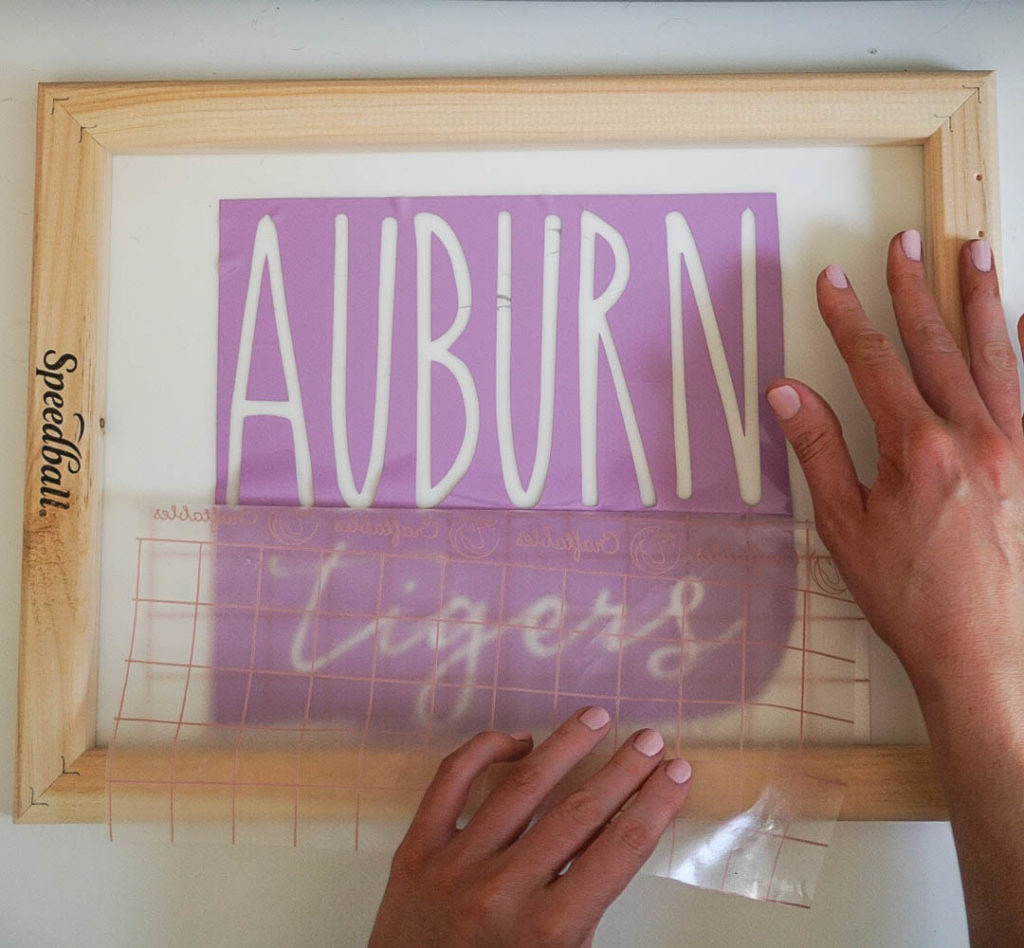
5. Remove Transfer Tape
Peel the transfer tape away from the vinyl. This part is a little tricky because the vinyl wants to stick to the transfer tape instead of the screen but if you take it slow, it’s fairly easy. If you have any bubbles or creases just press them back down after the transfer tape is fully removed.
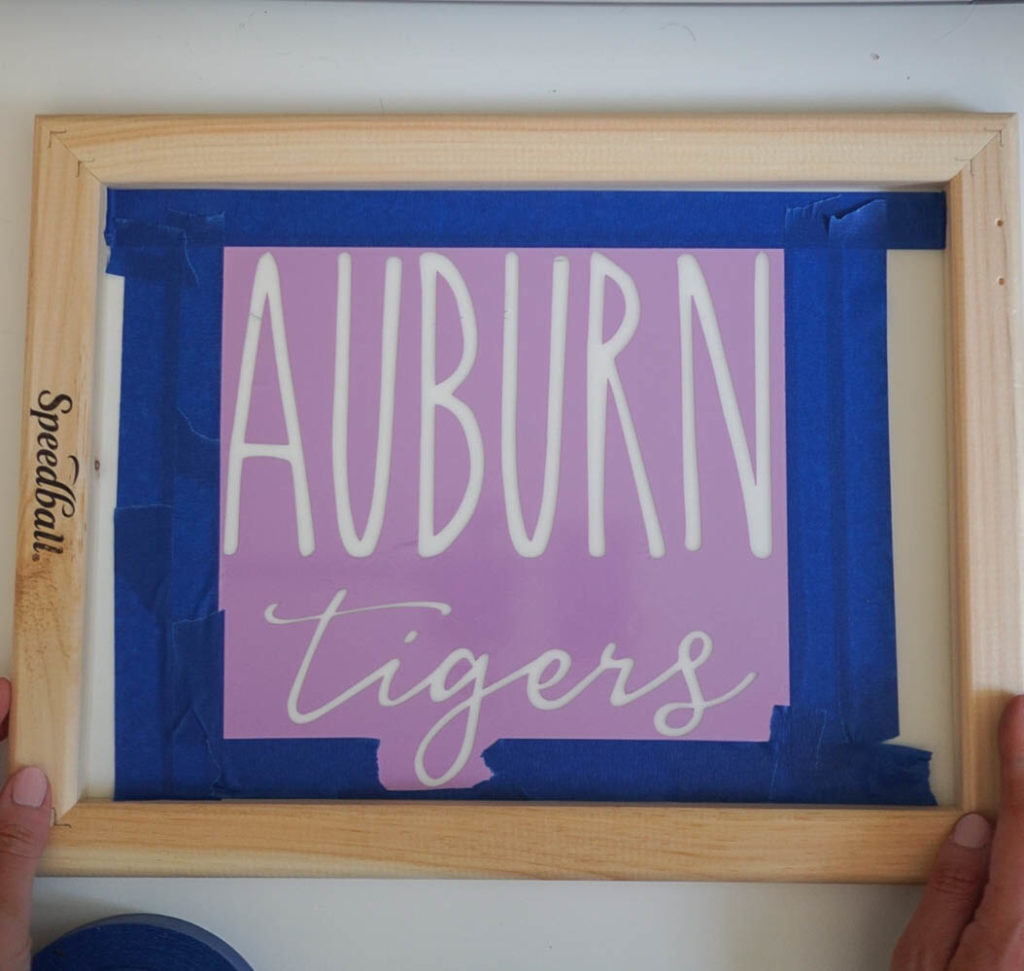
6. Mask Edges With Painters Tape
Use painters tape to mask off the rest of the screen around the vinyl stencil.
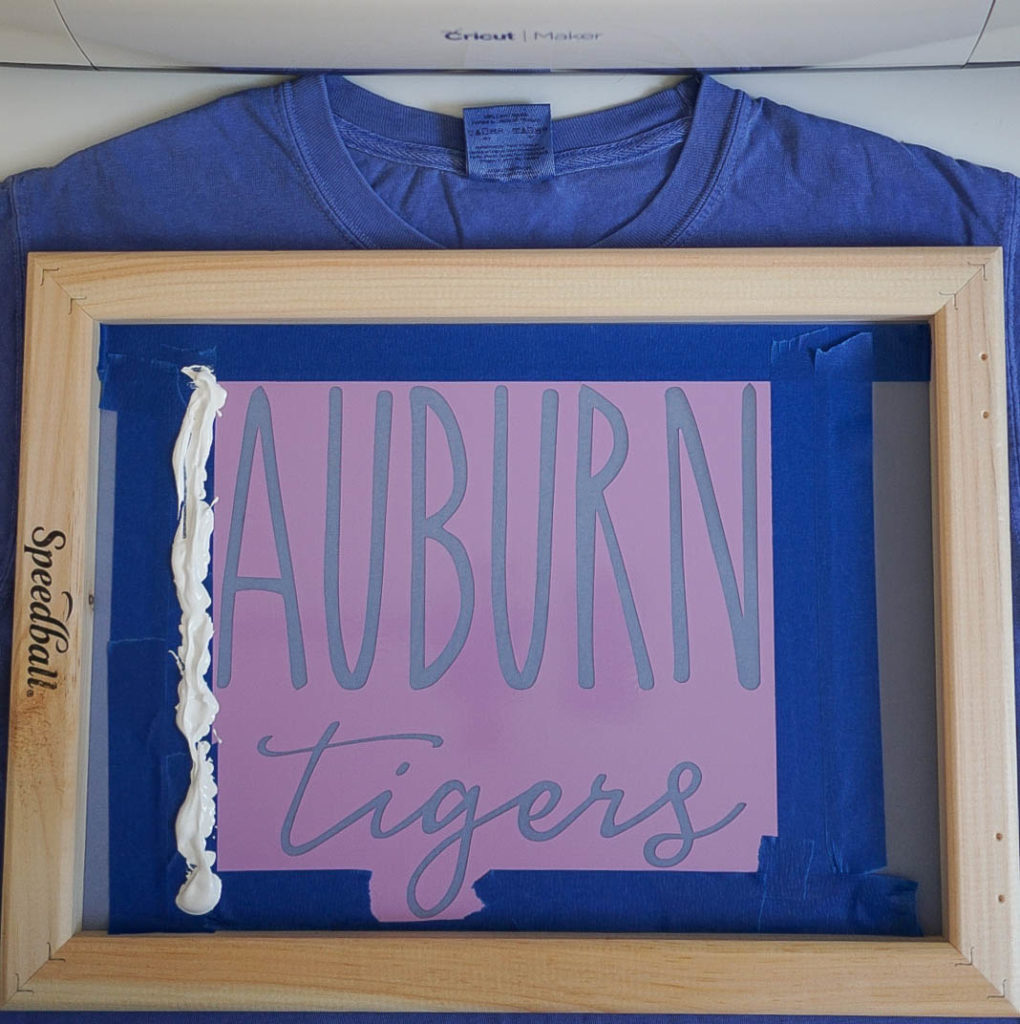
7. Apply Ink To Edge Of Screen
Apply a generous strip of the speedball ink down the side of the screen, right on top of the painters tape is fine.
8. Apply Ink With Speedball Squeegee
Line the squeegee up so that you arent missing the top or bottom of your design and then, in one swift movement, drag the squeegee over the ink and right over the stencil.
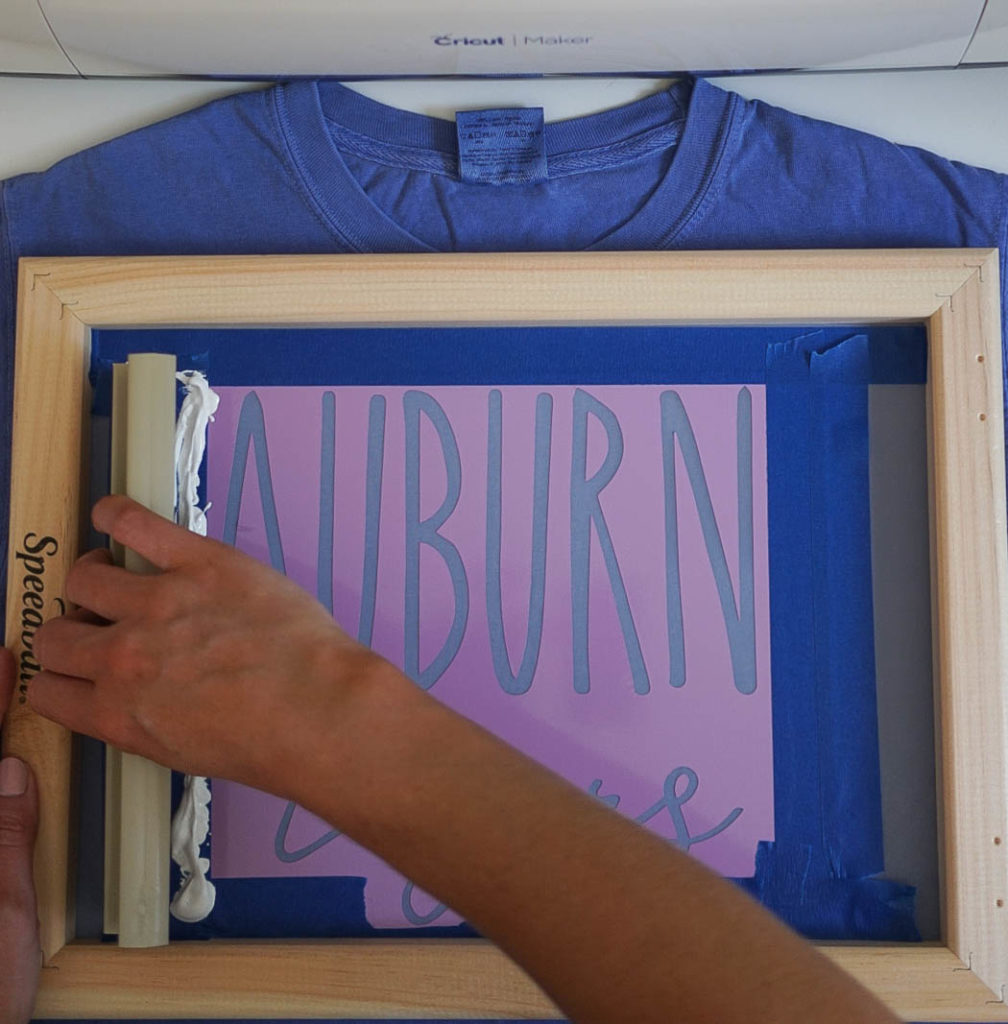
You’ll want to hold the screen down firmly with your free hand and use a decent amount of pressure when dragging the ink over the stencil.
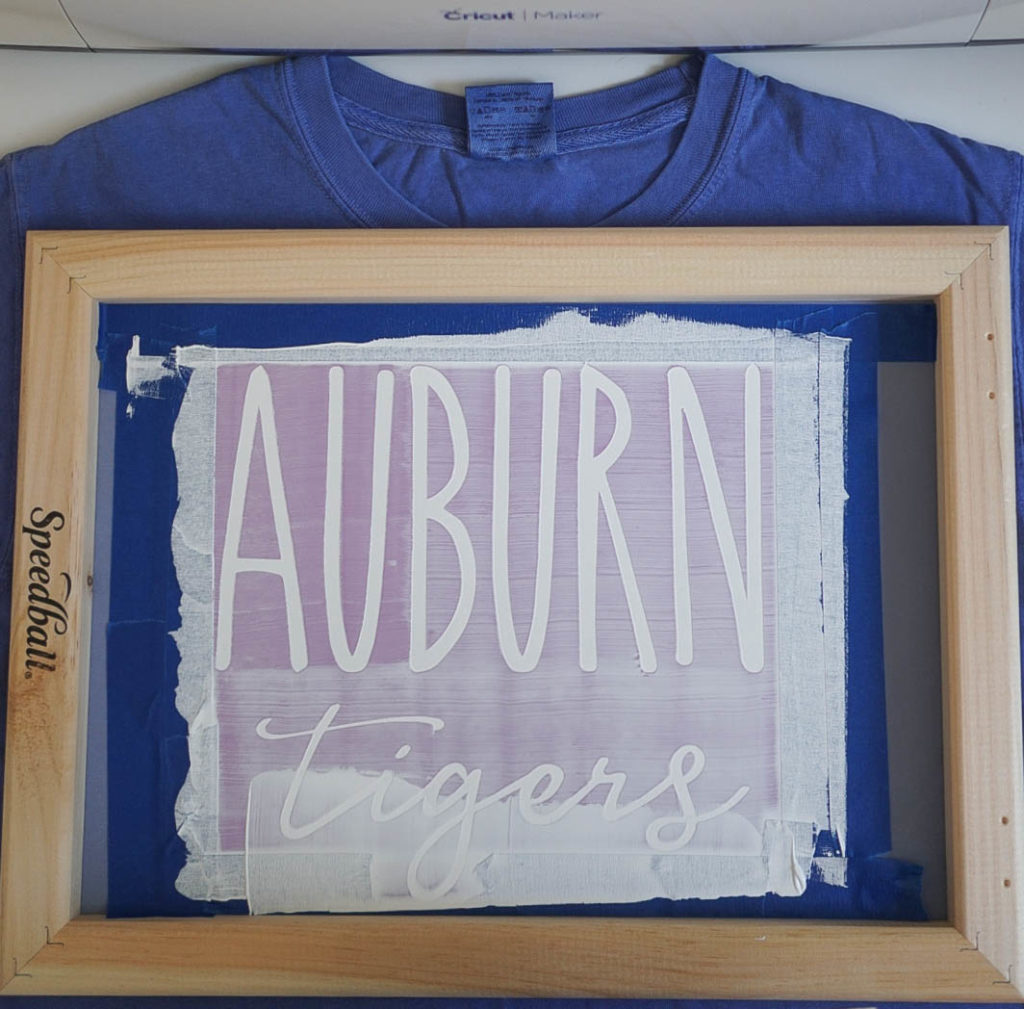
9. Remove Screen To Reveal Design
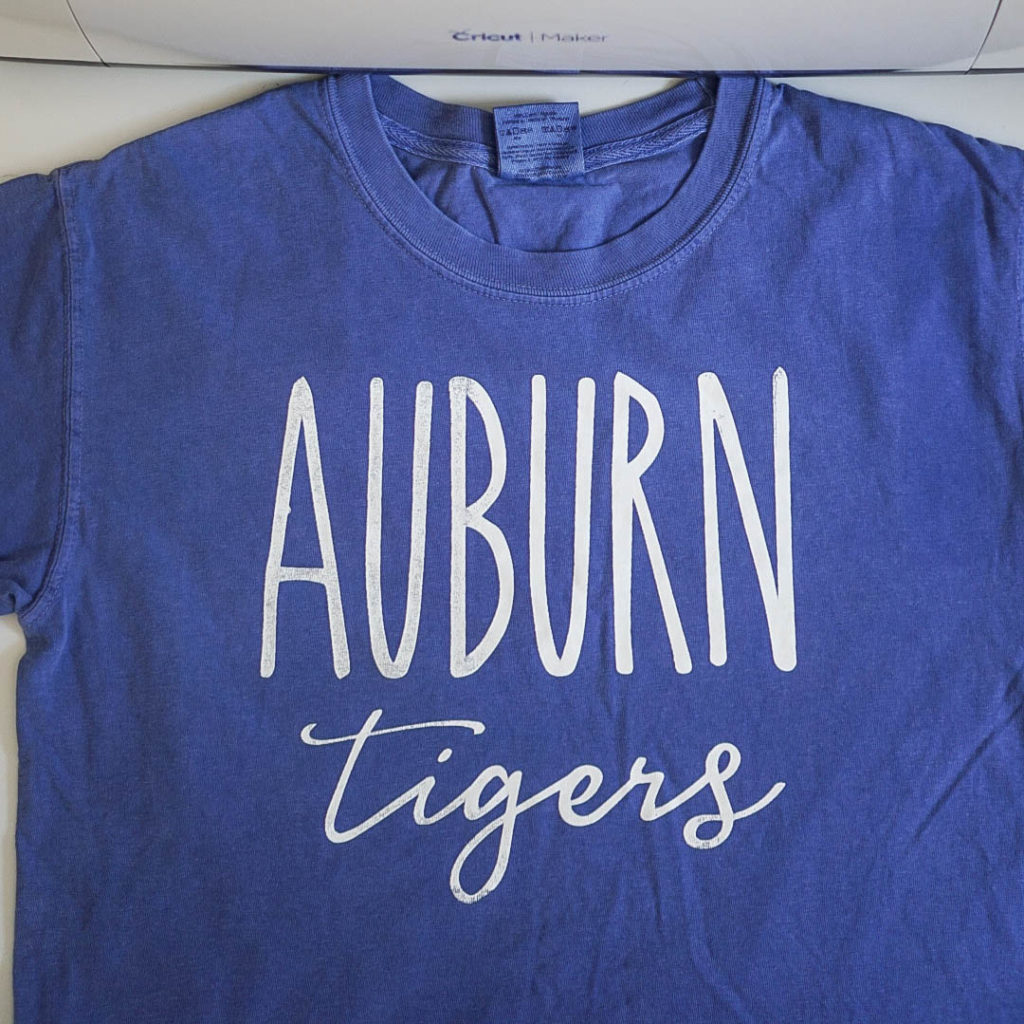
Carefully lift the screen to reveal the screen printed image. I probably could’ve gone over this one once more to get solid white letters but I actually love the vintage look of it.
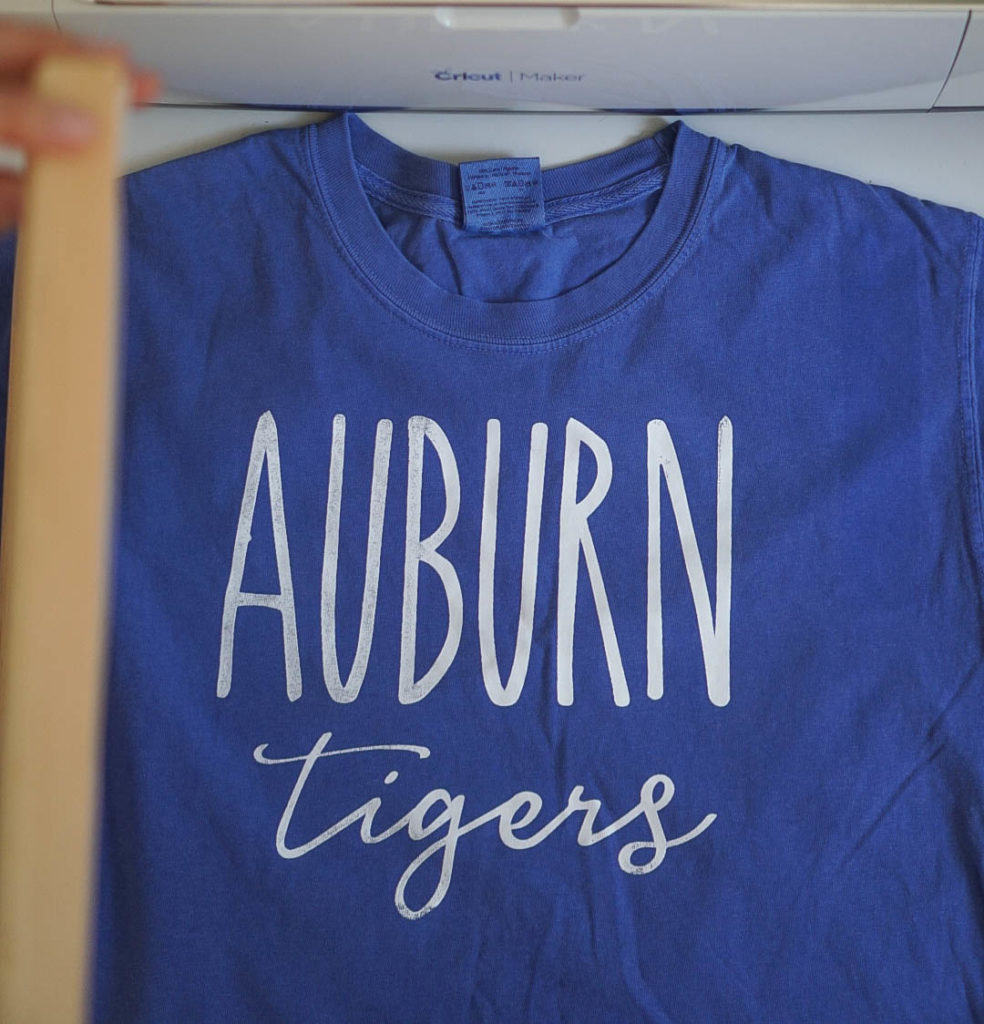
That’s all there is to it! It took me less than 10 minutes from start to finish.
*Speedball fabric ink has to be heat set so, once the ink fully dries, use a household iron or a heat press to heat set the ink into the fabric from both sides. You’ll want to cover the design with a thin fabric or sheet of paper and then apply heat for 3 minutes (if you’re using a standard iron) but keep the iron moving to avoid scorching.
If you have any questions, don’t hesitate to leave a comment down below or shoot me an email.
Happy Crafting!




Renee
I just got my screen printing supplies,m. I’m a HTV junkie so I’m excited to try this. One question, how do you wash the ink out of the screen?
Kayla
Just rinse with water while it’s still wet! I hope you love it!
Doug B
Wow, I mostly do print on demand designs and don’t produce my own stuff. Recently I’ve been dabbling with screen printing but this looks WAY easier that messing with emulsion, cleaning screens, removing emulsion etc. I’m definitely going to look into getting a vinyl cutter. Thanks for the great tutorial!
Carolyn
What is the font that you used for this?
Jennifer Allen
This is AMAZING!!! I had no idea screen printing could be this easy. How many times can you use the same design on the screen?
Thanks so much for being so generous with your ideas and talents!!
Jennifer
Kayla
Thank you!! I’m so happy you found my post helpful. You can reuse the same design on the screen multiple times! I’d say 20-30 times with no issue.
Meri
I have been wanting to try screen printing for awhile – you’ve made it look so easy and now I can’t wait to try it out! Thanks for the great directions!
Kayla
Yay, thank you!! So happy the post was helpful!
Amy
This is great! Can you clean your screen with the vinyl on it so that you can print more of the same design at a later date?
Kayla
You can! I just use the sprayer in my kitchen sink and I spray the ink off of the non sticky side of the vinyl.
Maria
I LOVE this tutorial. Thank you for the simple and easy step-by-step!
Cheers,
Maria
Kayla
Yay!! Thank YOU!
Dakota
How do you save the stencil at the end?
Kayla
Save it so that you can reuse it? You’ll have to carefully wash the ink off of the screen and leave the stencil attached.
Christina
This was great!! I followed step by step and the results were perfect. Only struggle was getting transfer tape off of vinyl without risk of messing it up.
Thank you sooo much!!
Kayla
Yay!!! So happy it was helpful! Thanks for sharing! 🙂
Renee
Hi,
Thank you for sharing this!! I’ve been stressing over screen printing
Do you know if a regular stencil can be used?
I don’t have a Circuit or Silouquette
Kayla
As long as it’s adhesive on the back you should be fine! If it’s just a standard plastic stencil you’ll have a lot of bleeding underneath. 🙁
Kamryn
Hi! I have been trying to find the right formula for printing multiple tshirts! Some show putting the vinyl on the back side, and some are like yours. Is there a reason for either? And do I need to wash the screen between each print when I am doing the same thing?
Kayla
Hey! I actually do suggest cutting it in reverse and putting it on the back side. That was my first ever attempt so I had no clue! But, the reason is because when you drag the squeegee over the screen it can peel up the vinyl. If it’s on the back side you wont have that issue at all. If you’re doing the same design in the same color, no need to wash the screen. Just don’t let the ink dry on the screen.
Traci
I’ve always wanted to try screen-printing. You make it look so easy. Might have to give it a try! How does it hold up after washing? Thanks for the tutorial! Happy Fourth! 🇺🇸🇺🇸🇺🇸
Kayla
Yay! Give it a shot, you’ll love it!
Nicky
When I washed my screen my 651 came off with it. Have any suggestions how to keep it from coming off? I used my garden hose. Maybe too much pressure?
Kayla
Try washing from the opposite side so you aren’t pushing the vinyl off of the screen.
Ashley+Bartels
Hello! Thank you so much for this post, I am very excited to try my first screen print!
I am a little confused however. Should I print my image in reverse or not?
THANK YOU
Kayla
Yes! I need to update my post to reflect that. You should reverse your image and place it on the back side of the screen.
Jocelyn
How long should I heat set it with a heat press and at what temperature? 3-5 minute sounds like a long time in a heat press. Thanks!
Kayla
15-20 seconds should be plenty of time with a heat press. Temp should be 320 degrees.
Crystal
You’re tutorial looks so simple! I’m going to try this soon. Do you have any tips for centering the design on the shirt? I have a hard time centering, it takes me forever with just a vinyl design. And with this technique there’s a wood frame around the whole thing, yikes! I’m slightly intimidated.
Thank!
Diana
Hi! I’ve heard that you can set it by putting it in the dryer? Have you tried that? I don’t have a heat press or iron 🤦🏻♀️
Also curious if you need to have a different screen for each design you do or if you can use the same screen and just peel off the vinyl to do a new design?
Kayla
It will set in the dryer but make sure to air dry the ink first so it doesn’t smear while it’s tumbling. And yes, you can use the same screen over and over again, just remove the vinyl and wash the ink off before it dries.:)
Jess
You can use a heat gun for just a few minutes to “set” the ink so much faster then air drying.
Kate
War Eagle!!!!
Thanks for the tutorial!