Beginner’s Guide: Intro Into Adhesive Vinyl
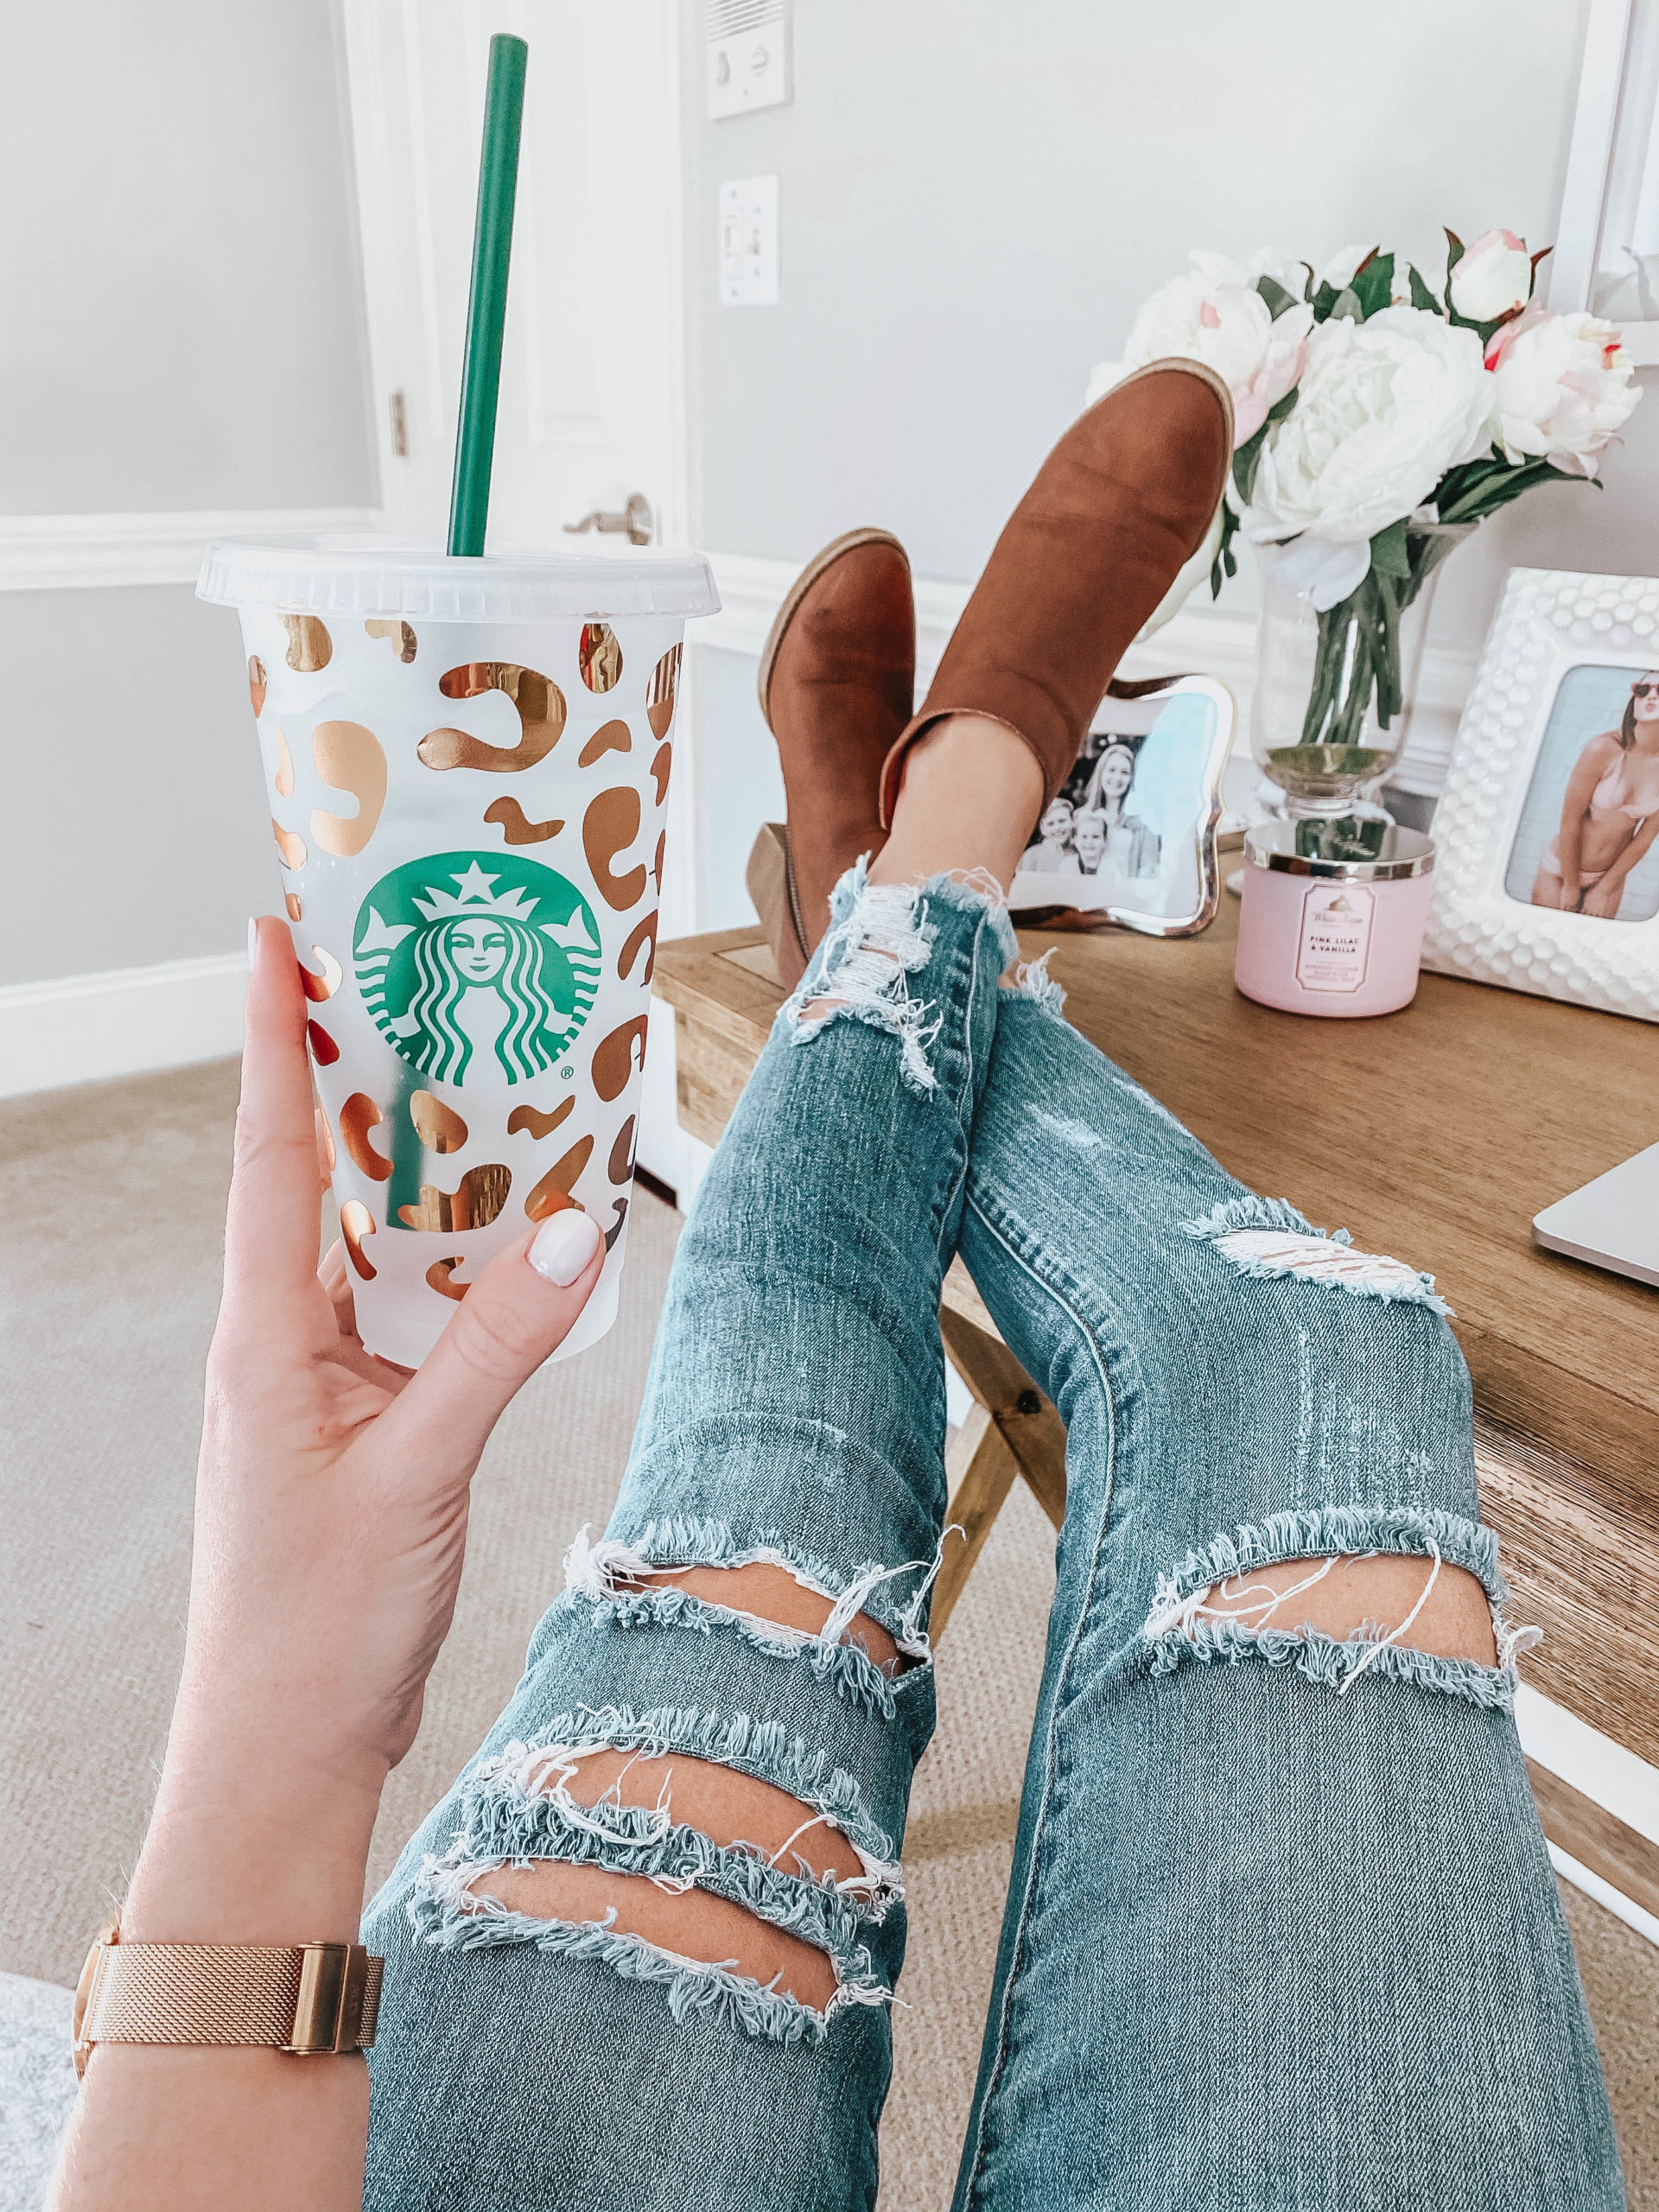
Hey, crafty friends! As a beginner crafter I know it can be overwhelming to dive into the wonderful world of adhesive craft vinyl. There are SO many different options to choose from and if you’re brand new, you probably don’t know where to begin. That’s where this post comes in handy! Today, I’m walking you through the ins and outs of adhesive craft vinyl so when the time comes, you’ll know exactly what to use for your next project.
*this post contains affiliate links which help to support this site at no extra cost to you. 🙂
What is adhesive vinyl?
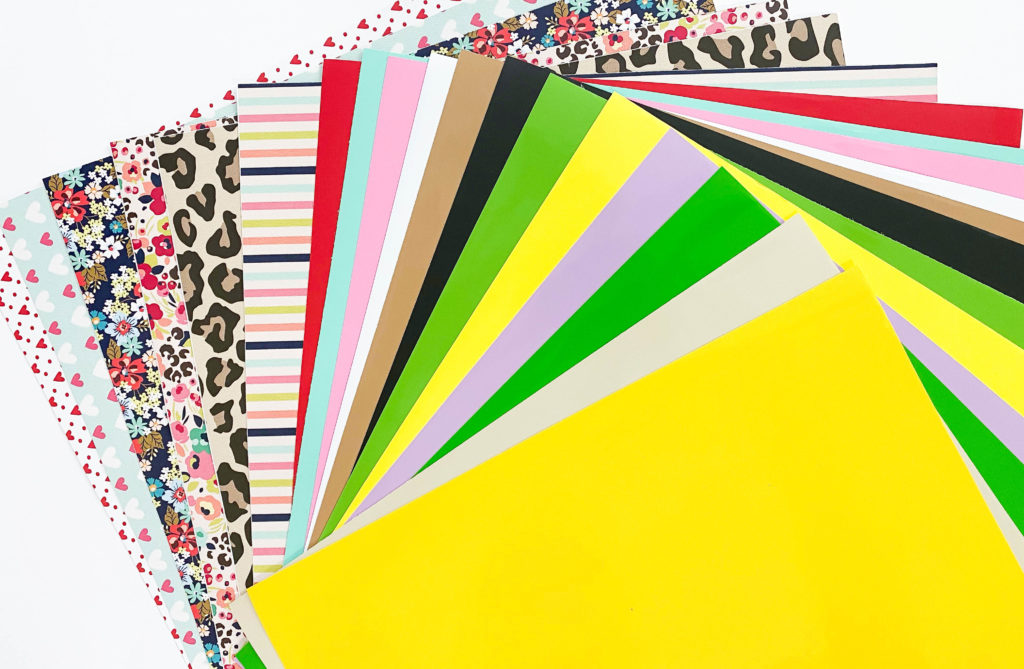
Adhesive vinyl is a thin, flexible, self-adhesive material (think durable sticker) that is typically used to create wall and window decals and business signage. It’s durable and can also be waterproof which makes it very versatile. Adhesive vinyl comes in many forms; glossy, matte, glitter, patterned, metallic, just to name a few. However, the two main types of adhesive vinyl are removable and permanent.
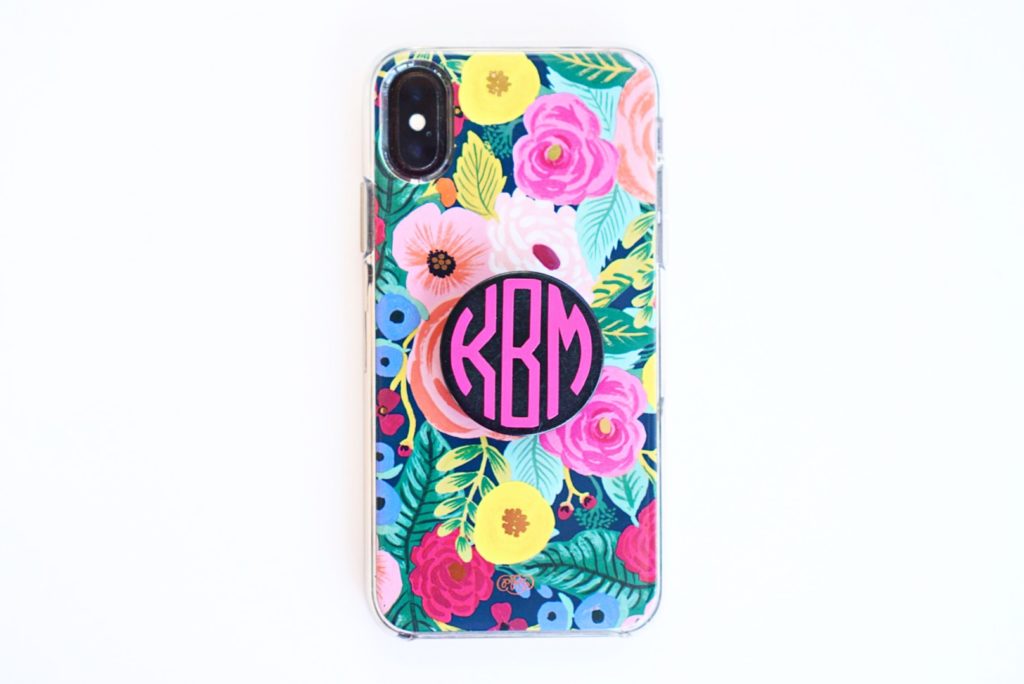
Removable Indoor Vinyl is great for temporary applications such as wall decals, indoor signs or chalkboards. It typically has a matte finish. Oracal 631 is the most popular brand of removable indoor vinyl which can be found at Expressions Vinyl.
Permanent Outdoor Vinyl is the most well known and widely used craft vinyl because of it’s long lasting permanent adhesive. Permanent outdoor vinyl is perfect for coffee mugs, water bottles, car decals and any outdoor application. While it’s not truly “permanent” it does last for up to 8 years! Outdoor vinyl typically comes in a glossy finish but there are a few matte options as well. The most popular brand of POV is Oracal 651 which you can find at Expressions Vinyl.
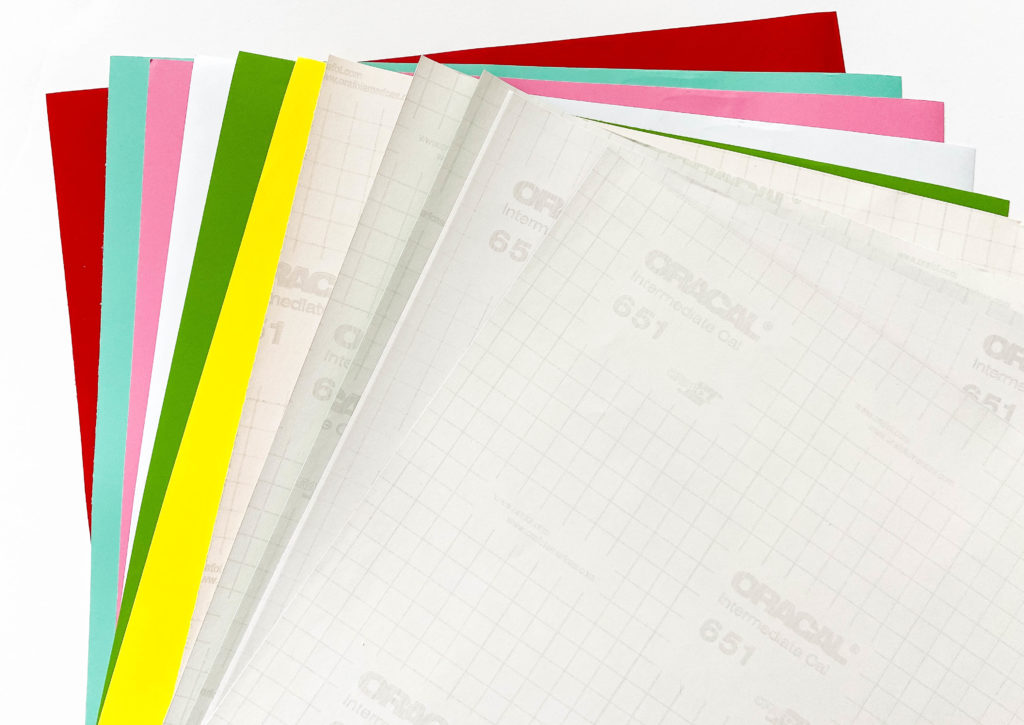
*Adhesive vinyl always has a paper backing material. You should be able to peel the vinyl away from the paper and feel the sticky adhesive. If you can’t, then it isn’t adhesive vinyl. When cutting adhesive vinyl you’ll always place the paper backing down against the cutting mat.
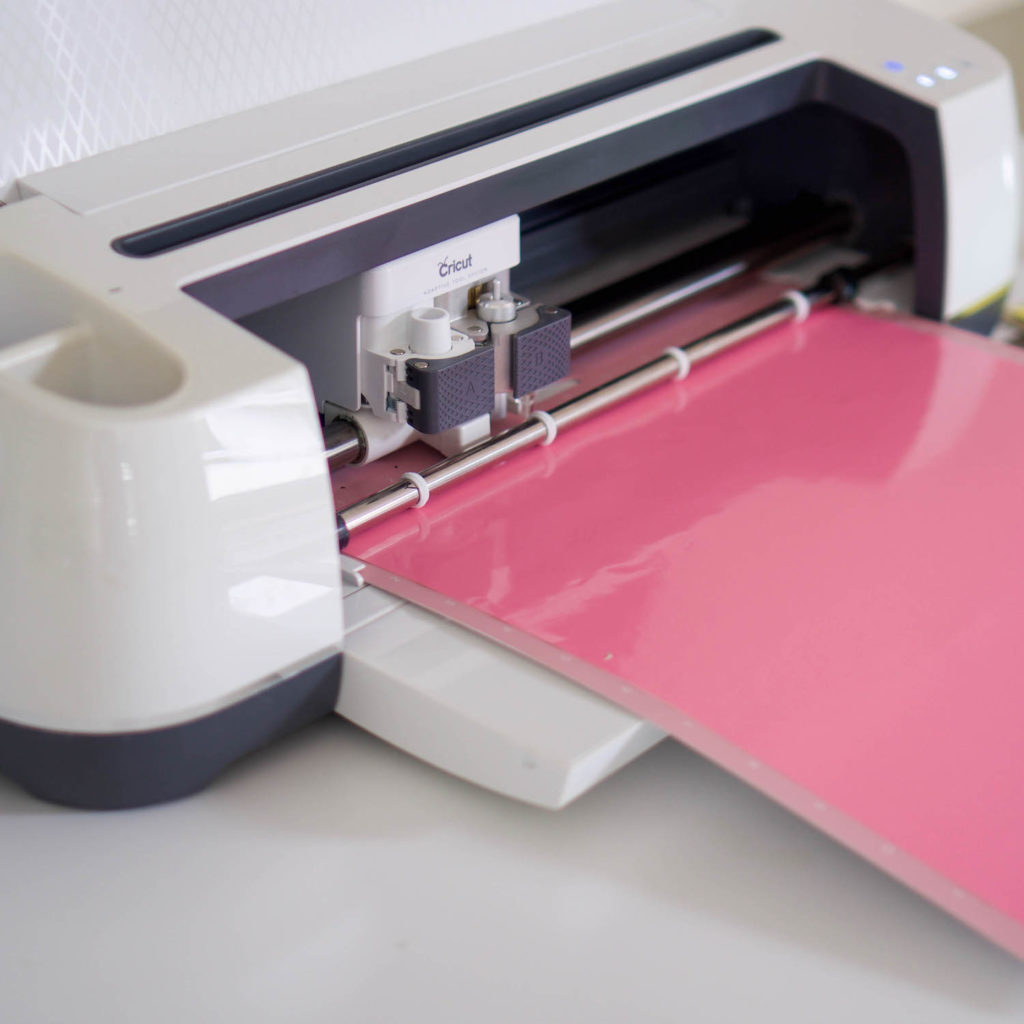
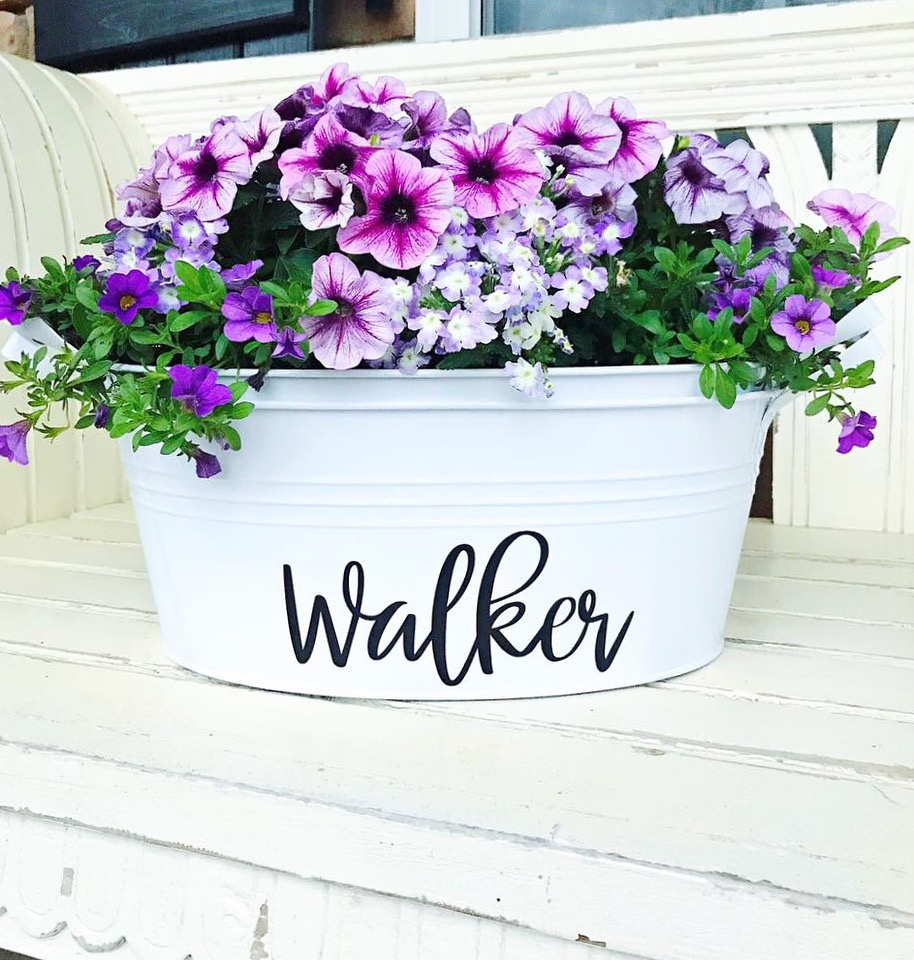
*The type of adhesive vinyl you use fully depends on the project at hand. If you want to create seasonal chalkboard art or maybe add a decal to the wall inside your home, use removable. If you want to add a monogram to a sand bucket or create a coffee mug, use permanent! Generally speaking, if it’s going to be exposed to heat, water or any extreme elements, outdoor permanent is the way to go.
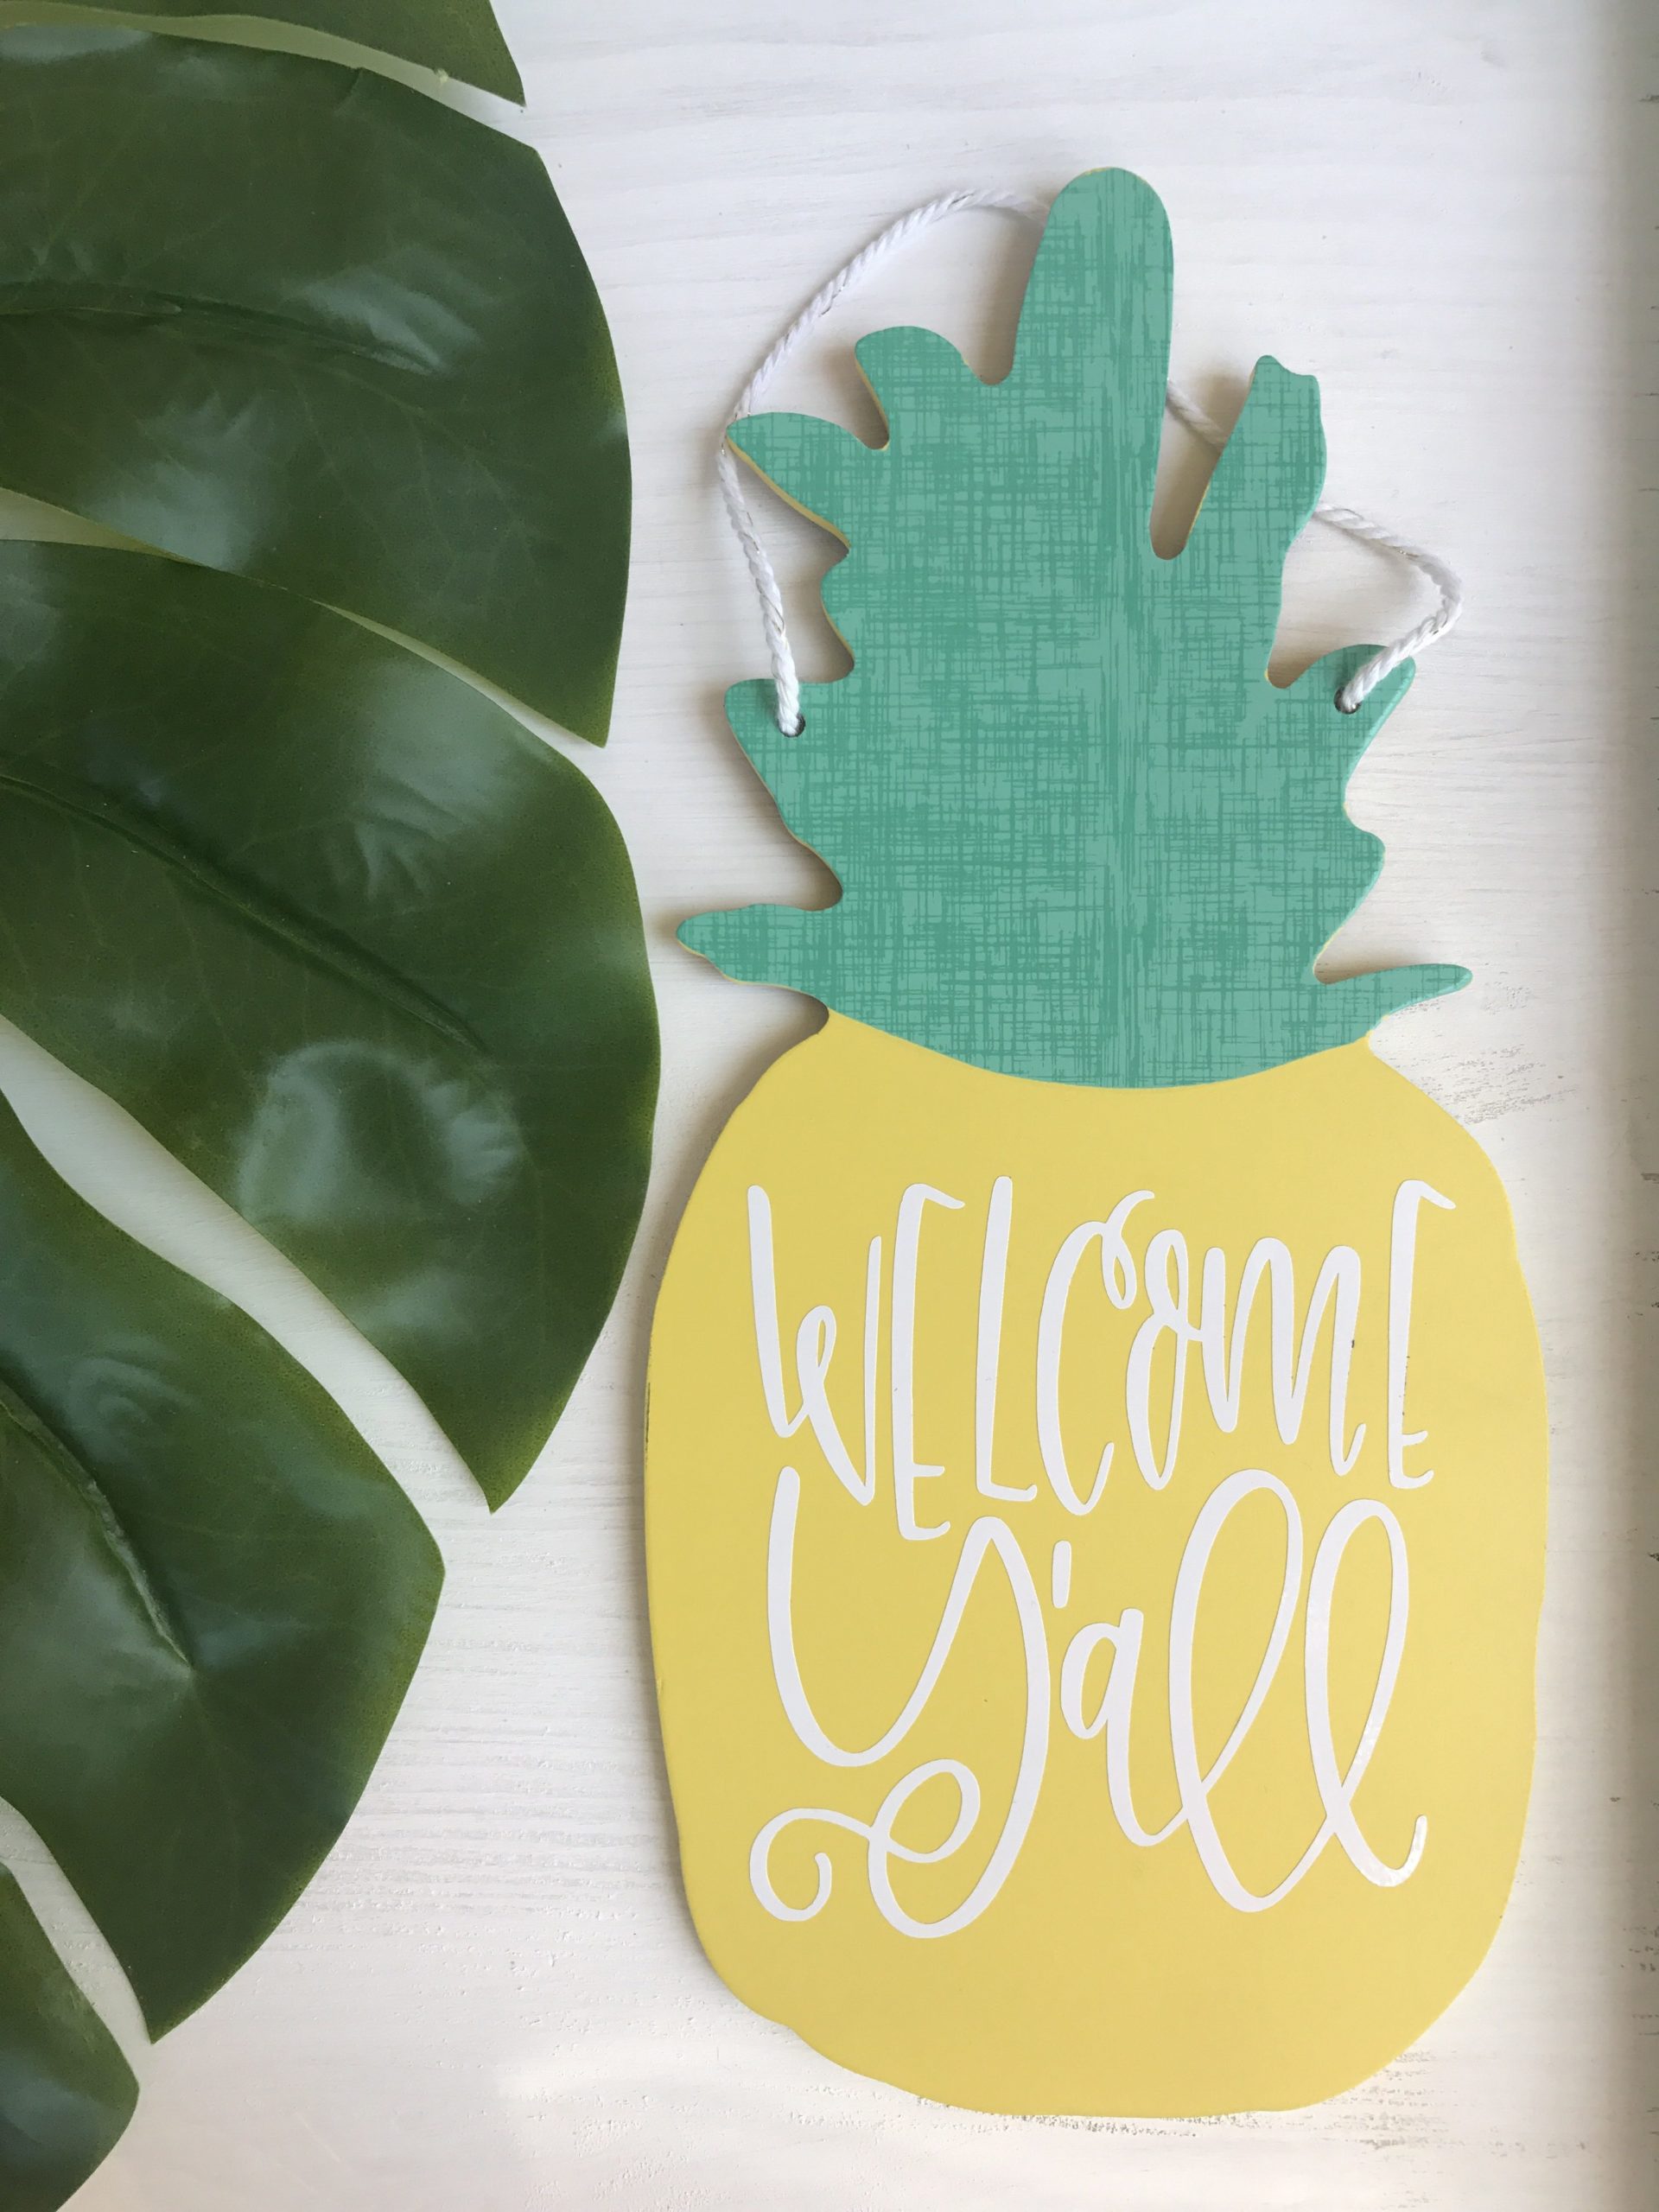
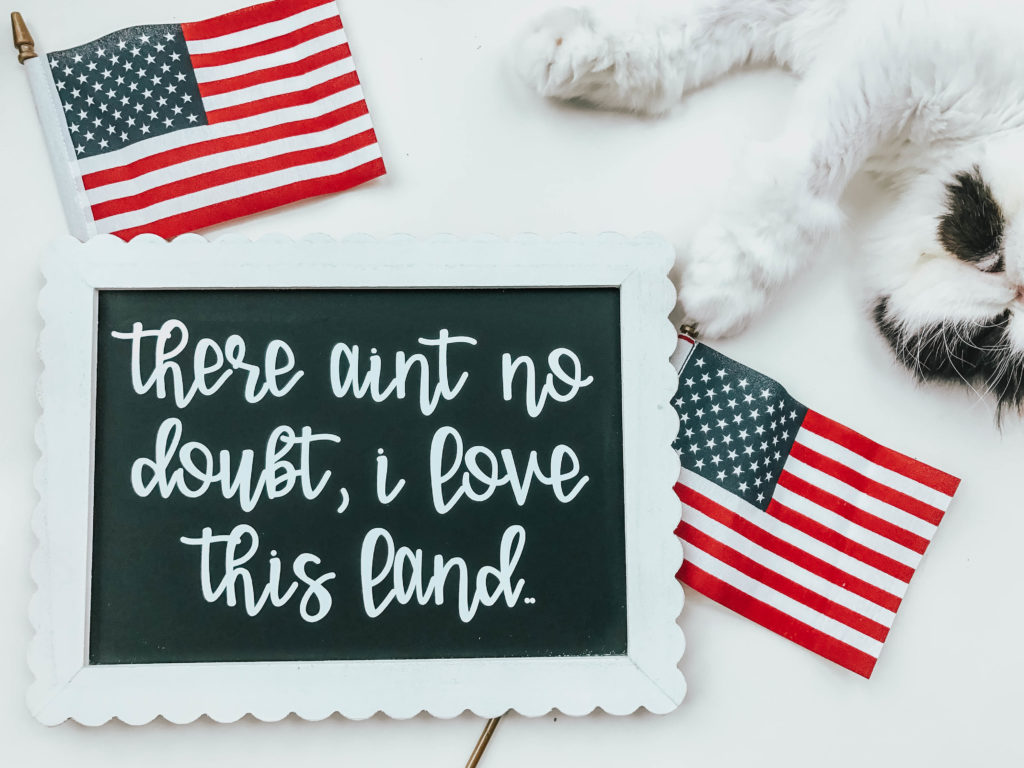
Here are some examples of projects using removable indoor vinyl:
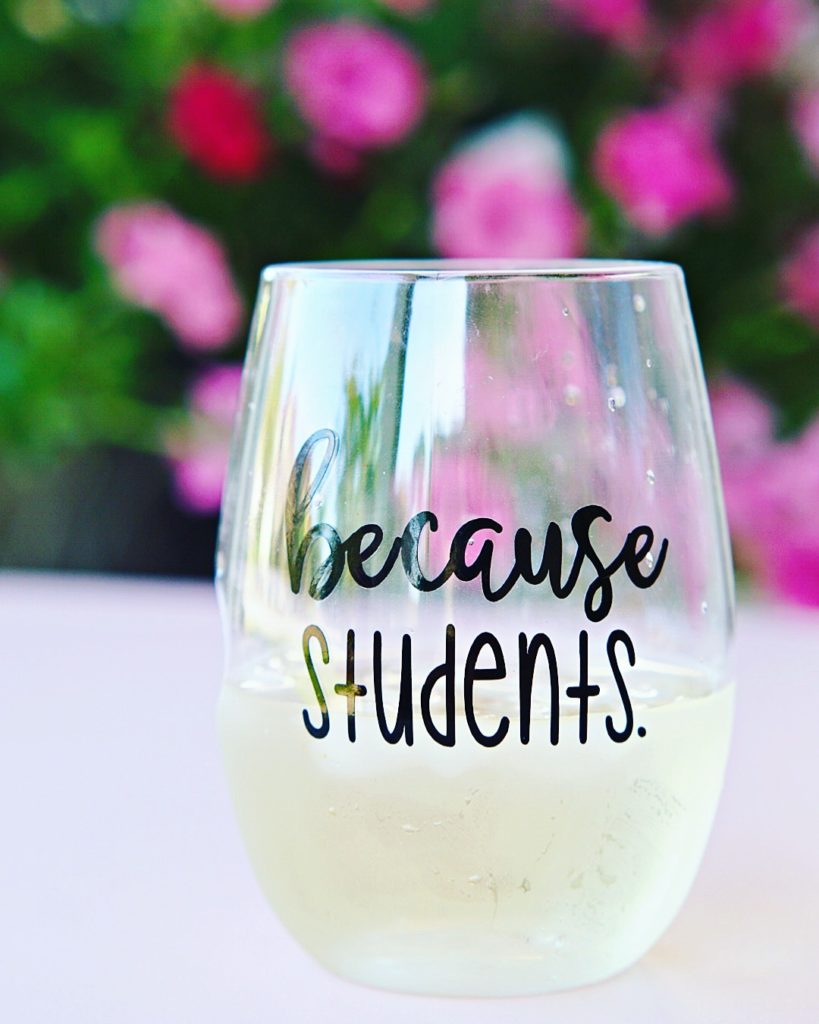
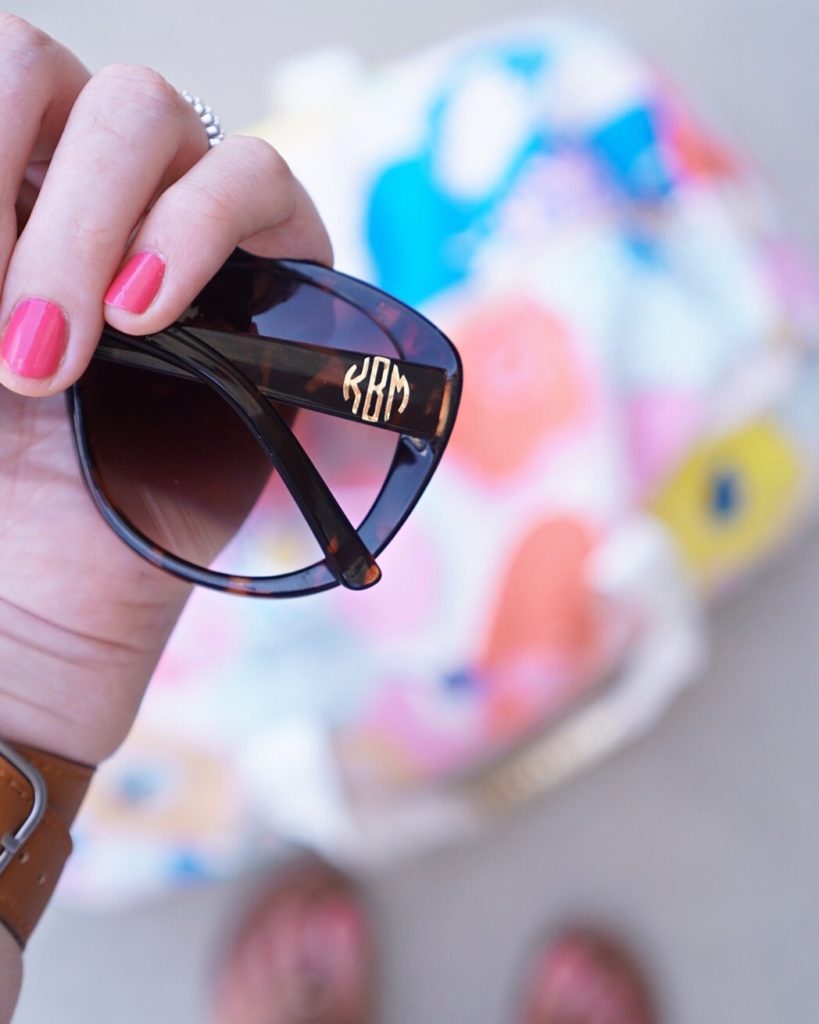
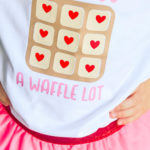
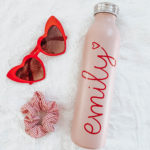
And these are examples of what you can do with permanent adhesive vinyl:
Where Can I Buy Vinyl?
Now, let’s talk about purchasing vinyl! There are hundreds of websites out there and you can even get vinyl at craft stores but my go to is always Expressions Vinyl. I’ve been singing their praises for years now and it doesn’t look like that will be changing any time soon! The prices are competitive, they have great sales and coupons, the shipping is crazy fast AND the people are friendly. As if that isn’t enough, they recently launched a brand new Vinyl Basic’s Box for beginners.
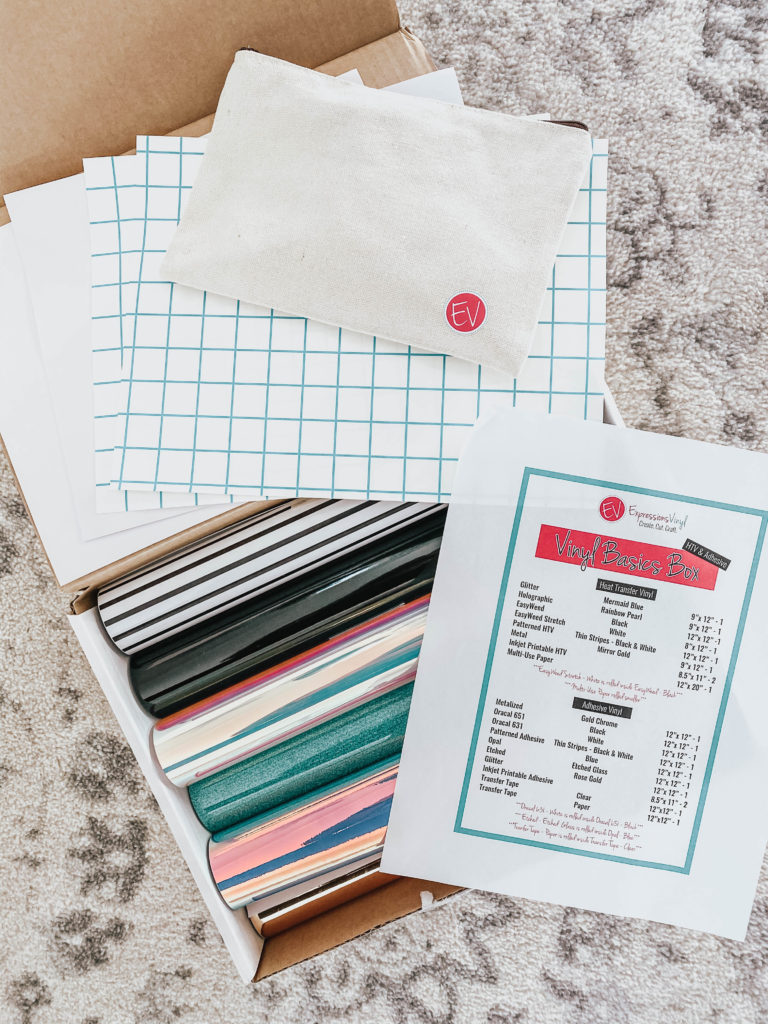
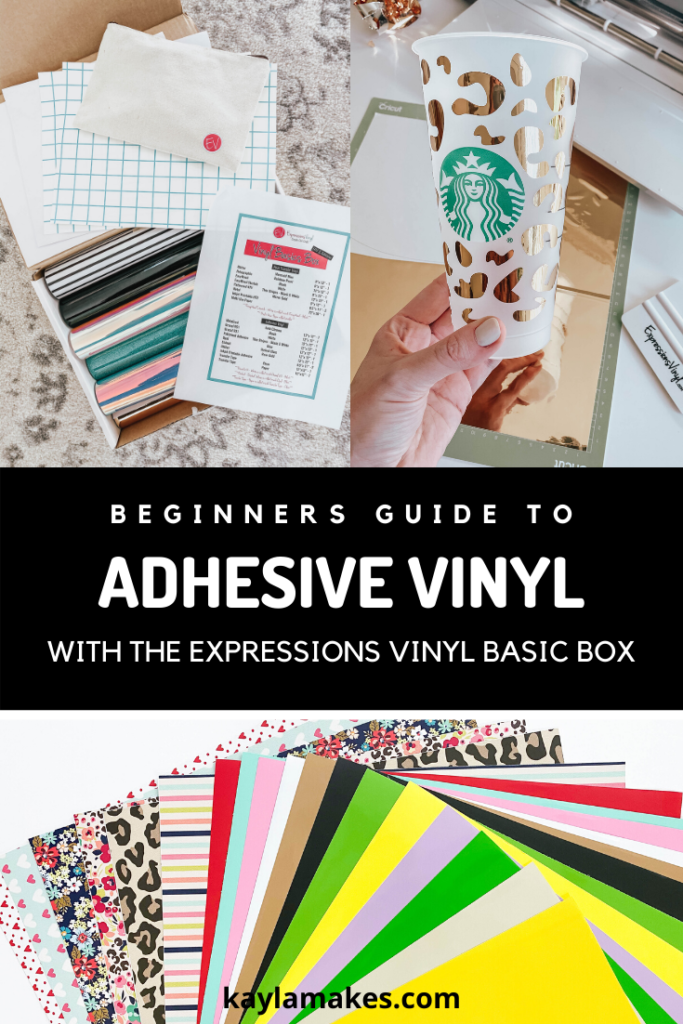
The Vinyl Basics Box is packed with everything you need to get familiar with vinyl. It comes with 8 different kinds of adhesive vinyl including both Oracal 631 and 651, transfer tape, and a handful of different types of HTV. It’s a great way to try a lot of vinyl types without spending a lot of money.
How do I use it?
Let’s do a quick and easy project so you can see!
For this tutorial I’m using a sheet of gold chrome adhesive vinyl from the Vinyl Basics Box and this free cut file.
Step One: Design
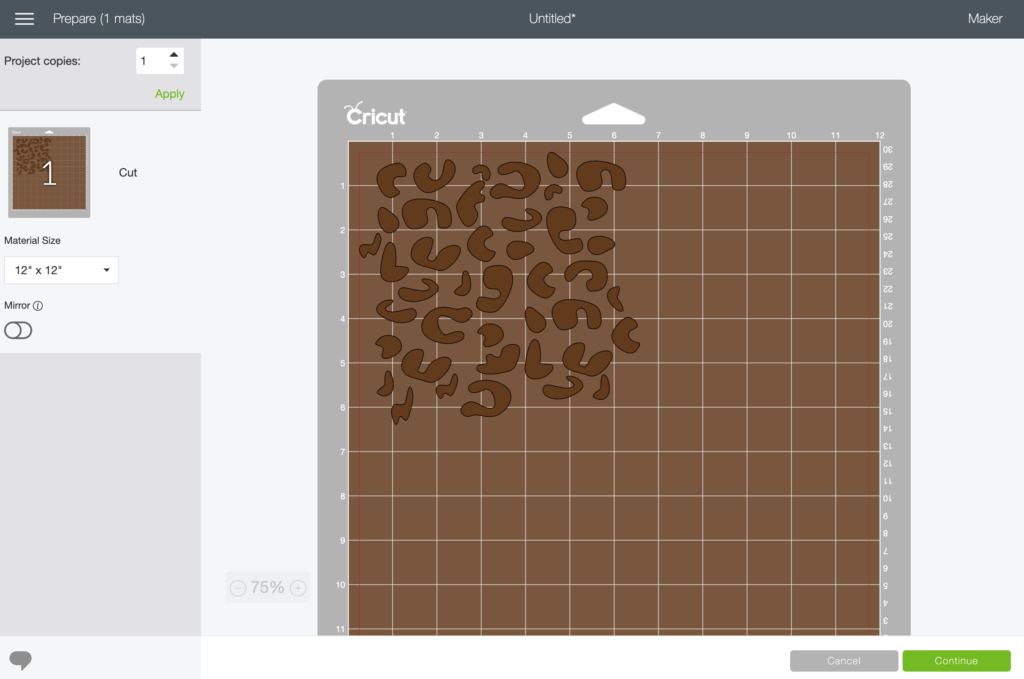
Download the leopard print cut file and upload it into Design Space. For this project I sized the image to 6.25 inches in height.
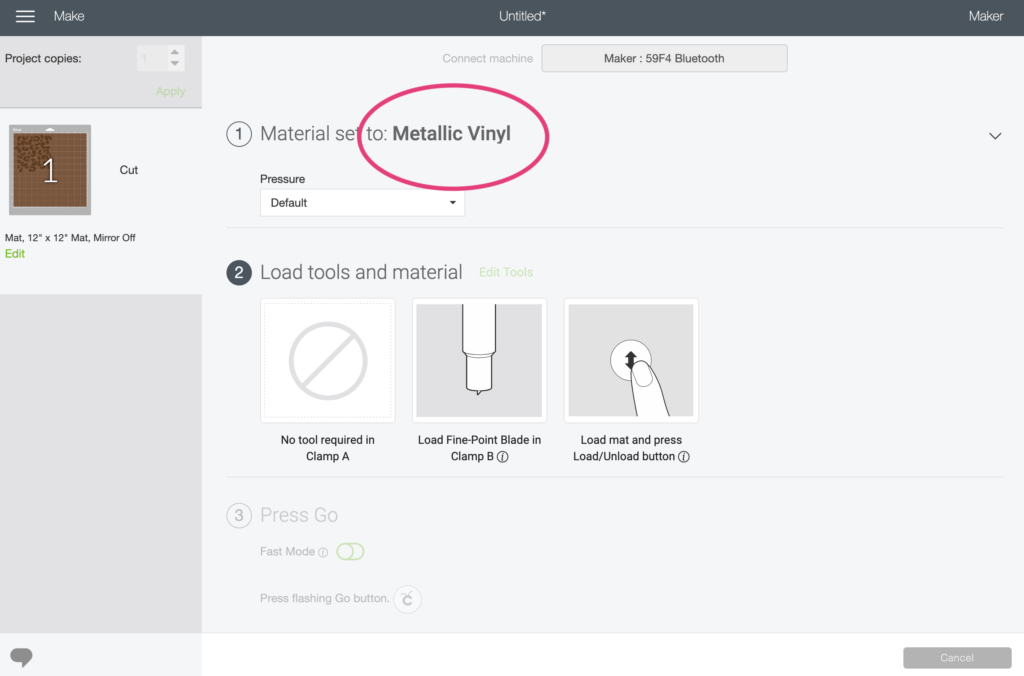
In the cut settings window select metallic vinyl as the cutting material. Gold chrome adhesive is a little thicker than standard adhesive vinyl so the cut settings are different.
Step Two: Load and Cut
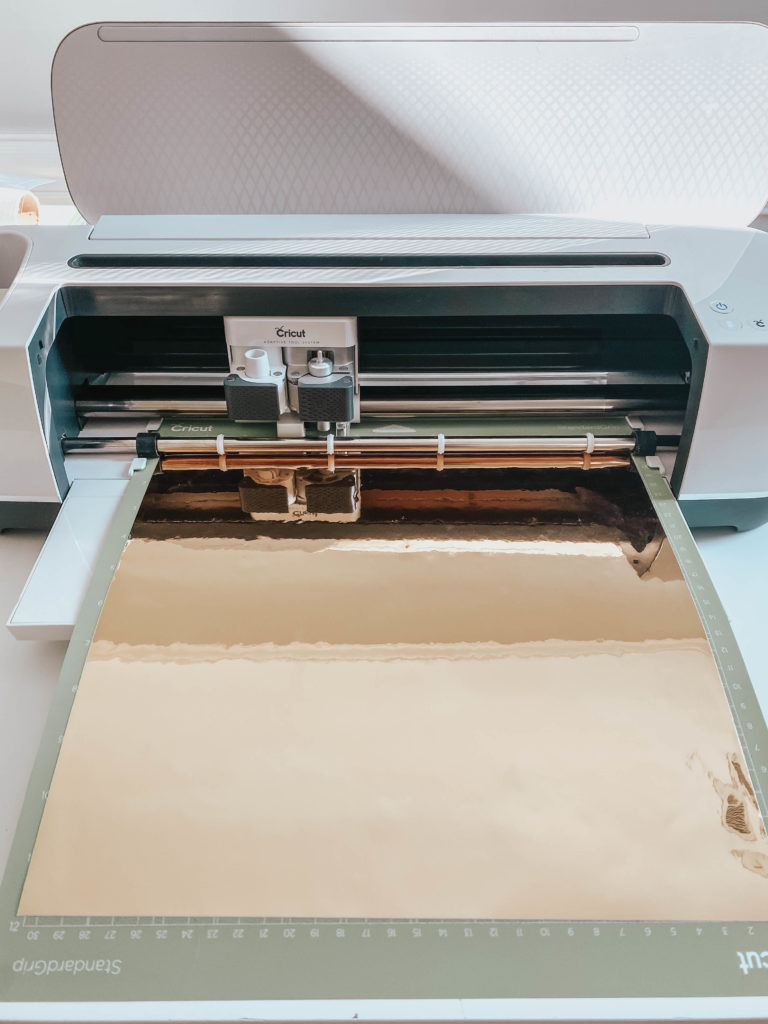
Place the sheet of adhesive vinyl on the cutting mat with the shiny gold side facing up then load the mat into the machine and press the start button.
Step Three: Weed
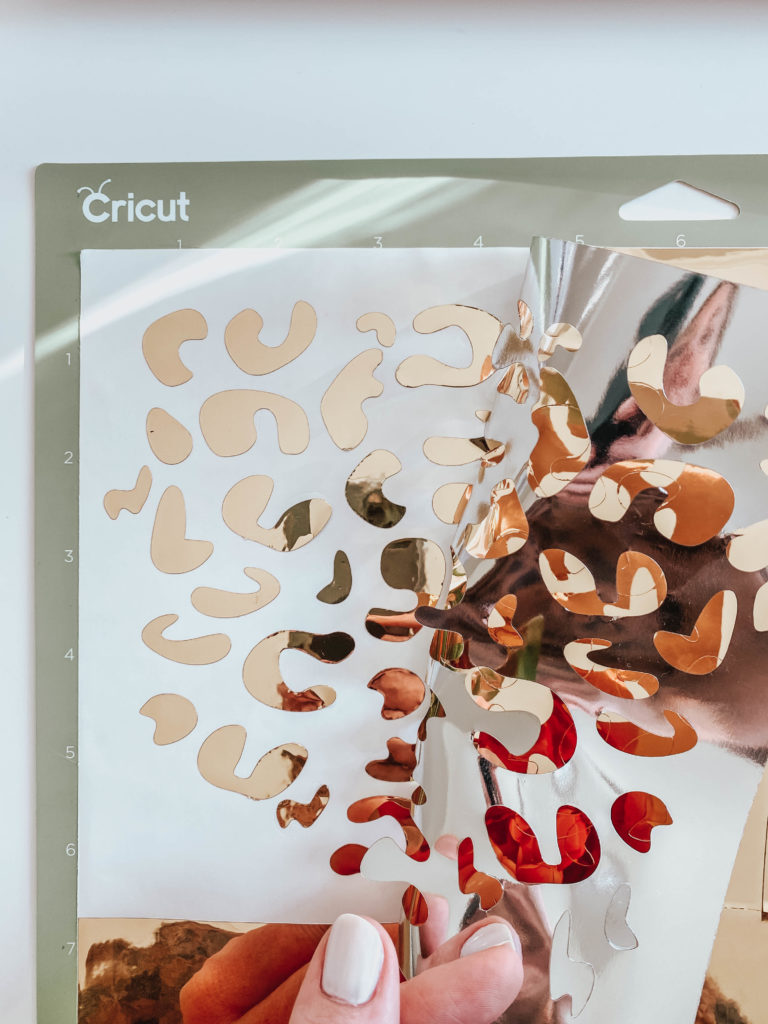
Once cutting is complete, weed away the excess vinyl from around the cut images.
Step Four: Transfer
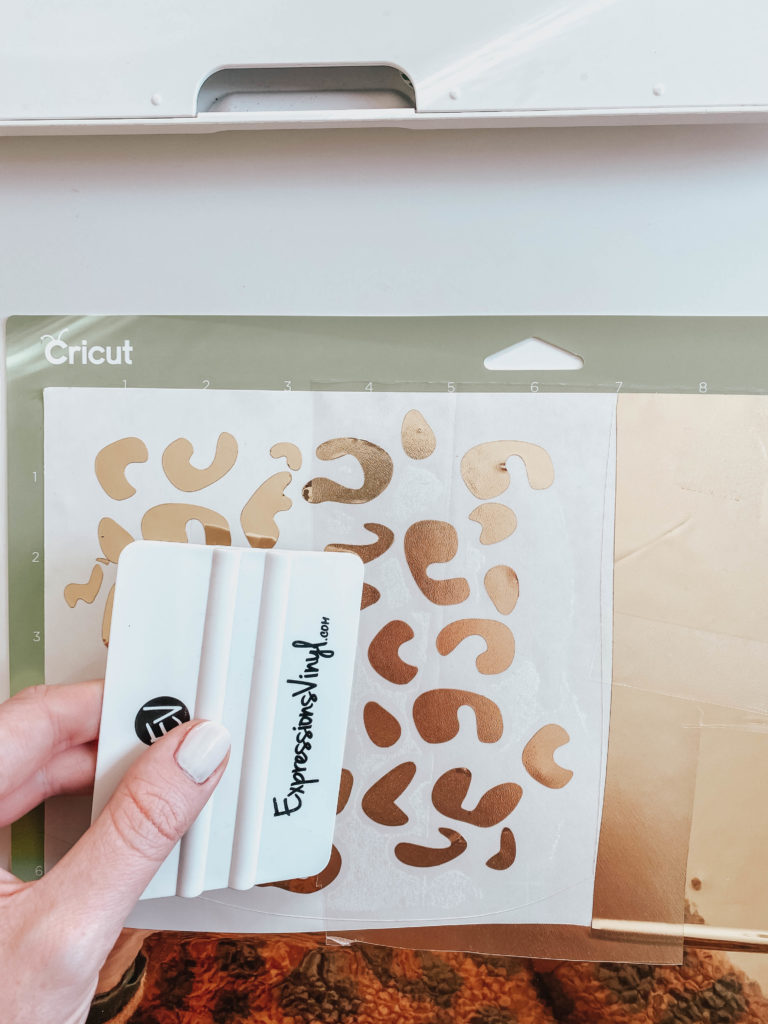
Apply transfer tape over the vinyl using a scraper tool.
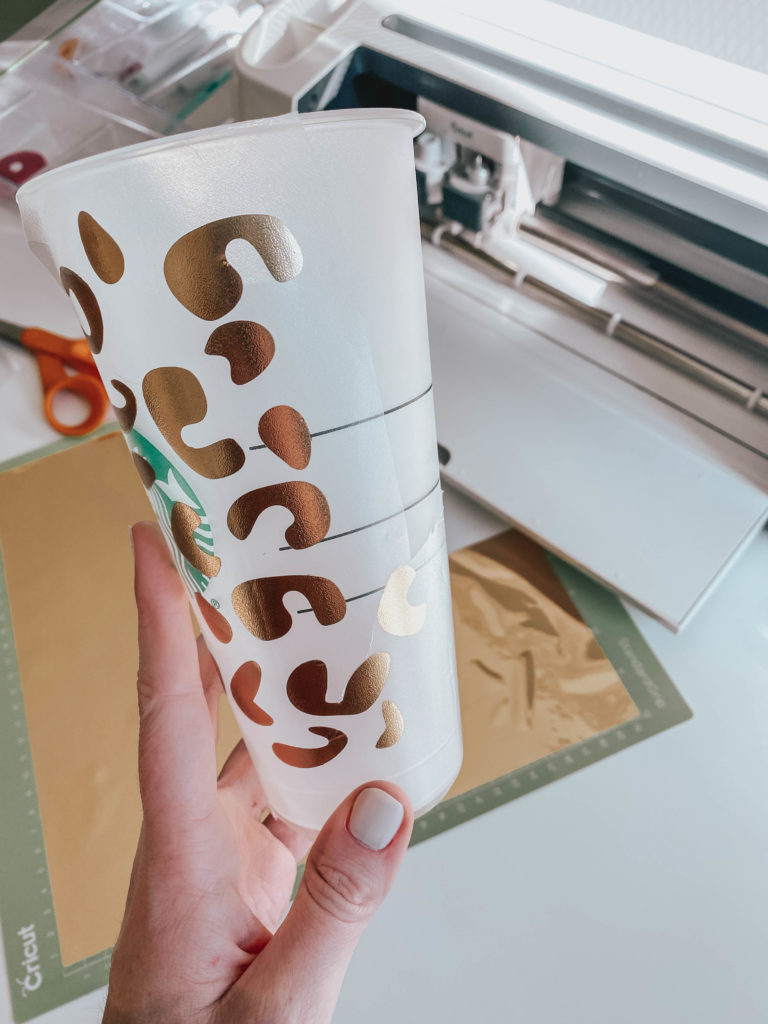
Peel the transfer tape and vinyl decals away from the paper backing and apply them to the cup. Use your fingers or a scraper tool to apply pressure over the vinyl so that it sticks to the cup.
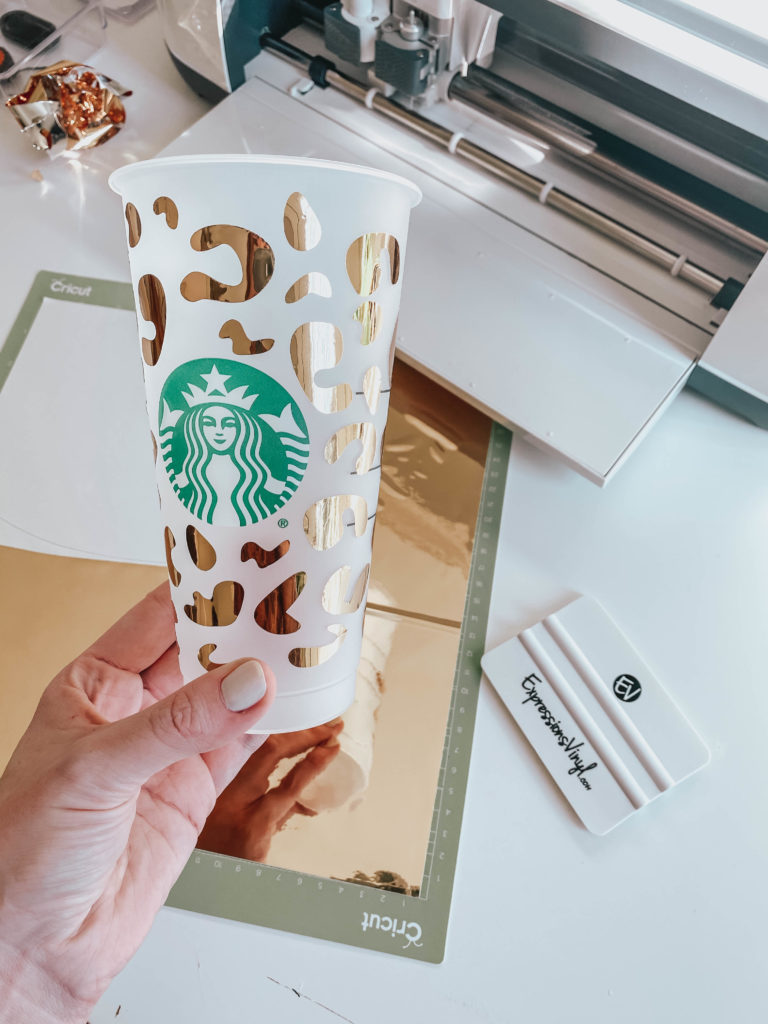
Continue placing decals around the cup until all sides are covered!
*It’s best to let the adhesive vinyl “cure” to the cup for a couple of days before using it and when it comes time to wash your cup make sure you hand wash and avoid scrubbing directly over the decals.
If you have any questions feel free to drop a comment or send me an email!
Happy crafting!



Mel
Hi we wode love to make some cups so me and my mum looked on your website and we loved it can we design some stuff for the cup thank you plz reply back
Kayla
Hey! Thanks so much! If you’ll let me know what kind of design you want, I’ll add it! 🙂
Mel
Hi I wode love to have the lepod print all around it and with the Starbucks logo on it but if you couldn’t do it can you plz do crafty queen in light blue or pink plz thank you can you plz reply
Mel
Can you plz tell me what is the prize bc my friend was wondering if she could know bc she might get one thank you plz reply
Mel
How much does it cost
Allie
Is there any way you could make a volley ball lover one? With 2 volleyballs like you did for the “ Sun Shine Tan Lines” one, except not palm trees instead volleyballs.
Kayla
Just added it! 🙂
Mel
Thx
Liz
Hello , I’ve seen people share your blog online but I was wondering the free svg Starbucks cup design are does for only personal use or are people able to use them and customize cups and sell them online ?
Kayla
Yes! You can use the designs to customize cups and sell them! 🙂
Anna
Hello I tried to do the Starbucks cup but my cricut holographic permanent vinyl and it would not stick. Is there a difference between cricut and the vinyl you used?
Kayla
Hey! Unfortunately Cricut’s holographic vinyl will not stick. I tried it months ago and it immediately came off. If you want holographic specifically then try the brand teckwrap craft! https://www.teckwrapusa.com/collections/teckwrapcraft
Brooklyn Vooys
Hi Kayla! I was wondering if you could make a circle logo with the Louis Vuitton symbols all over! That would be so good! Also I would like to add that I’m so so thankful you share your ideas and you are willing to share your tips and tricks! I’ve just started creating with cricut and not many girls will share info or help a girl out! So I really appreciate it! Lots of love to you, stay safe xo
Kayla
Thank you so much! I am more than happy to help! I’ll add a LV circle logo to the site! 🙂
Sandra
Just want to say you are freaking awesome!!!! I am new to this cricut world and your website has been so helpful
Kayla
I appreciate that so much!! Thank YOU!
Kayla
Can you do a leopard print one that goes around a venti cup? Also like a baseball mom one with a cut out something fun and cute
Kayla
Hey! I’ll add a baseball mom file! I’m working on configuring the full wrap designs. 🙂
Gina
So you have the measurements of the whole cup. To do a design to wrap around the cup?
Kayla
Working on configuring a full wrap design! 🙂
Gina
Do you**
Lashaundra
Hi! Could you do a track lover one lol LOVE THIS SITE!! Your amazing!! I’m
Kayla
Yes! I’ll add one! Thank you so much, happy you’re here!
kayla
Hi Kayla (fellow Kayla here),
What is the font you use for most of the Starbucks cup logos? I am wanting to use the same one with your blank logo template.
Thank you,
Kayla C.
Kayla
Hey hey! Love your name 😉 I use Aharoni Bold on mine, Futura is pretty much the exact same if you can’t find Aharoni for free anywhere!
Meagan
Hello!!
Thank you so much for all of you work! i am new to the craft world lol…. I did the cheats wrap last night and love it! what or if any do you put all over the cups to protect them?
Kayla
Hey!! You’re sooo welcome! I don’t seal mine but I have seen others use epoxy! It makes them shiny!
Marling
Hi Kayla, just want to say thank you so much. You are so kind and humble to share with everyone, sending you lots of good vibes.
Kayla
Thank you so much!!
Warren
Thanking you in advance Kayla,
I would like to use a vinyl holographic product to make my own anti bird strike sheets for my windows,
Would attach inside the windows.
Don’t mind using a little good tape to hold them on.
Thinking of cutting into 8 inch squares.
kierstyn
Hi- Can i use the starbucks cup on a cricuit joy?