How To Apply Leopard Print Pattern To A Starbucks Tumbler
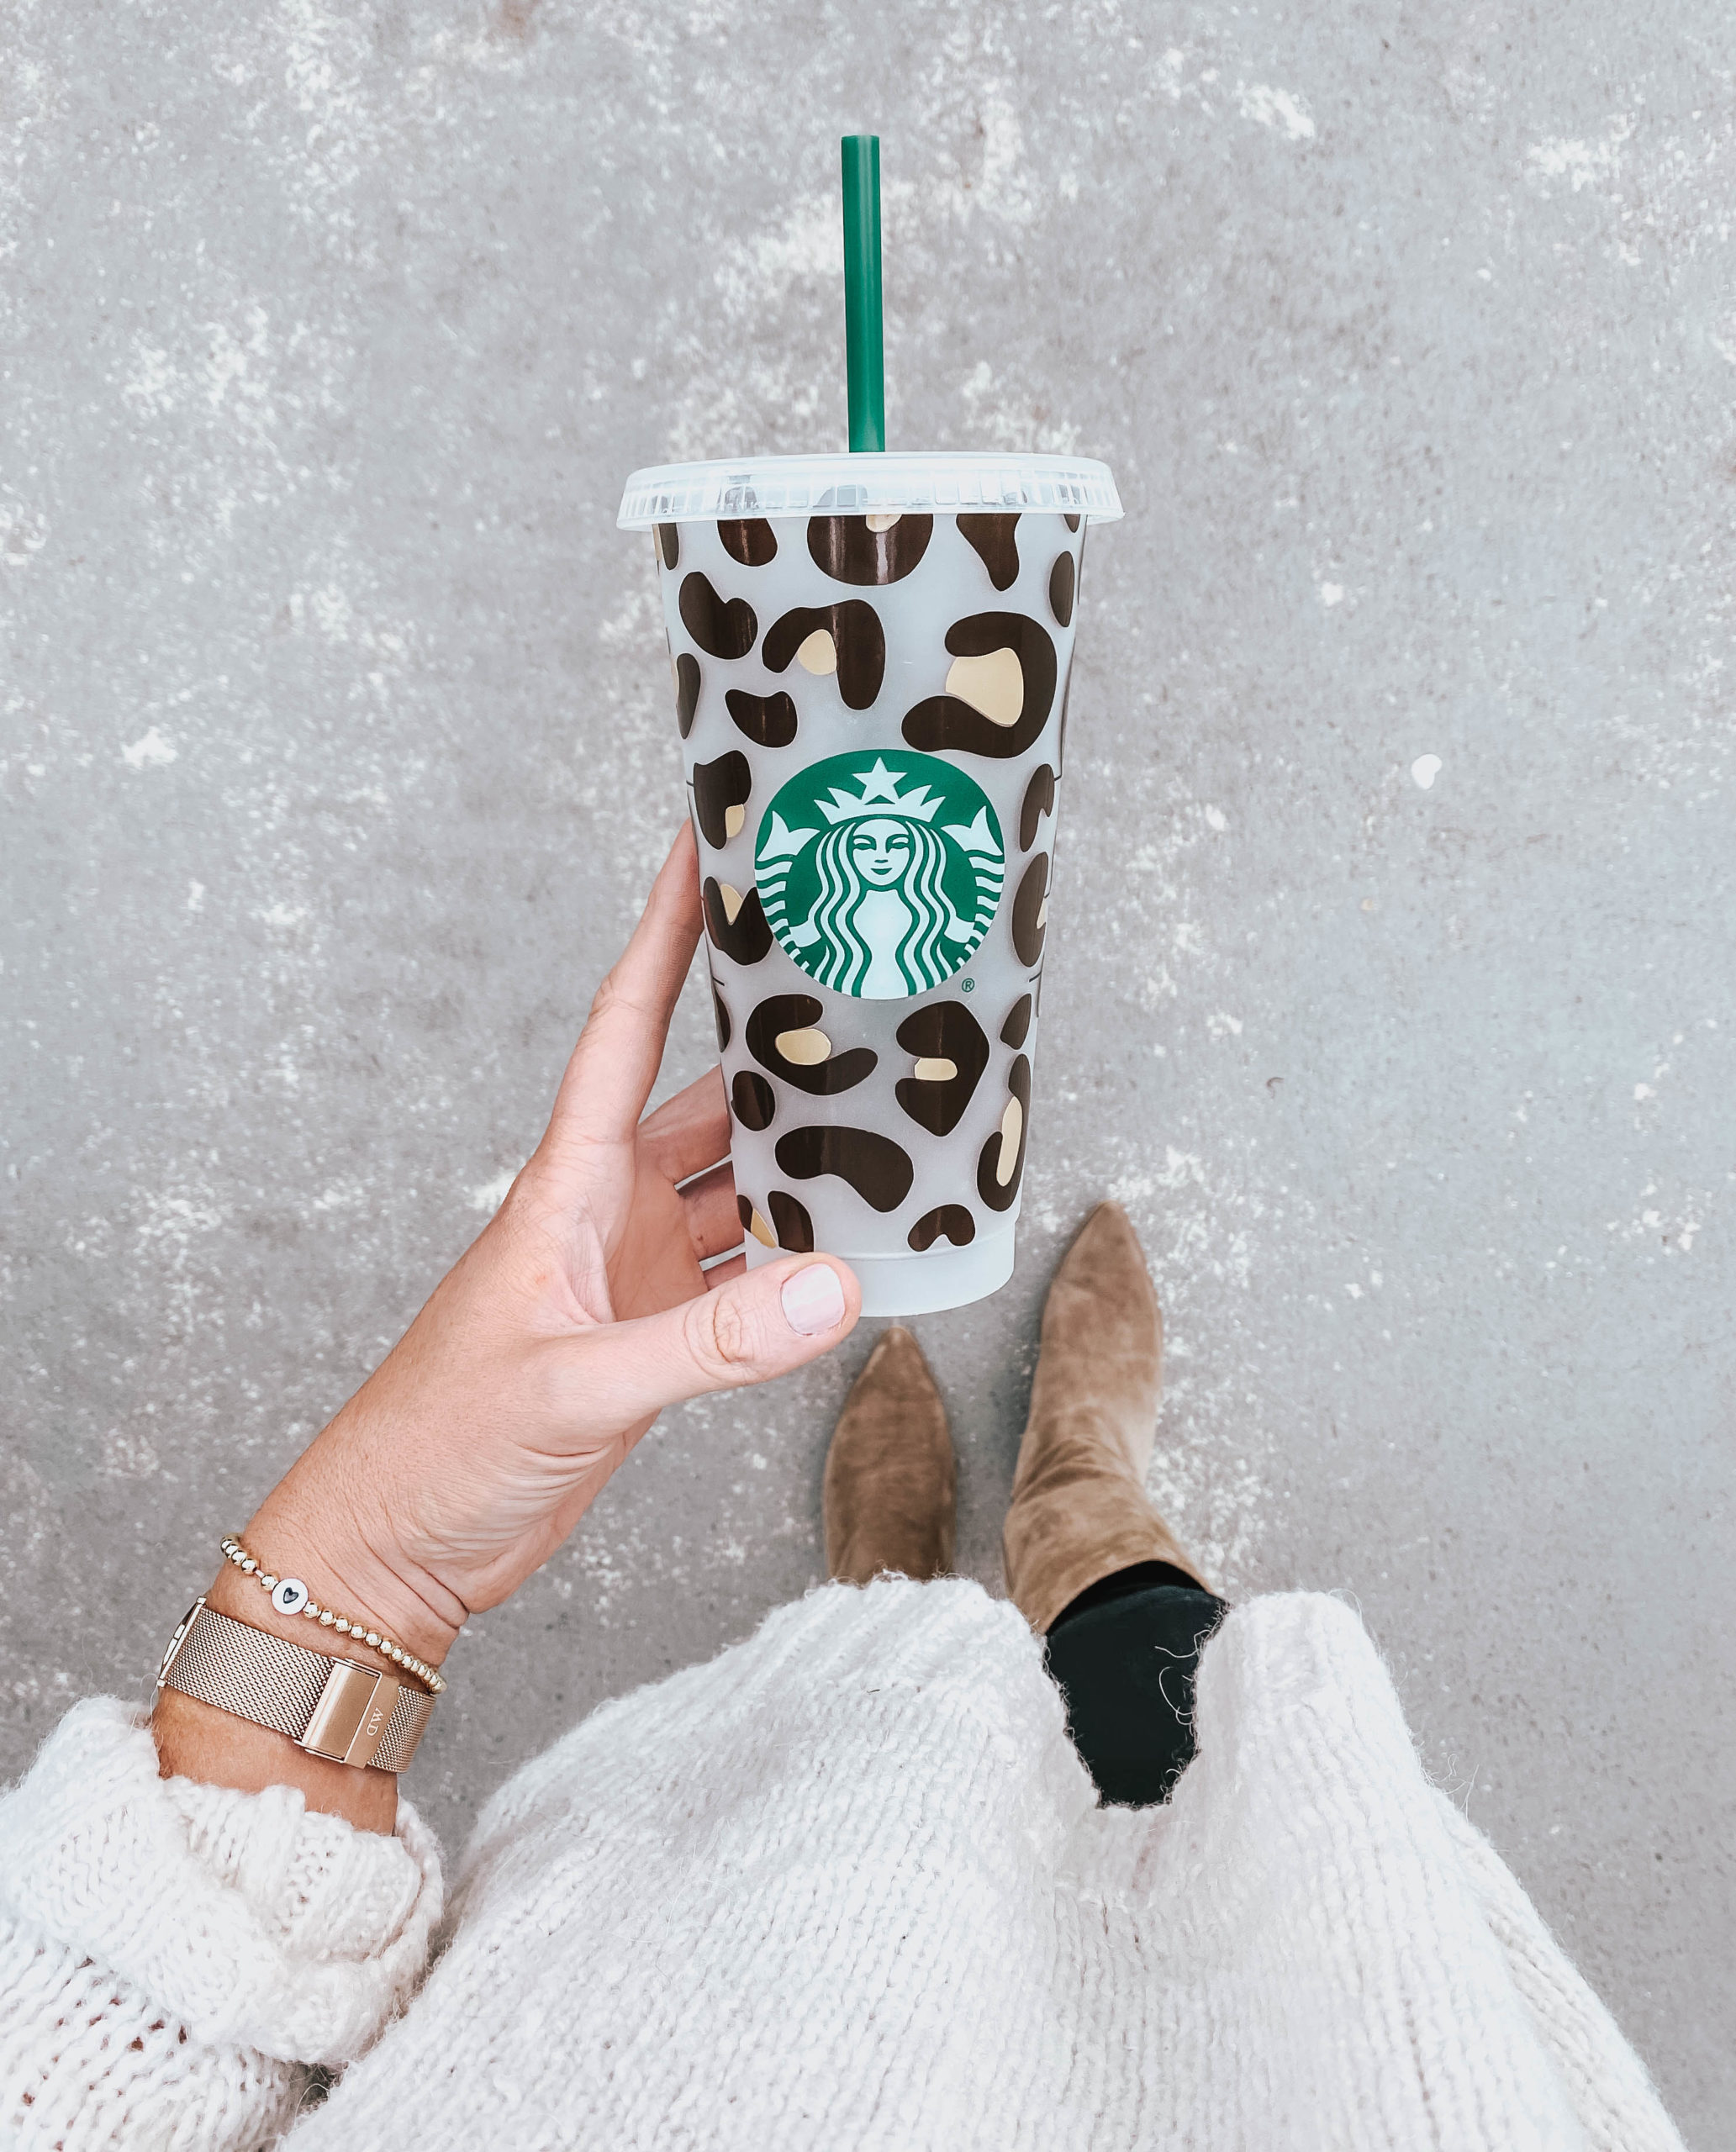
Hey, friends! I’ve received a lot of requests for a how-to on this tumbler so here it is! It’s super simple!
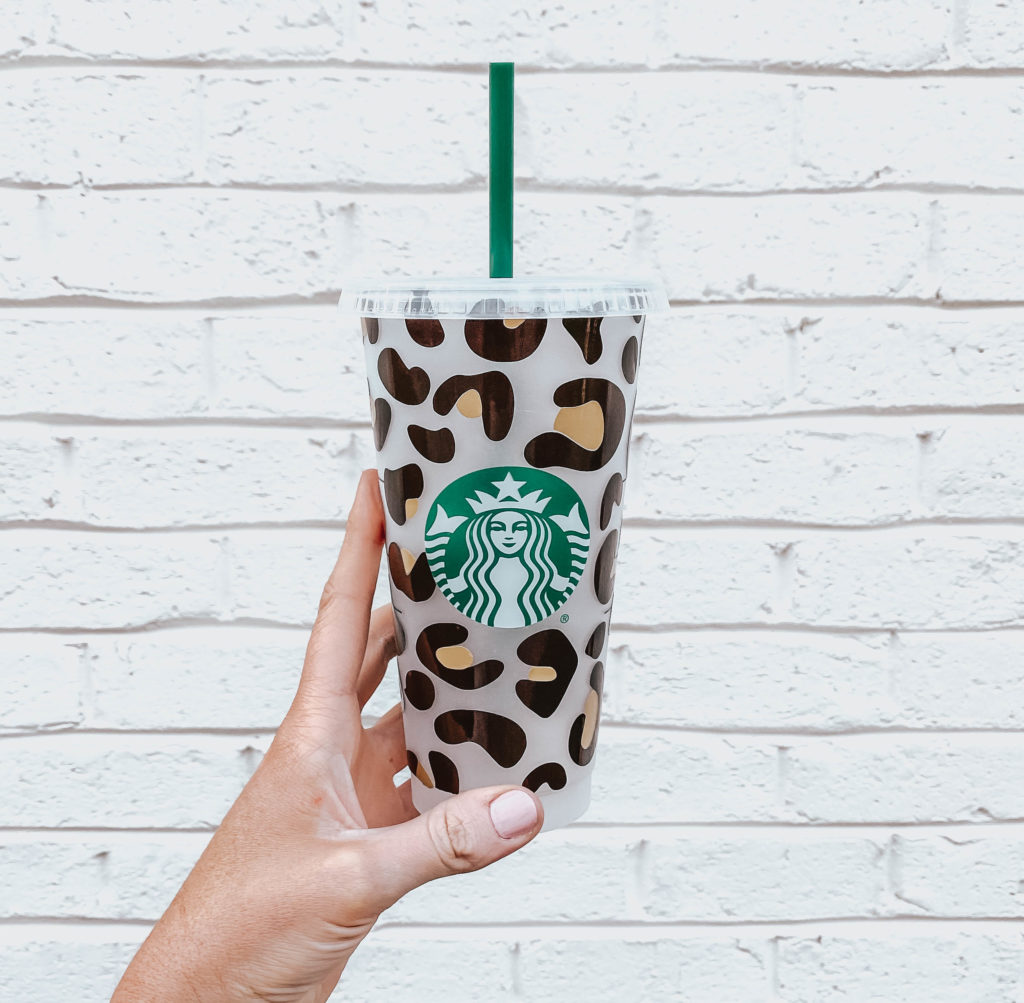
First, lets talk supplies. These tumblers are sold at Starbucks locations for $3. Cant beat that price! For vinyl, I always use Oracal 651 from Expressions vinyl. For the leopard print I used the colors brown and light brown.
Step One: Design Space Setup
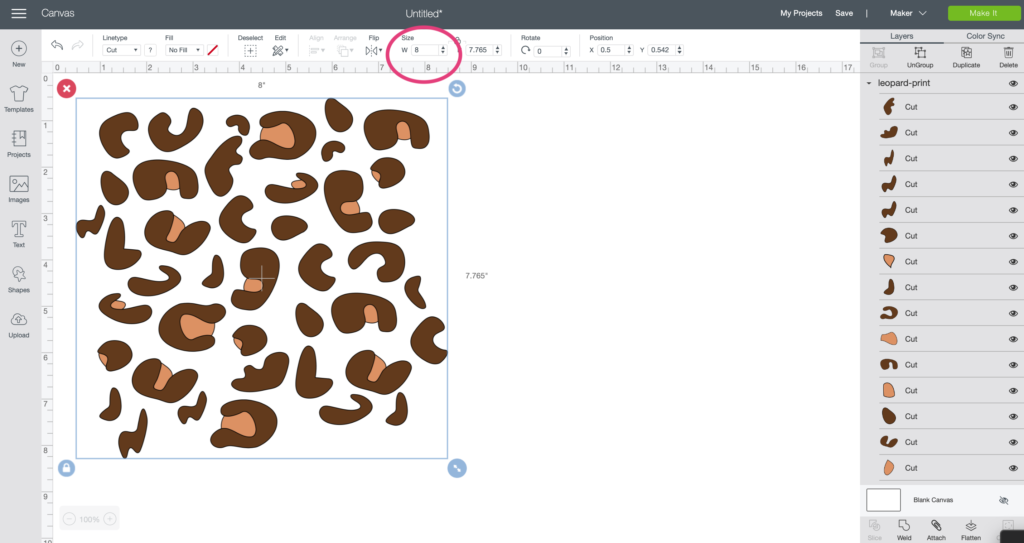
Once you’ve downloaded the design (which you can do here), upload it into Design Space and scale it to 8 inches wide if you want the same look as my cup. If you want smaller leopard spots, scale it down a bit. After you have it sized, click the ungroup button.
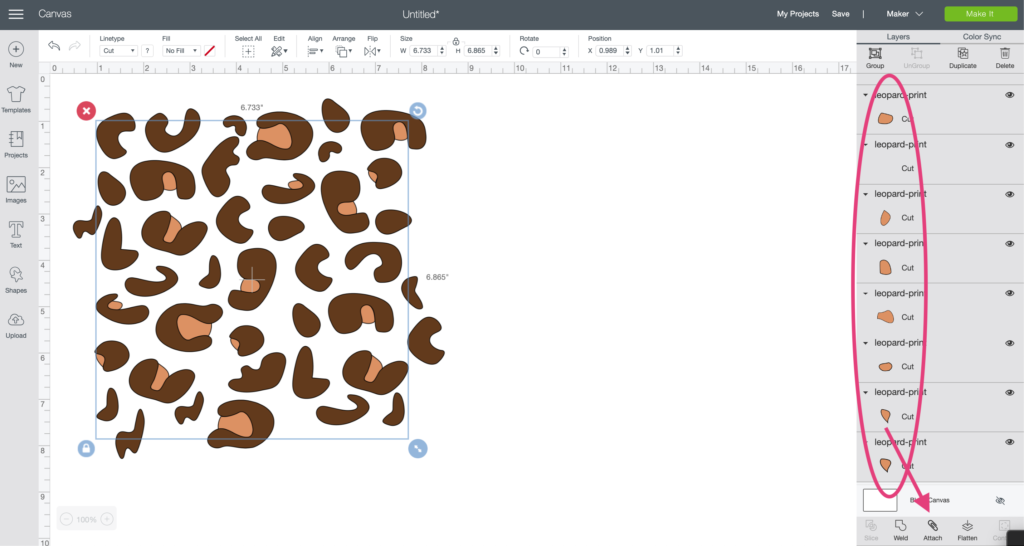
Next, hold shift and select each one of the light brown spots in the far right panel then click attach. This holds the spots in the exact space you see them in on the screen. Do the same thing for the dark brown spots; hold shift, select them all and then attach.
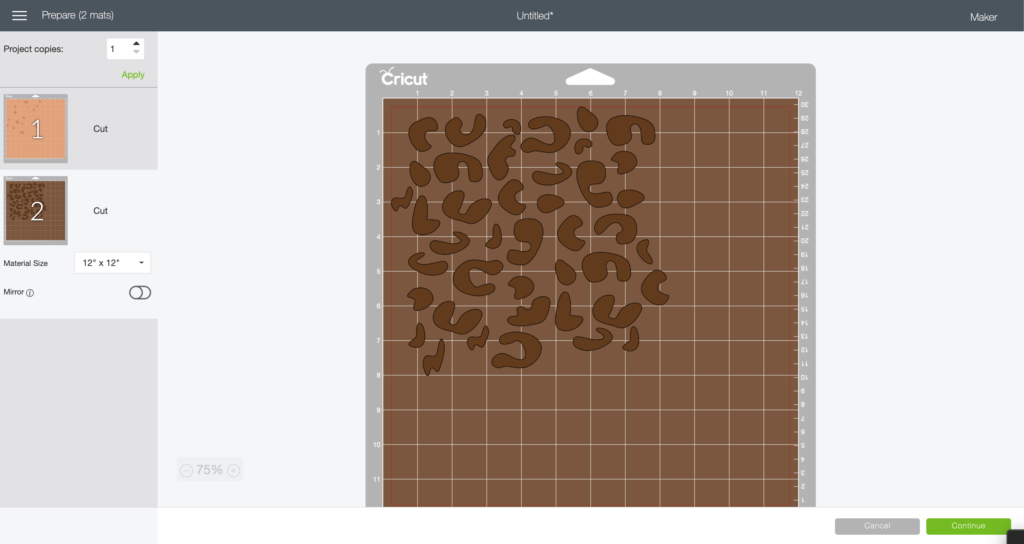
Now when you click continue the spots will hold their place on the mat. If you don’t attach the like colors together you’ll get this:
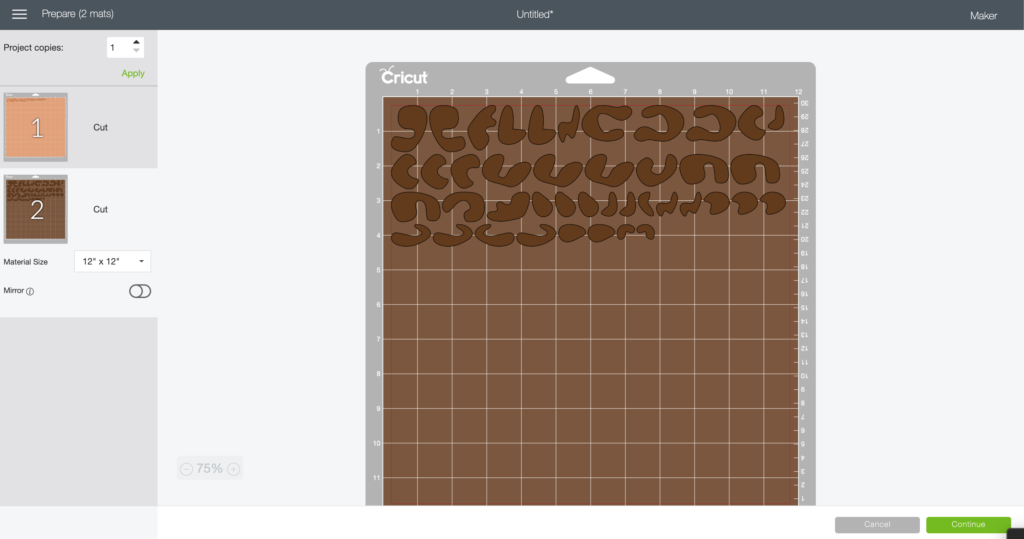
Which results in you having to put the pieces together like a puzzle. Doable, but not fun!
Step Two: Cut, Weed and Layer
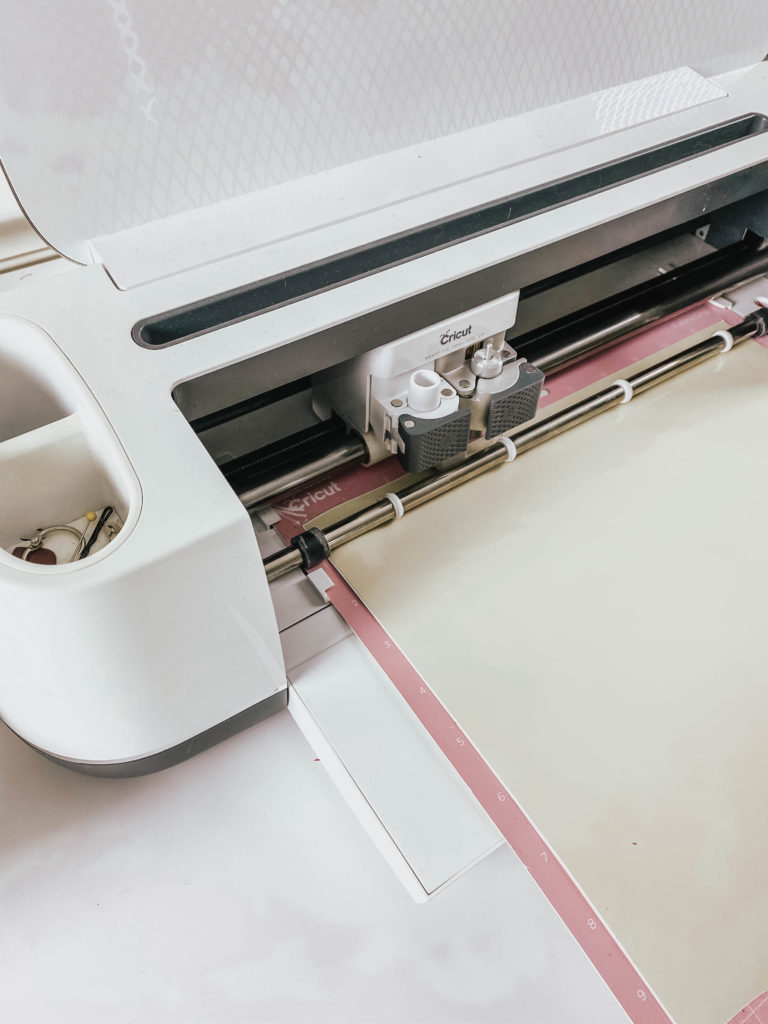
Load the first color onto the mat, into the machine and cut. Repeat for the second color.
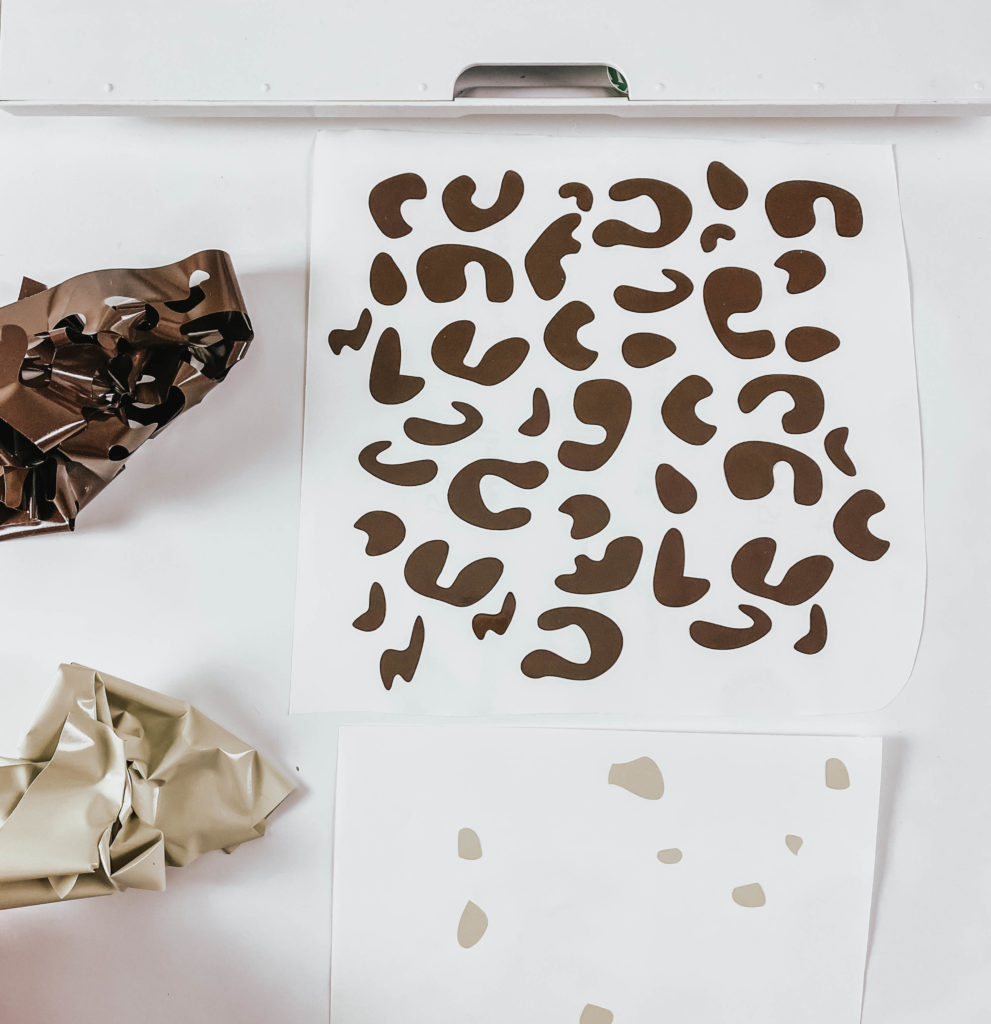
Weed both colors of vinyl.
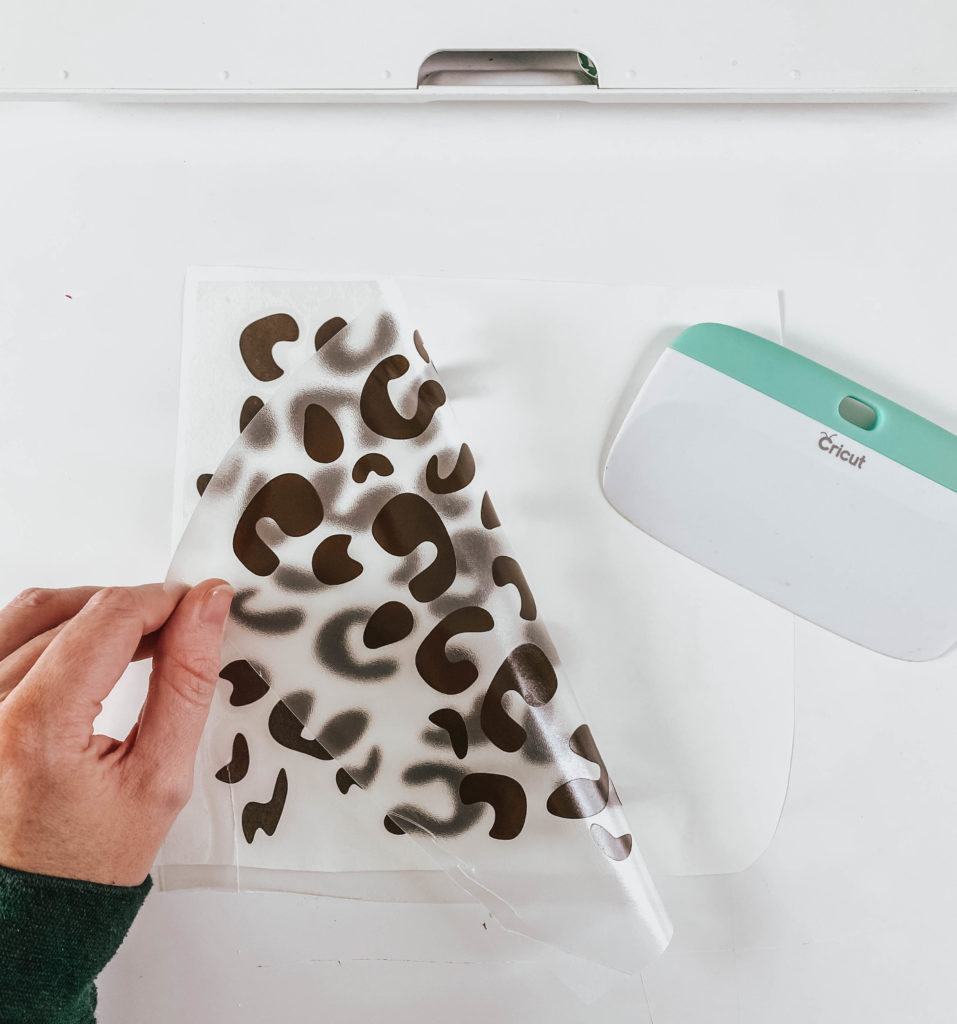
Apply transfer tape to the dark brown spots using a scraper tool.
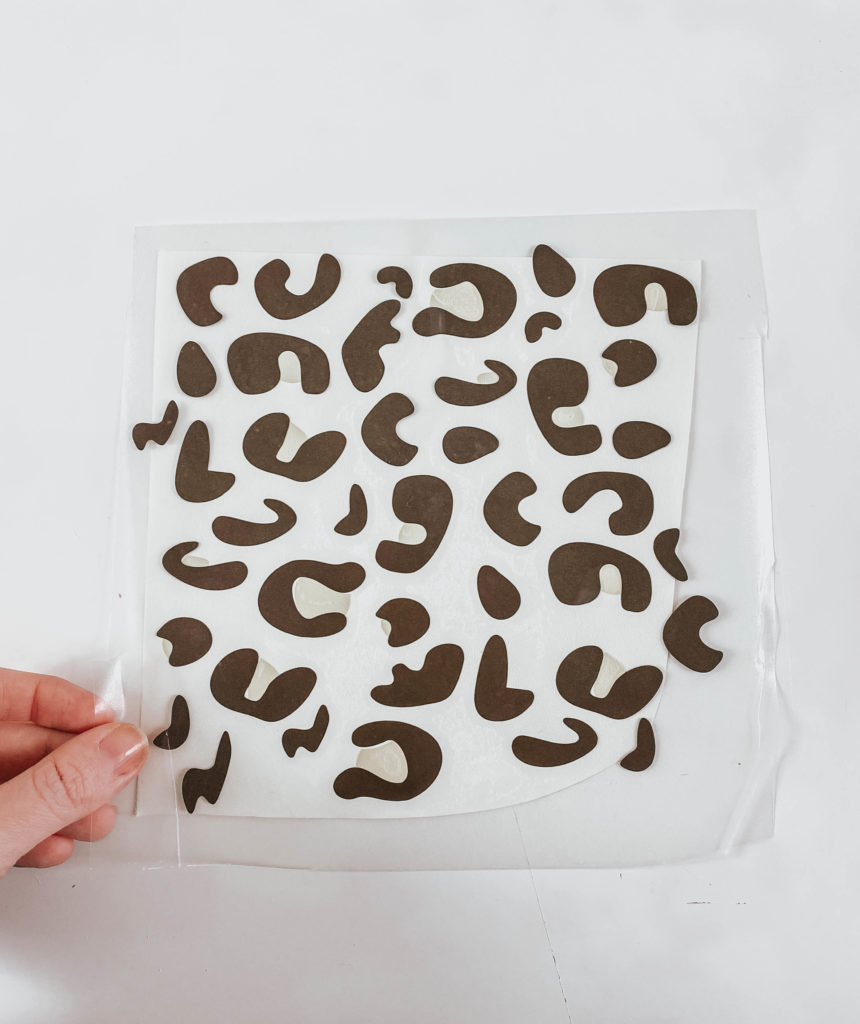
Step Three: Apply Decals
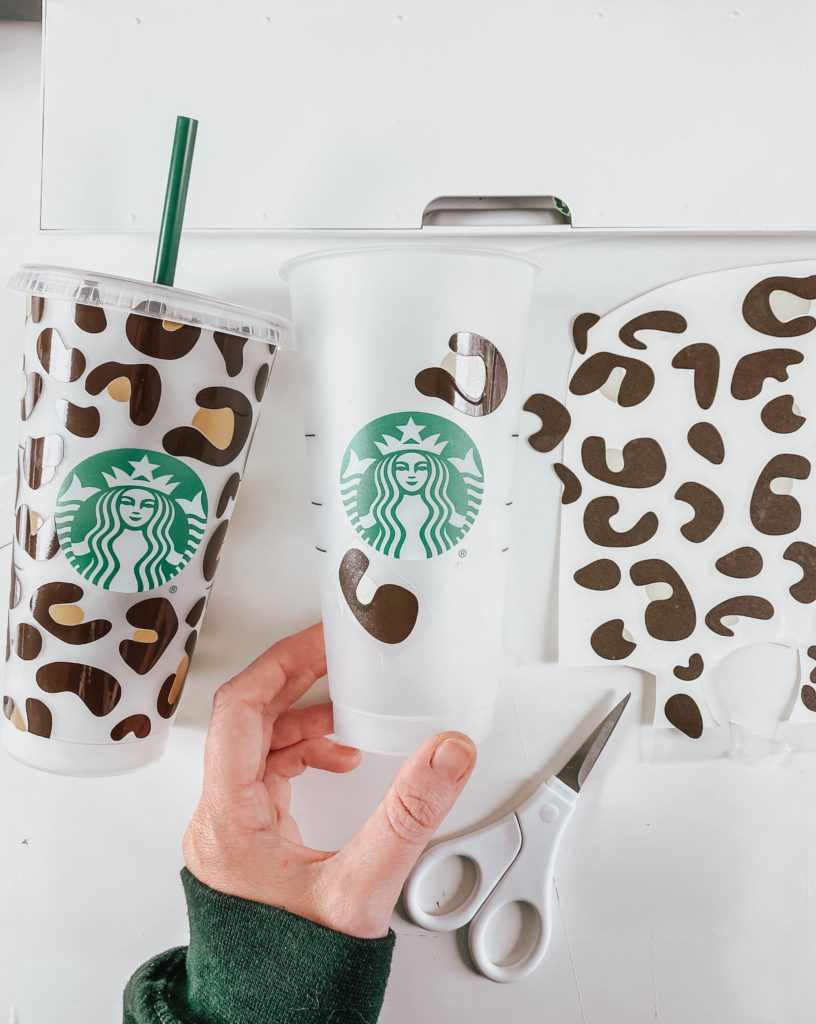
At this point I just use scissors to cut apart the spots and apply by hand. I attempted to apply them as a whole in one swift movement and, well.. it wasn’t so swift. This way is MUCH easier.
Let the vinyl cure to the cup for at least 24 hours before filling it with hot or cold liquids!
If you have any questions leave me a comment below or send me an email. 🙂


Gabriela
Thank you for all your diys
Kayla
Thank YOU!!
Taylor
Is there a specific way to upload the image? It will not separate the colors when uploading into design space.
Thank you.
Kayla
Did you click the “ungroup” button?
Taylor
The ungroup button is not available for me to click. When I upload it. Do I upload it “print and cut” or just regular? When I do regular it makes it all black and doesn’t have the ungroup button available.
Kayla
You upload it as a cut file not a print and cut file. Did you download the SVG or PNG version?
Nicole
Thank you!! I have been wanting to do this for my daughter and my friend and just didn’t know how! So so thankful for you sharing!
Kayla
Yay! Happy to help! 🙂
Brooke
Hello,
When uploading image I am able to remove what I need in “clean up” then I go through “define” and when I get to save image it’s not separating the vinyl colors. It blends them into one. It gives me the option to save in printable form. But I can’t do that.
And thanks so much for the diy! I’m so happy to have found your page😀
Kayla
Hey! When you upload the SVG you shouldn’t have to do any clean up. Just save it as is. Are you on an iPad?
Claudia
Hi! Thanks for your tutorial on the Starbucks leopard print. I purchased the leopard pattern vinyl from Expressions Vinyl. How would you recommend applying that? Would it need to be cut at all? Or would it be just a pain to do without cutting? Or would it just be easy to do the way you did?
I’d appreciate your input.
Claudia
Kayla
Hi there, so the printed vinyl from expressions is what I use to add the circle around the Starbucks logo but for the cup in this tutorial I used brown and tan adhesive vinyls and cut leopard print shapes out of those. I wouldn’t recommend trying to cut the leopard spots out of the printed vinyl.
Brye
Hey I can only find the schedule file. Do you have it in a jpeg or png. I only have the basic edition of silhouette studio? Thanks for this awesome tutorial
Brye
Hey! I can only find an SVG file and I have silhouette basic. Do you have this in a PNG or JPEG file? Thanks for this awesome tutorial
Kayla
Hey! Here’s the link to the PNG version: https://kaylamakes.com/download/leopard-print-png/
Brixx
How can I do this from phone when u said to u group then go into layer and attach 1 color then the other I can’t attach from phone and gives them all scattered
Kayla
I’ll try it from my phone and let you know!
maria
hiiii, love the print! can we use this vinyl to sell cups? (commercial) or is this just a svg download for personal projects?
Kayla
Sure can! 🙂
Jennifer Holtson
When I try to save the image, it wont save it. I go to “upload”, then “browse files”, then select the image in svg format, it asks me to name it, then I try to save it and there is nothing there…
NM
Hello, do you by chance have a step by step for the silhouette? I’ve ungrouped it, but it’s not letting me separate the colors..
Kayla
Oh that’s weird. I see what you mean. I’ll look into that today!
Nicole LaRiviere
Hello. I cannot seem to find the link to download the Starbucks logo. Can you please help me? Thank you.
Kayla
Hey! You can find them all under the free downloads tab here: https://kaylamakes.com/free-downloads/
Janelle
Thank you so much! LOVE it. Turned out gorgeous.:)
Kayla
Yay!! So glad!
Michelle
Thank you for all your DIYs! Do you have to apply a seal over the cup?? What are the care instructions for these types of cups?
Kayla
Thank YOU! So happy you find the site helpful! I don’t apply anything over mine to seal them, I just hand wash the inside of the cup really well and never scrub over the vinyl decal. Also, don’t let them soak in hot water for a long time because it melts the adhesive.
Ta
When I downloaded the file and went to upload it to design space, it says file isn’t supported. Tried right click and copy to paste into another program and couldn’t. Am I doing something wrong?
Kayla
Hi, hopefully I can help. Did you download the SVG or PNG version of the file?
Maria
I wanted to say thank you for sharing and also if there’s an email we could contact you on to see if I can get some help.
Kayla
Thanks so much! You can email me at kayla@kaylamakes.com
Melissa Izquierdo
Where can I find these cups in bulk for projects like these???
Kayla
Hey! I haven’t been able to find the Starbucks branded ones in bulk anywhere. They’re sold in Starbucks stores for $3. You could probably find them in bulk without the Starbucks logo.
Abigail Hall
Hi!
I am having trouble with attaching the spots. I did the dark spots first, selected them all and clicked attach, then did the same thing with the light spots, but it then turned all the spots, including the dark spots, light.
Kayla
Hey! hmm, that’s strange! Did you try it again? It almost sounds like you accidentally had both sets selected when you clicked attach.
Kati
It took me a few times to attach the dark brown to get it to work, but on the third try, it miraculous work. Thank you so much for sharing this!
Kayla
So happy you got it to work!! Thank YOU!
ashley
THANK YOU for the SVG and the tutorial!!MUCH appreciated!
Kayla
You’re welcome!!
Jennifer
What is the name of the vinyl or is it called printing vinyl? I am going to try to oder it but I wanted to make sure I order the correct printing sticker paper that used.
Kayla
Hey! It’s called permanent adhesive vinyl. I use Oracal 651 which you can find at places like expressions vinyl or even amazon. I’ll link it for you here: https://shrsl.com/1y3o2
Lindsay Kearns
How do I do the attach in Silhouette Cameo?
Kayla
Select all of the shapes that are the same color then right click and select “make compound path”.
sandra
Hello, hope all is well, can you please tell me the dimensions I should input to get the correct size for this wrap around for cold cups? Thank you!
Kayla
Hey! It should be 10.944×6.75
Sandra
thank you so much!!!
Heather Graham
I am new to the silhouette software. I have never used a cutting machine and all I have done so far is some downloads. I have been working with rhinestones and just got my machine last week. I want to start cutting and move on to cups with glitter and epoxy. I just have to figure out how to start cutting! I am happy people like you have these files and info posted. Do I click on each spot seperate then compound path? Will it seperate the spots on the screen?
Kimberly A Tolino
Why do i get the message “Not Supported BY Maker. Image too big” The dimensions im using are roughly 9″x6″
Kayla
Try closing and restarting Design Space. 9×6 is definitely not too big.
Coco
Thanks for sharing can’t wait to do.
Thanks for this too
I downloaded a different cup wrap that was soo hard to do in one shot and I kinda felt like a failure because obviously other people can do this..thanks for sharing NOT everyone can. Thanks for the its “OK” if you know what I mean.
Deb Hearn
Kayla, I just found you on tiktok a weeks ago and I have learned so much!! I love creating and one day wish to learn how to design logos, sayings, etc or shirts, cups, wood, etc. THANK YOU for your help, tutorials, and designs. I believe we have to help others along our path and you certainly are doing that!