DIY Holiday Tablescape Ideas With Adhesive Vinyl and HTV
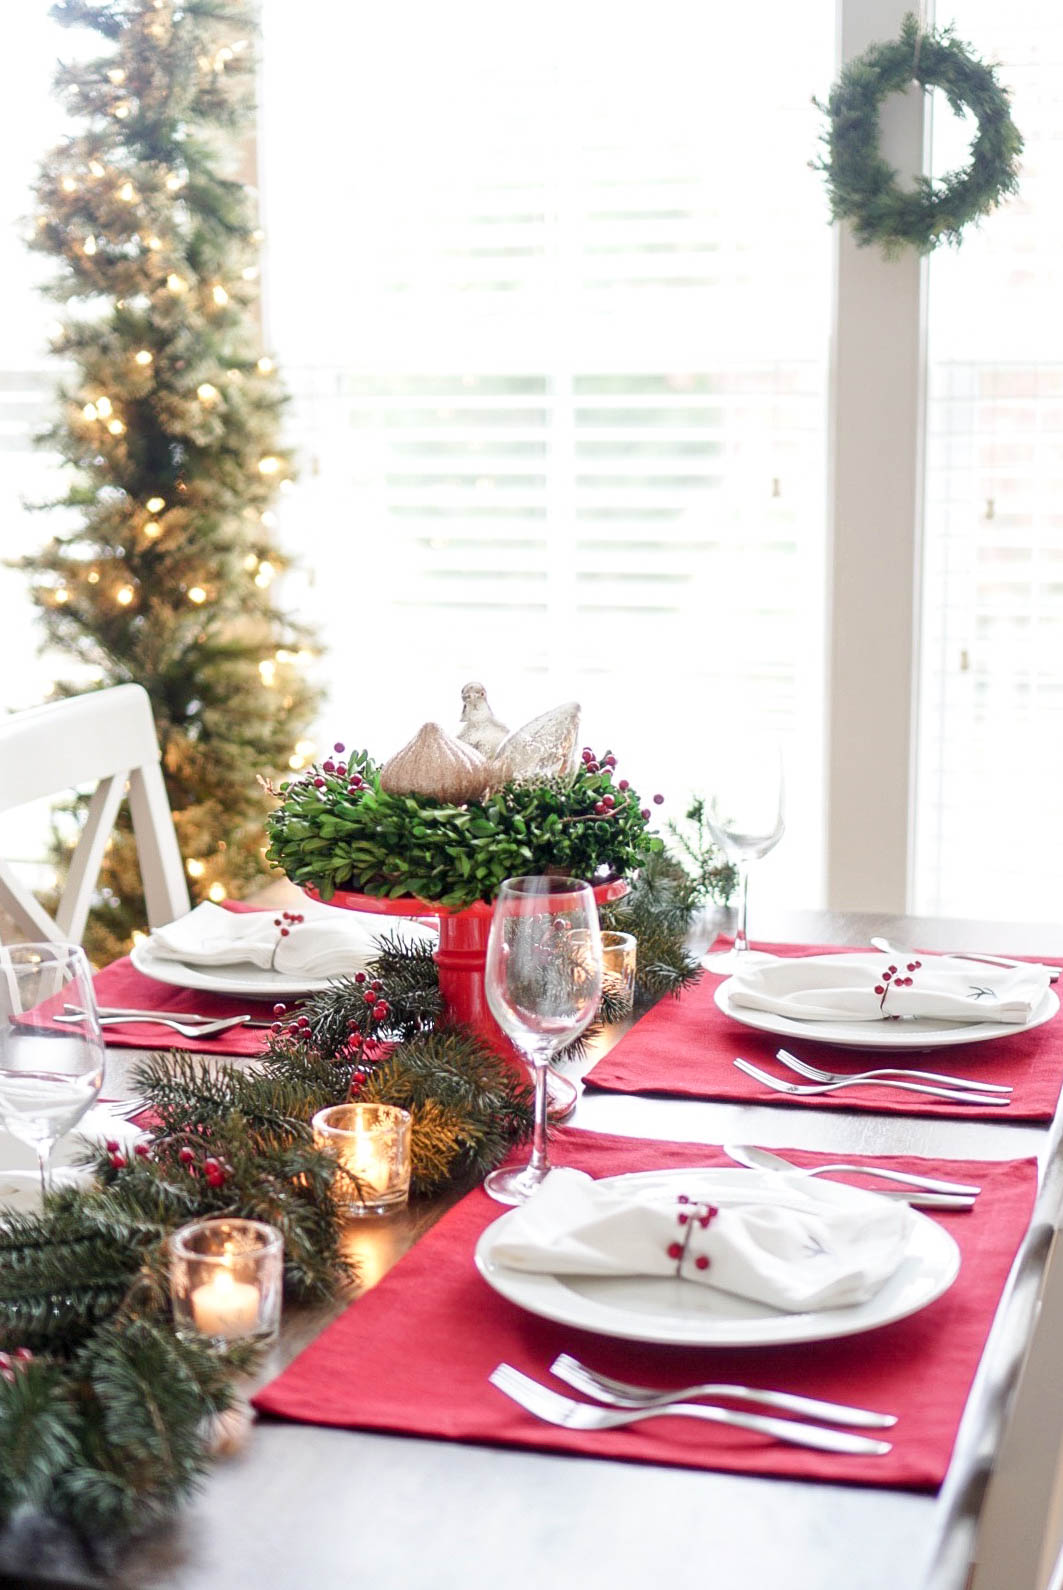

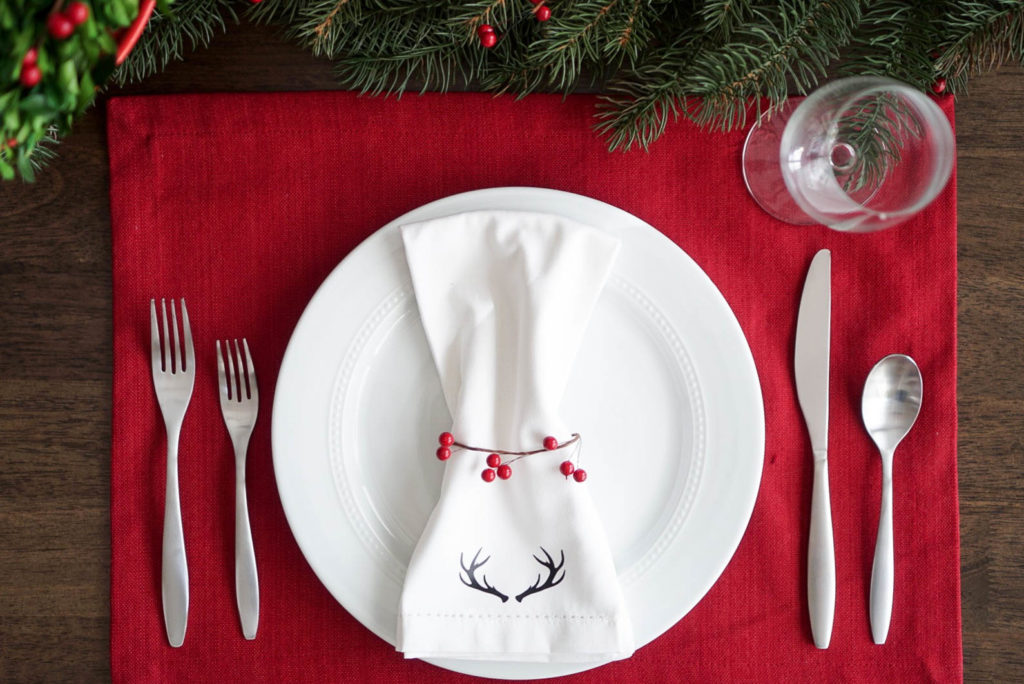
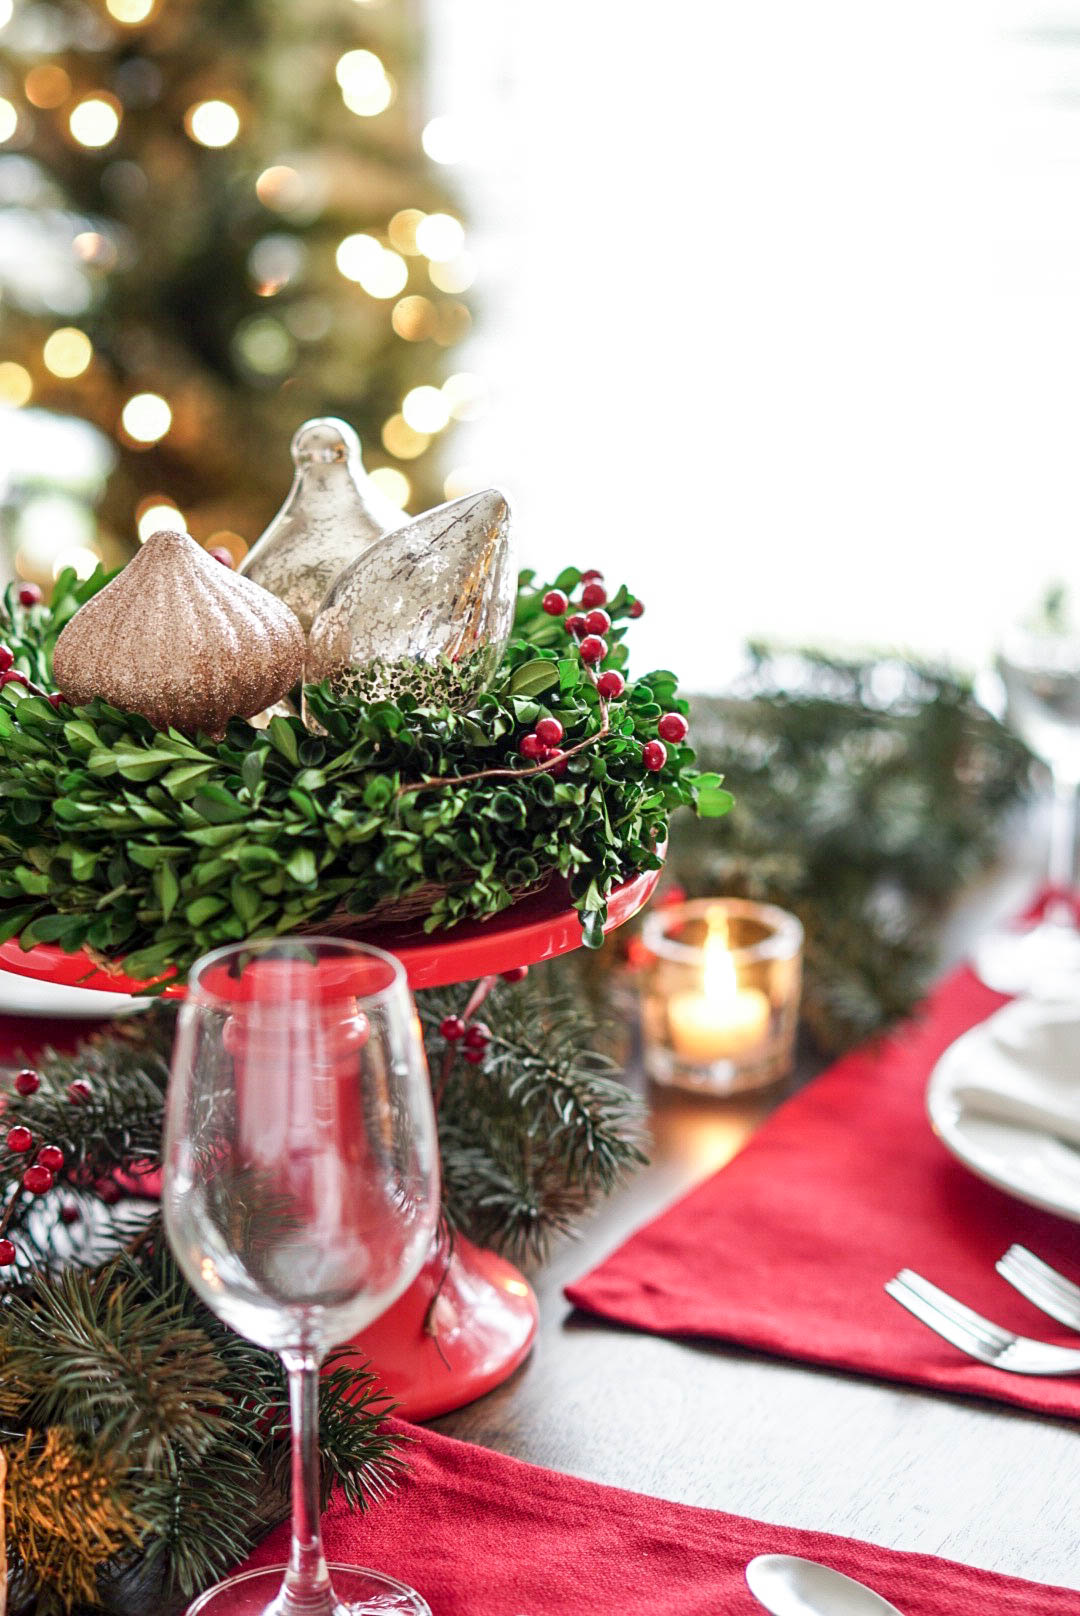
The holidays are here and that means gatherings galore. It also gives everyone a great excuse to put together a festive tablescape. Today, we’re showing you how easy it is to use the Cricut Maker to create customized fabric napkins with heat transfer vinyl and how-to add adhesive vinyl snowflakes to glass votives for an extra festive touch.

Estimated Time To Complete: 30 mins
Difficulty Level: Beginner
Here Are The Supplies You’ll Need For The Napkins:
- Smooth HTV
- Cricut Maker or Any Electronic Cutter
- Iron
- Fabric Napkins
- Cutting Mat
- Free Antlers SVG
Step One: Upload Design
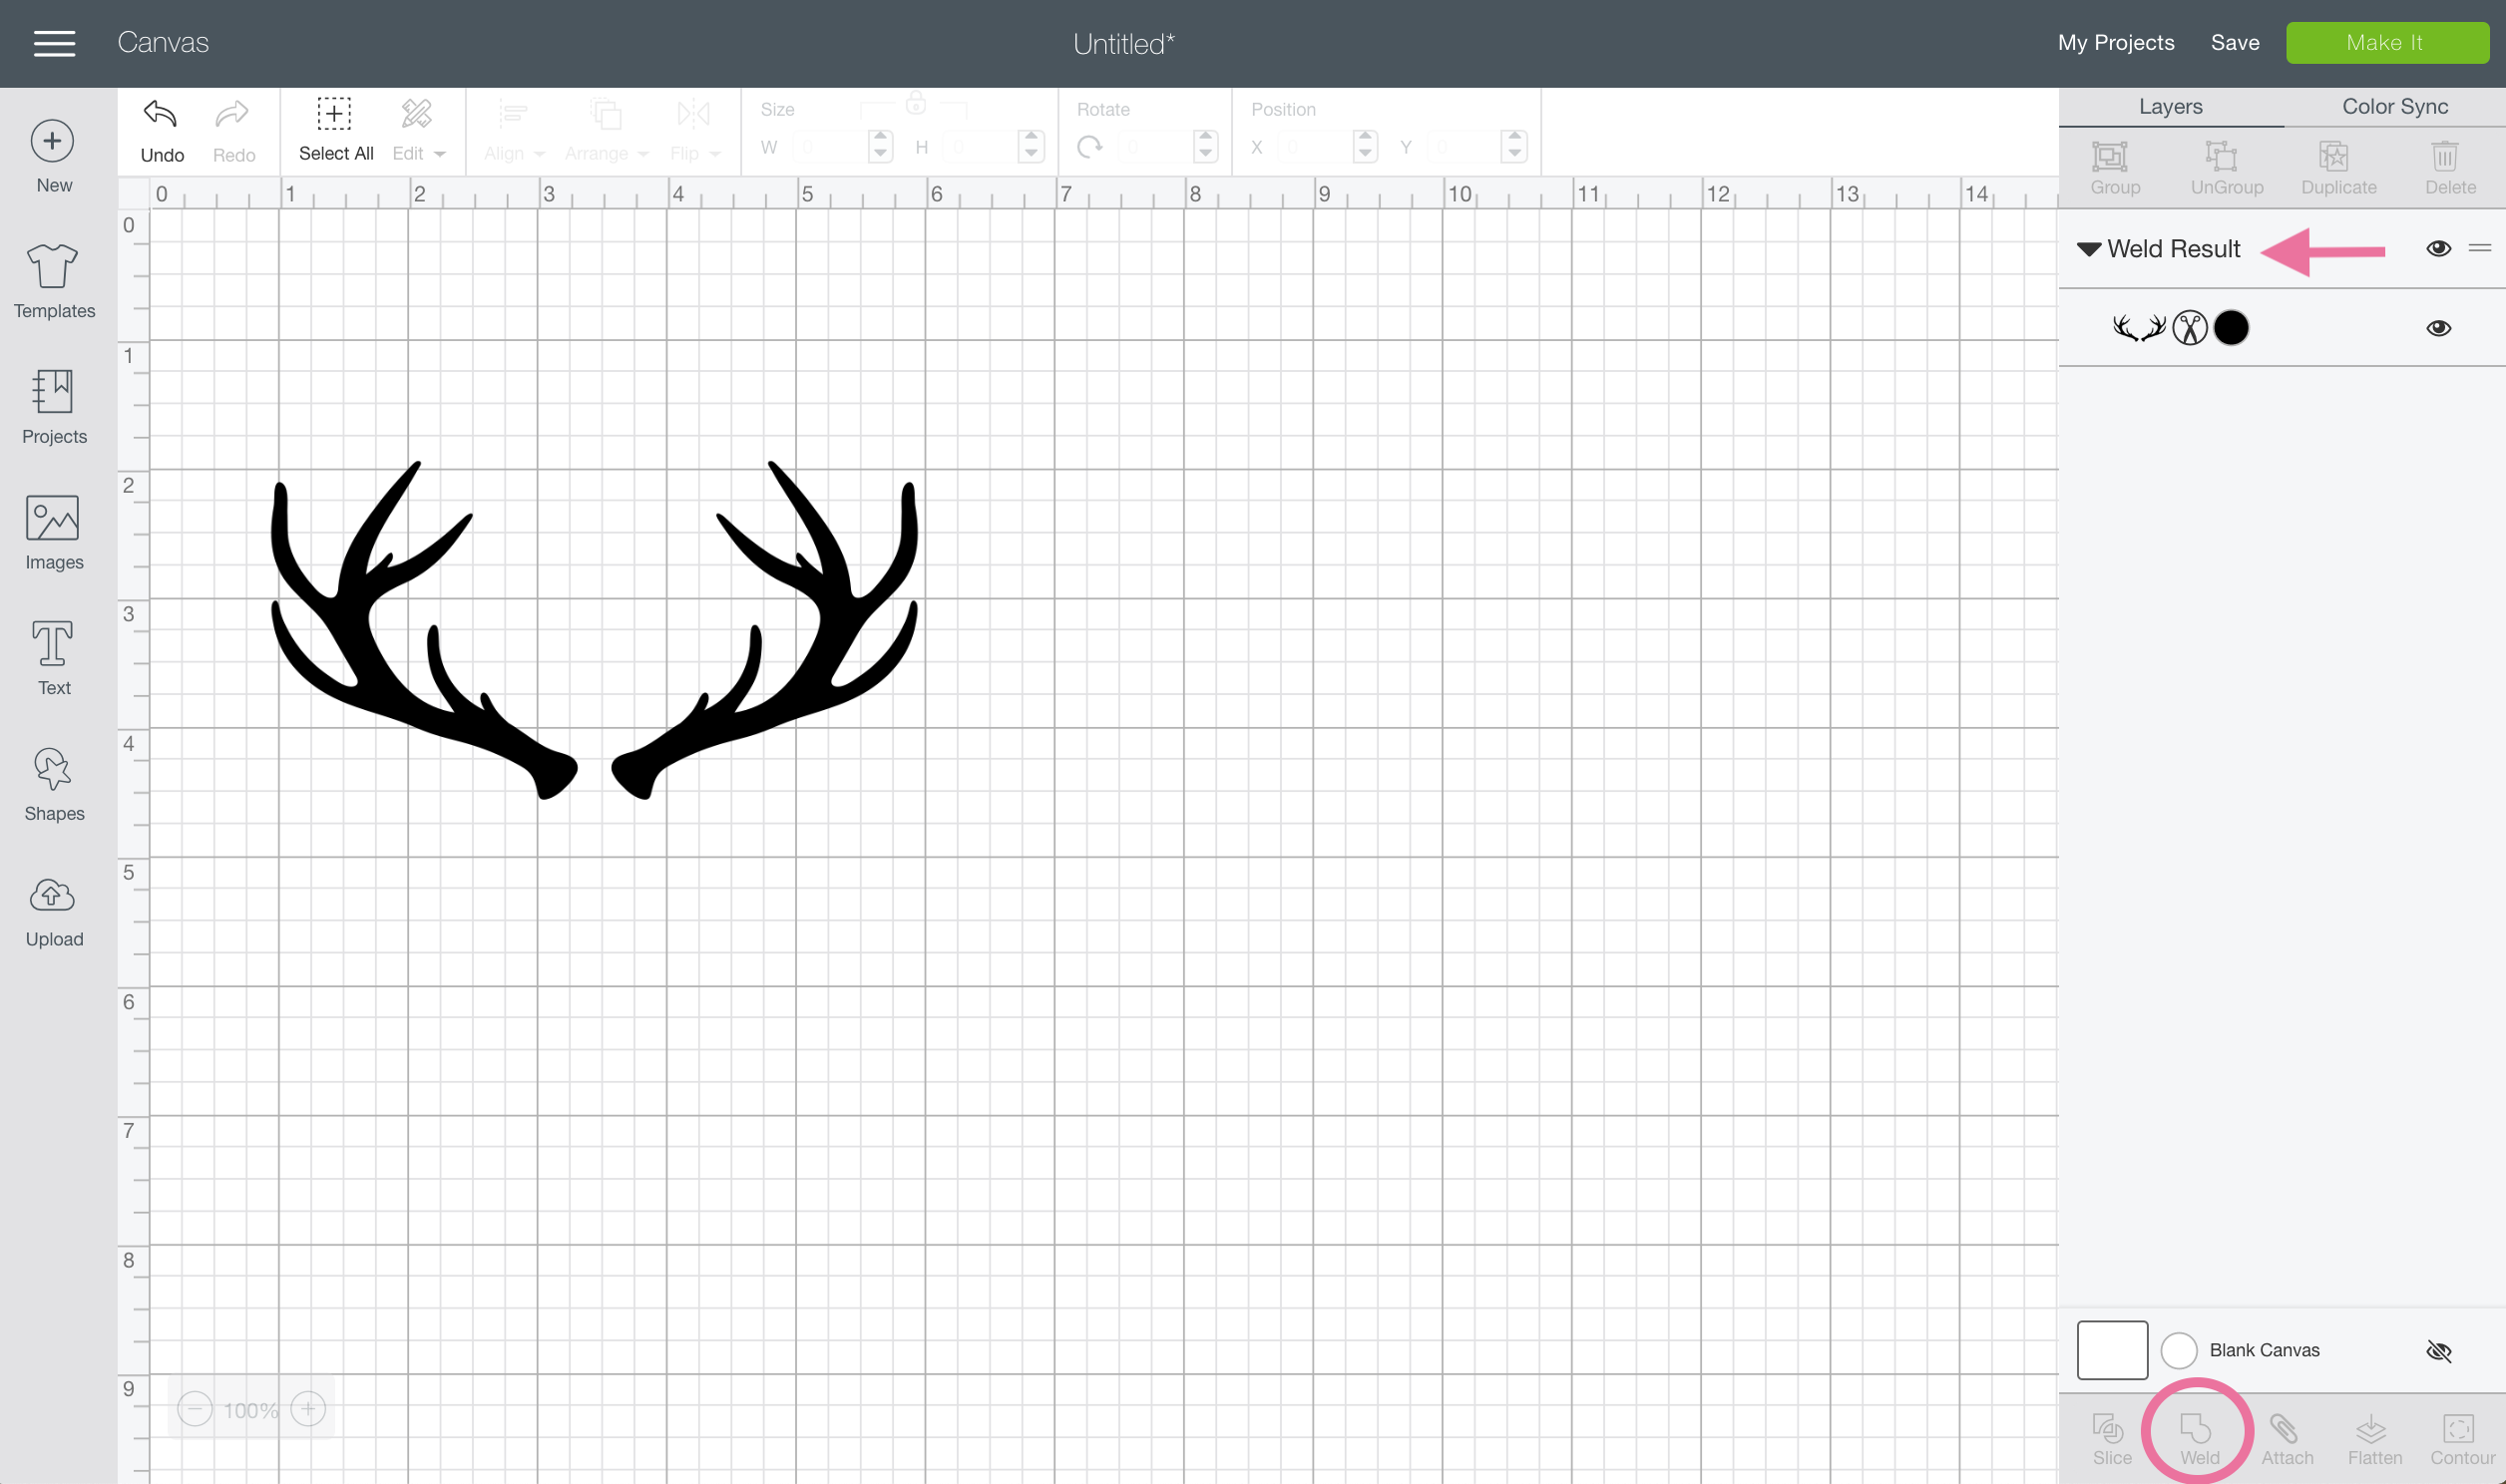
When you upload the SVG into Design Space all three sets of antlers will be visible. I only wanted to use one specific set so I used the hide tool (eyeball shape to the right of the design) to hide the ones I didn’t want.
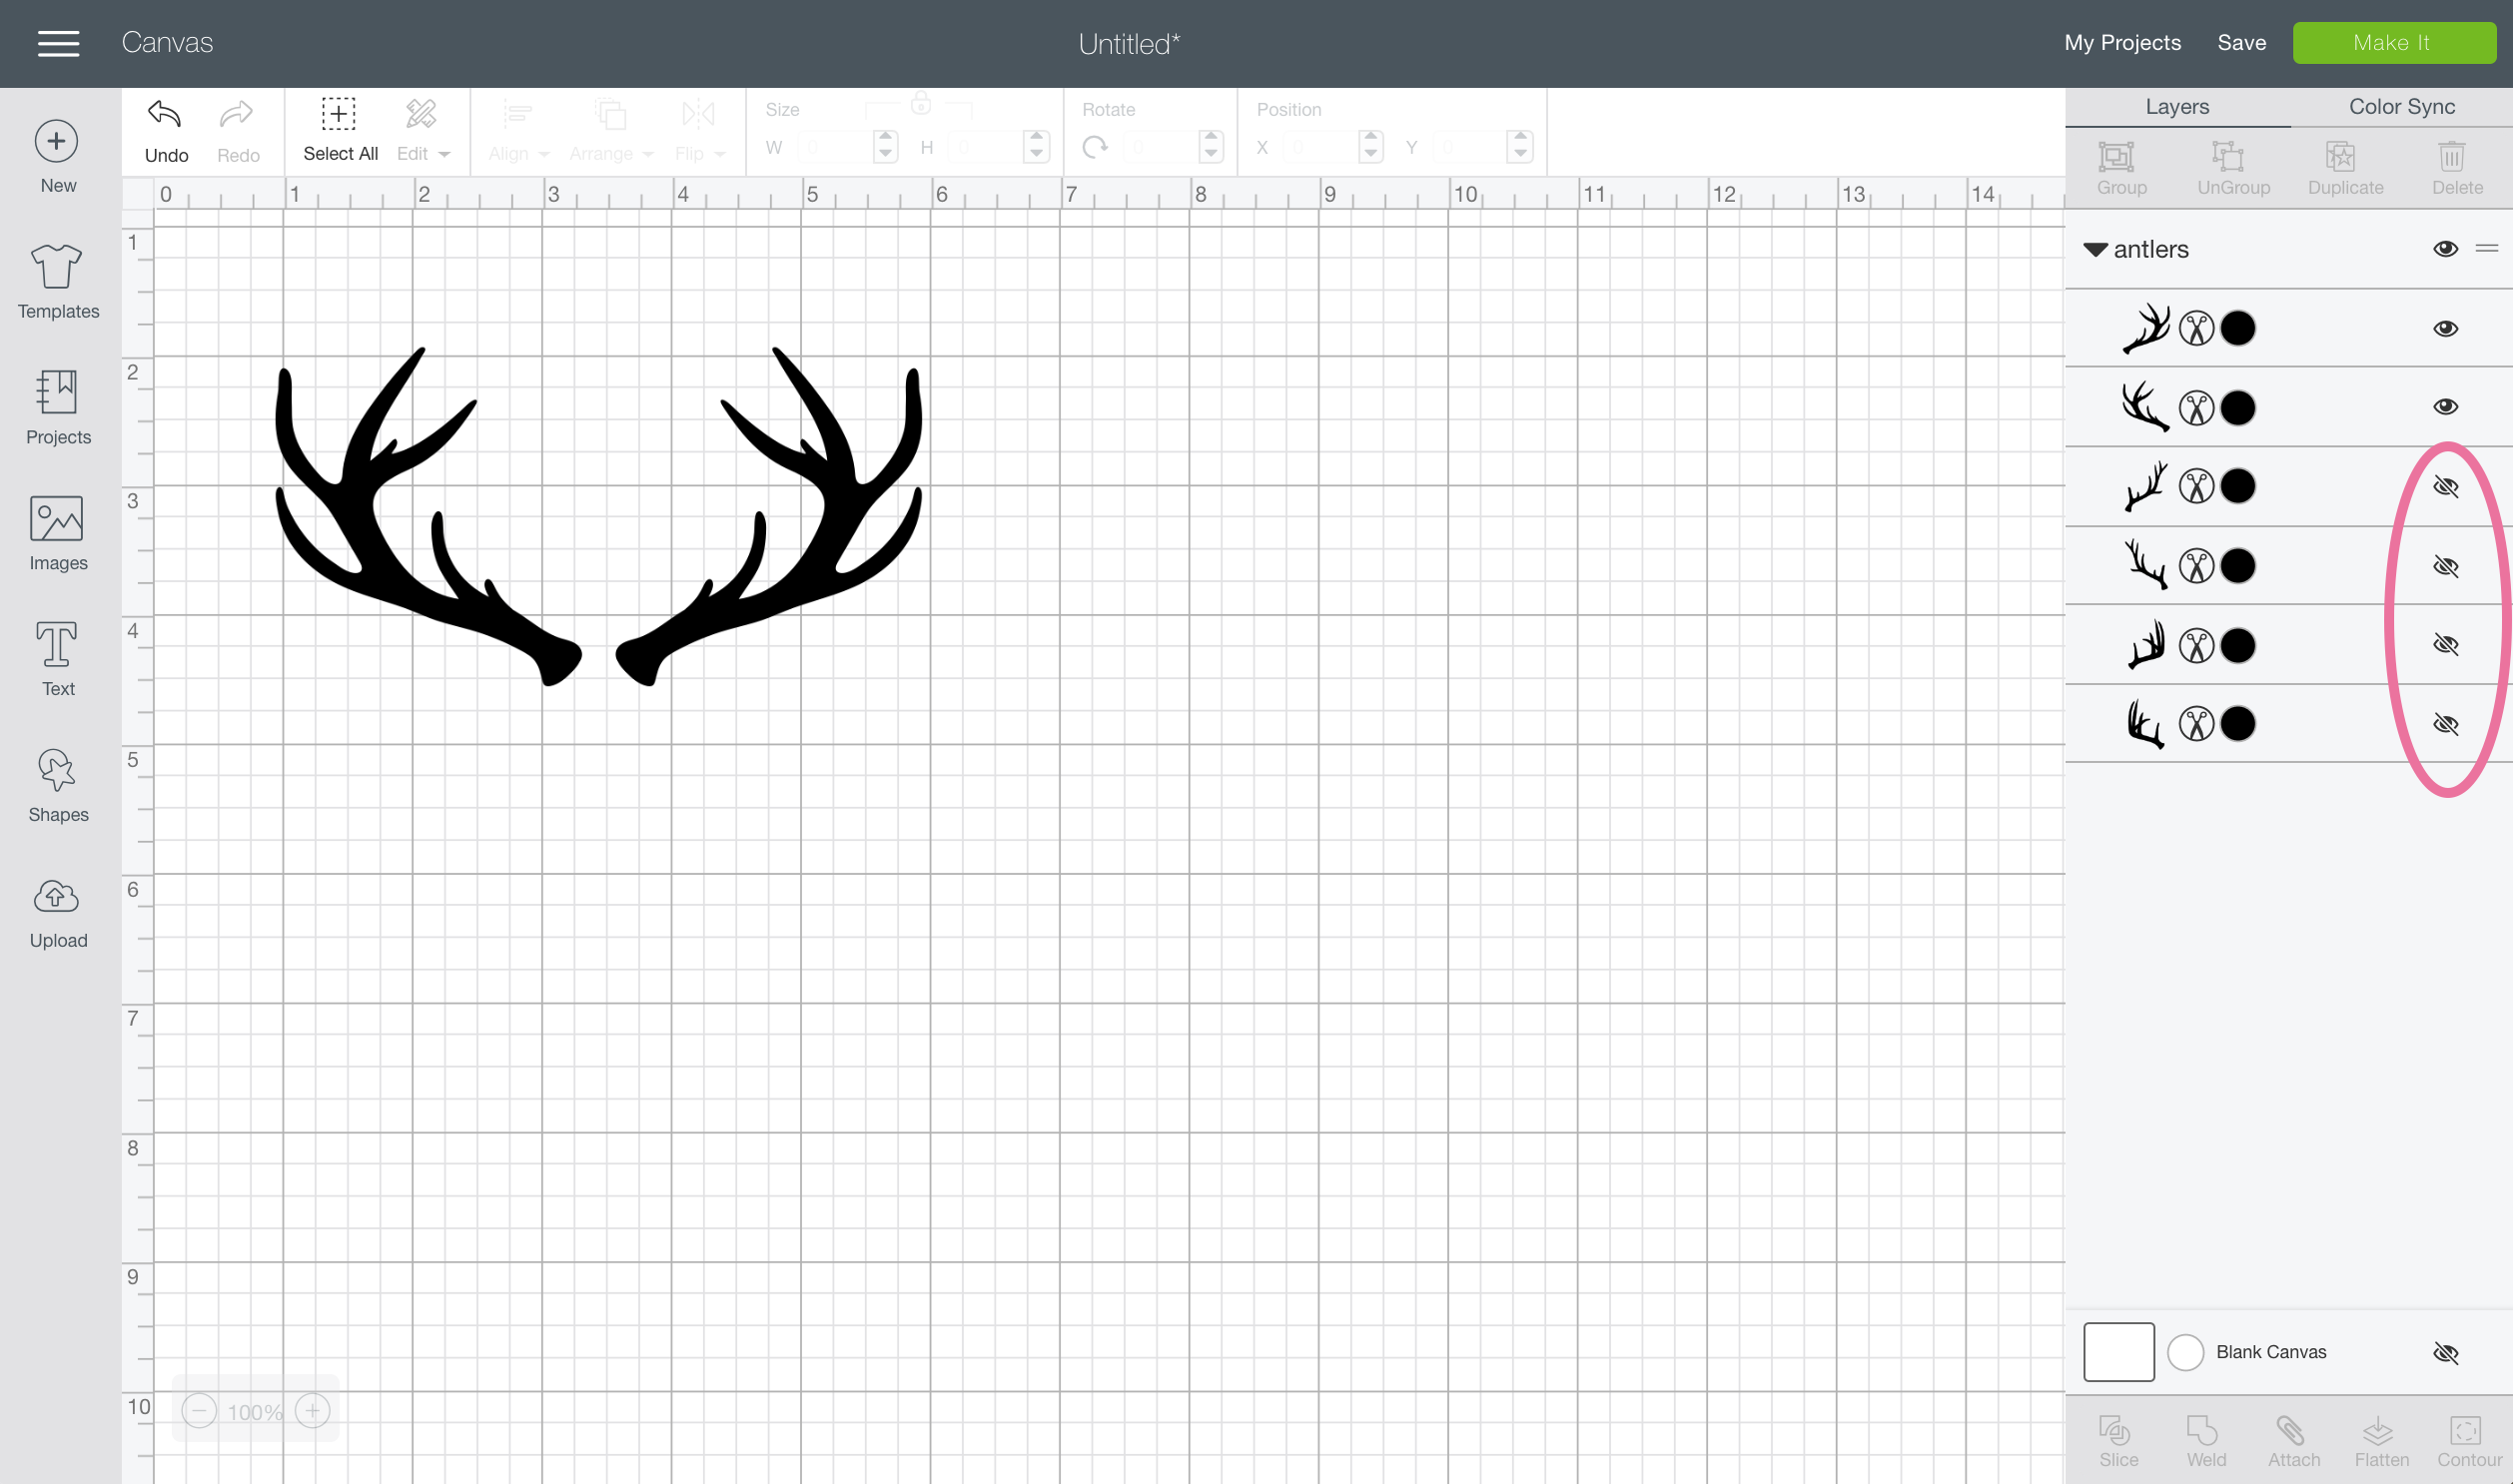

After that, select both antlers and click weld in the bottom of the layers panel to weld the design together.

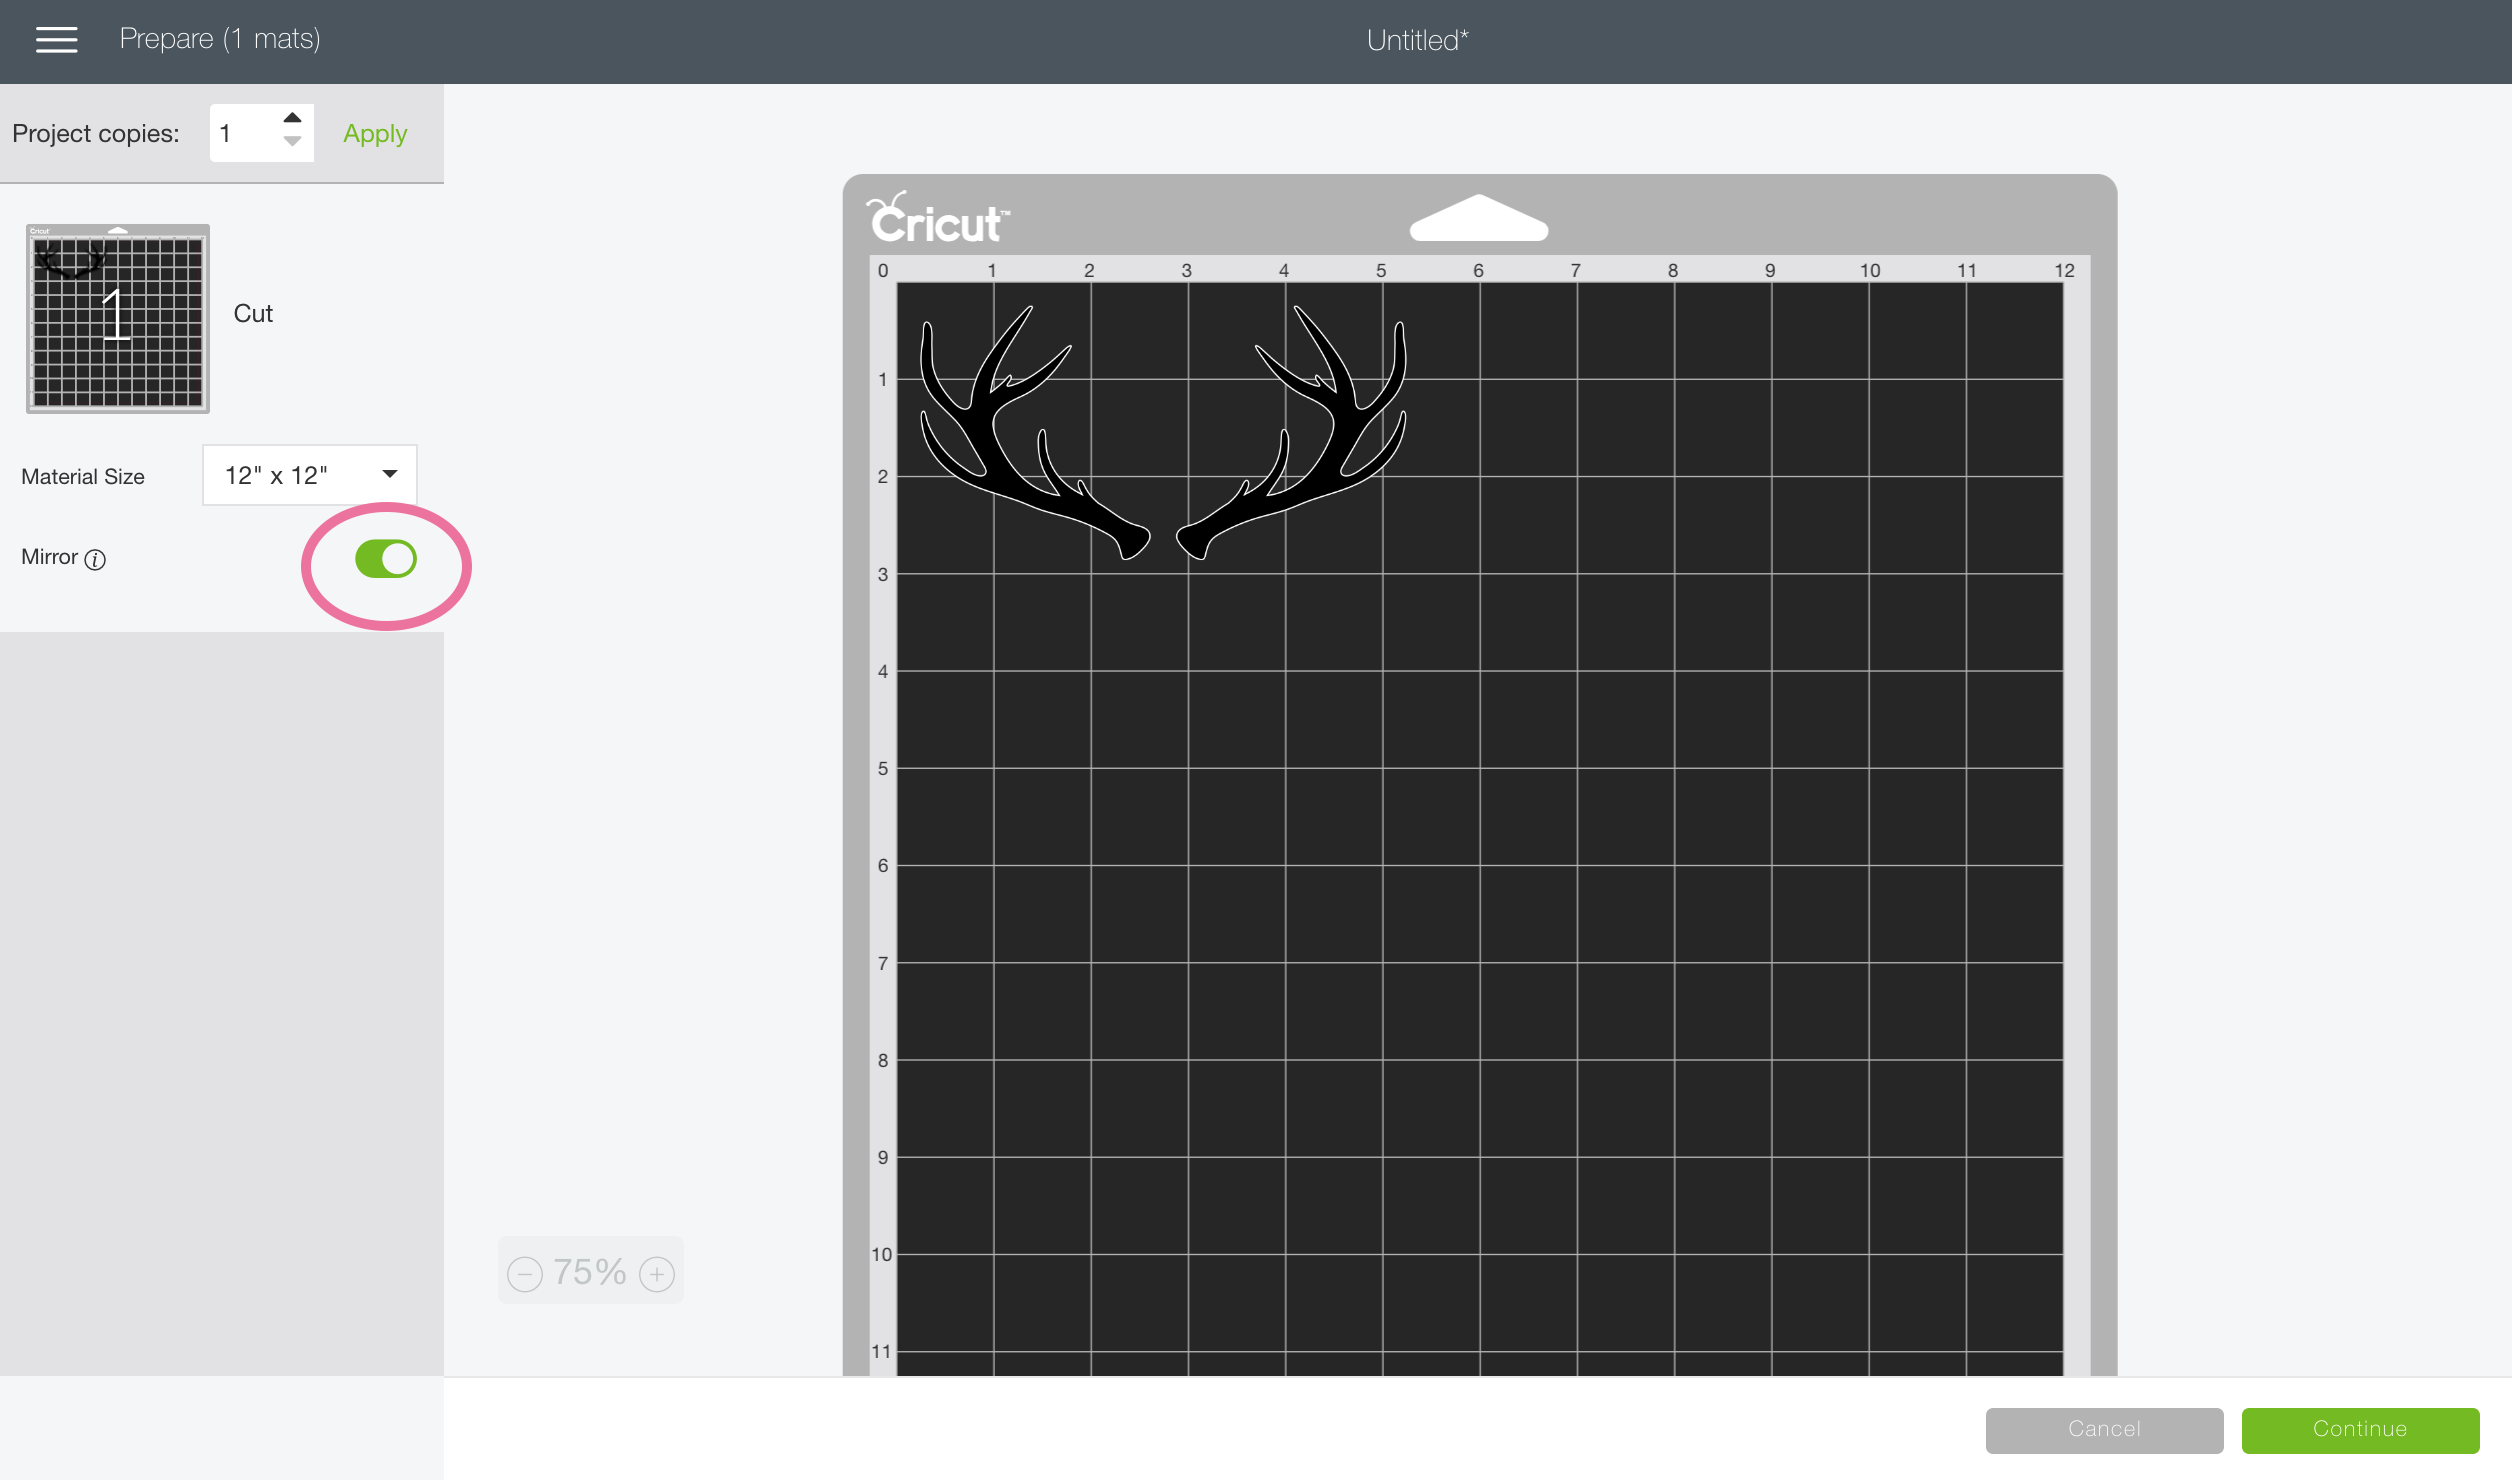
Click the “make it” button and turn on the mirror option since you’re working with heat transfer vinyl.

Step Two: Load Vinyl and Cut
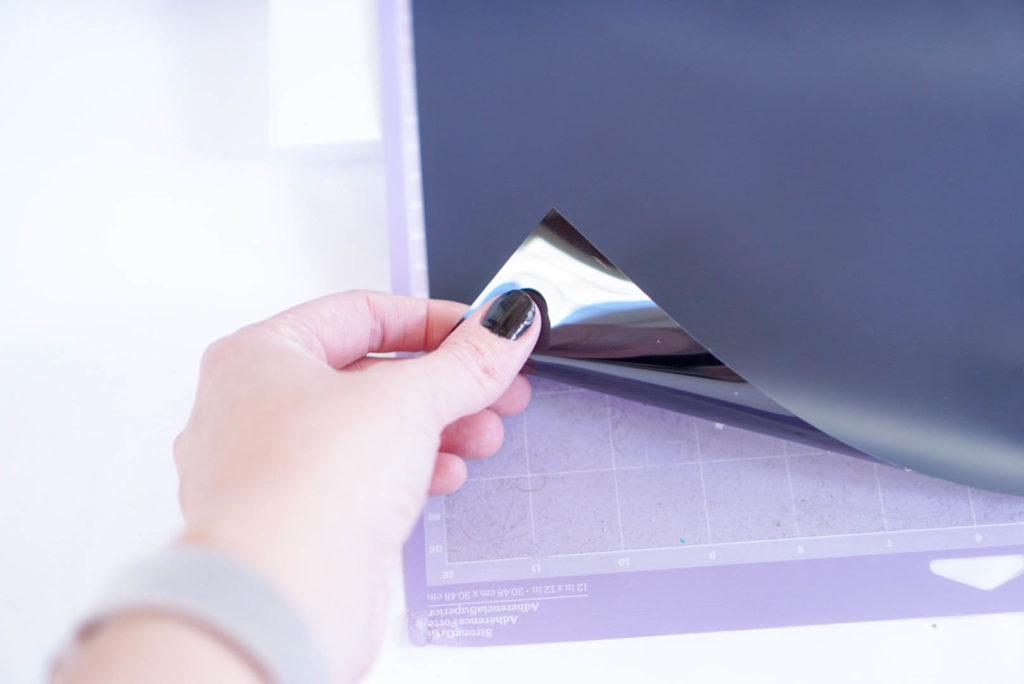
Place the htv on the cutting mat with the shiny side facing down, load the machine and cut out the designs.

Step Three: Weed Designs
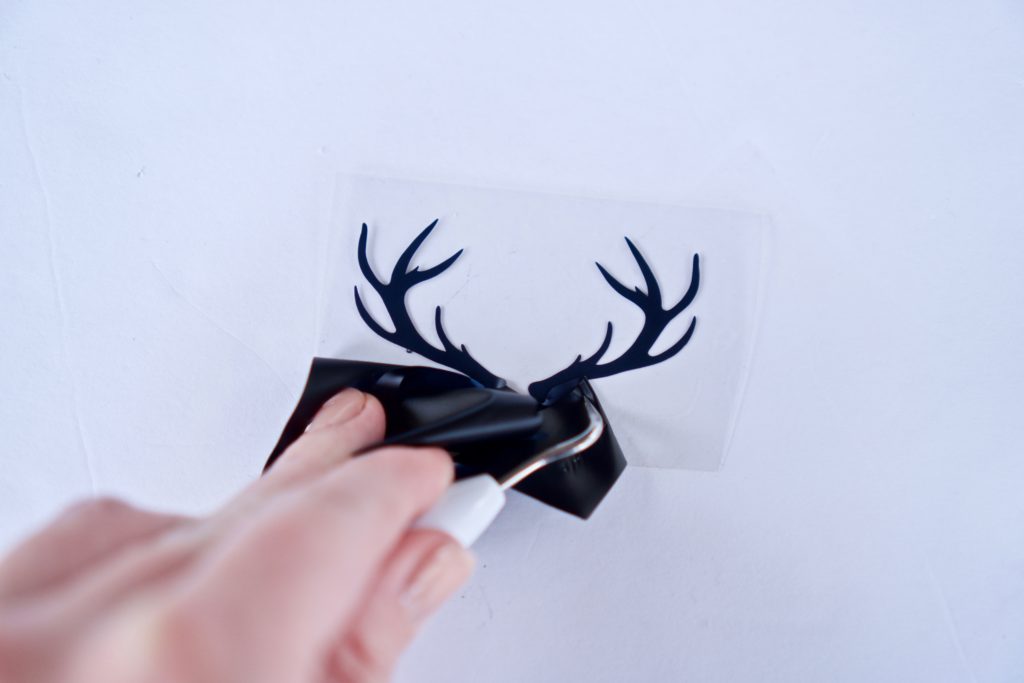
After cutting is complete, use a weeding tool to remove the excess vinyl from around the antler designs.

Step Four: Iron On
Preheat the fabric napkin for a few seconds with a hot iron then center the design and press it onto the fabric using medium pressure for 8-12 seconds.
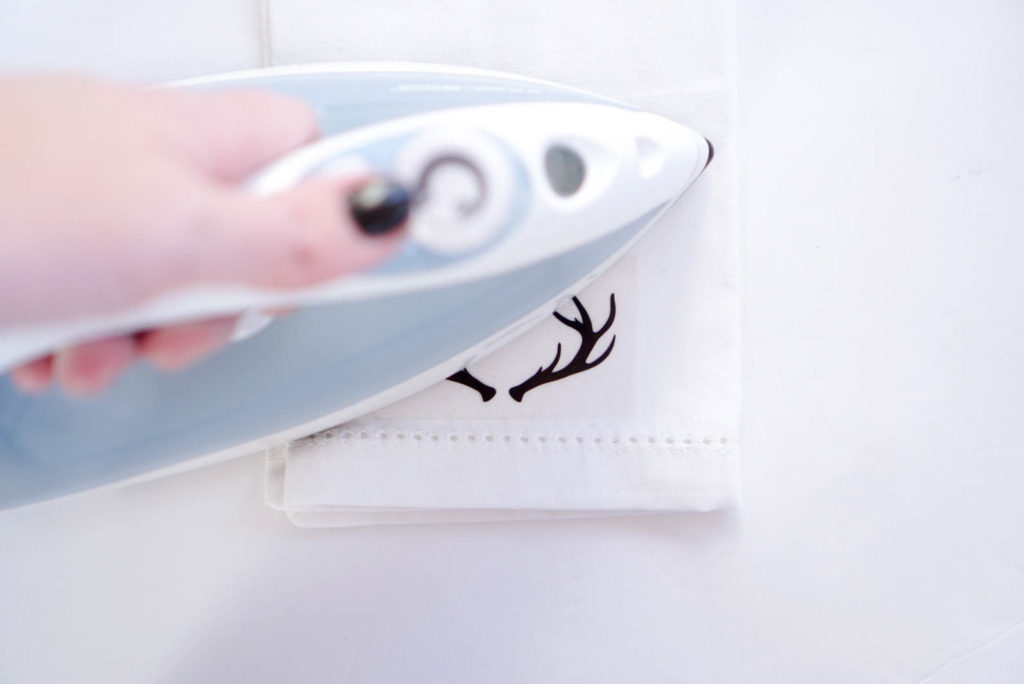

Wait 20-30 seconds then carefully remove the carrier sheet. If you have any places that didn’t adhere properly you can always lay the carrier sheet back down and press again.
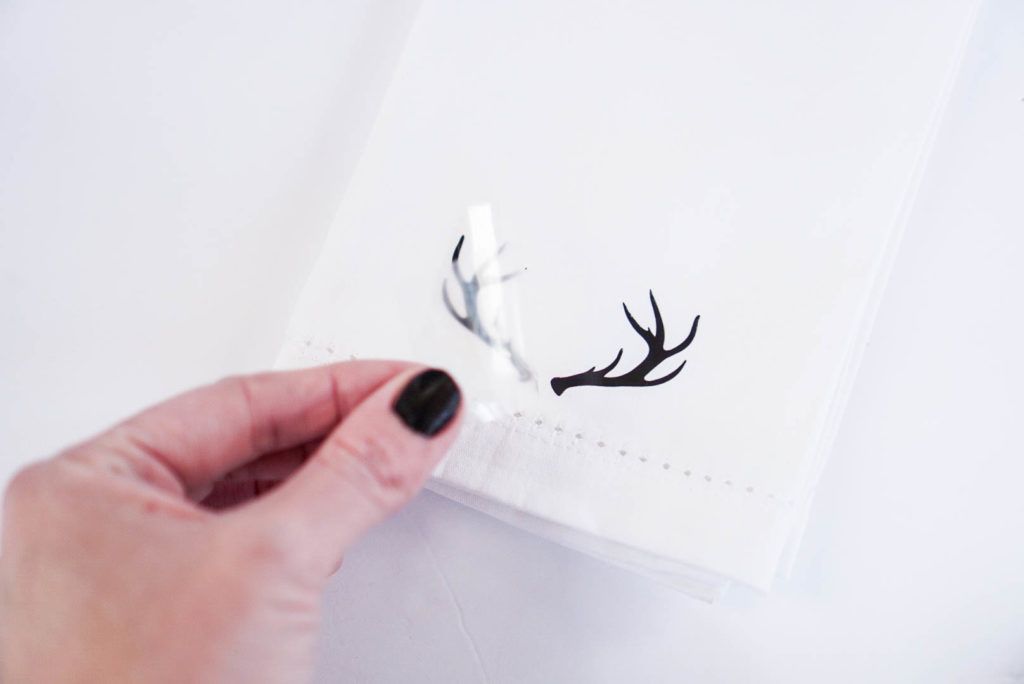

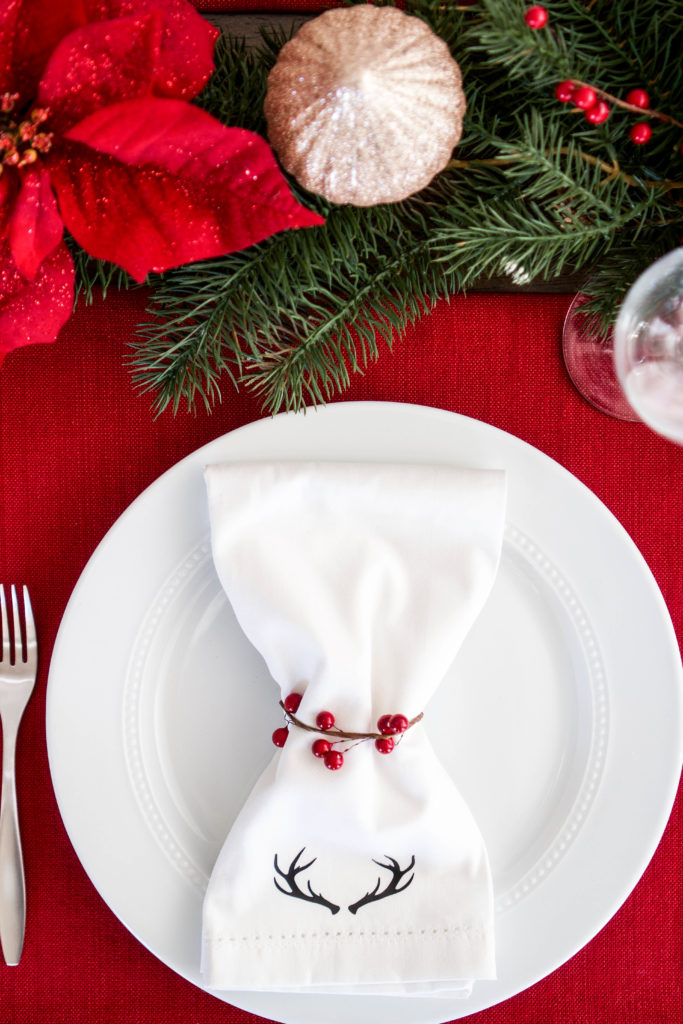
It really is that easy! I’ve worked with all brands of heat transfer vinyl over the years and Craftables has quickly become my favorite. It cuts flawlessly, weeds easily and adheres beautifully to a variety of materials. Check out this post on applying heat transfer vinyl to ribbon and then keep reading here to see how I used adhesive vinyl in the next part of this project.

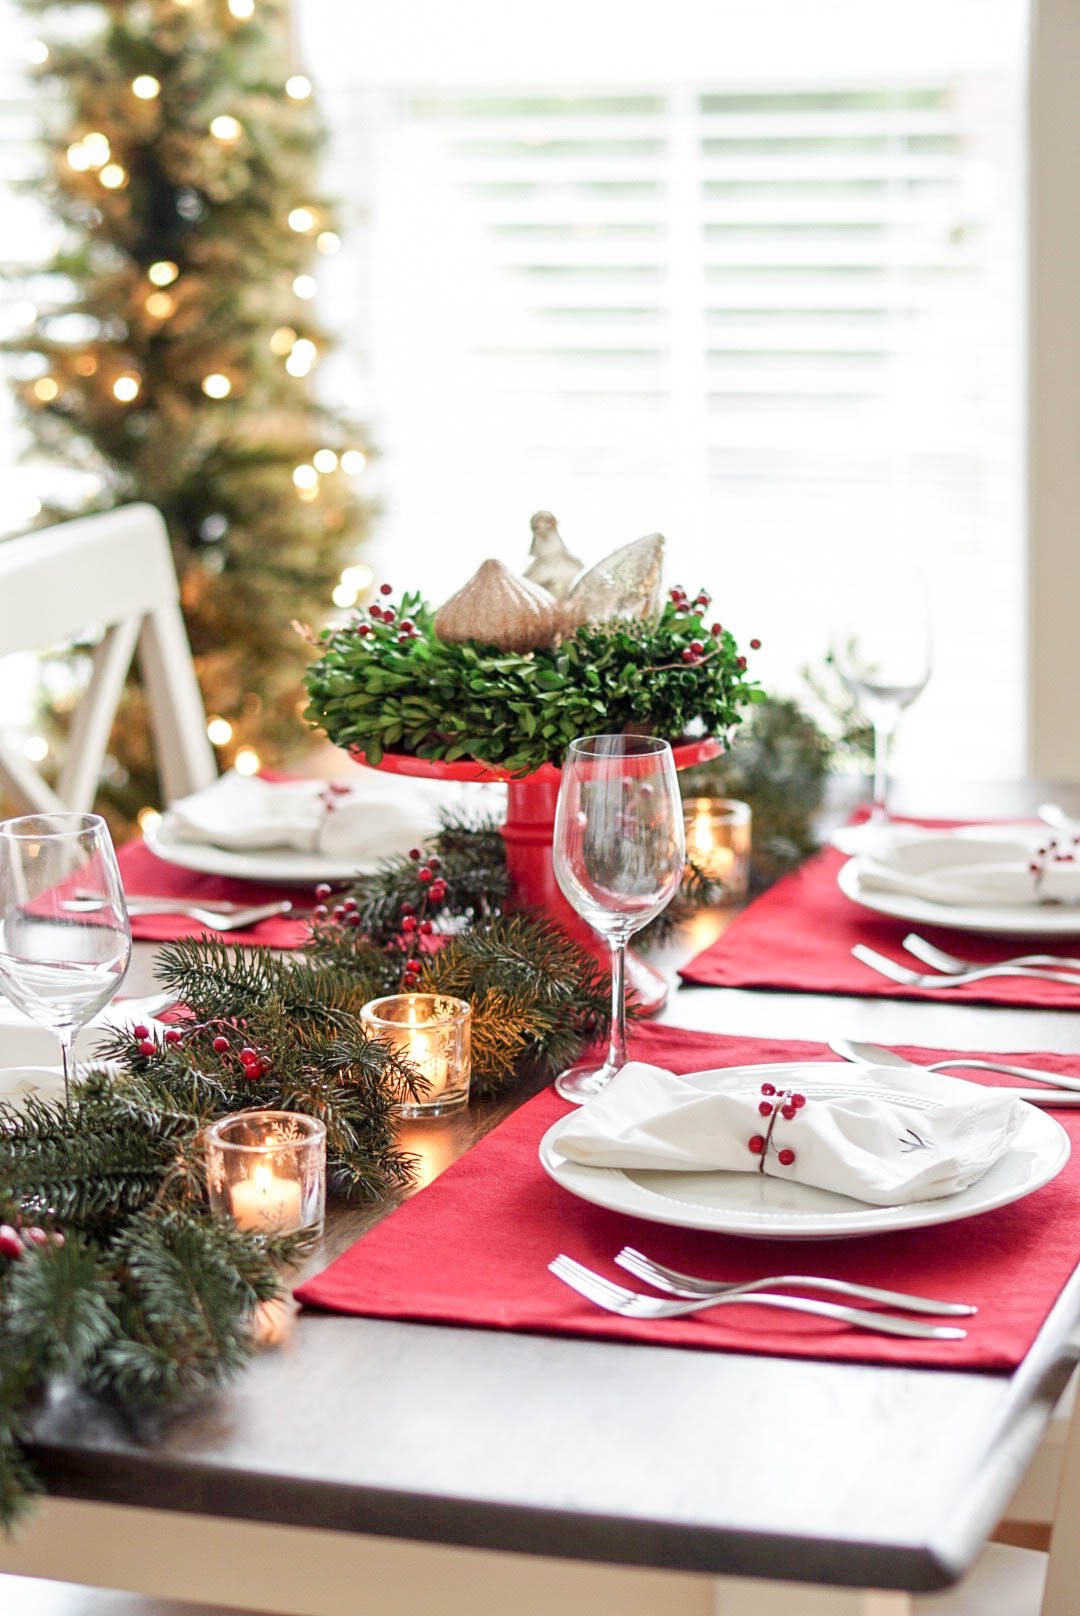
Not every dinner is special enough to be a candlelit dinner but Christmas dinner for sure is! Of course, plain glass votives are fine but I wanted to add a little bit of detail so I grabbed a sheet of adhesive vinyl and used my Cricut Maker to create tiny snowflakes. Here’s how:

Supplies You’ll Need For The Snowflake Votives:
- Adhesive Vinyl
- Transfer Tape
- Cutting Mat
- Weeding Tool
- Glass Votive Holders
- Free Ornament SVG
Step One: Import and Set Up Designs
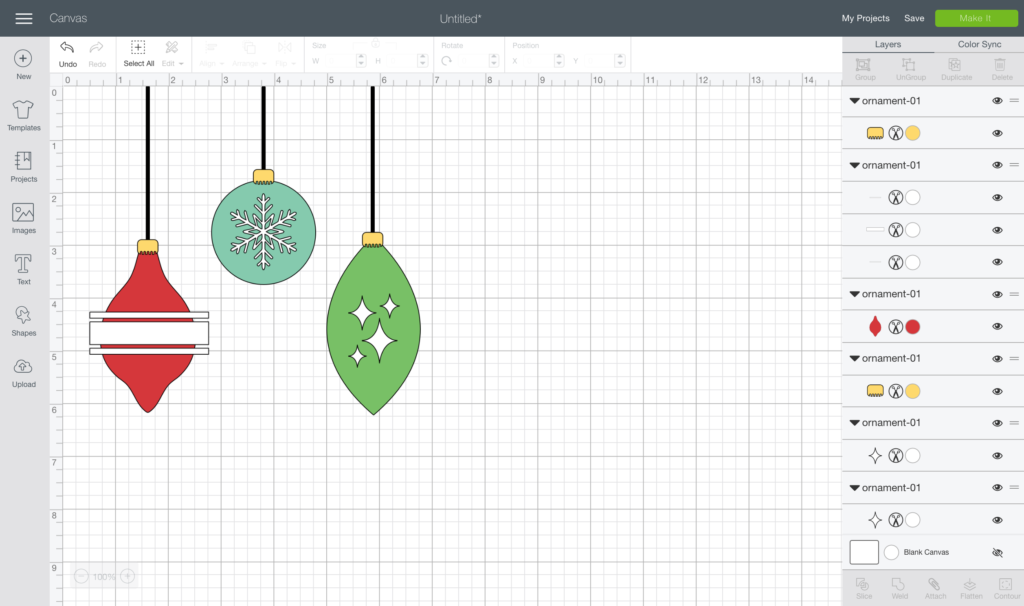
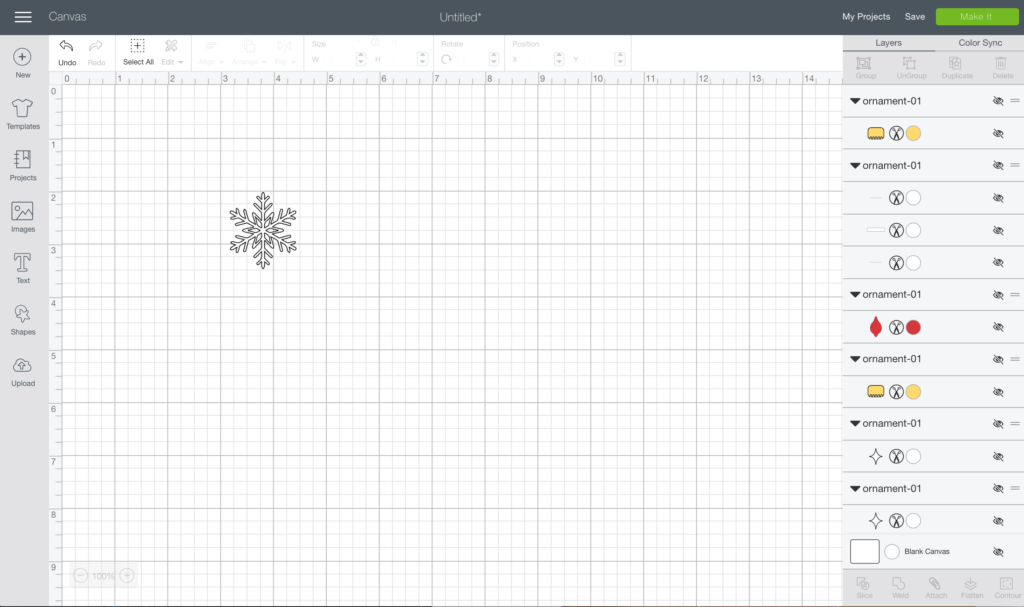
Much like the antler design above, the ornament SVG will open as a grouped cut file. Ungroup the design and hide (or delete) the parts you won’t be using. I hid everything except the snowflake. Don’t ever feel limited to using free downloads as they are, you can always change them up to fit your needs!


Step Two: Cut
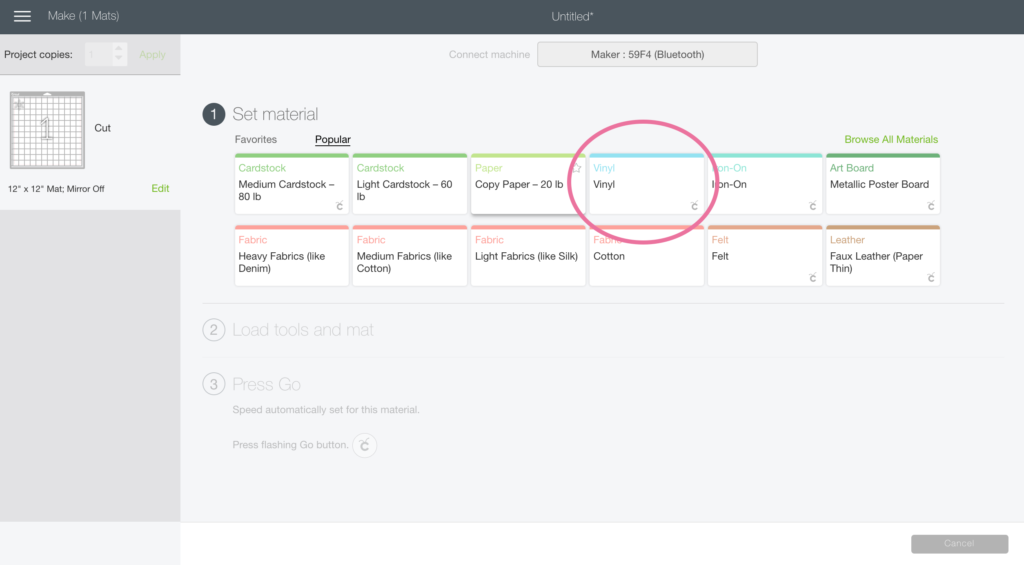
Now that you have just the snowflake ready to cut, click the Make It button, choose your machine and then set the material to vinyl. The Cricut machine will automatically adjust the blade for you.

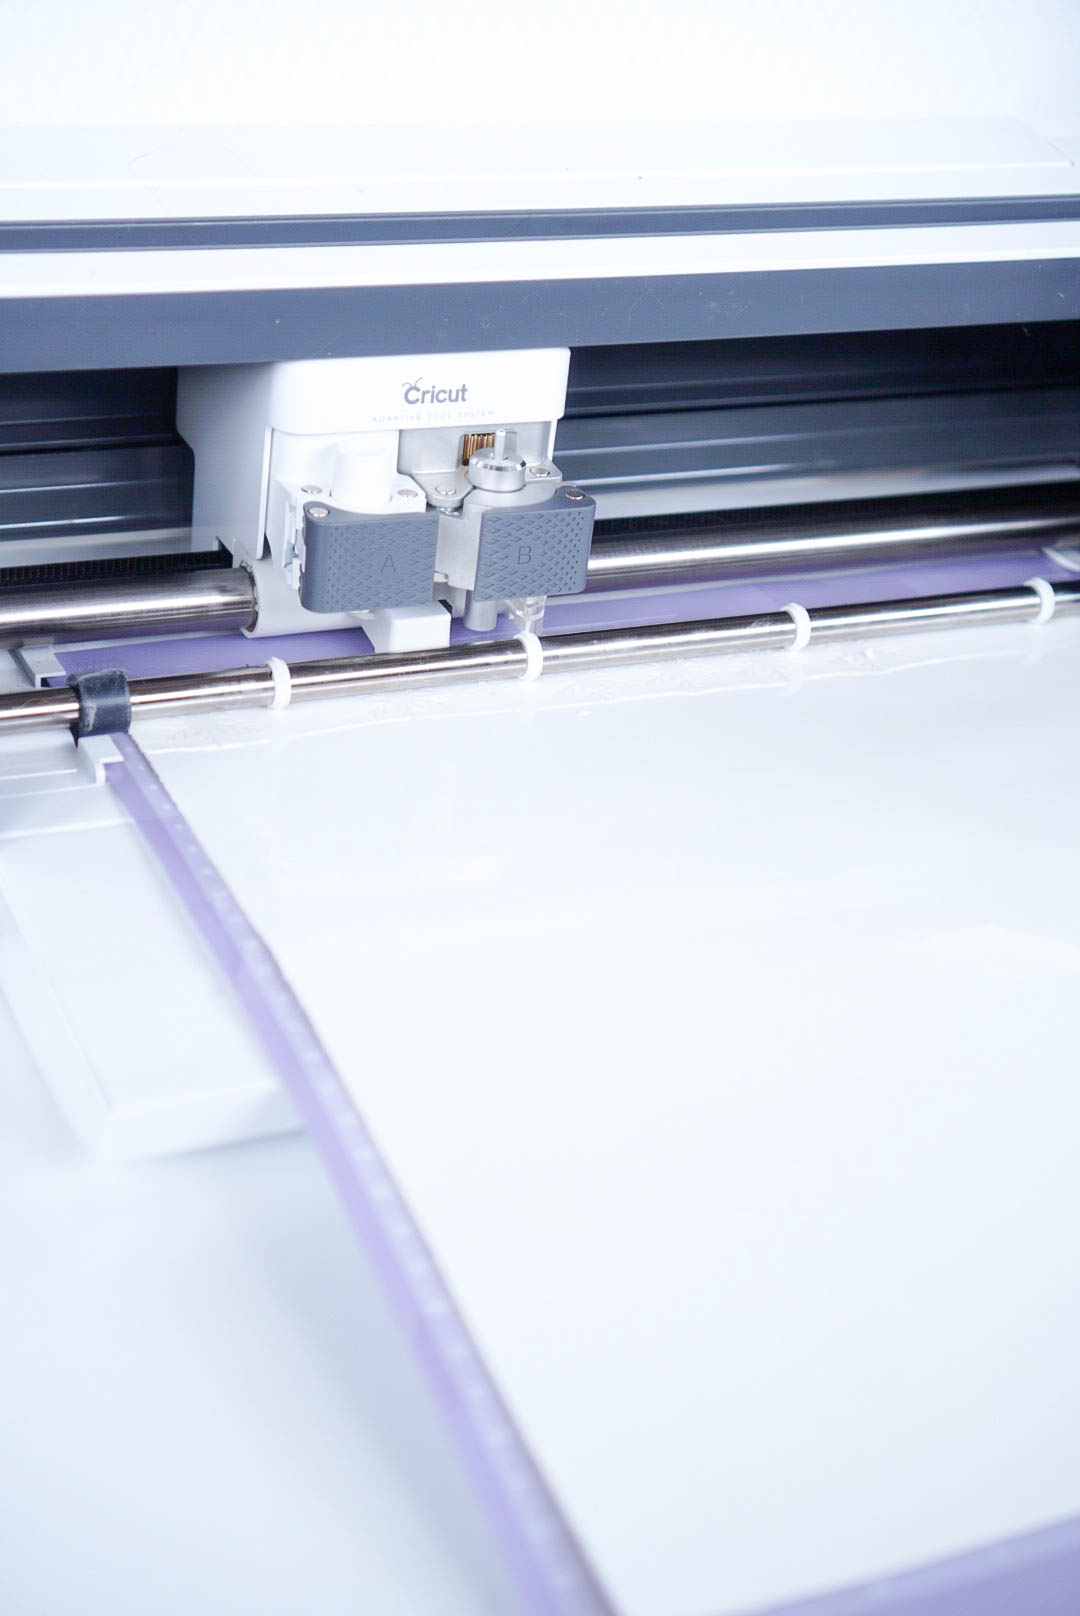
Place the adhesive vinyl on the cutting mat with the colored/shiny side facing up and press the start button to cut.

Step Three: Weed Designs
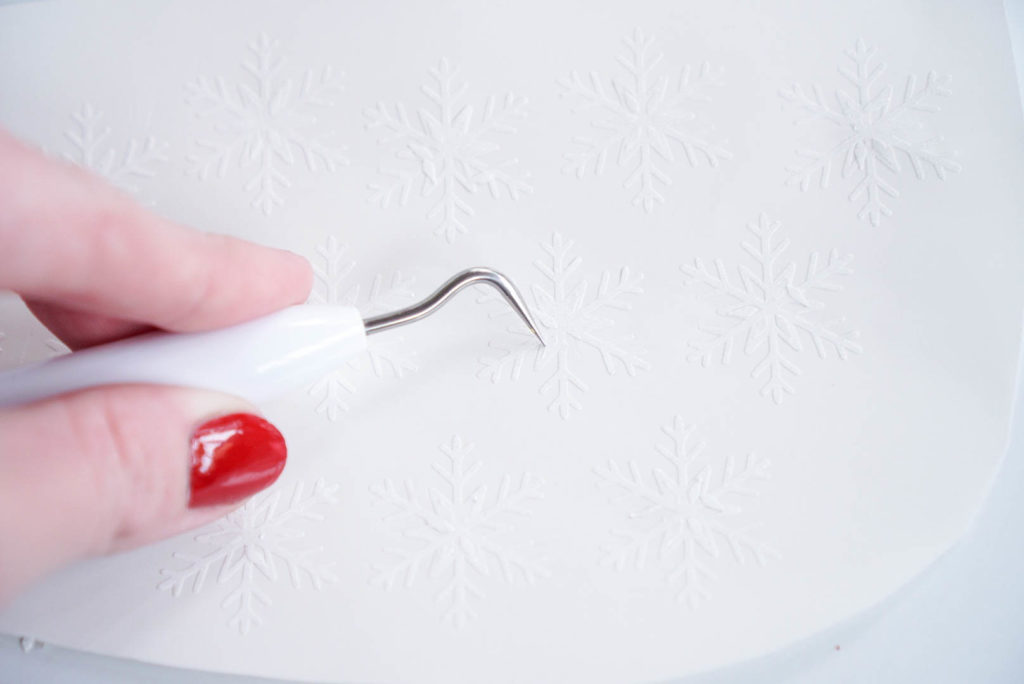
Use a weeding tool or anything sharp and pointy to remove the tiny pieces from inside the snowflakes.
Tip: Sometimes for teeny tiny pieces like these, I use a piece of washi tape or masking tape to weed!

Step Four: Apply Transfer Tape
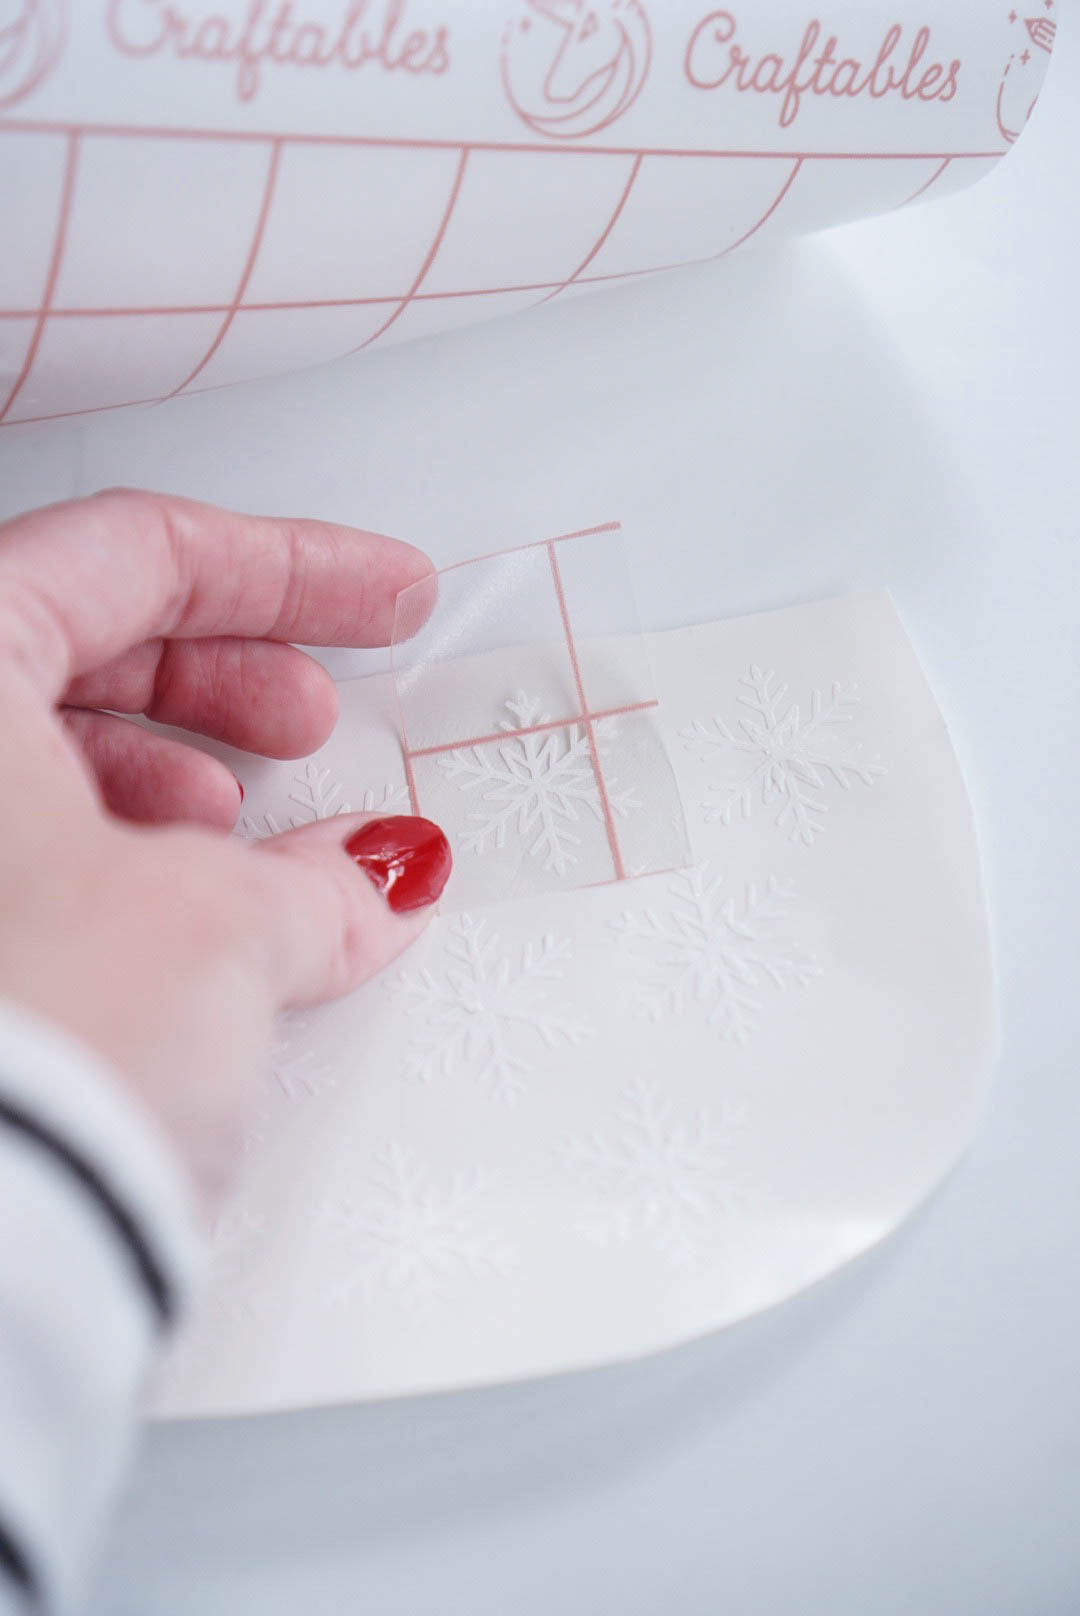
Cut a small piece of transfer tape and apply it to one of the snow flakes. You can use a scraper tool, credit card or even your finger to apply light pressure and peel the snowflake away from the carrier sheet.

Step Five: Transfer Designs
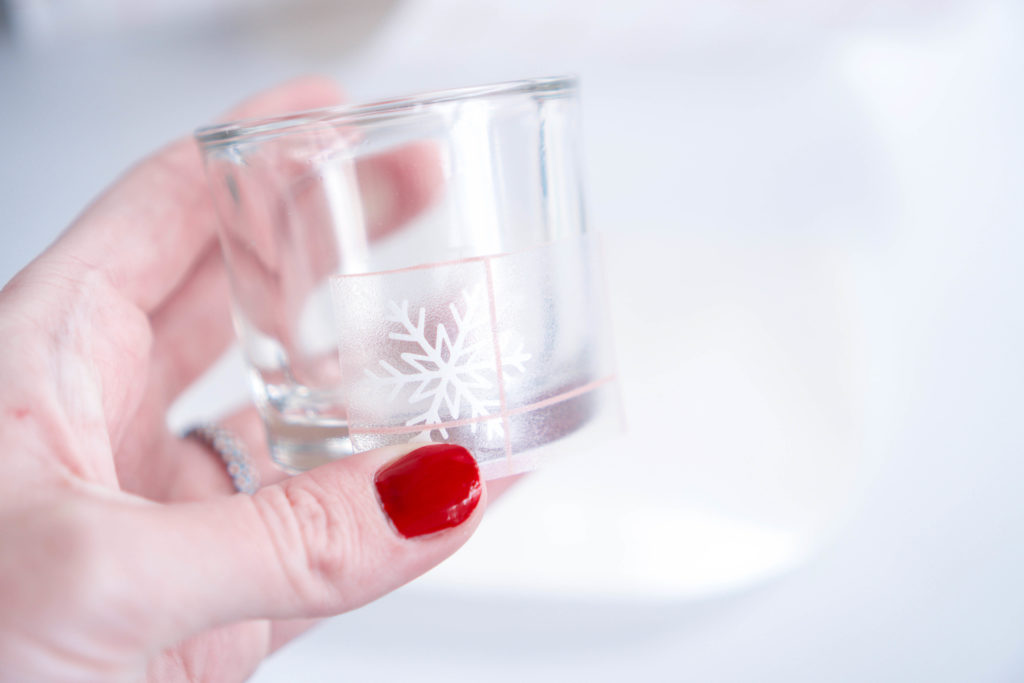
Place the vinyl decal on the glass votive and burnish over it really well. Peel away the transfer tape and repeat!

Add some sweet little tealights and set the table!
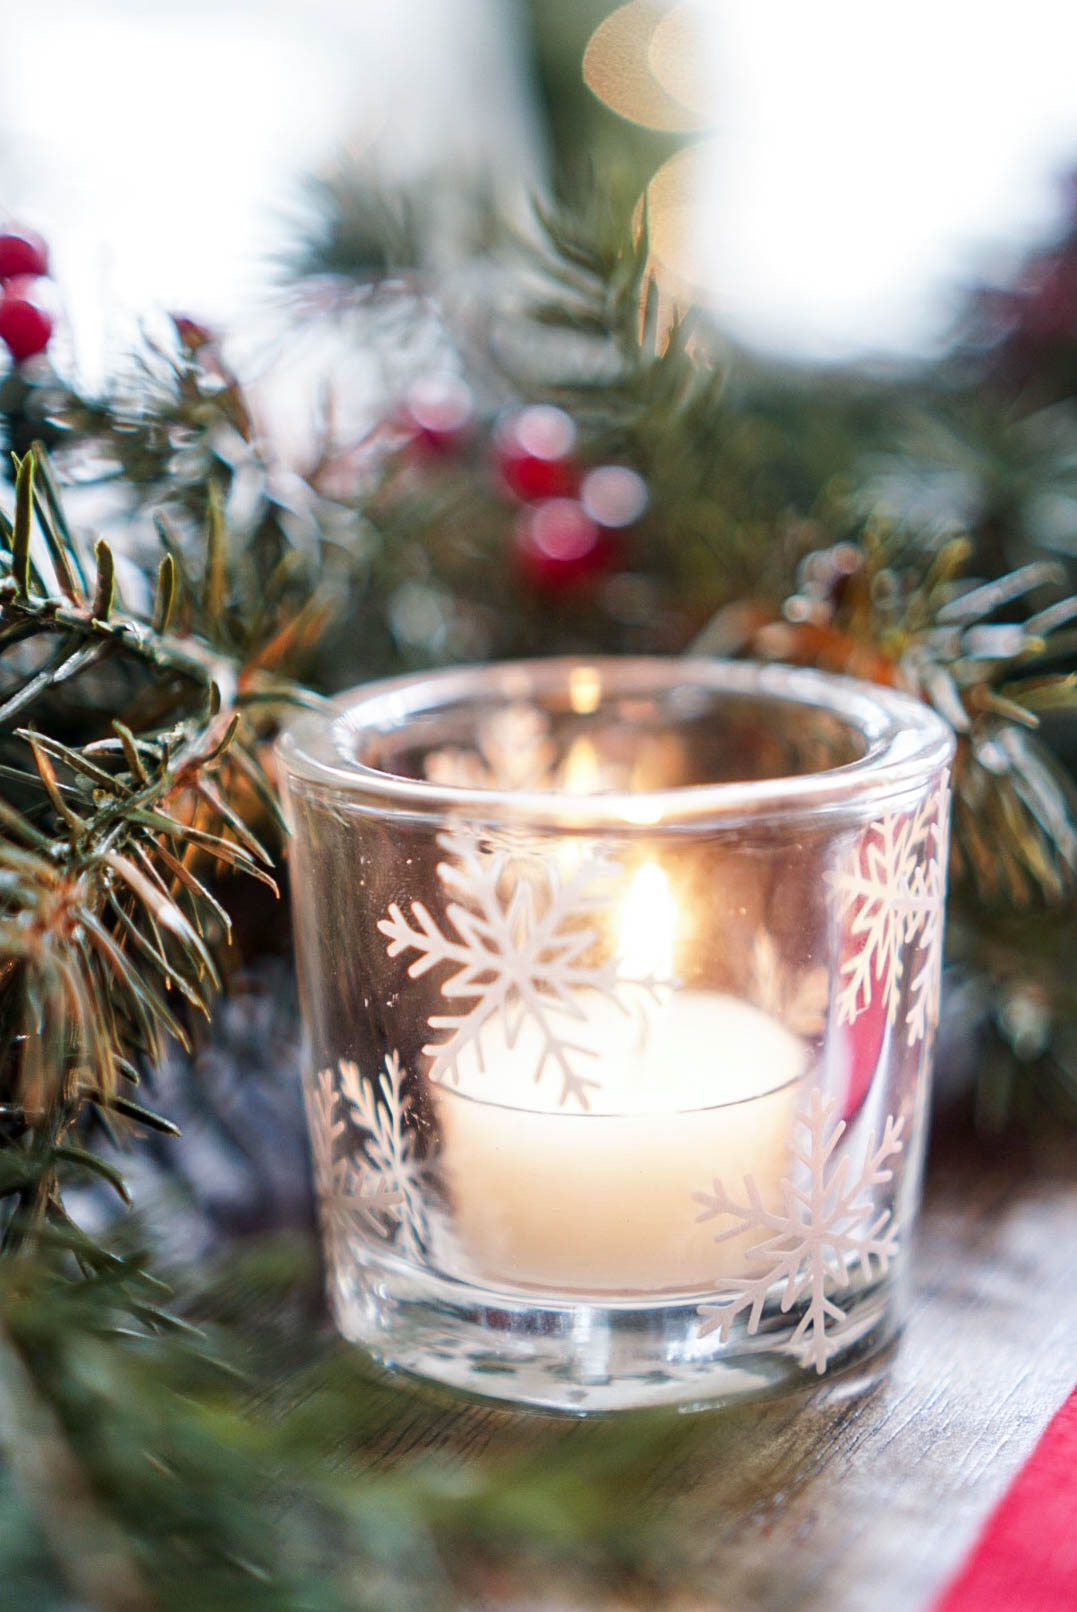

Remember, when you apply adhesive vinyl to glass, it’s best to handwash only. That way your handmade items are sure to last for many Christmases to come!

Thanks for crafting along with us today. Check out some of the other holiday posts here on the blog like these festive hand towels or these punny cocktail glasses. Happy Holidays and happy crafting!


