Monogrammed T-Shirt with Expressions Vinyl
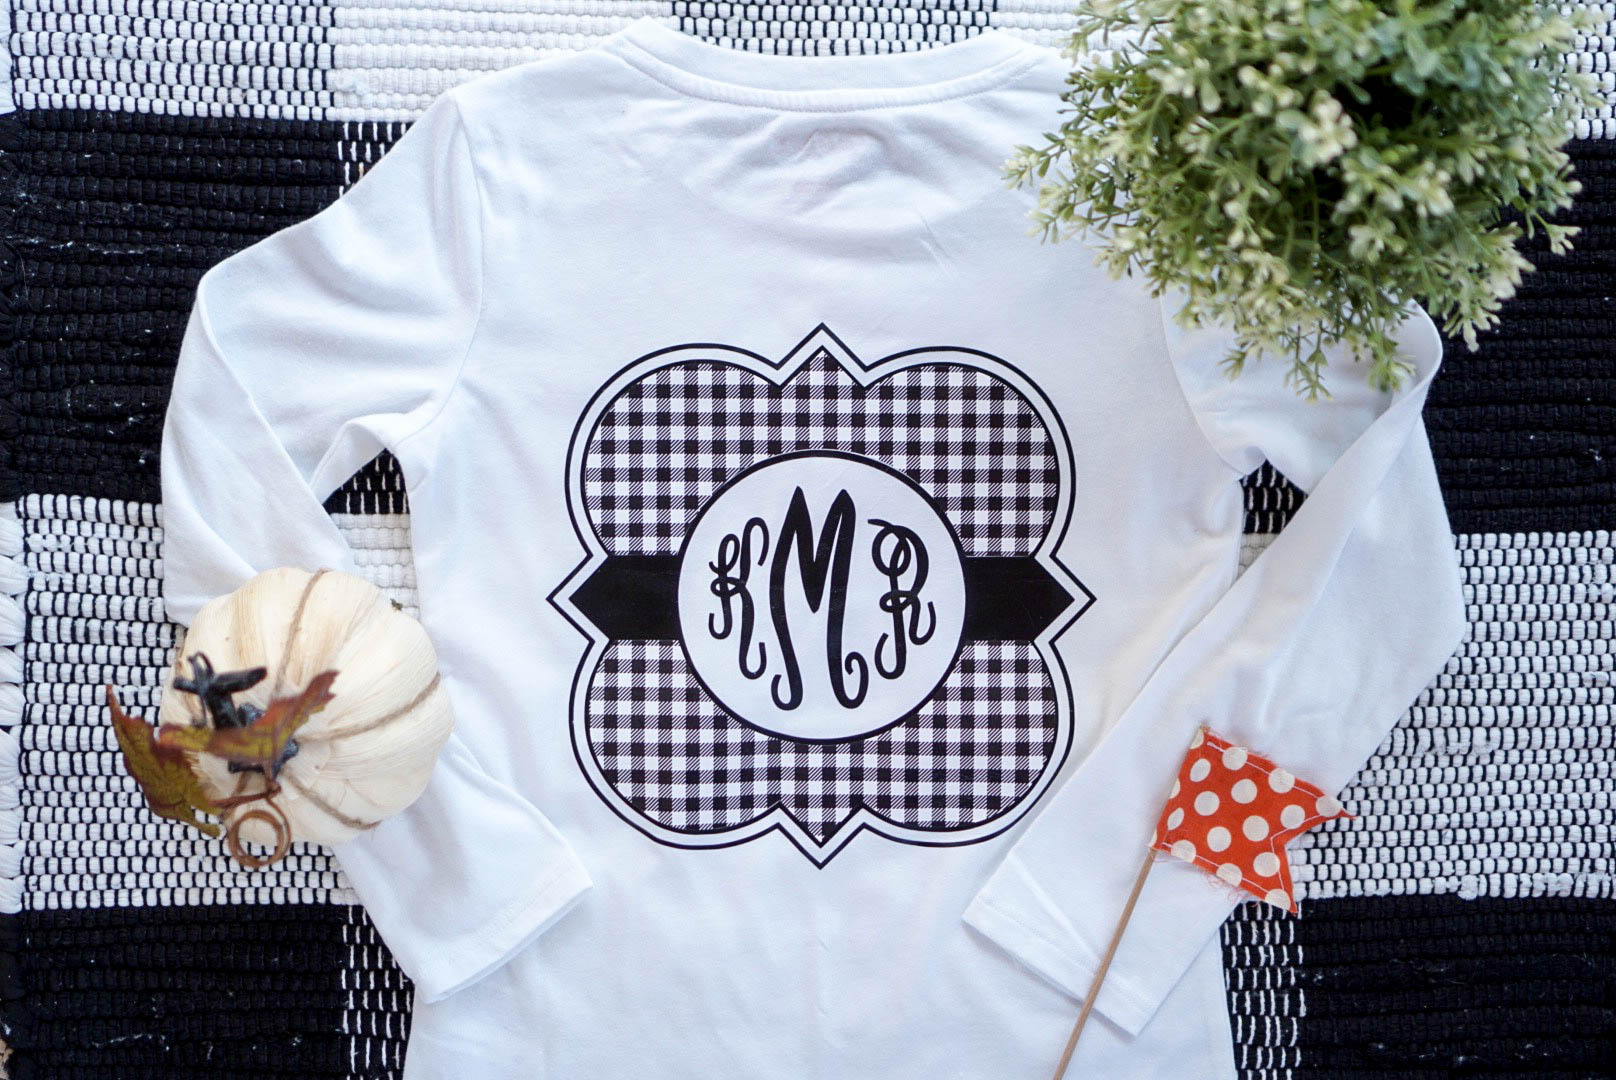

Hey friends! It’s been quiet here on the blog lately but rest assured, behind the scenes I have been busy! I’ve been working with some fun companies this month, I can’t show any photos just yet but these ideas will take you from Halloween right into Thanksgiving! Yay!
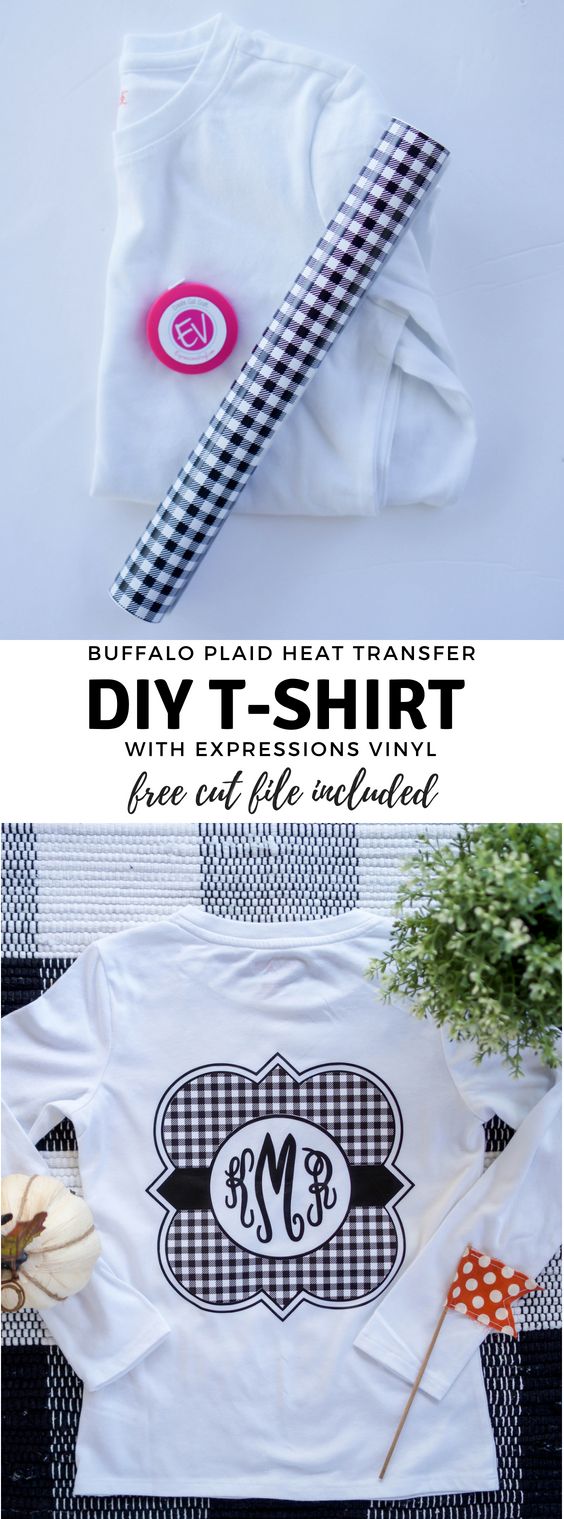
Anyway, my gals over at Expressions Vinyl sent over THE cutest box of patterned vinyl and heat transfer vinyl a couple of weeks ago. Buffalo check for dayssss y’all! Today I finally had a chance to play around with it and I’m in love. IN LOVE!
Before I take you through the how-to steps, grab the downloads for the quatrefoil shape here and here!
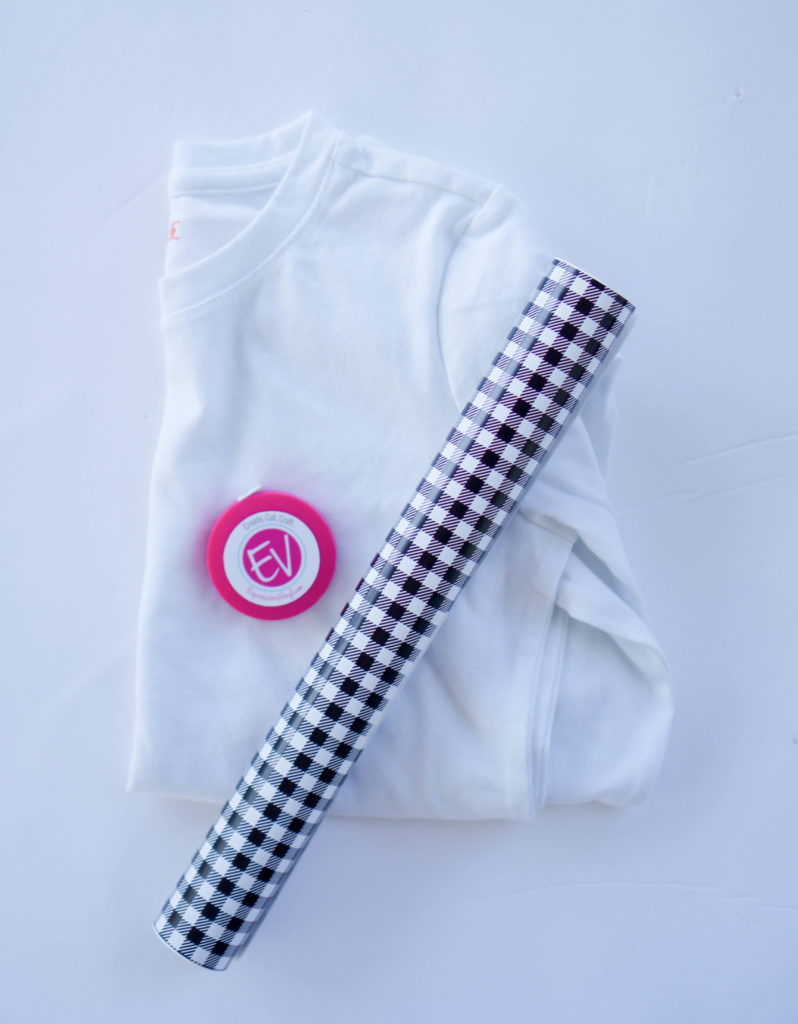
Upload and open both parts of the design. I’m working in Design Space because I’m a Cricut gal but this is just as easy in Silhouette Studio.
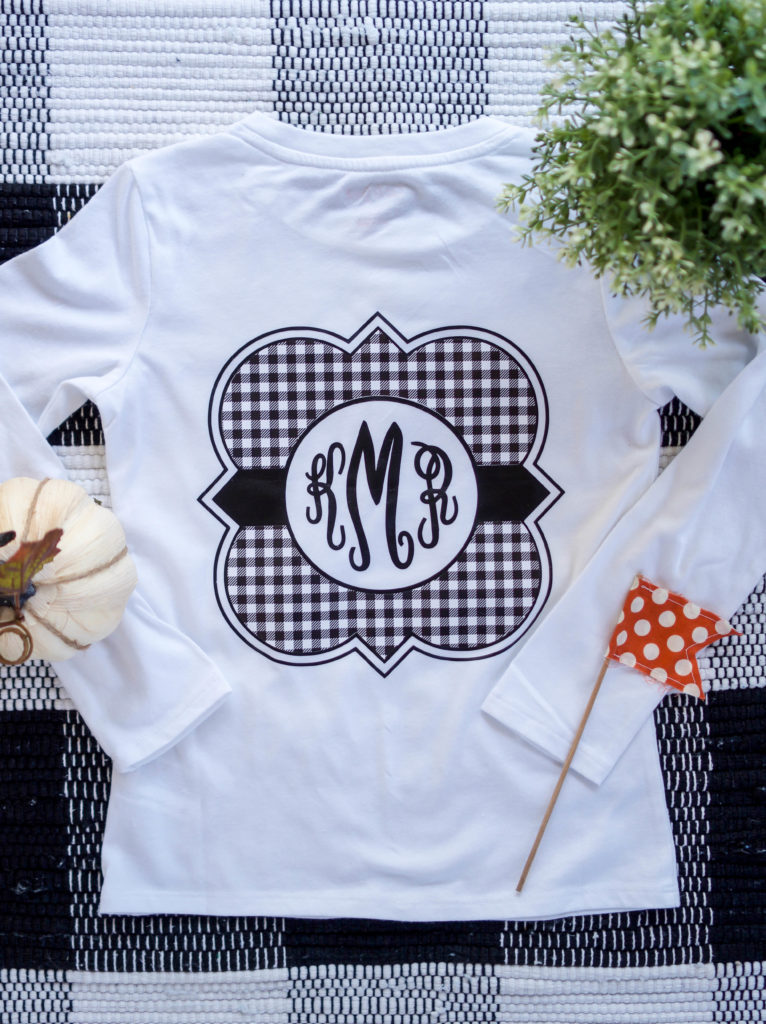
The first cut will be on black heat transfer vinyl. I added the monogram and welded it to the shape so that everything cut all at once.
Cut two will be on the buffalo check patterned vinyl.
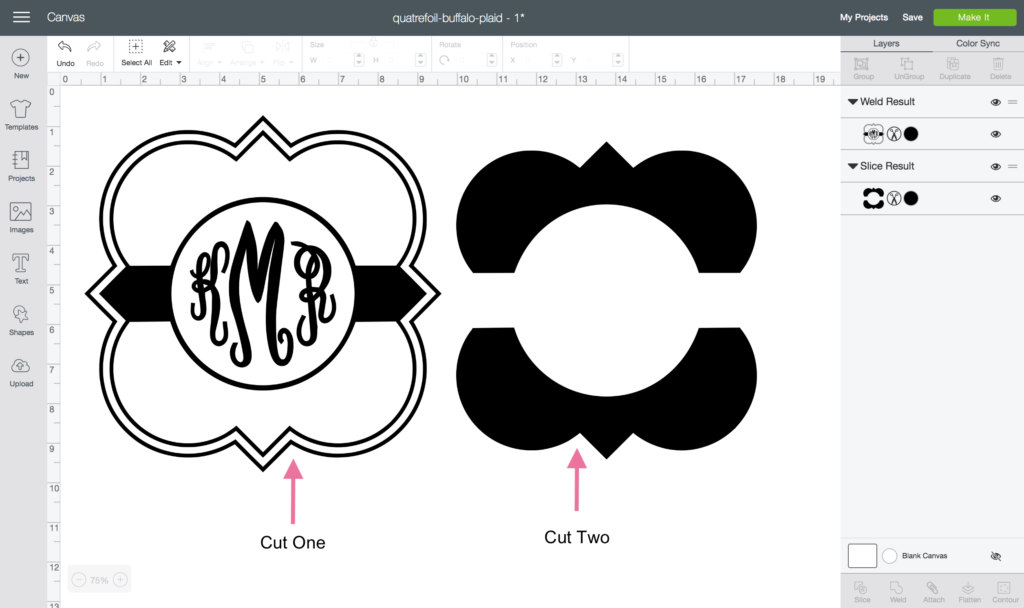
Use a weeding tool to remove the unwanted pieces.
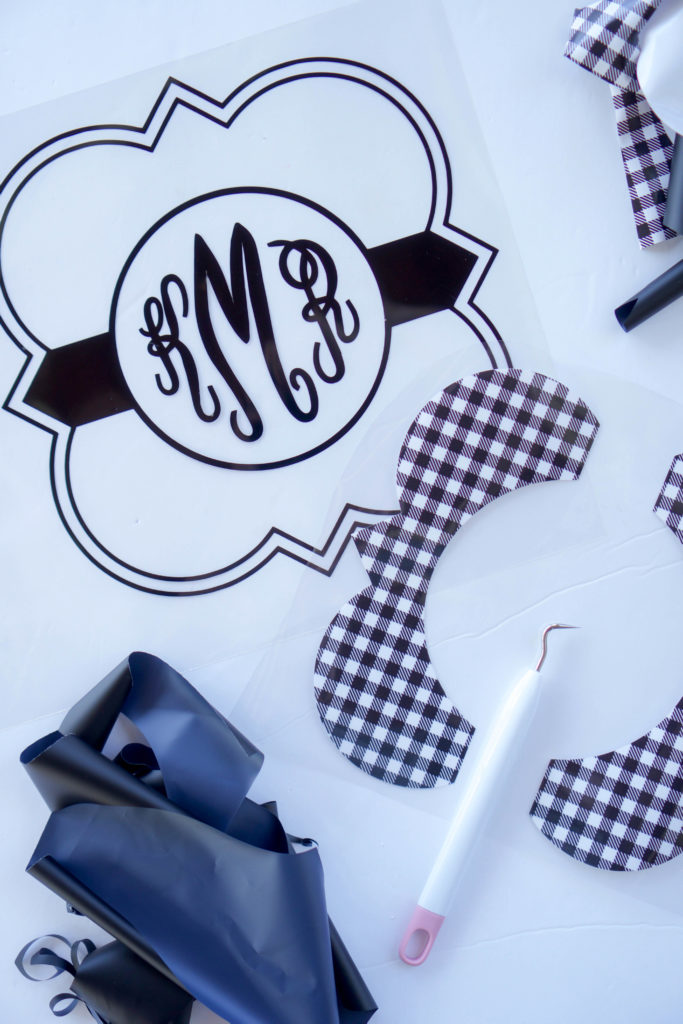
I’m the worlds worst about eyeballing everything. I always think my designs are centered and/or straight but then I measure and realize I am WAY off. Every time. So, this time I took advantage of the cute measuring tape EV sent me and centered my design properly.
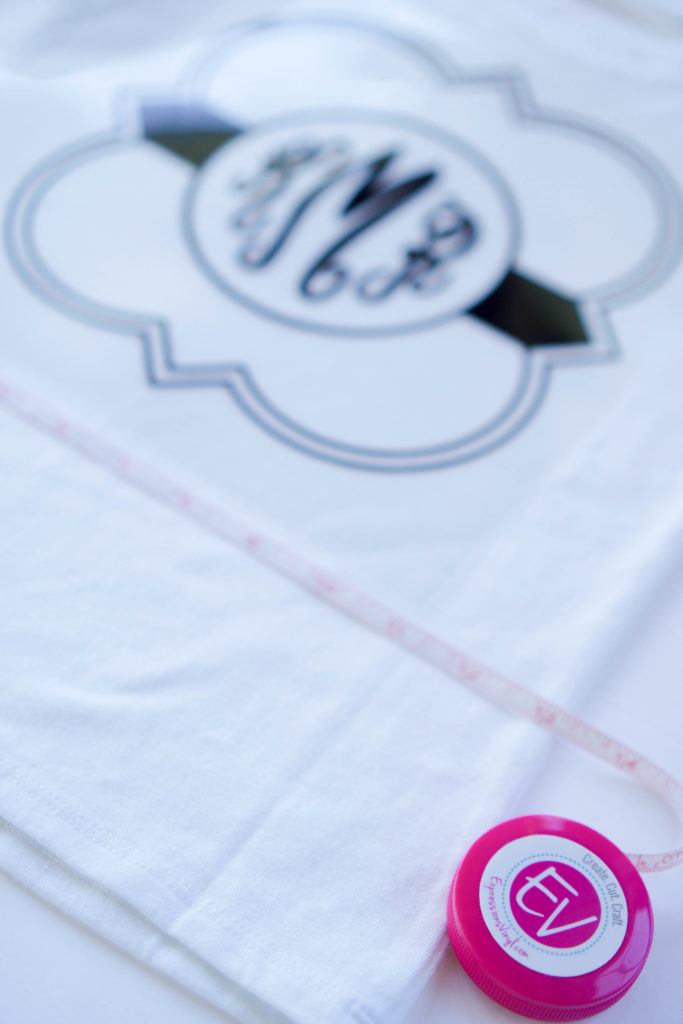
I used my EasyPress to press the first part of the design onto the shirt. I did 320 degrees for 30 seconds.
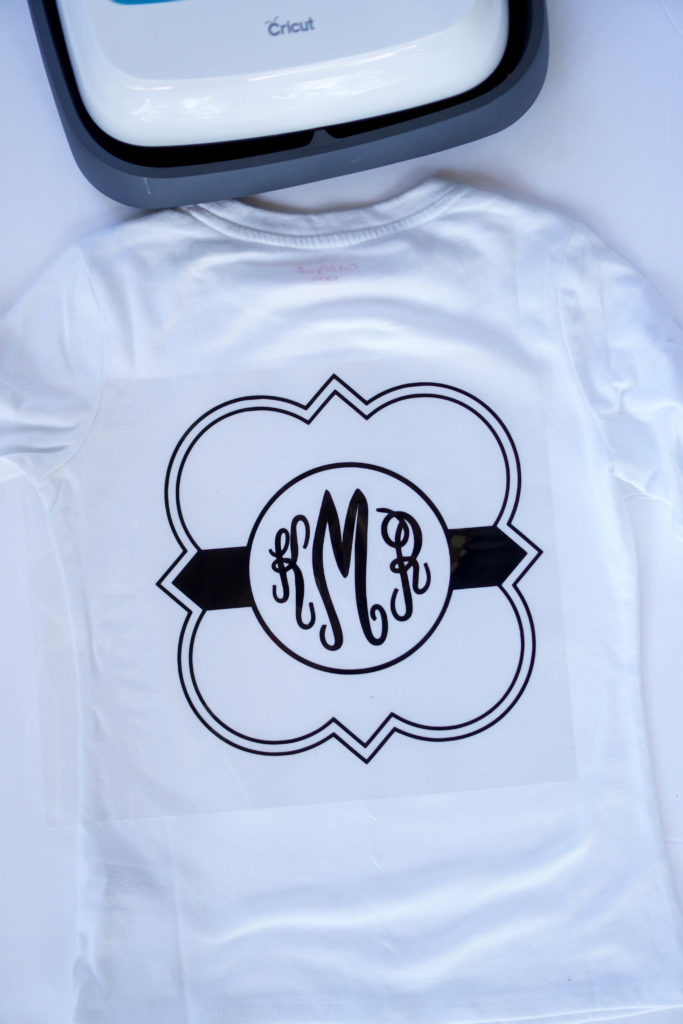
Next I pressed the patterned HTV on, being careful not to leave any gaps of white showing! I used the same settings and it worked great.
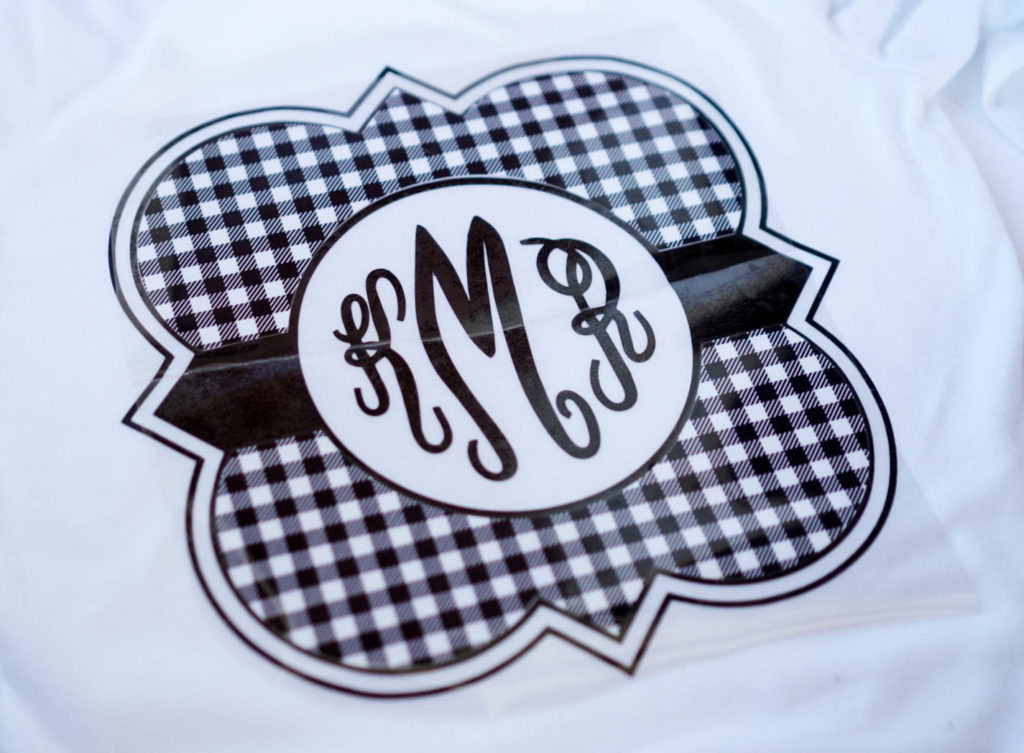
Let everything cool before peeling away the carrier sheet.
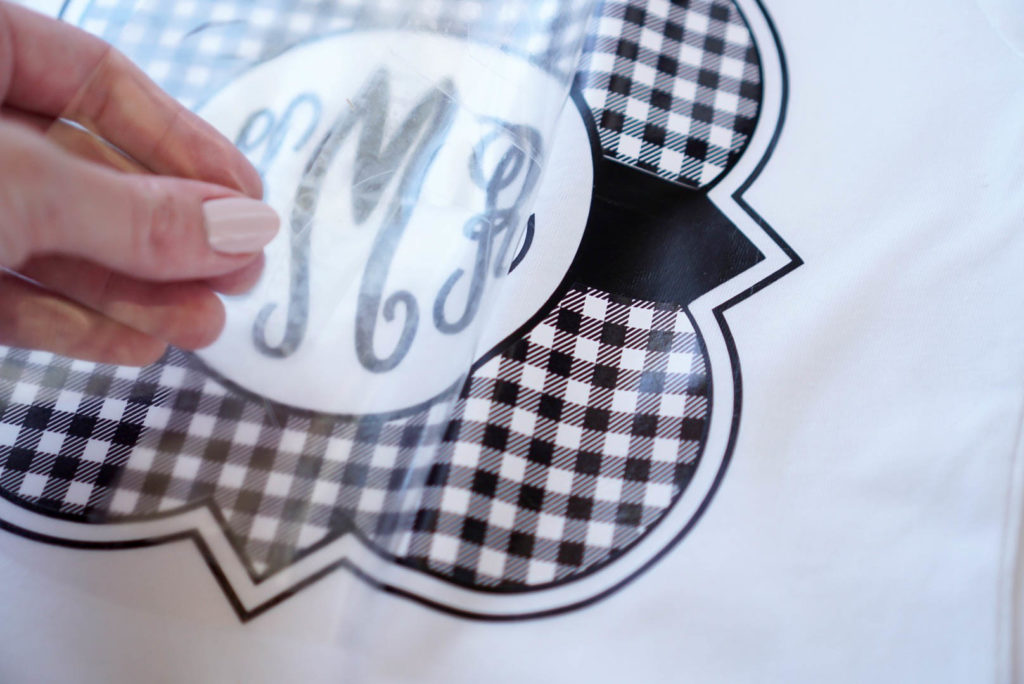
I can’t wait to see this cute shirt on my little one in the fall!
If you have any questions just leave me a comment! Happy crafting!



CB
This is so cute! Glad you made it, I’m inspired!
Kayla
Thank you!! The buffalo plaid vinyl made it easy peasy!
Amanda
I love this! Could you please tell me what font you used?
Kayla
Thanks! It’s called fancy circle monogram font. I got it from Etsy!
https://www.etsy.com/listing/202180528/fancy-circle-monogram-svg-dxf-font-cut?ref=shop_home_active_21