Creating Stamps with the Silhouette Mint

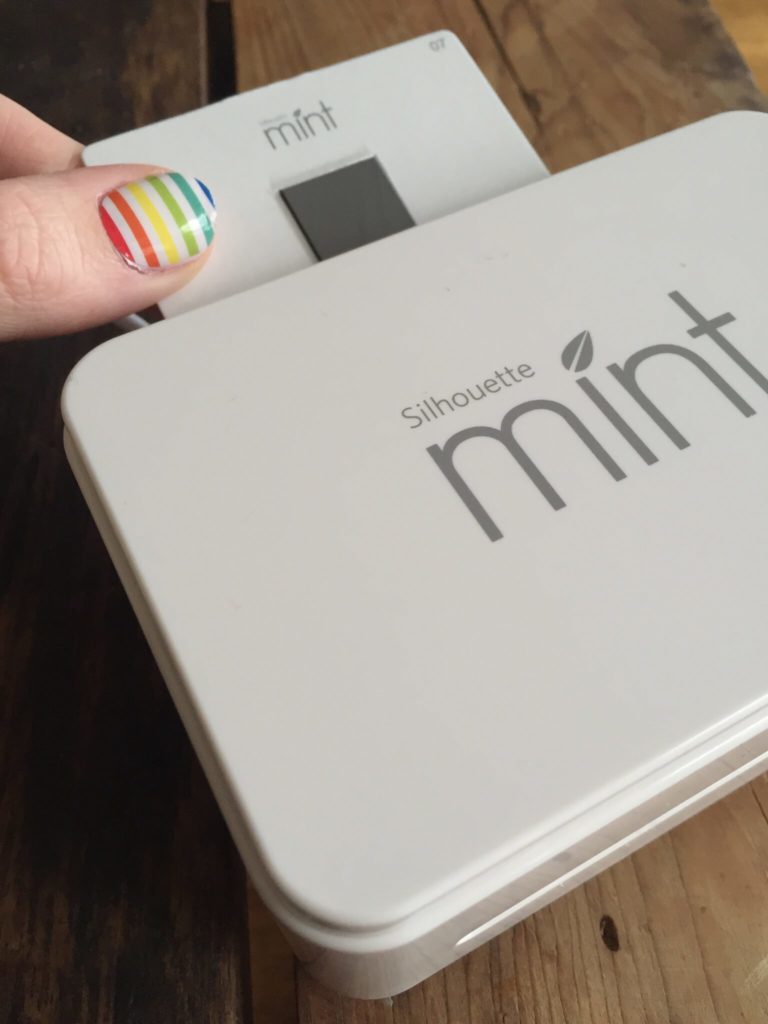
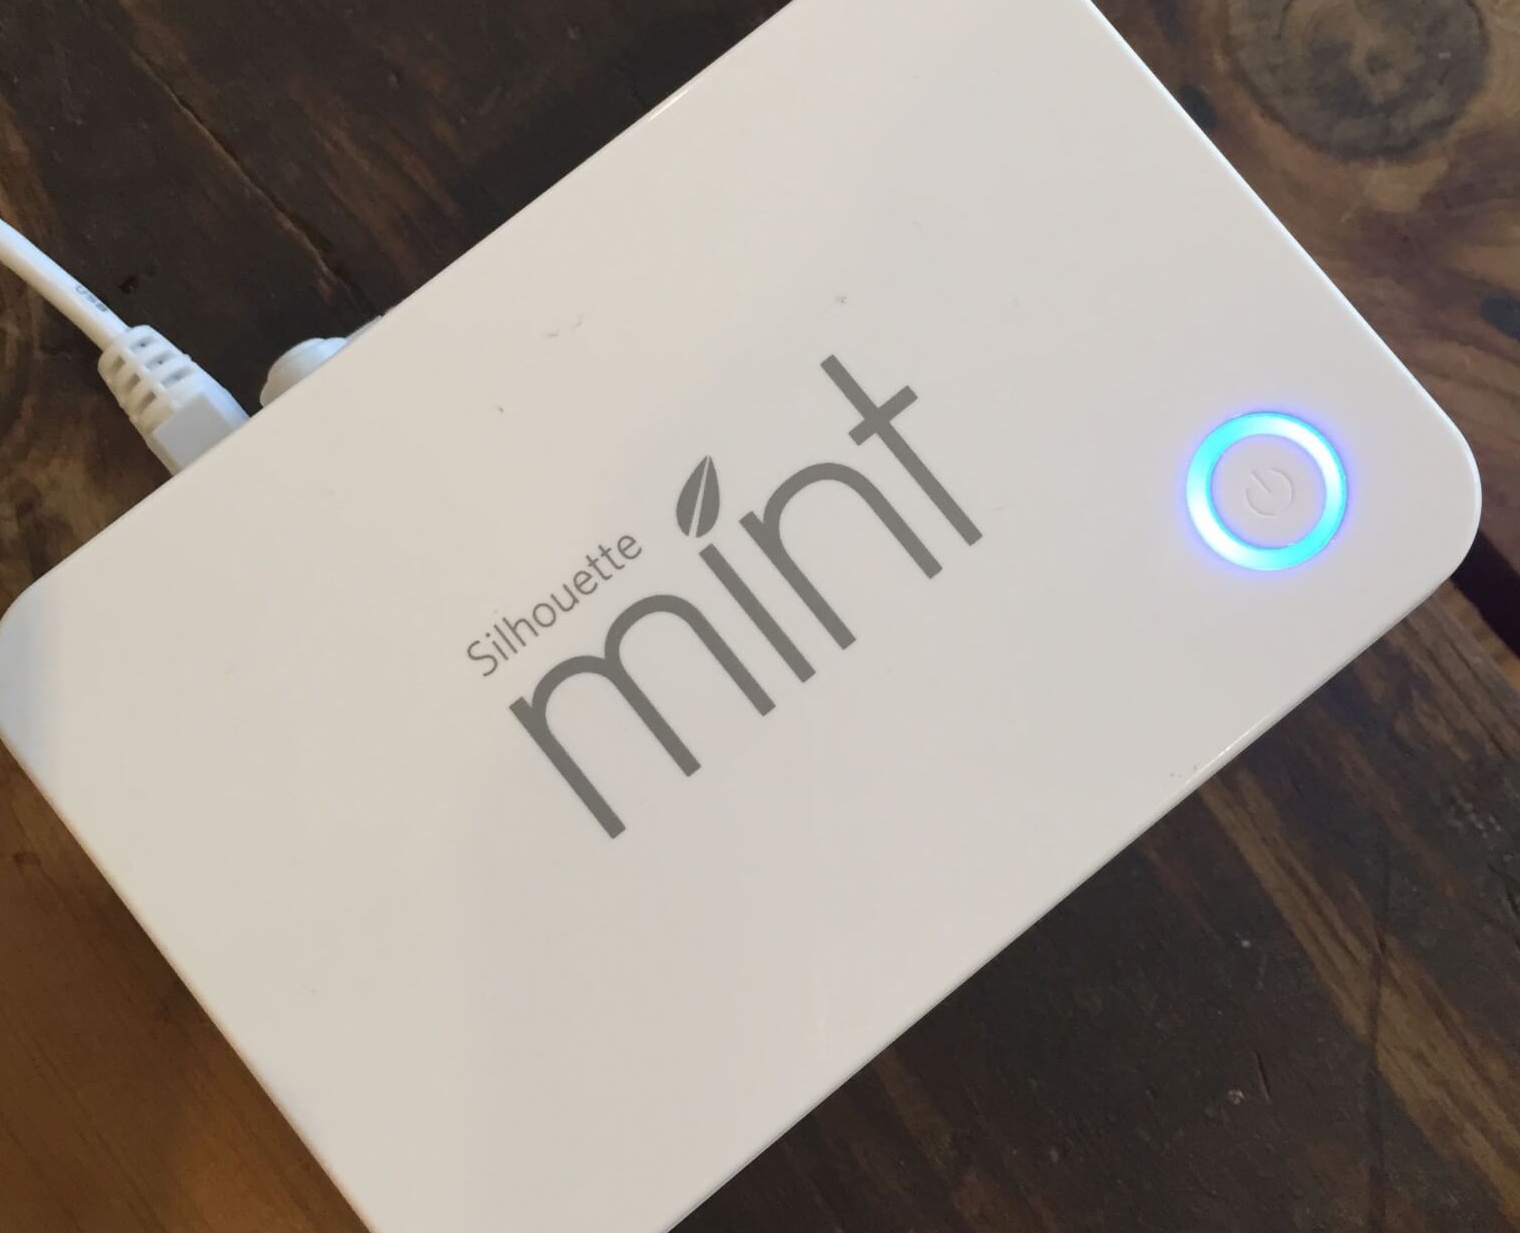
Meet the Silhouette Mint. The tiniest yet happiest little machine to join my craft arsenal. The Mint is a custom stamp making machine. It’s basically a planner addicts dream!
If you are familiar with Silhouette Studio then you will have no problems operating Mint Studio. They are very similar.
After choosing your stamp size (mine is 15×60) you add your designs to the canvas and click the artist’s palette to select a filter. I chose the standard option for this stamp. Once you’re happy with the look of your stamp you click the Mint icon and your image will appear in reverse. This is normal!
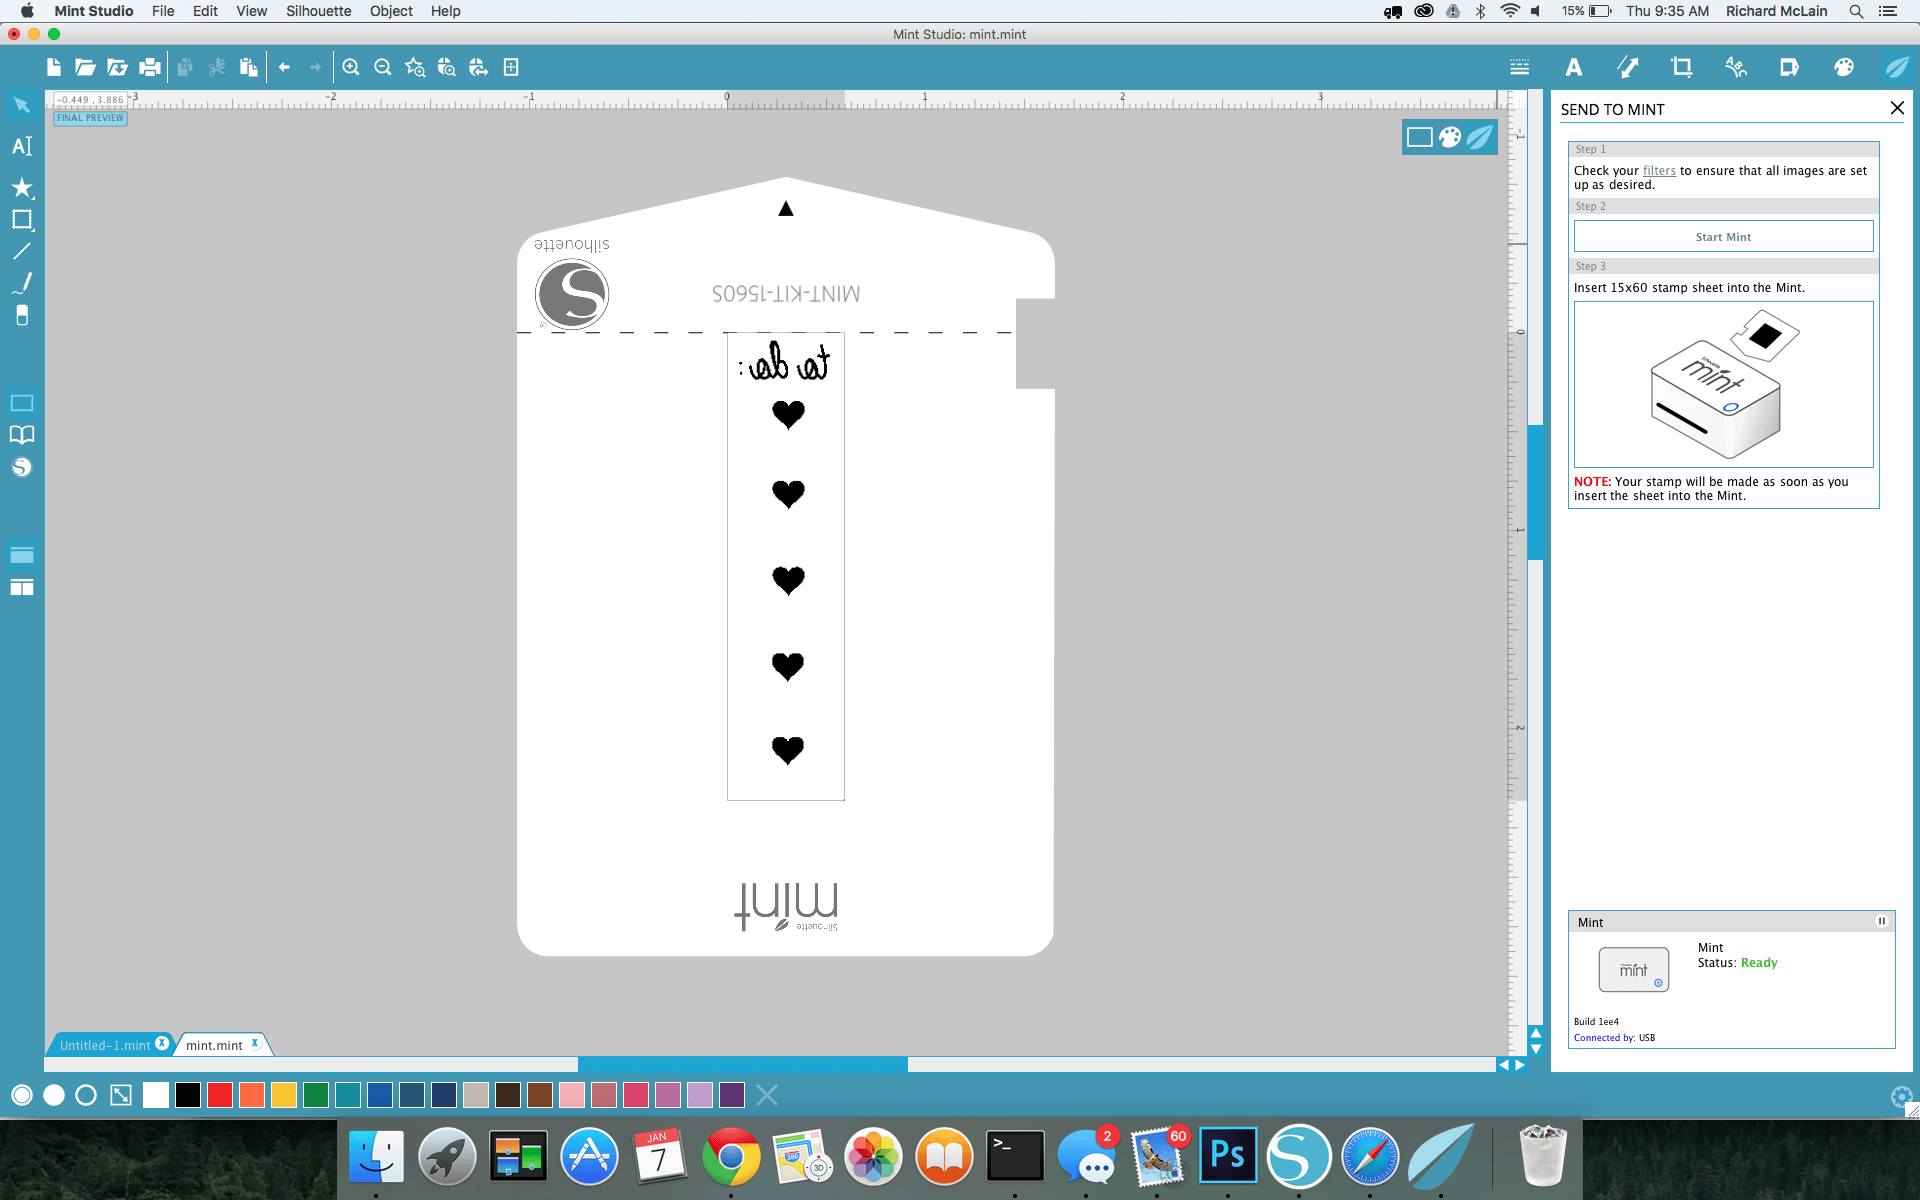
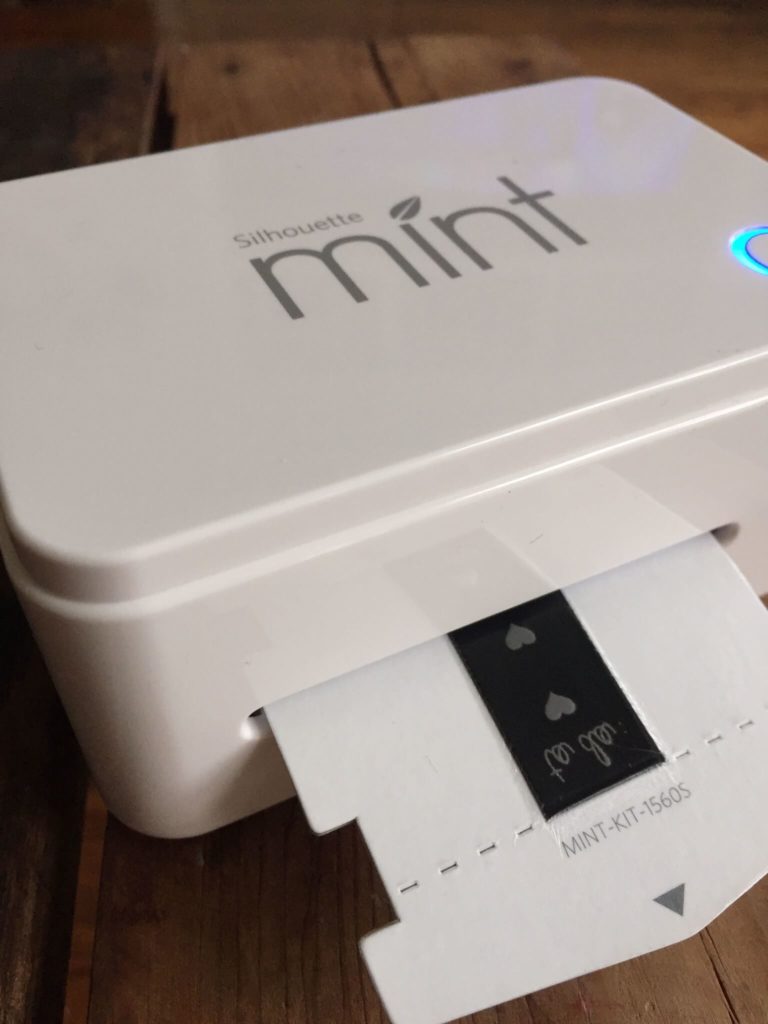
At this point all you need to do is click “Start Mint” in the top righthand side of Mint Studio, it will then prompt you to insert the stamp sheet into the back of the Mint machine. This is when the magic happens! It never gets old seeing your design come out of this tiny machine!
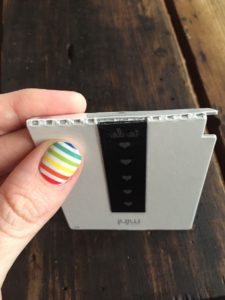
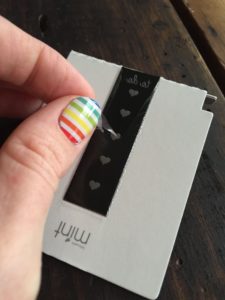
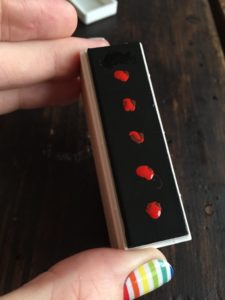
Once your new stamp is finished printing you need to bend the perforated edge back and peel away the clear backing. Carefully remove the stamp from the cardboard base and attach it to the plastic stamp cartridge. Then attach the plastic cartridge to the wooden base and apply the Mint ink. Let the ink sit on the stamp for several minutes, this will allow the ink to completely sink into the design.
Stamp a few times to remove the excess ink, then you are ready to stamp to your hearts content! The stamp will last for at least 50 stamps before you need to reapply the ink!


