DIY Iron-On Tote Bag
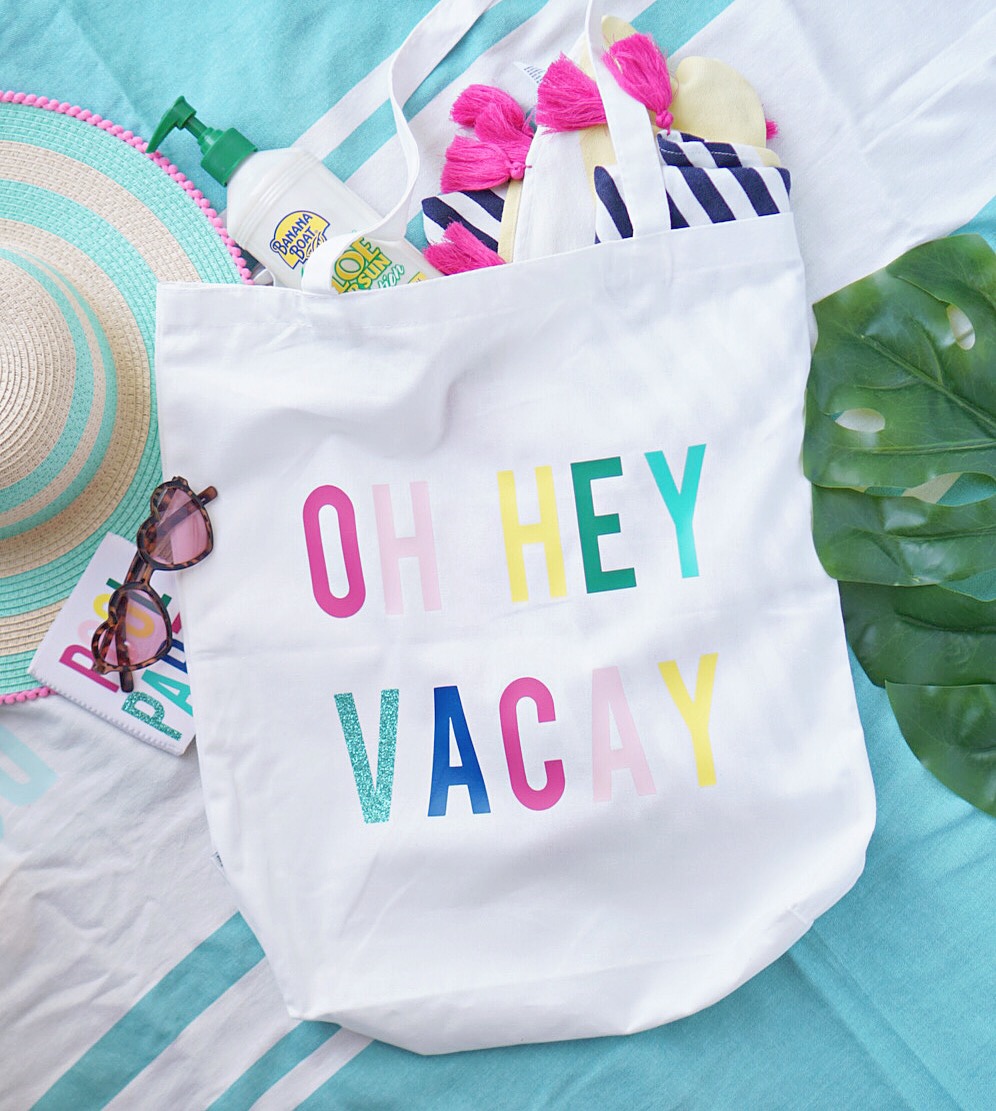
Hey Cricut buddies! Can you believe summer is upon us? It’s so close I can feel the sand under my toes and the salty air on my skin.
Of course, I can’t head out to the beach without a DIY beach bag. Today, I’m showing you how I cut and align multiple colors of iron-on with Design Space.
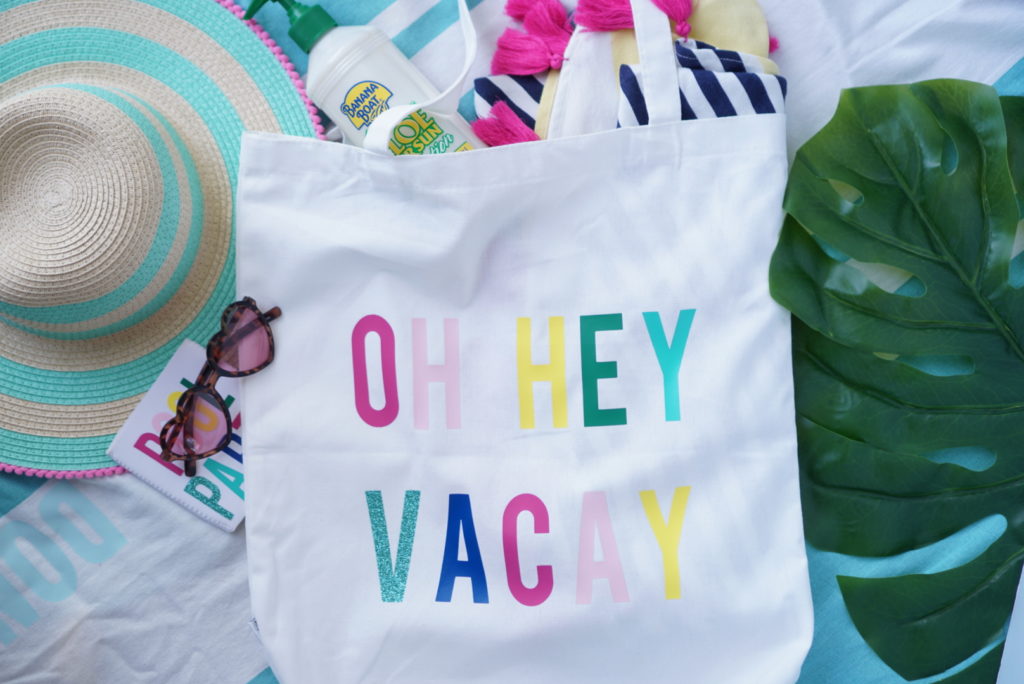
Here’s what you need:
- Blank Tote Bag
- Iron-On
- Iron
- Cutting Mat
- Cricut Maker or Explore
- Oh Hey Vacay Design
Design Set Up
I’m going to try to explain this and not confuse everyone in the process. Bear with me.
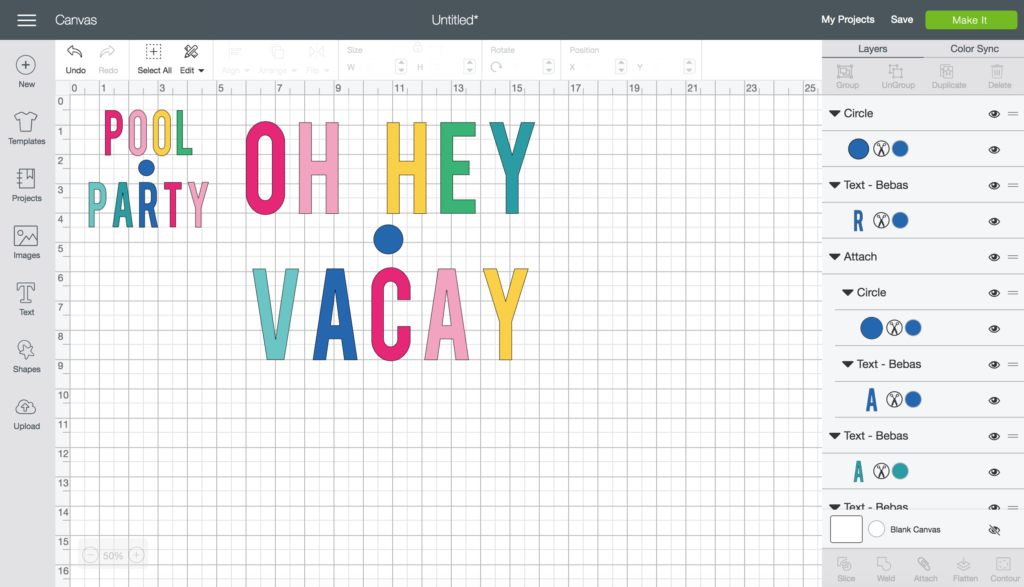
(1) Start by typing out your word or phrase. (2) Ungroup the letters and color them the same way that you want them to be on your bag. (3) Draw a circle with the shapes tool and put it somewhere in or around your design. See those blue circles in between the words? That’s all you need. Of course, hindsight is 20/20 and now that I’ve done it I recommend using a square or triangle.
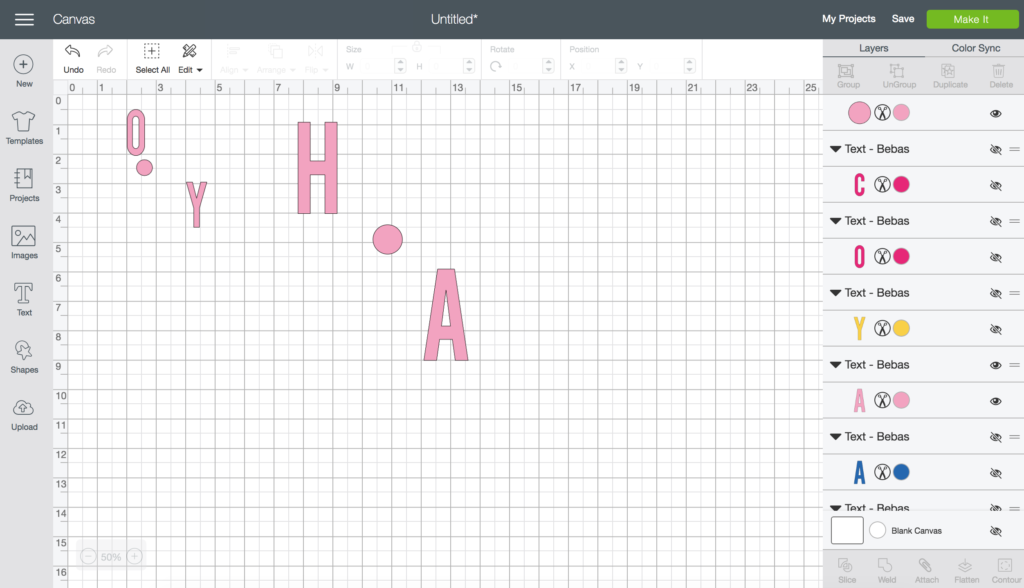
(4) Start with the first letter of your word or phrase and change the circle to be that same color. (5) Hide all other letters on the canvas that aren’t the same color. To hide a letter you just click the eye shape next to it. (6) Select both the circle and the letters that aren’t hidden and click attach. Note: I did not attach the two phrases together, I attached the P and T to the small circle that is in between the words POOL TIME and I attached the O and C to the larger circle that is in between the words OH HEY and VACAY.
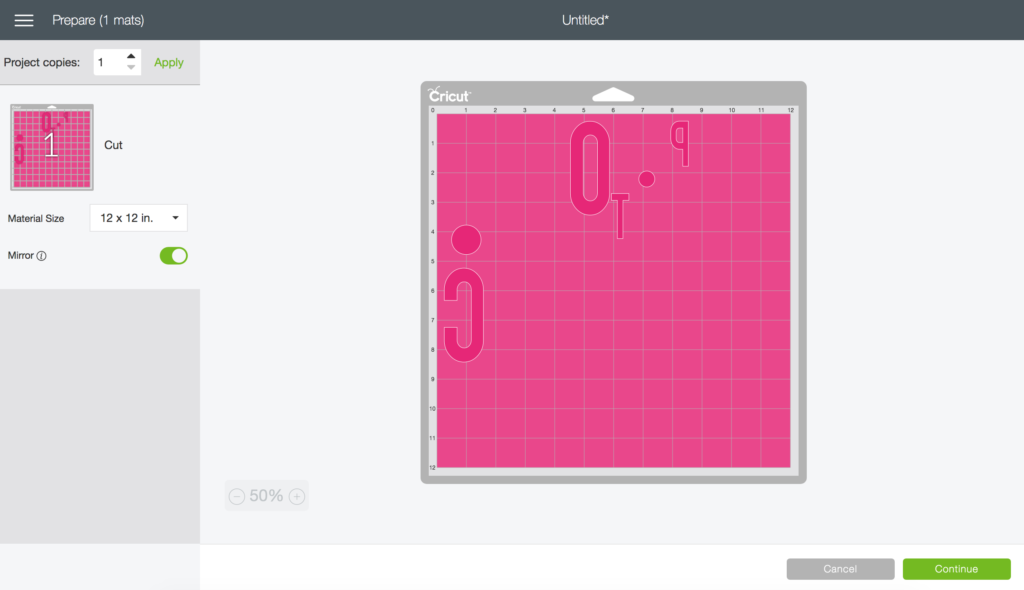
(7) Click Make It then turn on the mirror option since we’re working with iron-on. You can see in the photo above that attaching the letters to the circles kept them in their exact spot on the mat. It isn’t the best way to salvage materials but you will end up cutting around the letters and you can save those small squares for another project.
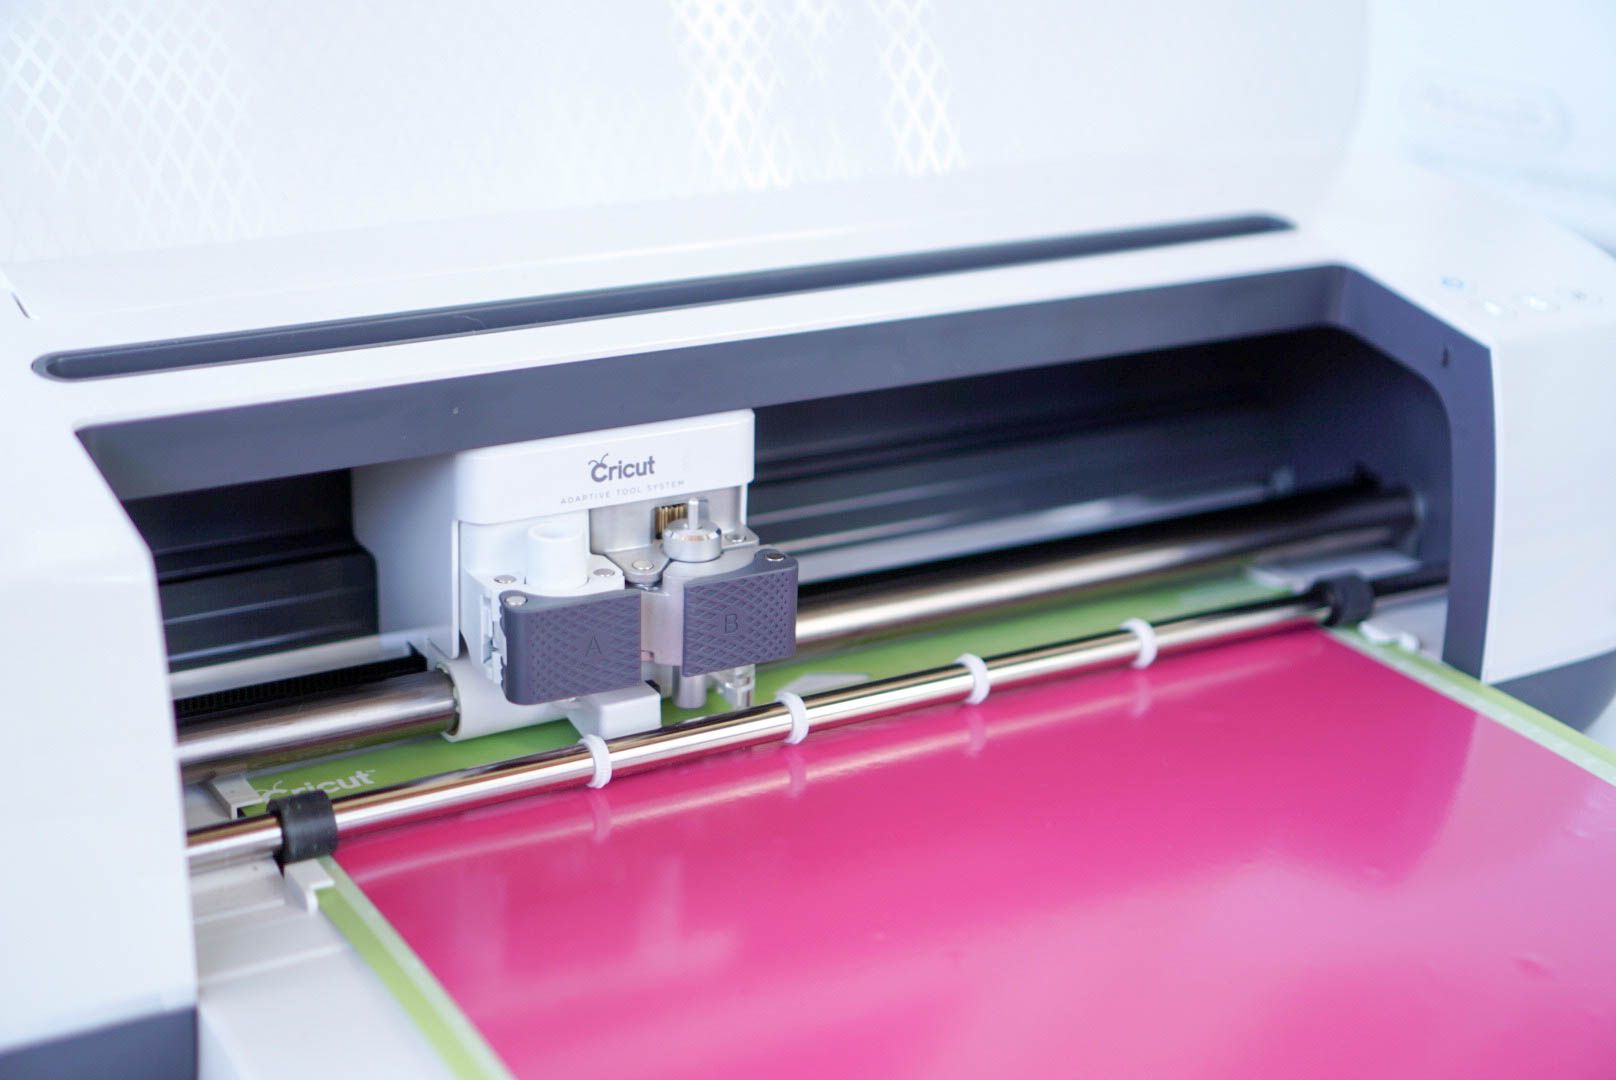
(8) Place the iron-on shiny side down on the mat and cut.
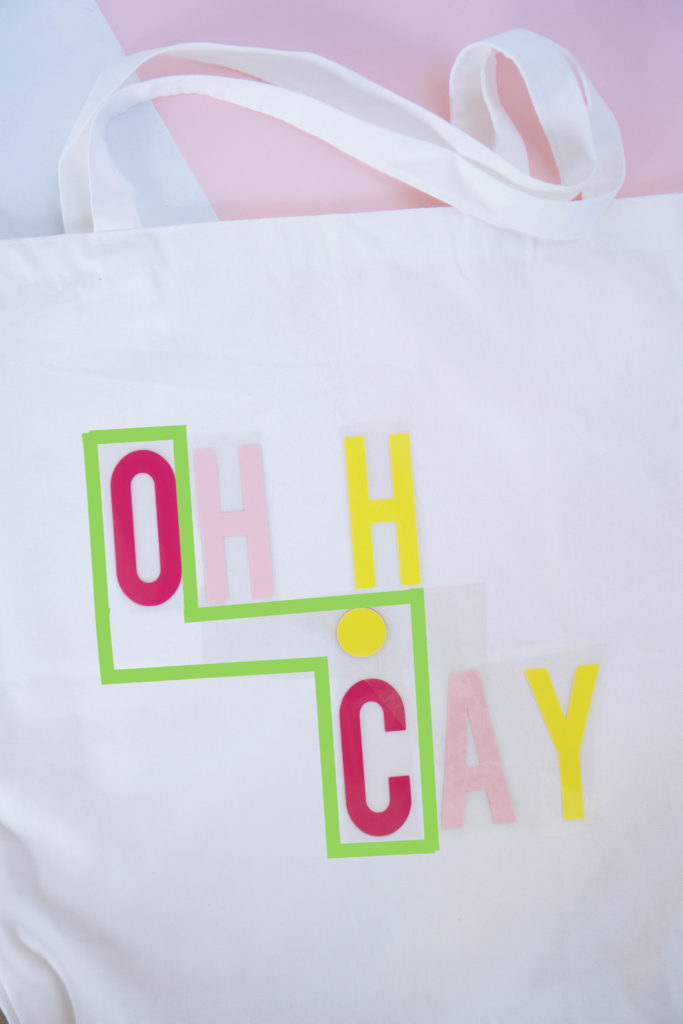
(9) Use scissors to cut as close to your letters and circle as possible while still leaving them attached. You should end up with a shape similar to the one outlined in green above. (10) Repeat the attaching/hiding process for all of the letters. (11) After each set of letters and circles has been cut and trimmed around, start layering your colors by aligning the circles in each section.
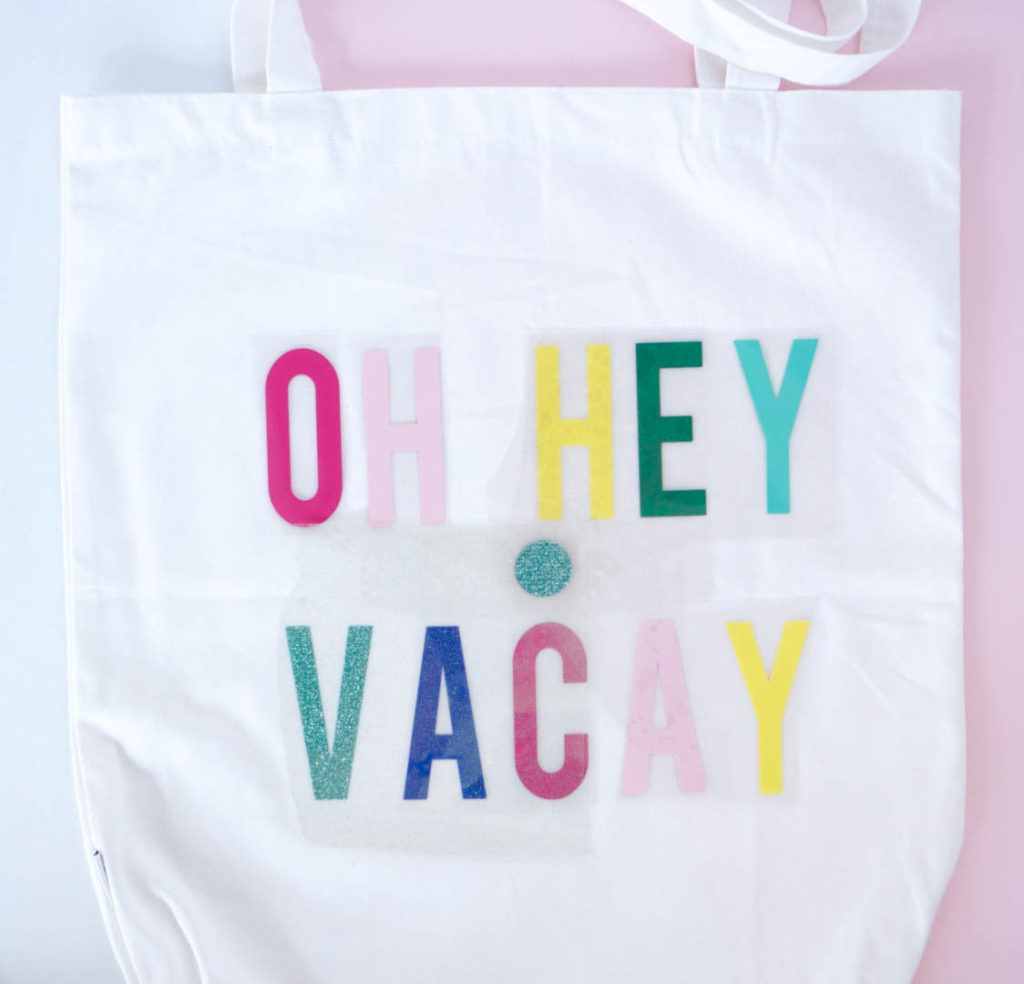
(12) You should end up with all of your letters aligned and a thick stack of circles in the center. It’s important to make sure you do not place any of your letters ON TOP of the clear backing of the layer before it. This is why I trimmed as close as possible to each letter.
Are you confused yet?
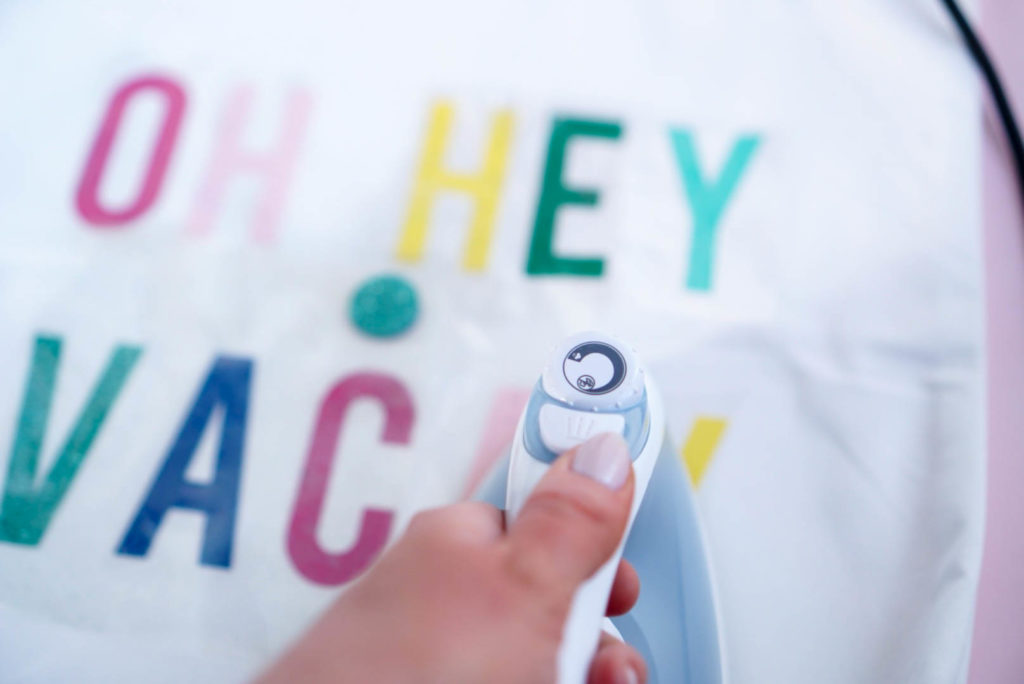
If you’re still with me, bless your heart. Hang in there. (13) Iron on ONLY the letters avoiding the circles completely. You don’t want them permanently adhered to your bag!
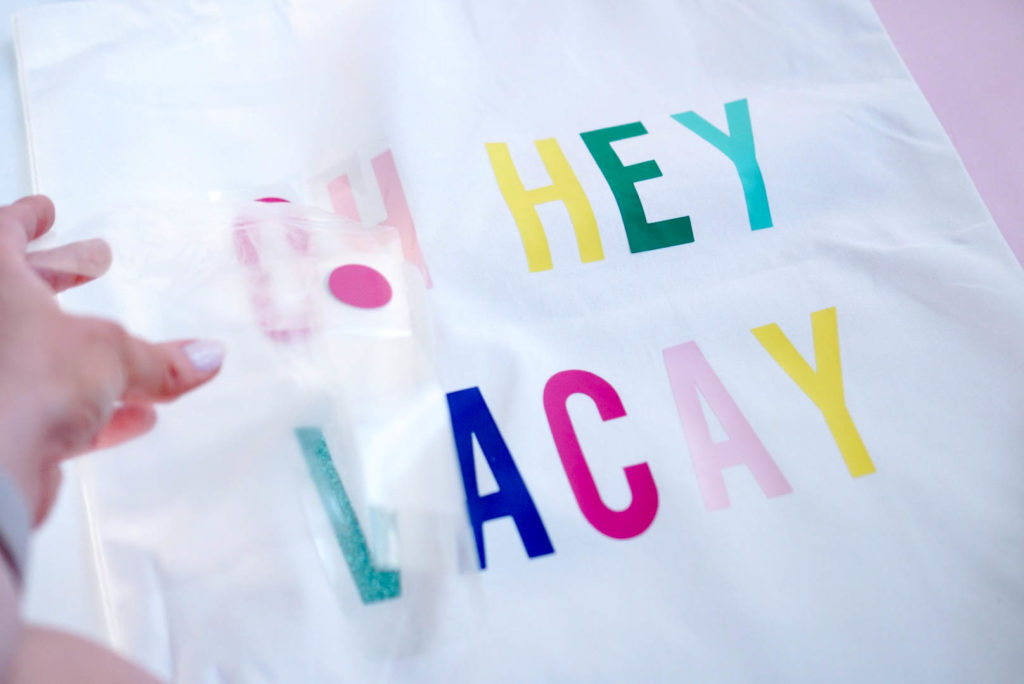
When you peel away the clear backing (along with the circles) your letters will be perfectly aligned. It’s always such a fun surprise!
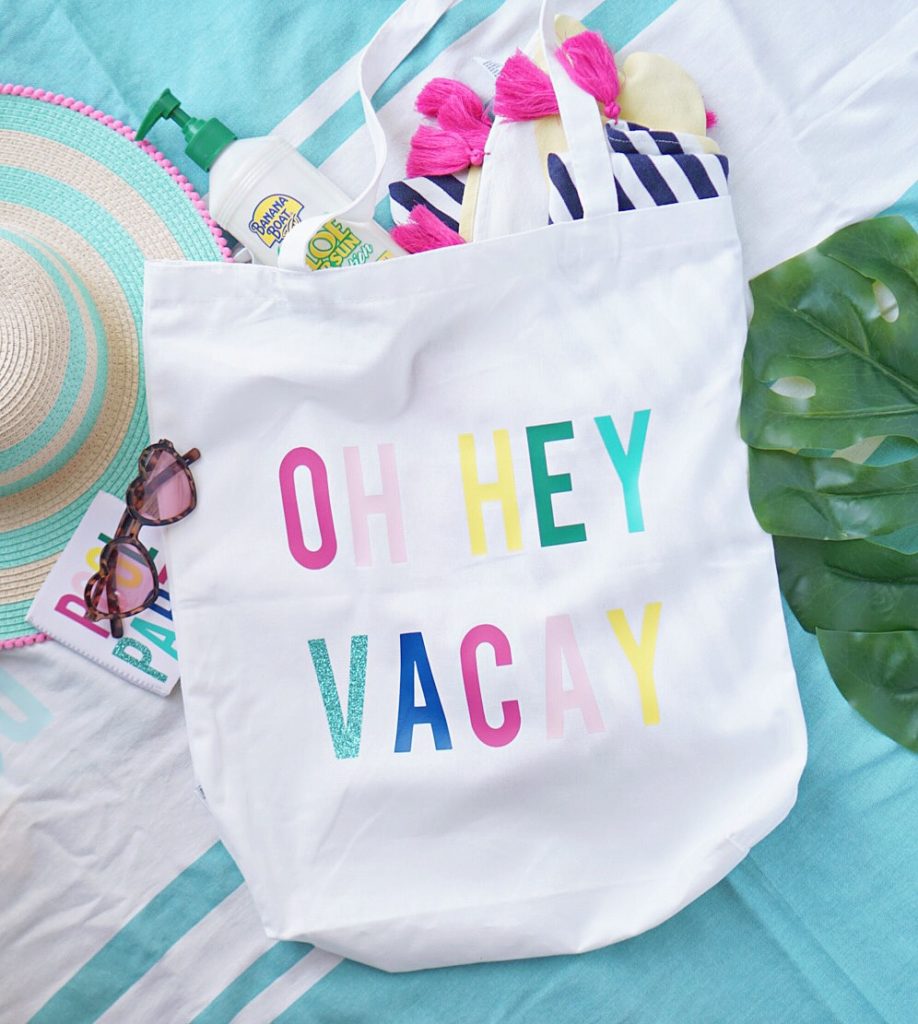
I realize this is not the easiest tutorial to understand, it’s harder than I thought it would be to explain it! I am working on a screen recording video to help everyone understand exactly what to do in Design Space! Check back soon!
Happy crafting!
