DIY Home Decor Idea: How To Add Heat Transfer Vinyl On Pillows
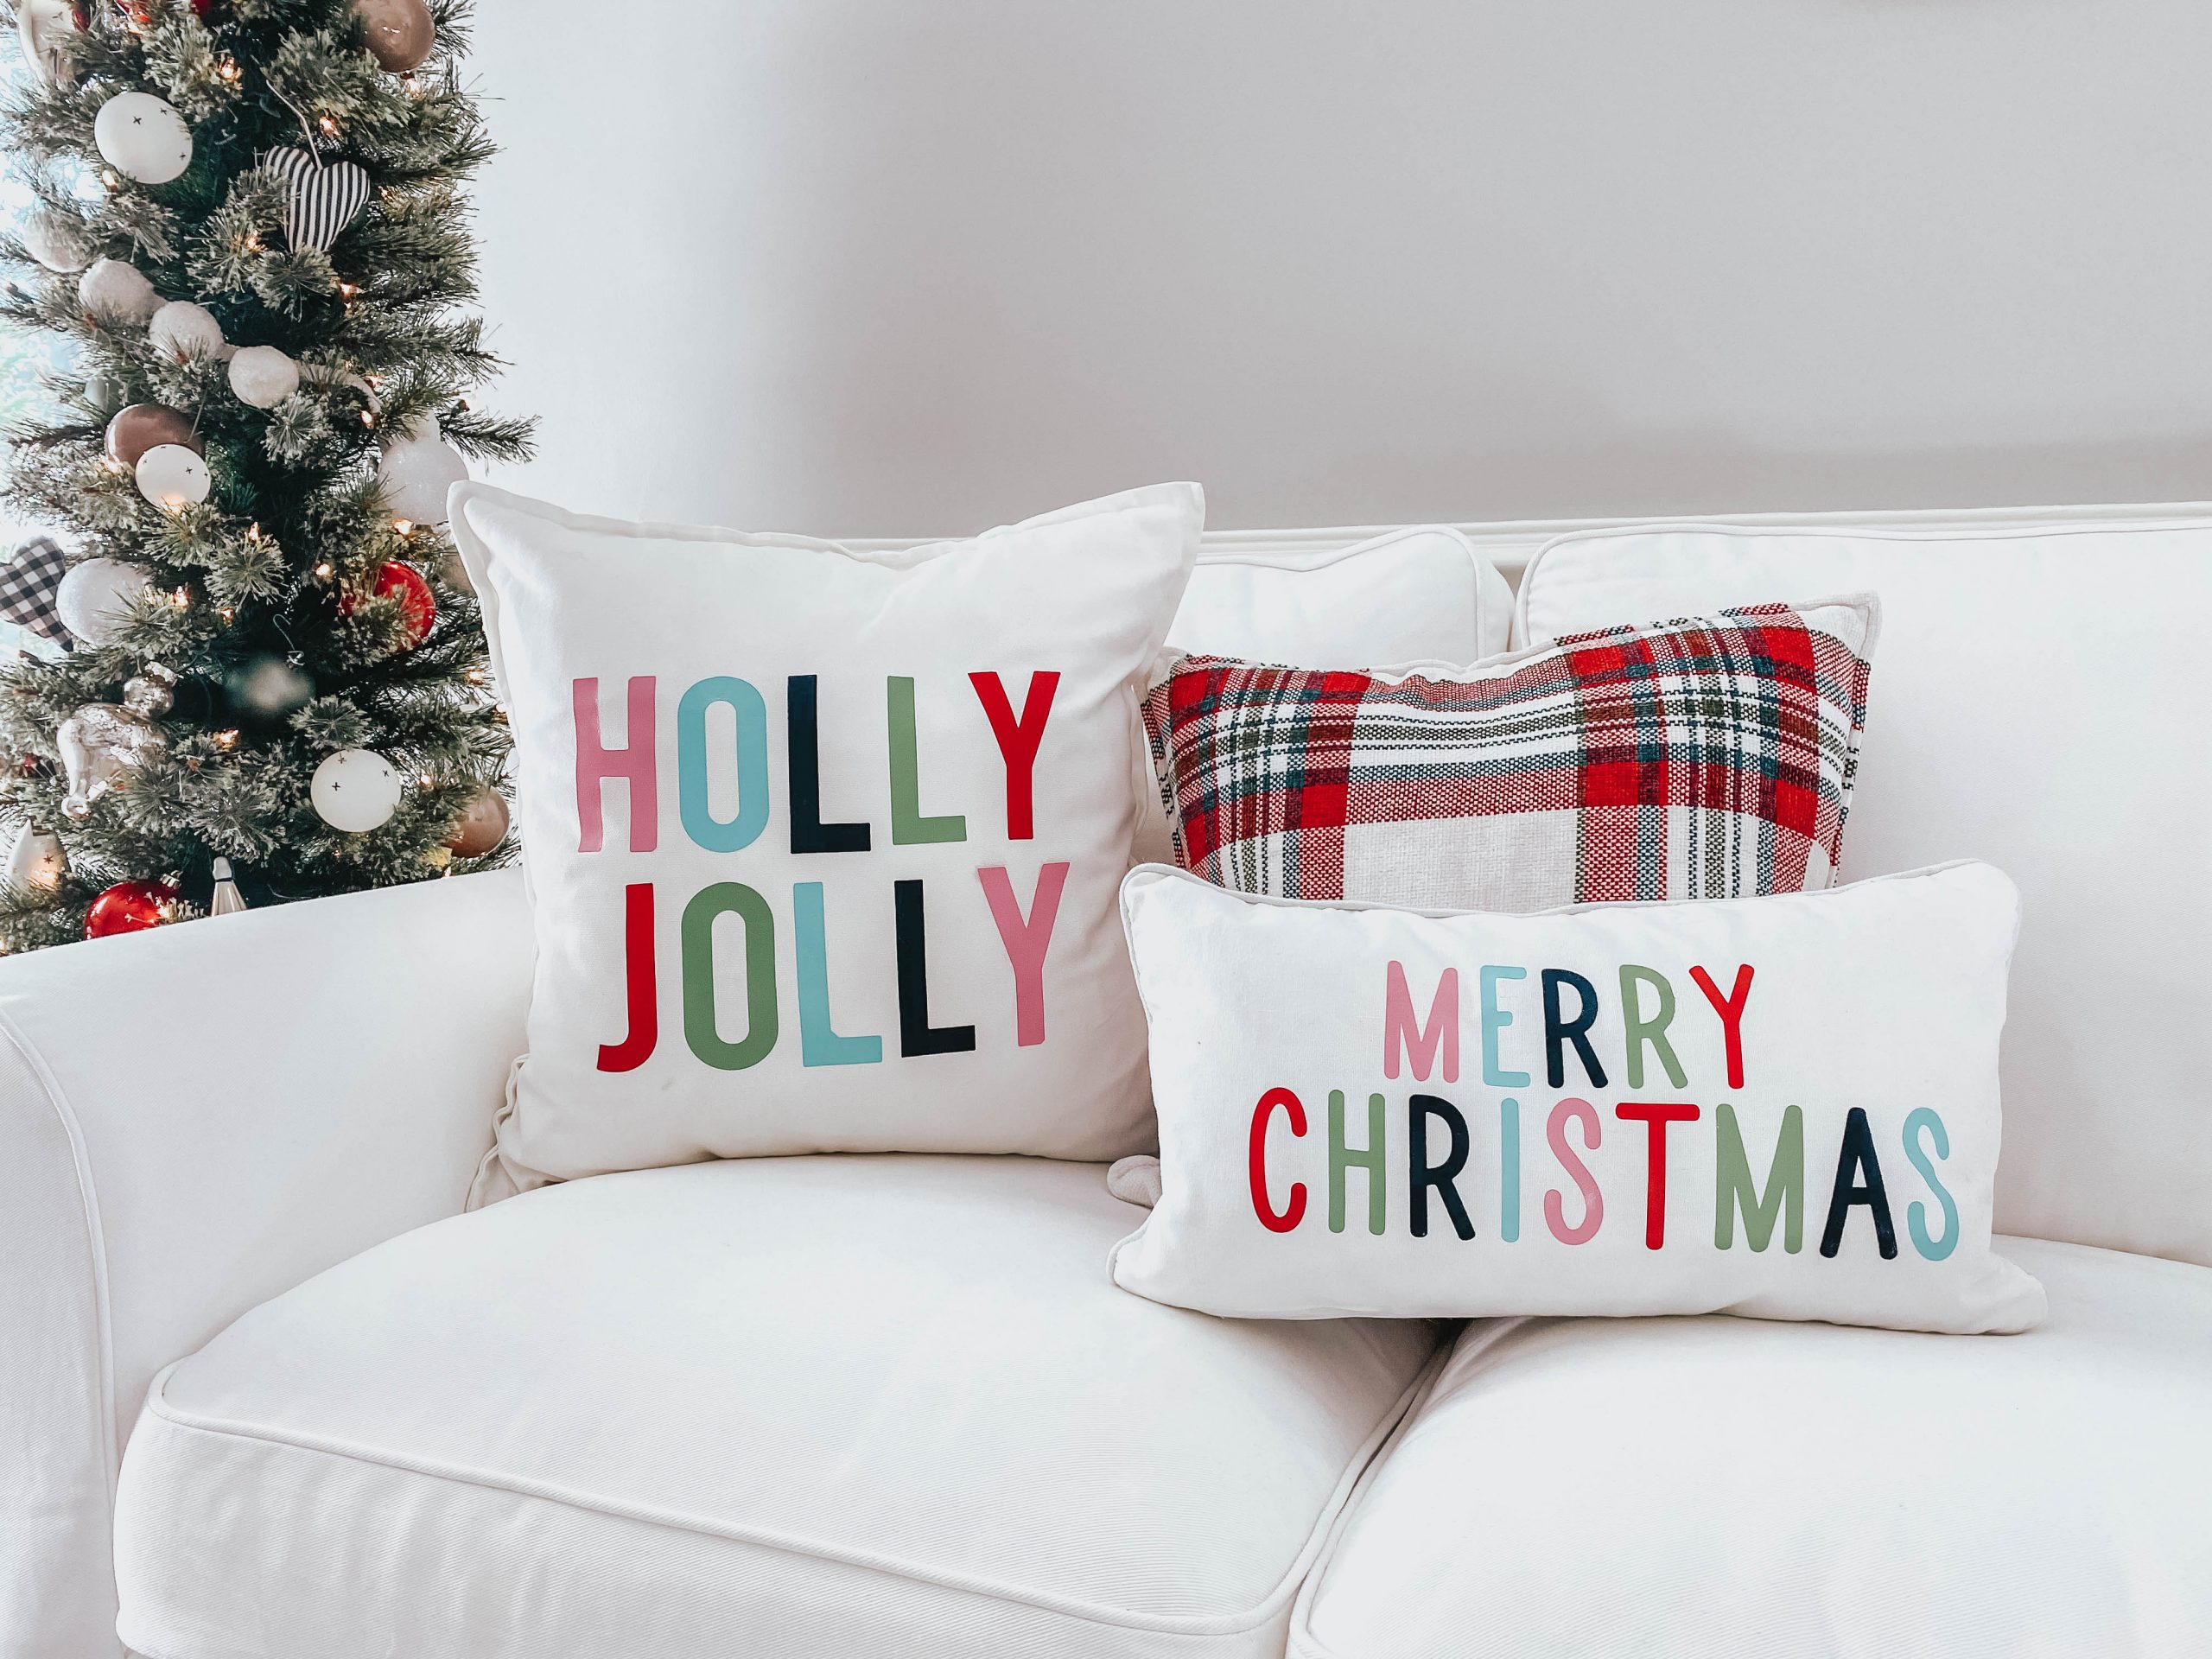

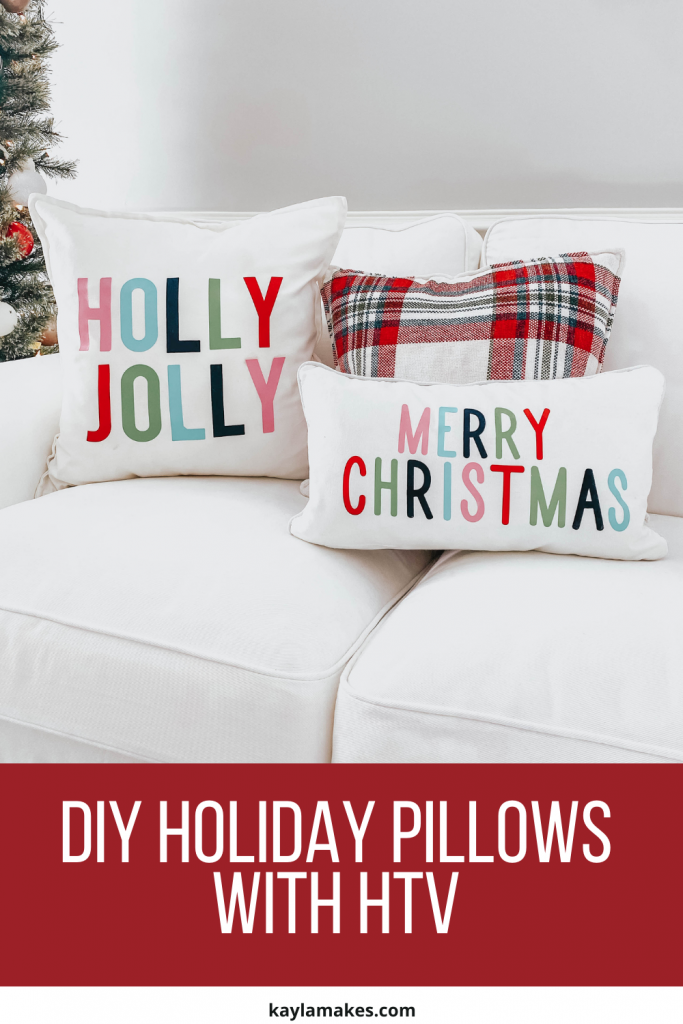
It’s a holly jolly Christmas craft day! I don’t know about you but I love an easy and affordable DIY project. These holiday pillows are just that! All you need is a couple of blank pillow covers and some colorful heat transfer vinyl and in under 30 minutes you’ll have a set of custom made pillows that you can enjoy for years and years.
In the step-by-step tutorial below I’m using the Cricut Maker but any similar cutting machine will work.

Estimated Time To Complete: 30 minutes (moderate)
Here’s What You Need:
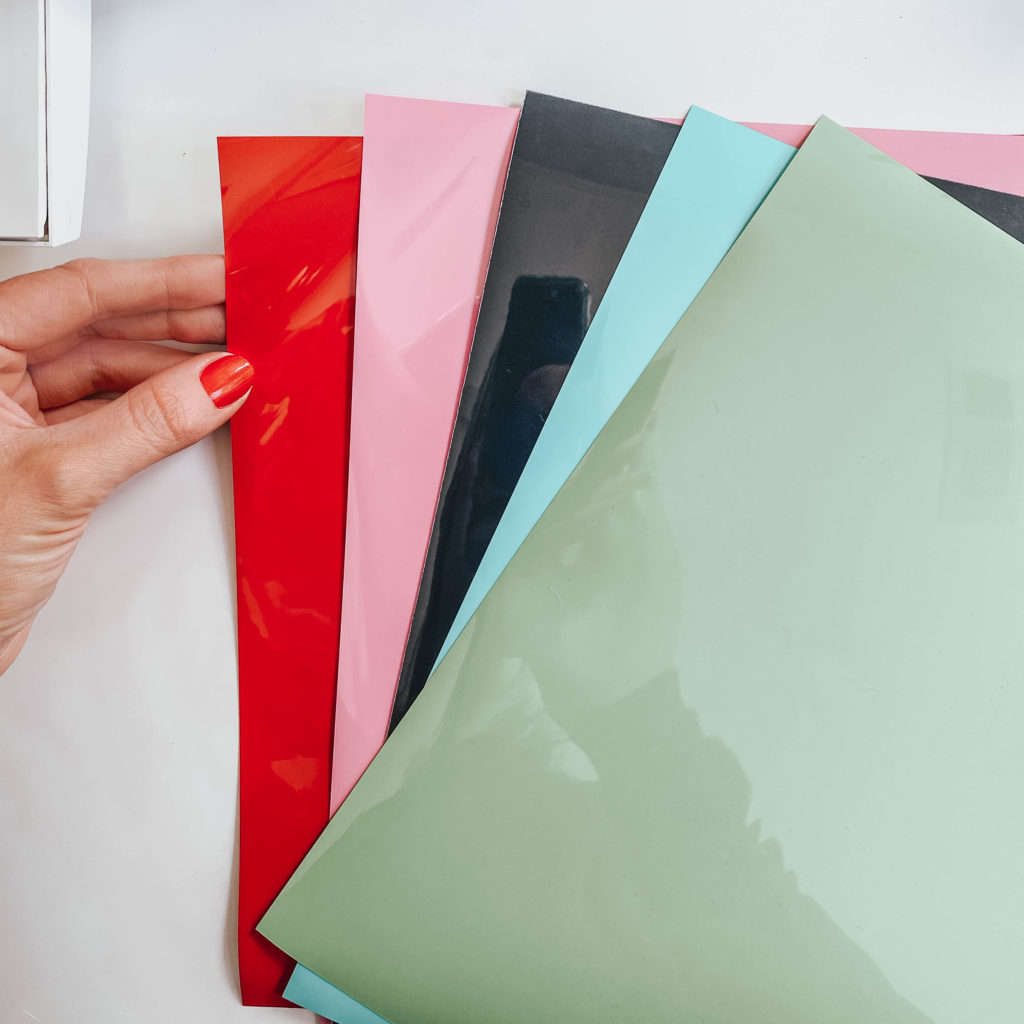
- EasyWeed Heat Transfer Vinyl
- Multi-Use Paper
- Cutting Mat
- Weeding Tool
- Iron
- Blank Pillow Covers
- Cutting Machine
Step One: Design Setup
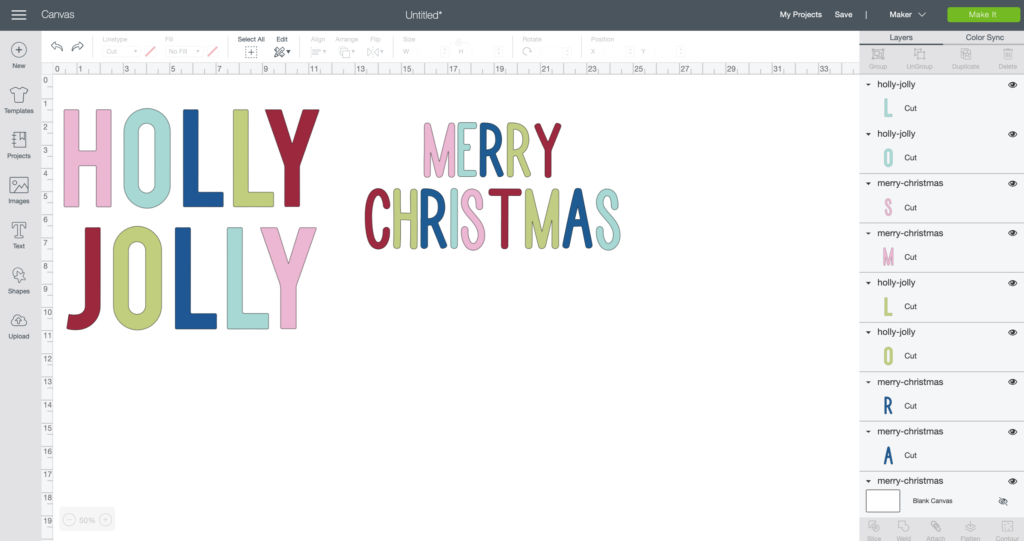
Start by typing out the words you want to add to the pillow covers. I used the fonts Bebas and Bold Slim. If you want each letter to be a different color like I did here, just use the ‘ungroup to letters’ tool then change the color of each letter.

In the next window turn on the mirror option for each mat. You’ll have to click through the entire list of mats and turn the switch on for each one. 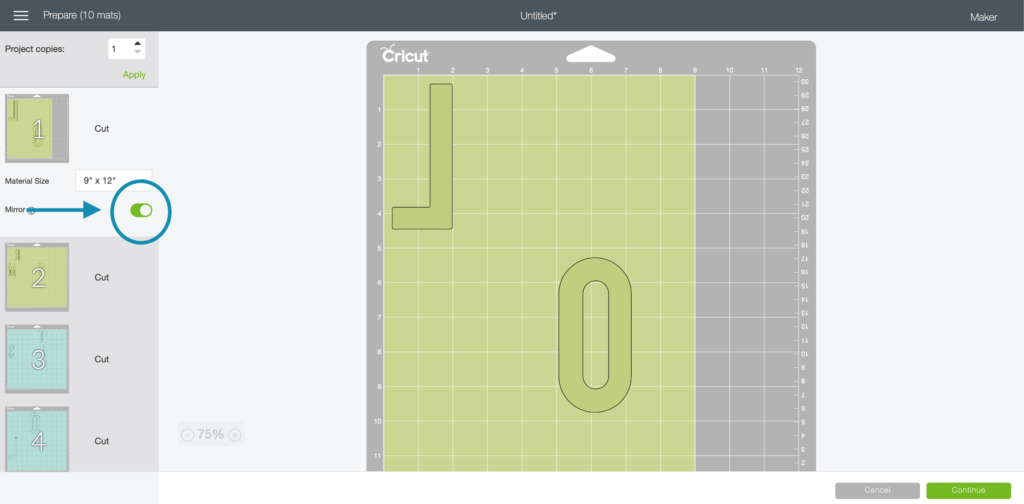

Step Two: Load and Cut HTV
Place the first color of heat transfer vinyl on the cutting mat with the shiny/colored side facing down and load the mat into the machine by pressing the load button. Press start and wait for the machine to finish cutting the first color of htv.
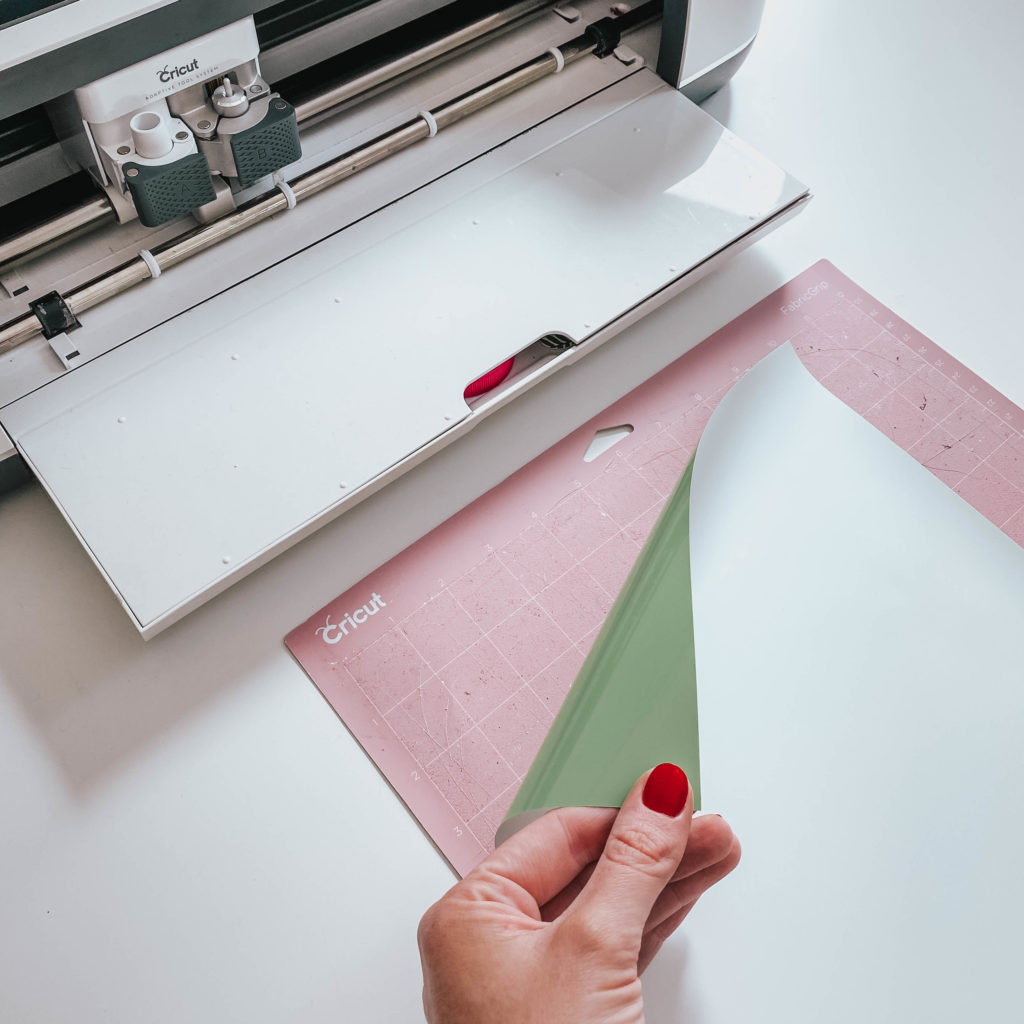

Continue loading and cutting each color until all parts of the design have been cut.

Step Three: Weed Images
Cut the letters away from the sheet of htv then peel away the excess vinyl from around the cut lines.
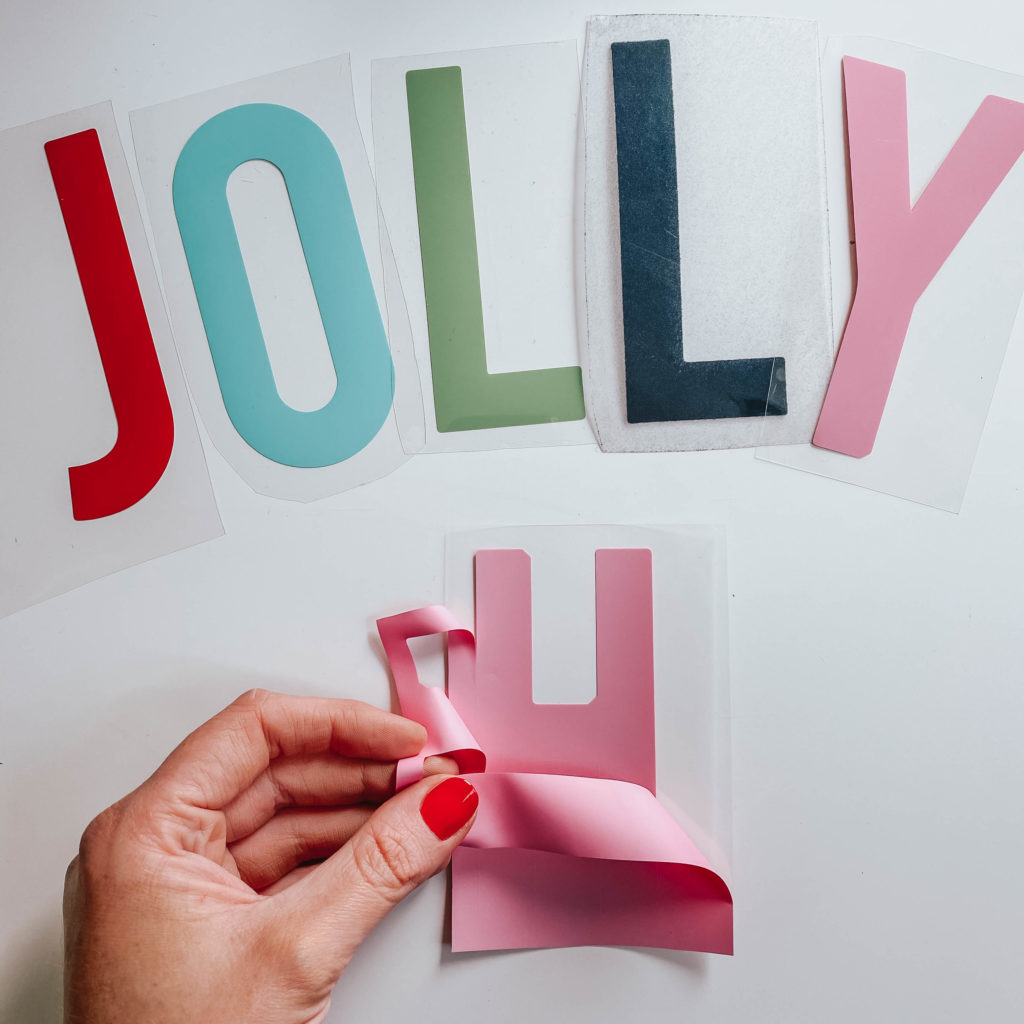

Use a weeding tool when necessary to remove the trickier pieces.
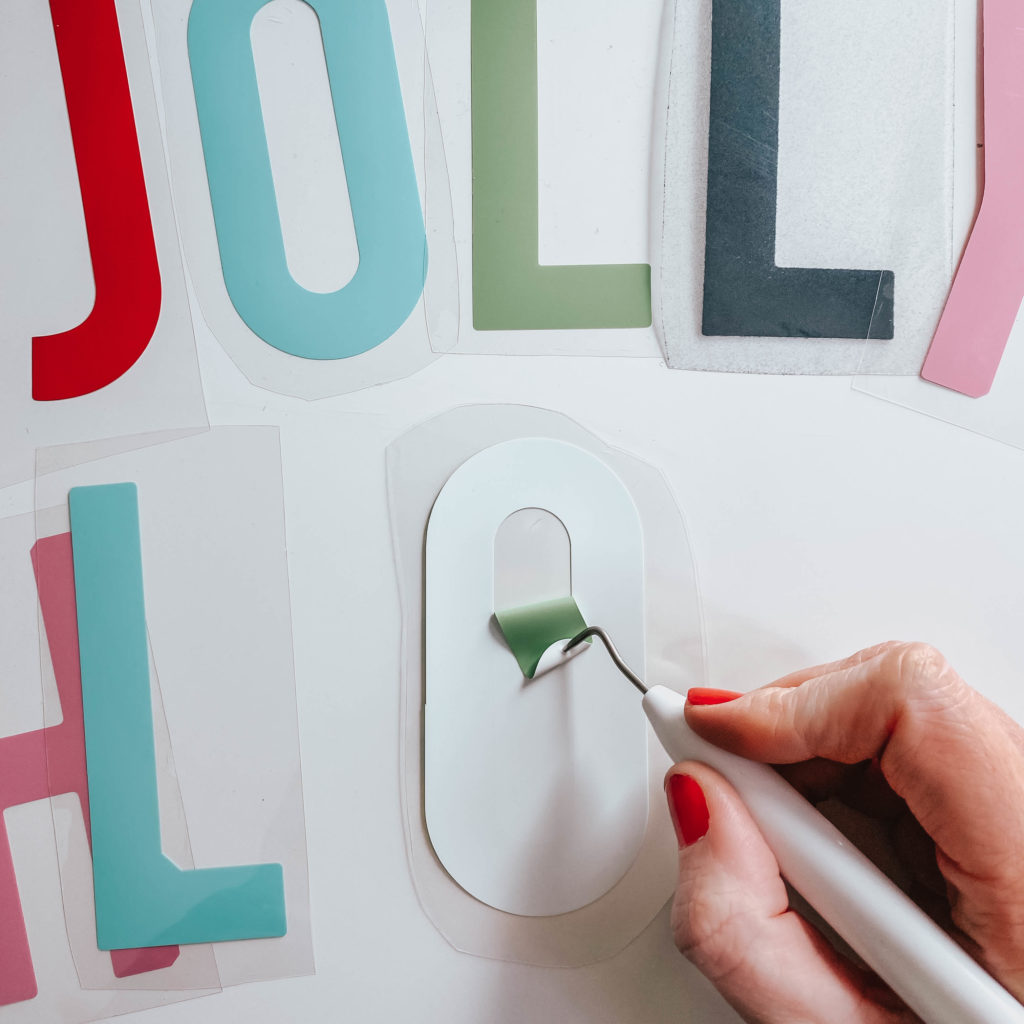

Step Four: Iron On
*I cut and applied each letter individually for this project to save material but if you want to learn how to cut and apply the design using registration marks, check out this post.
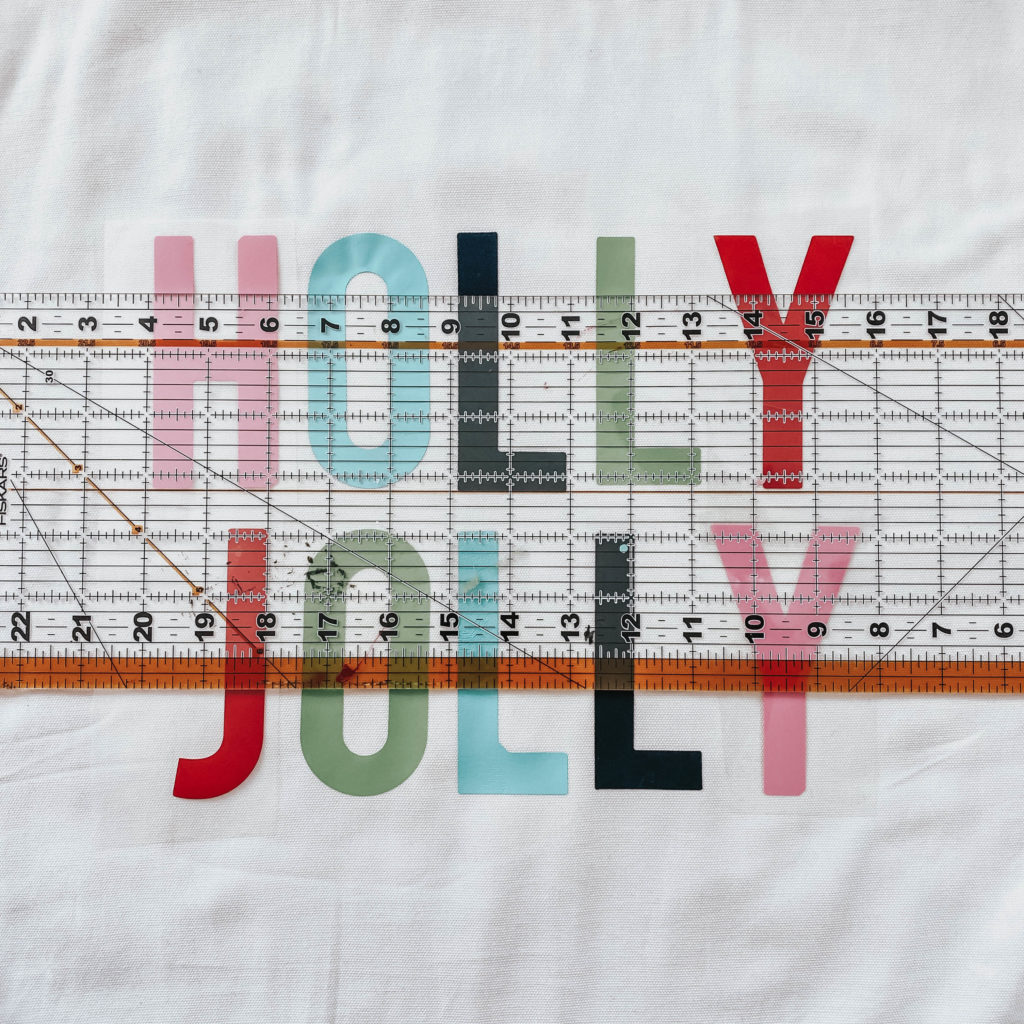
I used a large clear ruler to measure the pillow cover and started with the center letters of each word, placing them in the center of the pillow.
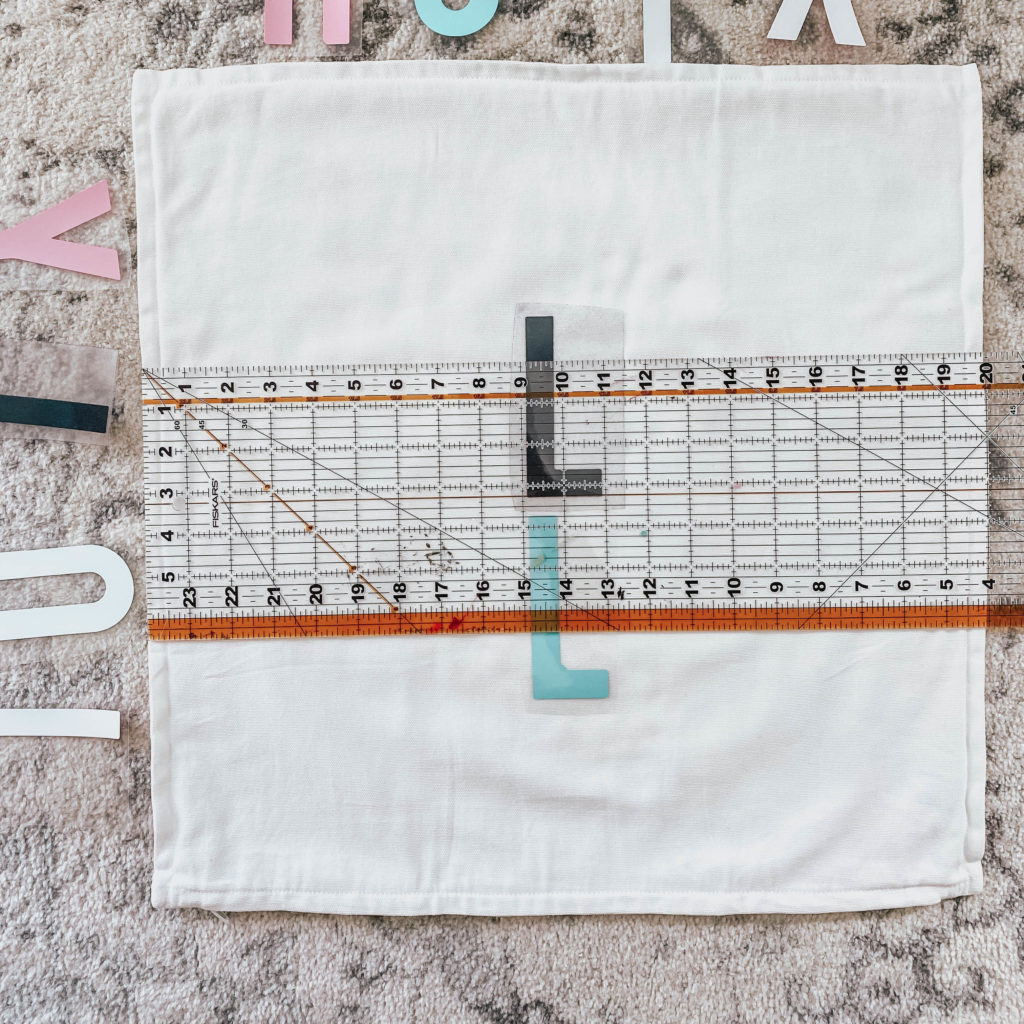

Cover the letters with multi use paper and use an iron on the cotton setting to apply firm, even pressure for 15-20 seconds.
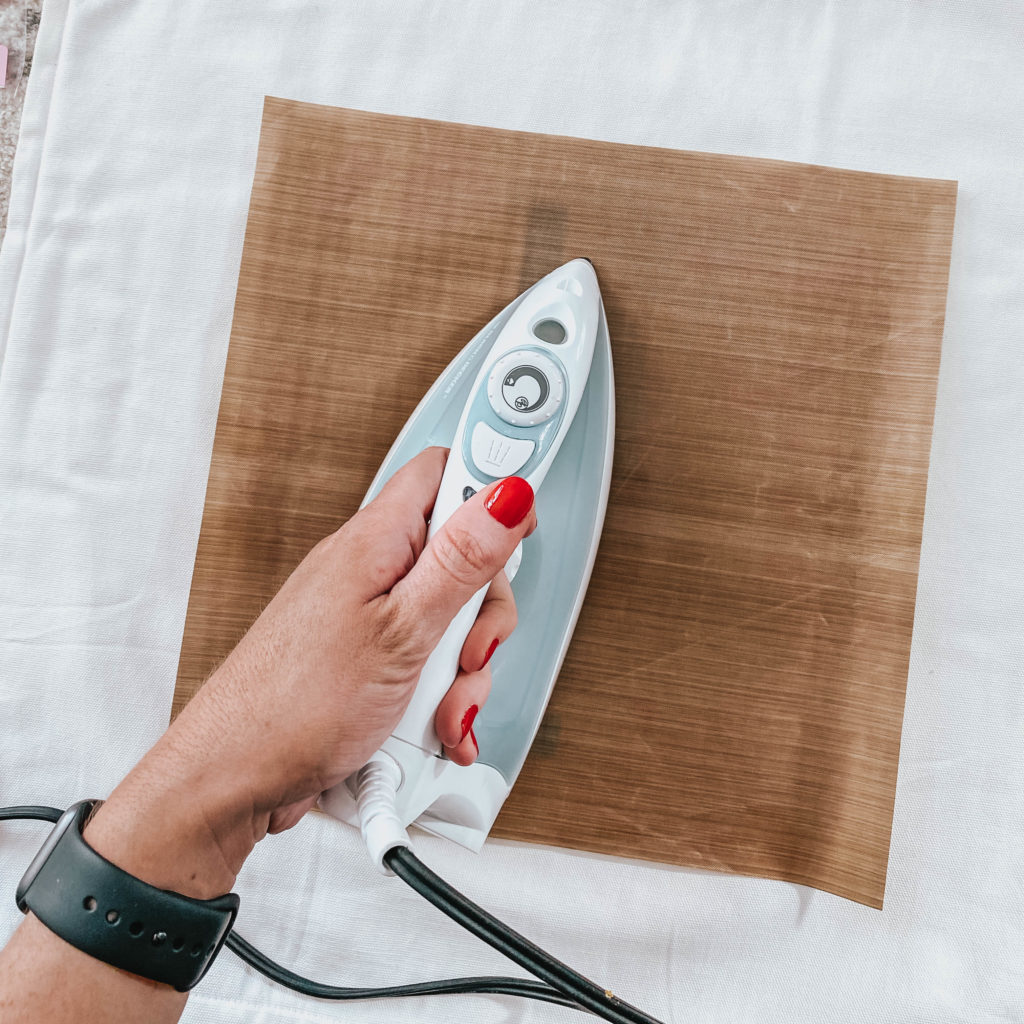

Allow the vinyl to cool and then remove the carrier sheet. Continue adding letters, using the ruler as a guide until the entire design is adhered to the pillow cover.

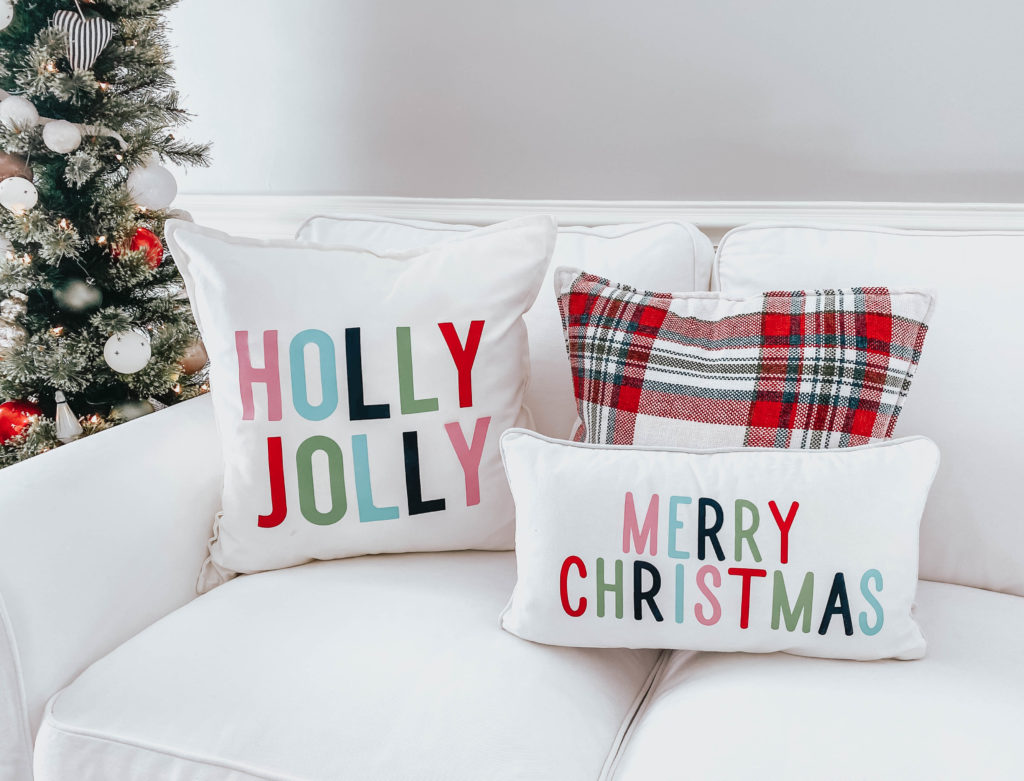
Create a smaller matching pillow to complete the set! I love how these turned out and think they are the perfect colorful addition to my holiday decor.
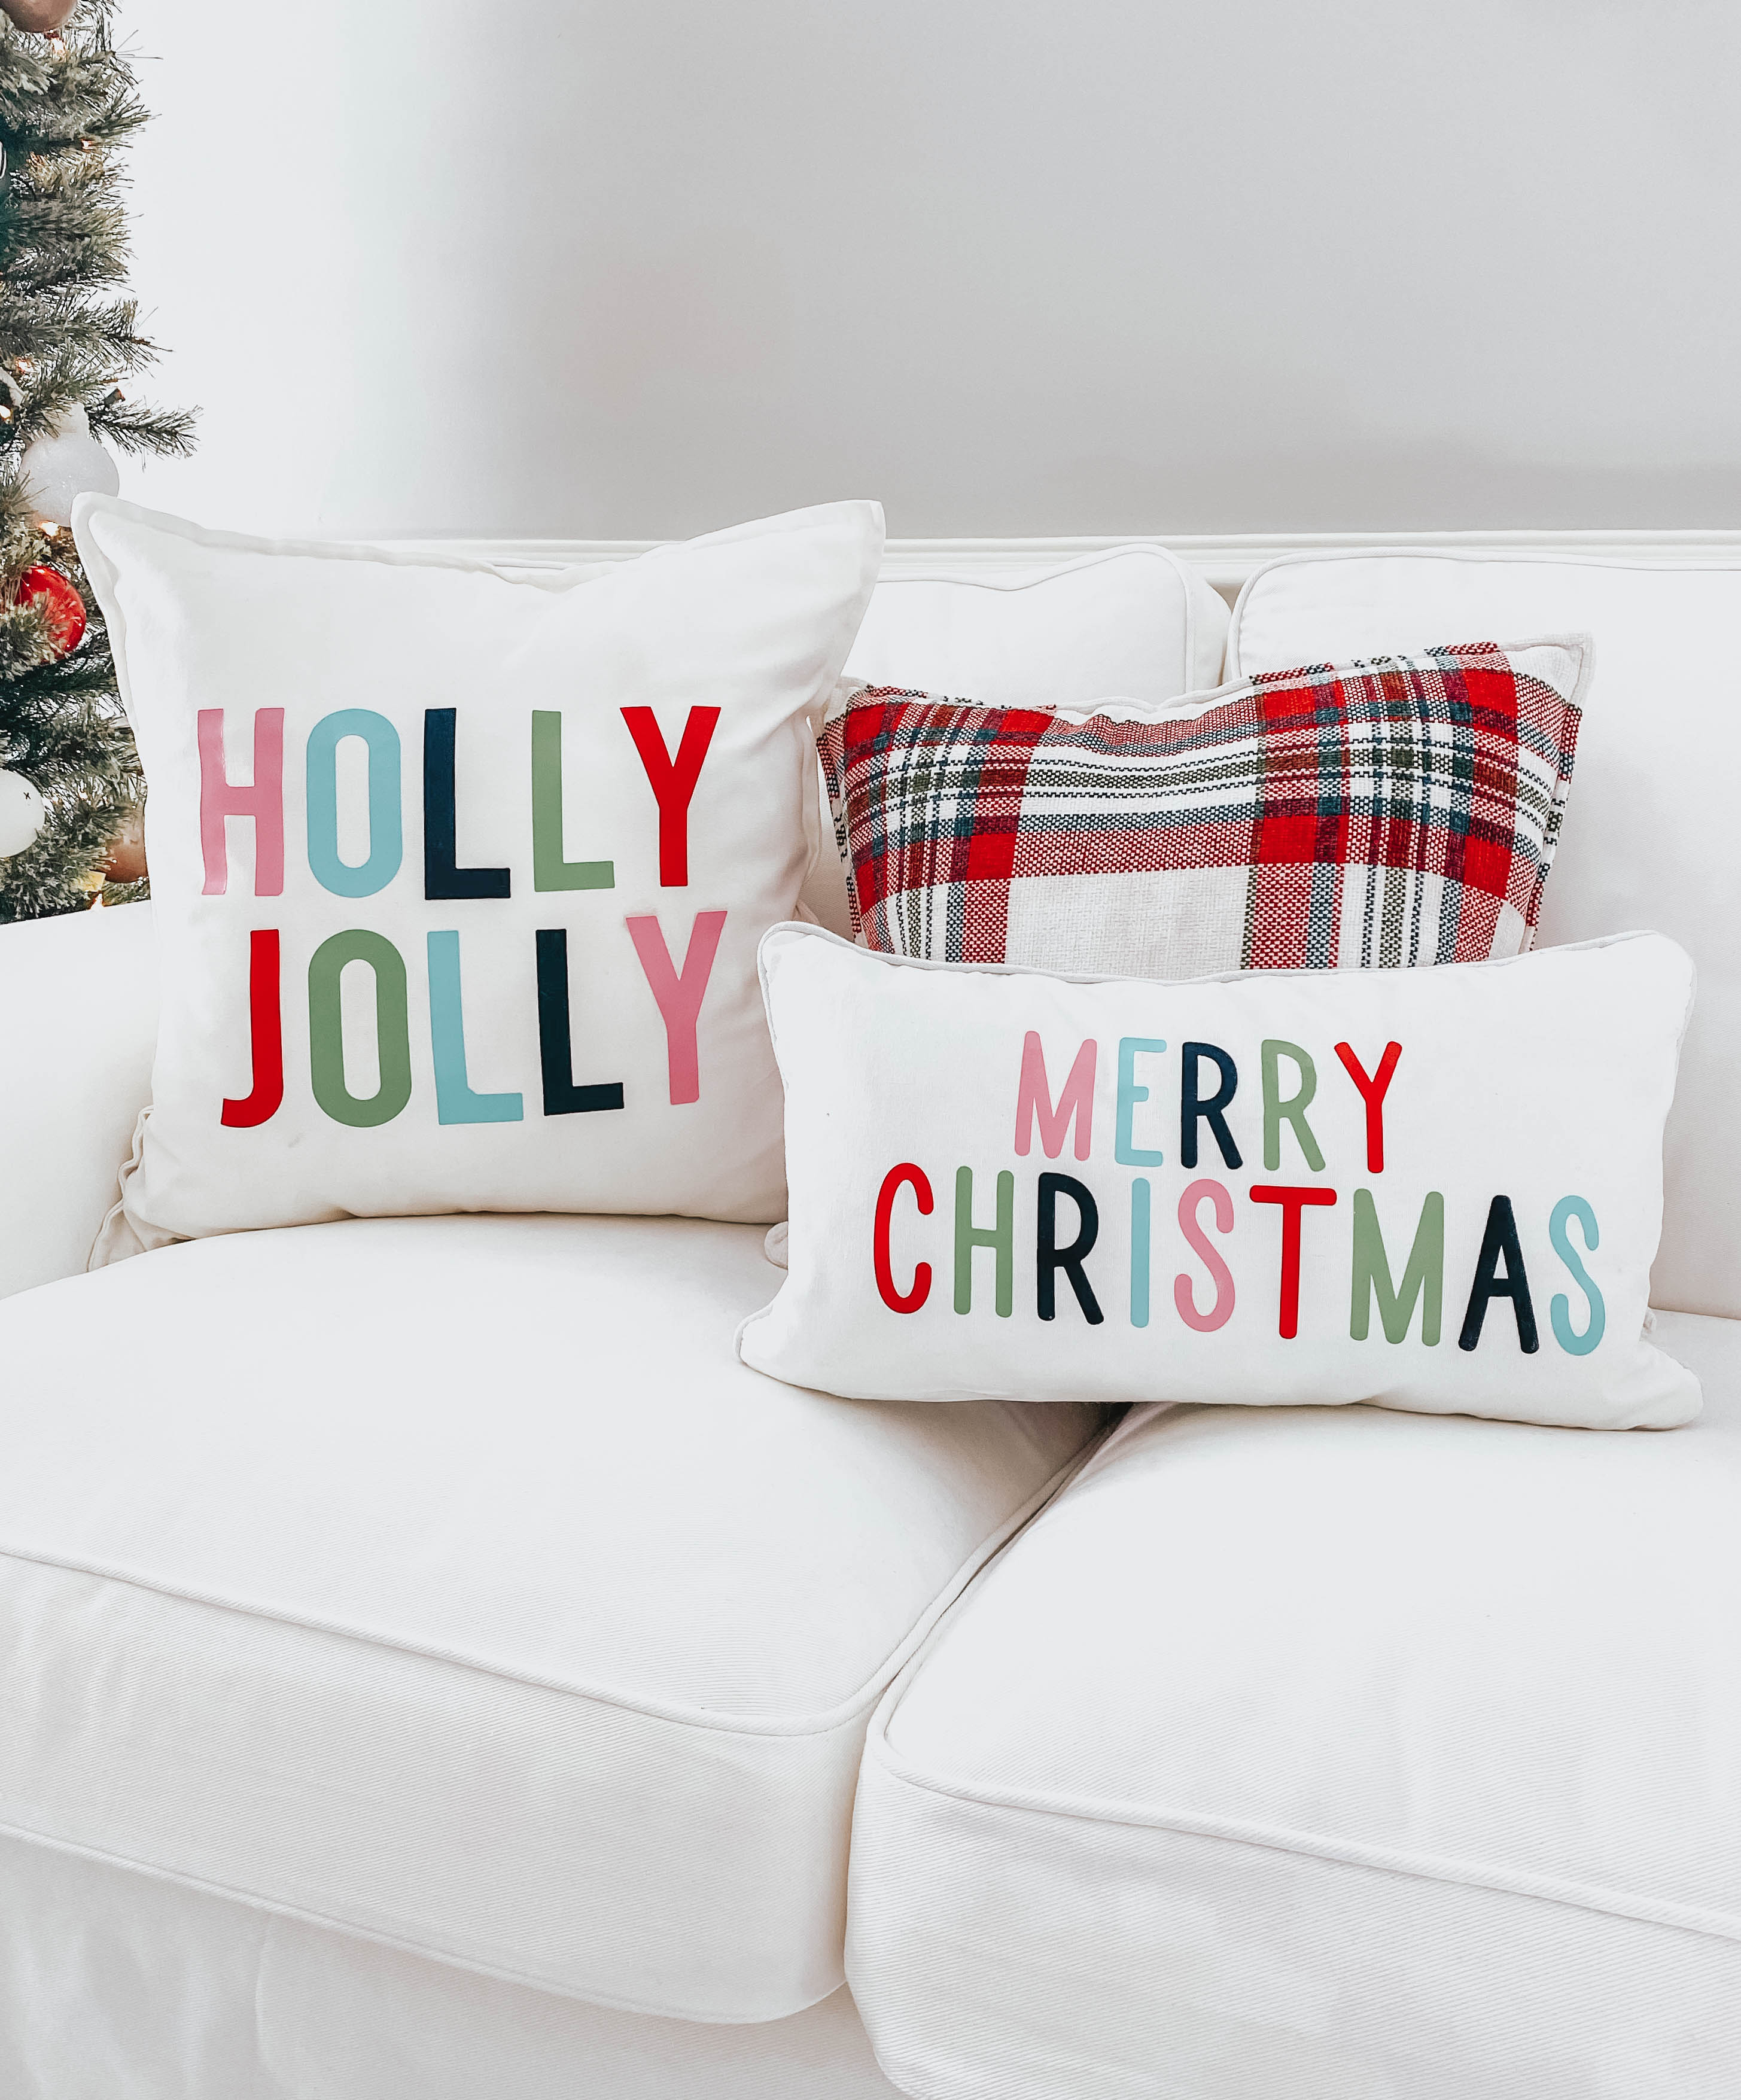

This project is so versatile because the colors can easily be adjusted to fit your personal decor style.
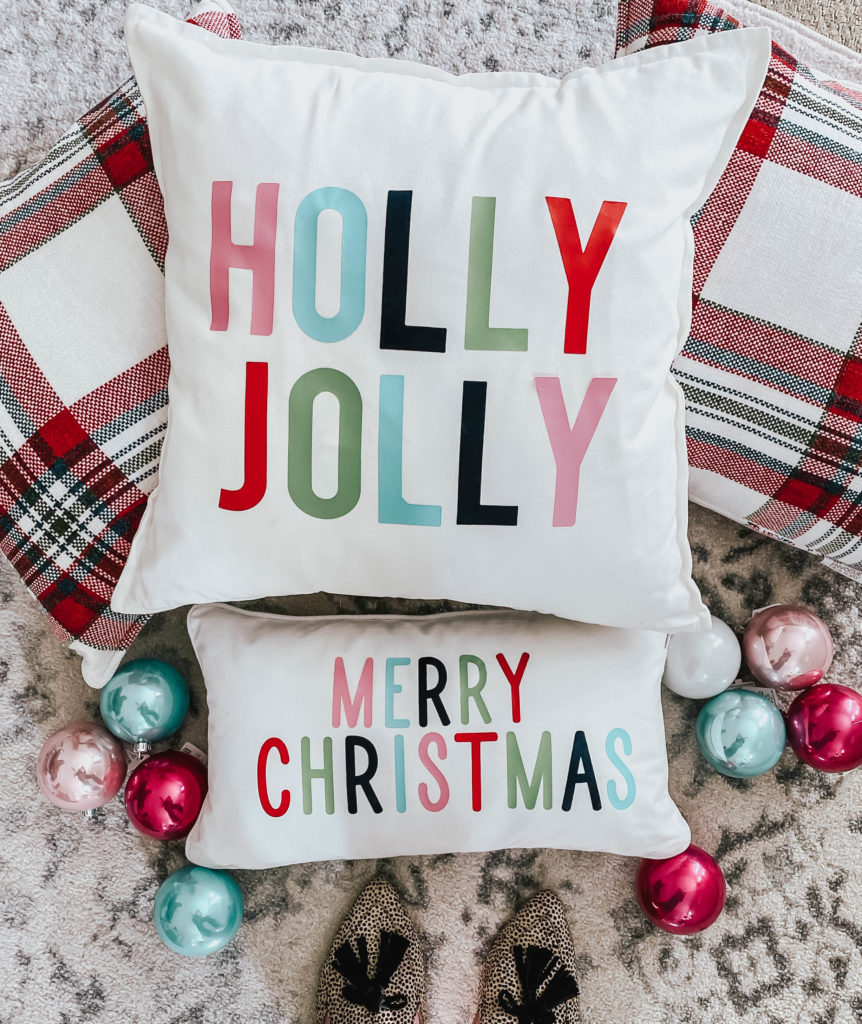

When it’s time to toss your pillow covers in the wash, be sure to turn them inside out and dry them on a low setting. If you need to iron any wrinkles out, protect the vinyl with a teflon sheet. Enjoy and Happy Holidays!
