DIY Gift Idea: Welcome Fall Gift Basket
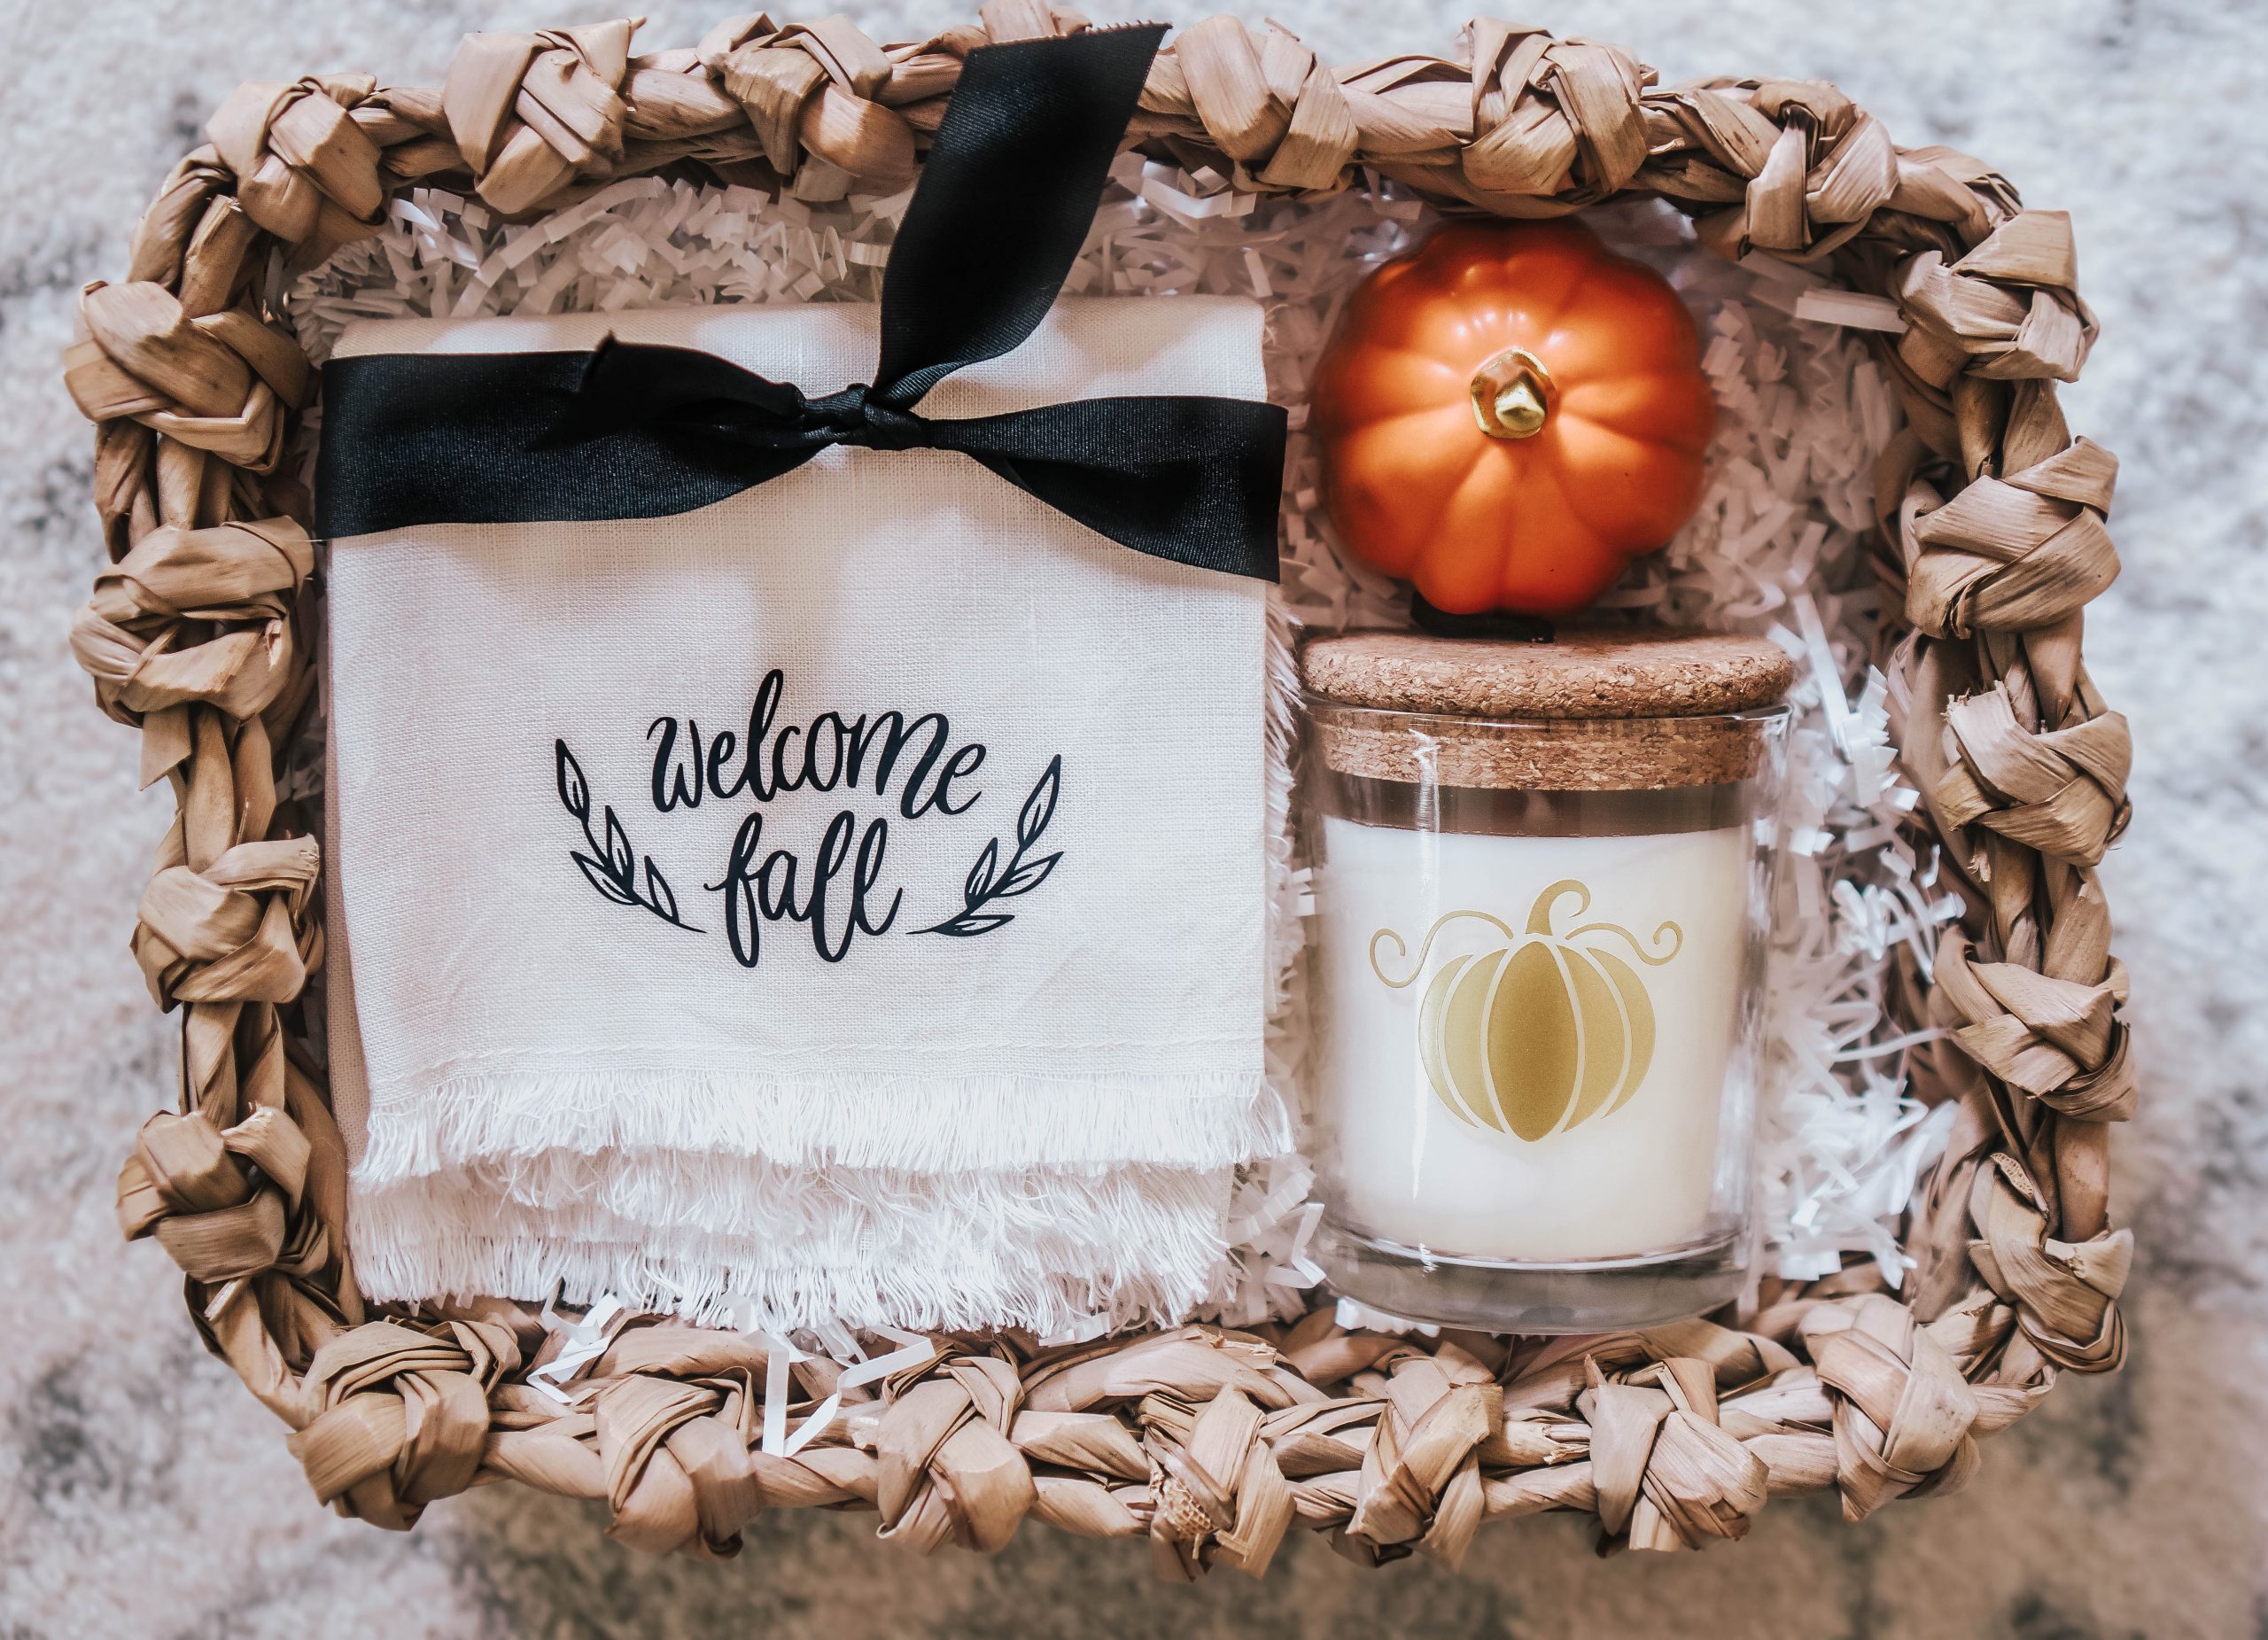
Hey crafty friends! Kayla here today from the Kayla Makes Blog and I am bringing you all things FALL. Fall is arguably the most loved season of the year and there’s no question as to why. Between the changing leaves, the cooler temperatures, football games and all of the holiday gatherings, it’s really no wonder everyone is obsessed with this amazing season.
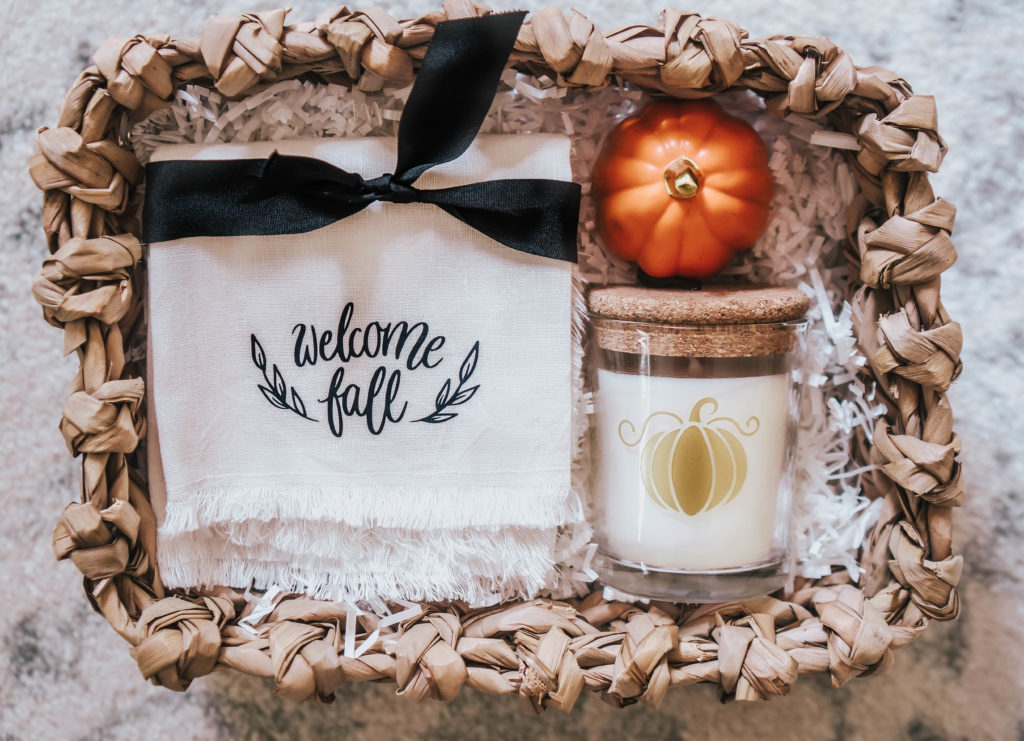
One of my favorite things to do as summer melts into fall is surprise my closest friends with easy, yet thoughtful gift baskets. Today, I’m showing you how to utilize your Cricut Maker + adhesive and heat transfer vinyls to create a welcome fall gift basket for your fall loving friends. Cozy up with a PSL and keep reading for the easy step-by-step tutorial.
Estimated Time To Complete: 20 mins
Supplies Needed:
- Heat Transfer Vinyl
- Adhesive Vinyl
- Transfer Tape
- Weeding Tool
- Blank Tea Towel
- Candle Jar
- Cutting Mat
- Cricut Maker
- Free Fall SVG
- Basket and Various Fall Gift Items (optional)
Step One: Design Space Set-Up
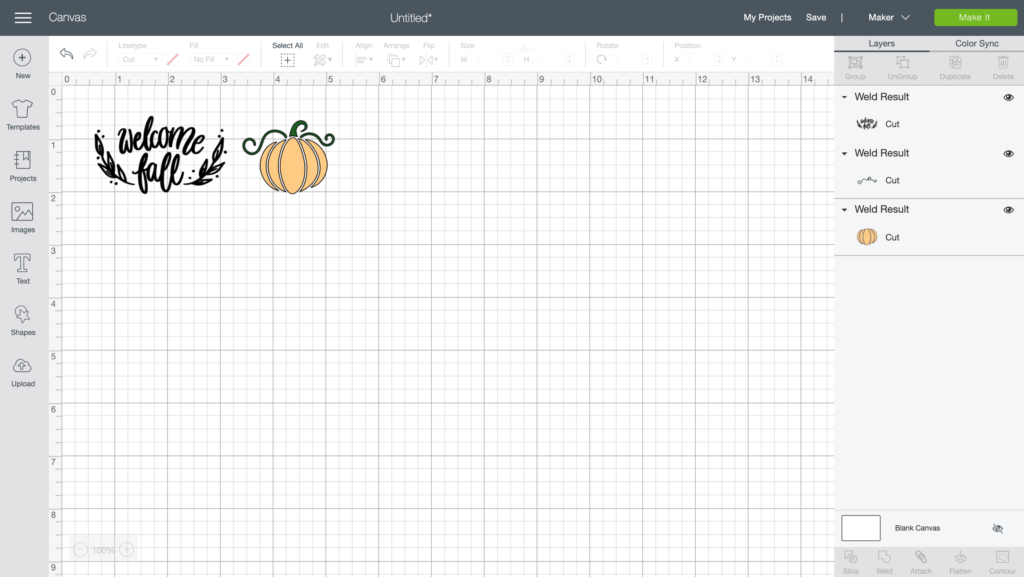
To start, upload the free fall SVG into Design Space and delete everything except for the pumpkin. The ‘welcome fall’ SVG is an older cut file but the updated version can be found here. Scale the images to fit the tea towel and the candle then click the make it button.
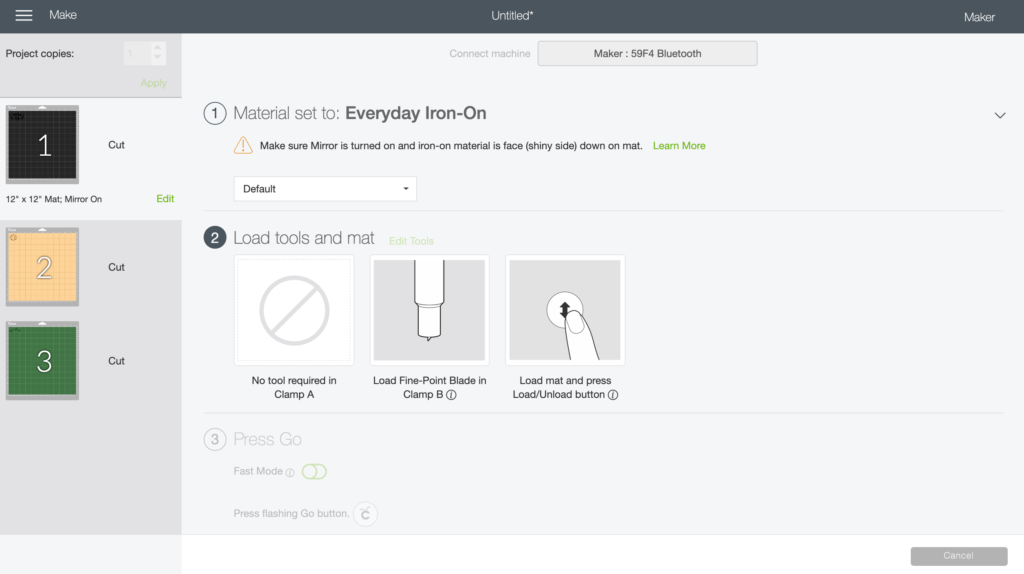
In the next window you will mirror the design you plan to cut out of heat transfer vinyl and leave the other design as is. Select the material you plan to cut first and click continue.
Step Two: Load and Cut
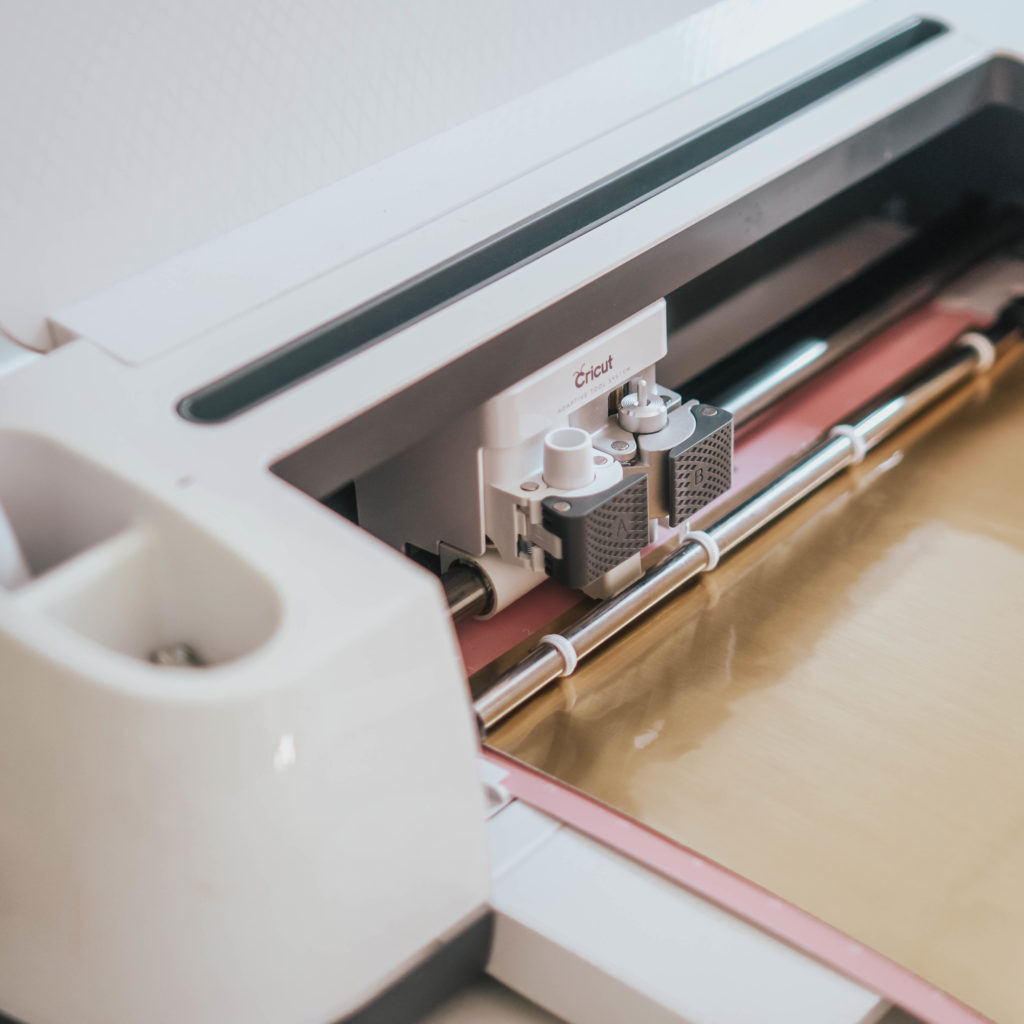
Place the adhesive vinyl on the cutting mat with the colored/shiny side facing up, load the mat into the machine and press the start button.
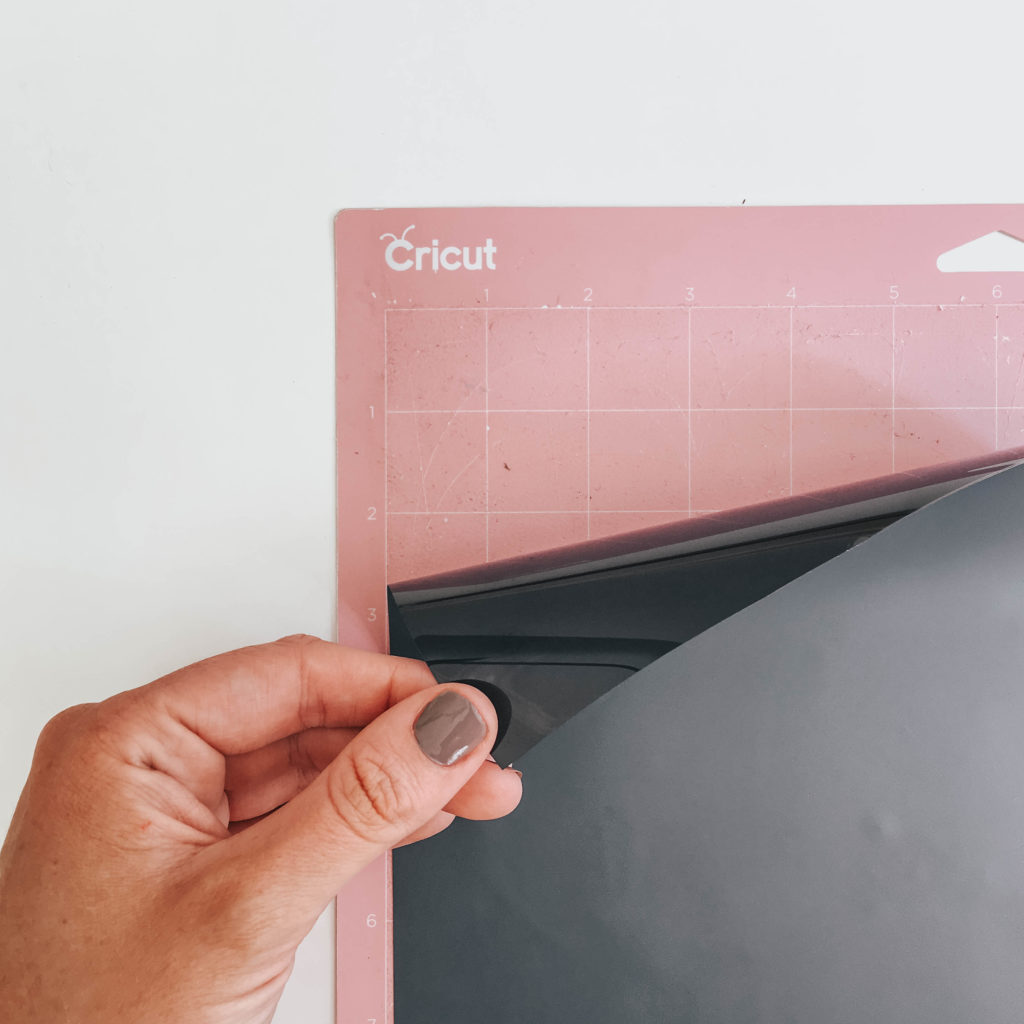
Place the heat transfer vinyl on the mat with the shiny side facing down and repeat the process of loading and cutting the image.
Step Three: Weeding
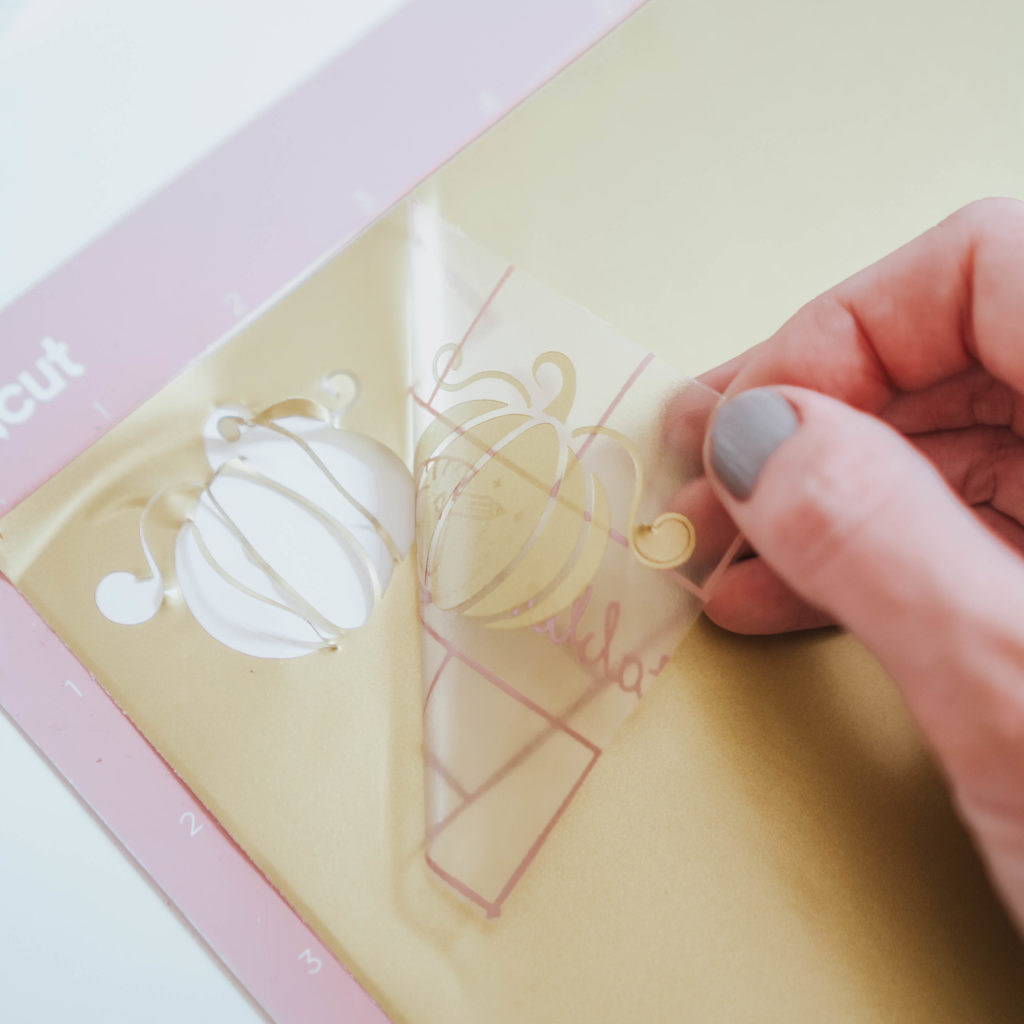
For this particular design I opted to do the reverse weeding tecnique as the pumpkin vines are very small and delicate. To reverse weed, place the transfer tape over the vinyl after cutting and burnish well with a scraper tool. Peel the transfer tape up and the cut image will stick to the transfer tape while leaving the unwanted vinyl on the paper backing.
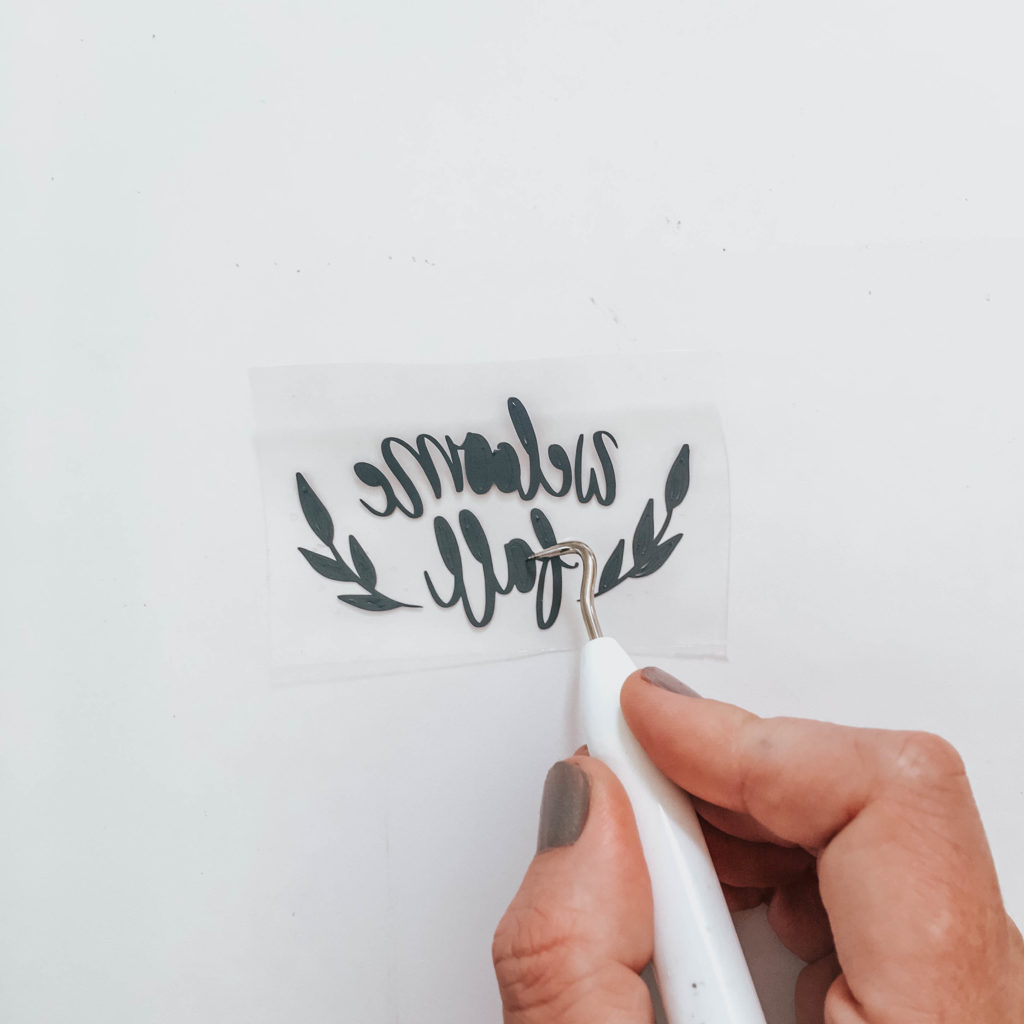
The heat transfer vinyl can be weeded easily by hand or with a weeding tool.
Step Four: Transfer Images
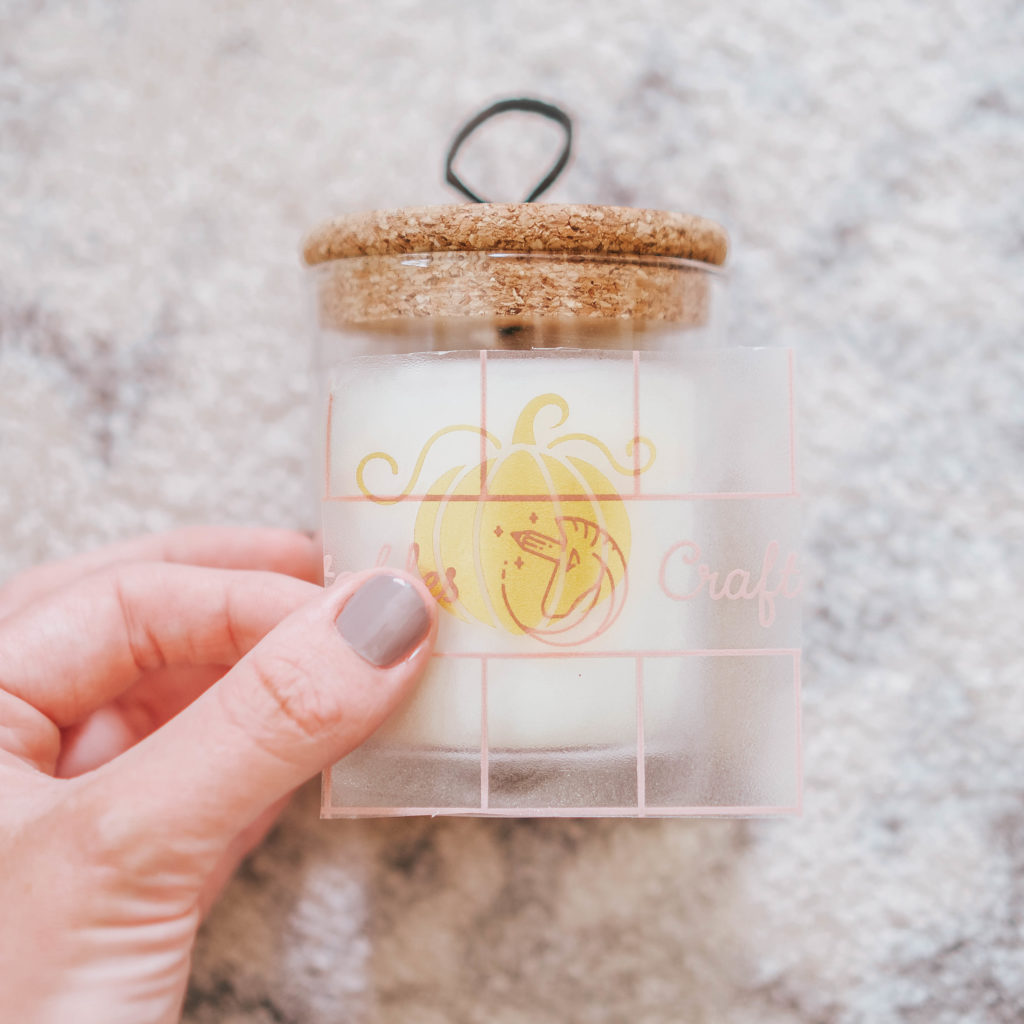
Place the adhesive vinyl pumpkin on the candle jar and press firmly with your fingers or a scraper tool.
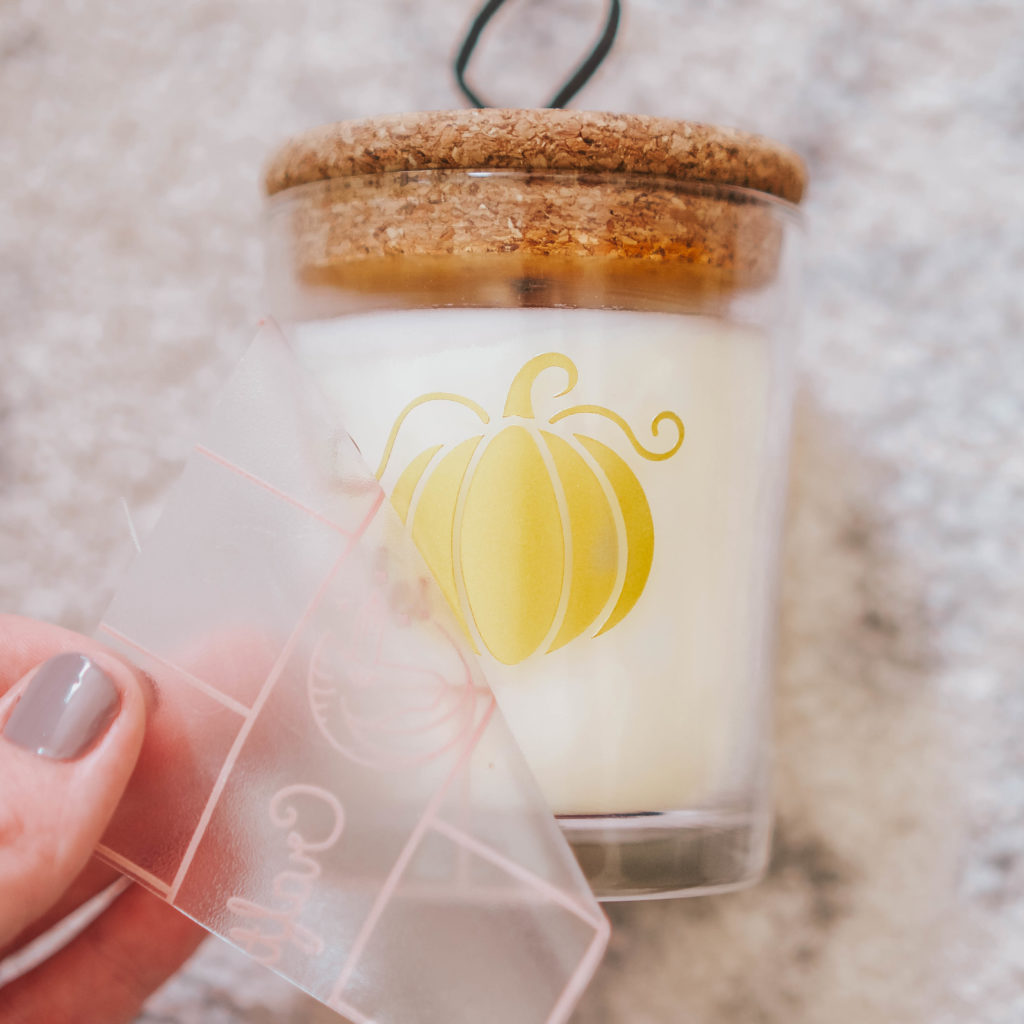
Remove the transfer tape by peeling from the corner in a downward angle.
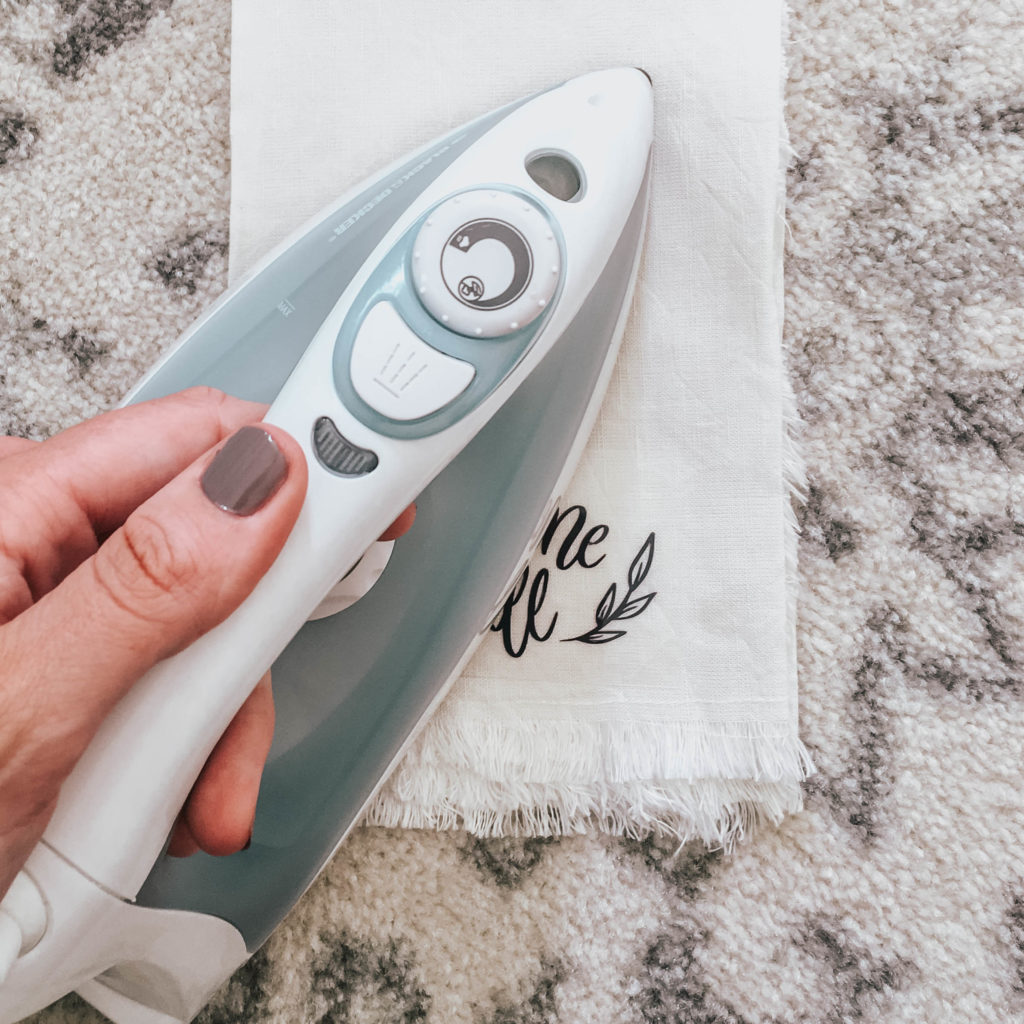
For the tea towel: Place the heat transfer vinyl decal in the bottom center of the towel and press with a preheated iron on the cotton setting for 15-20 seconds. Allow the design to cool before removing the carrier sheet.
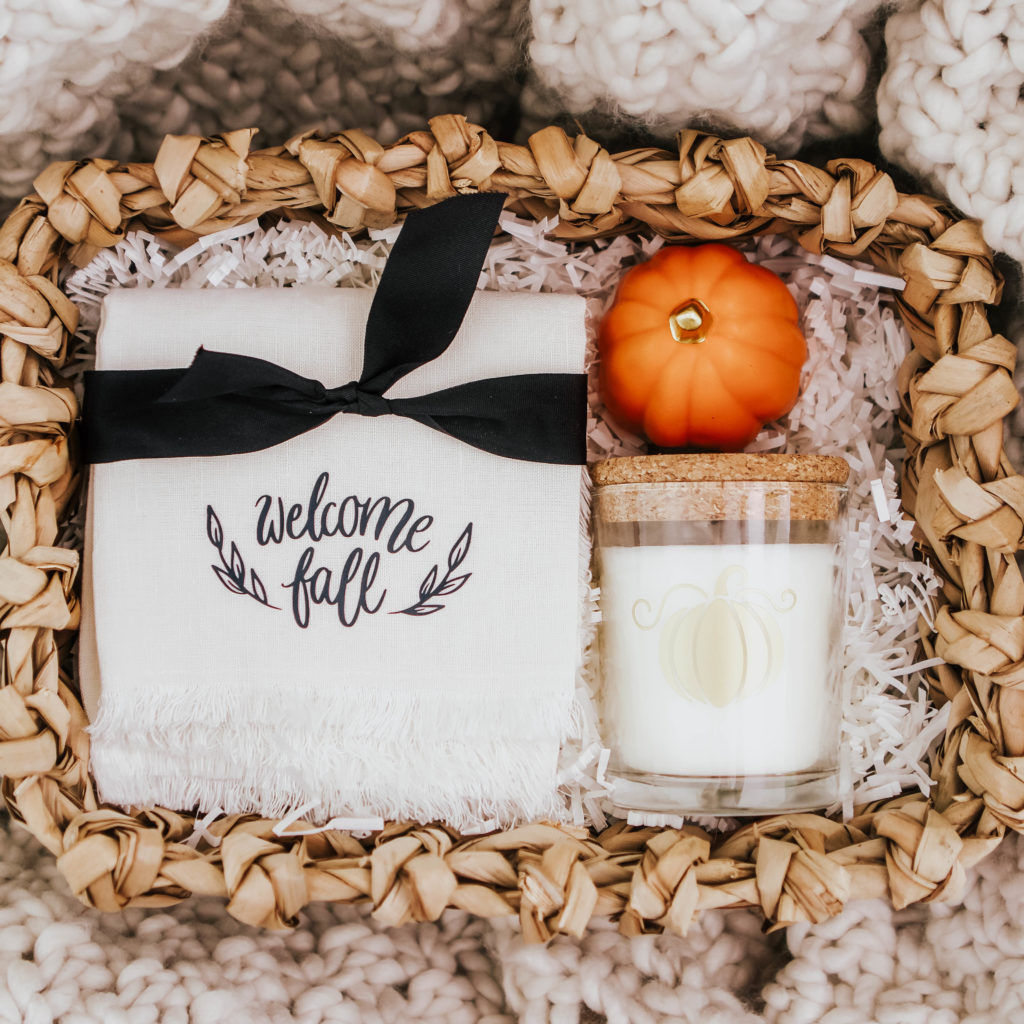
Now all that’s left to do is find a basket and fill it with your handmade gifts!
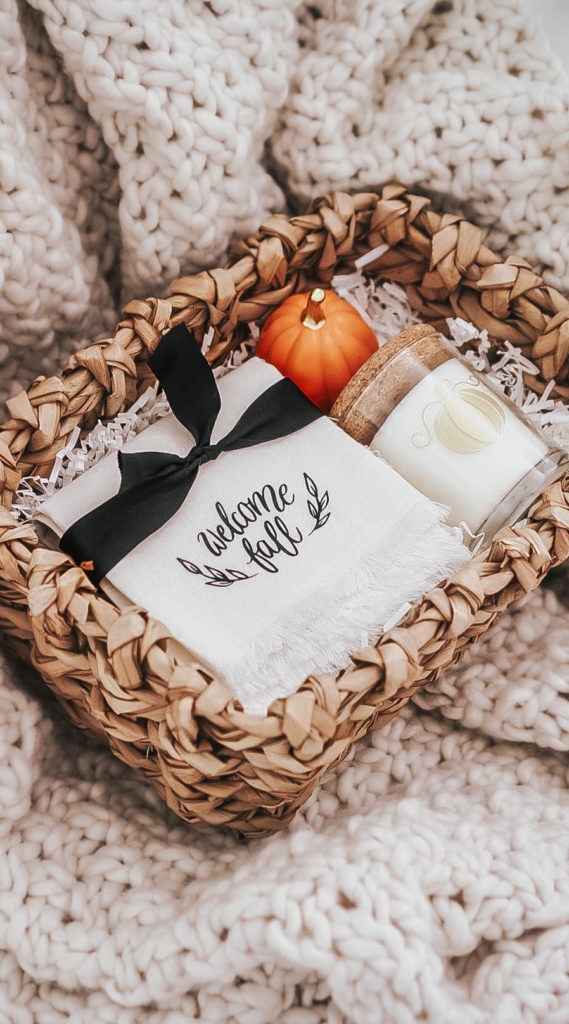
As always, for even more crafting inspiration and fun gift ideas check out the Craftables blog every week and be sure to follow along on Instagram.



SALLY CEDARS
You have great gift ideas. Where did you get these tea towels?
Kayla
Thank you! They’re from Target!