How To Make Your Own Laptop Decals With Printable Vinyl
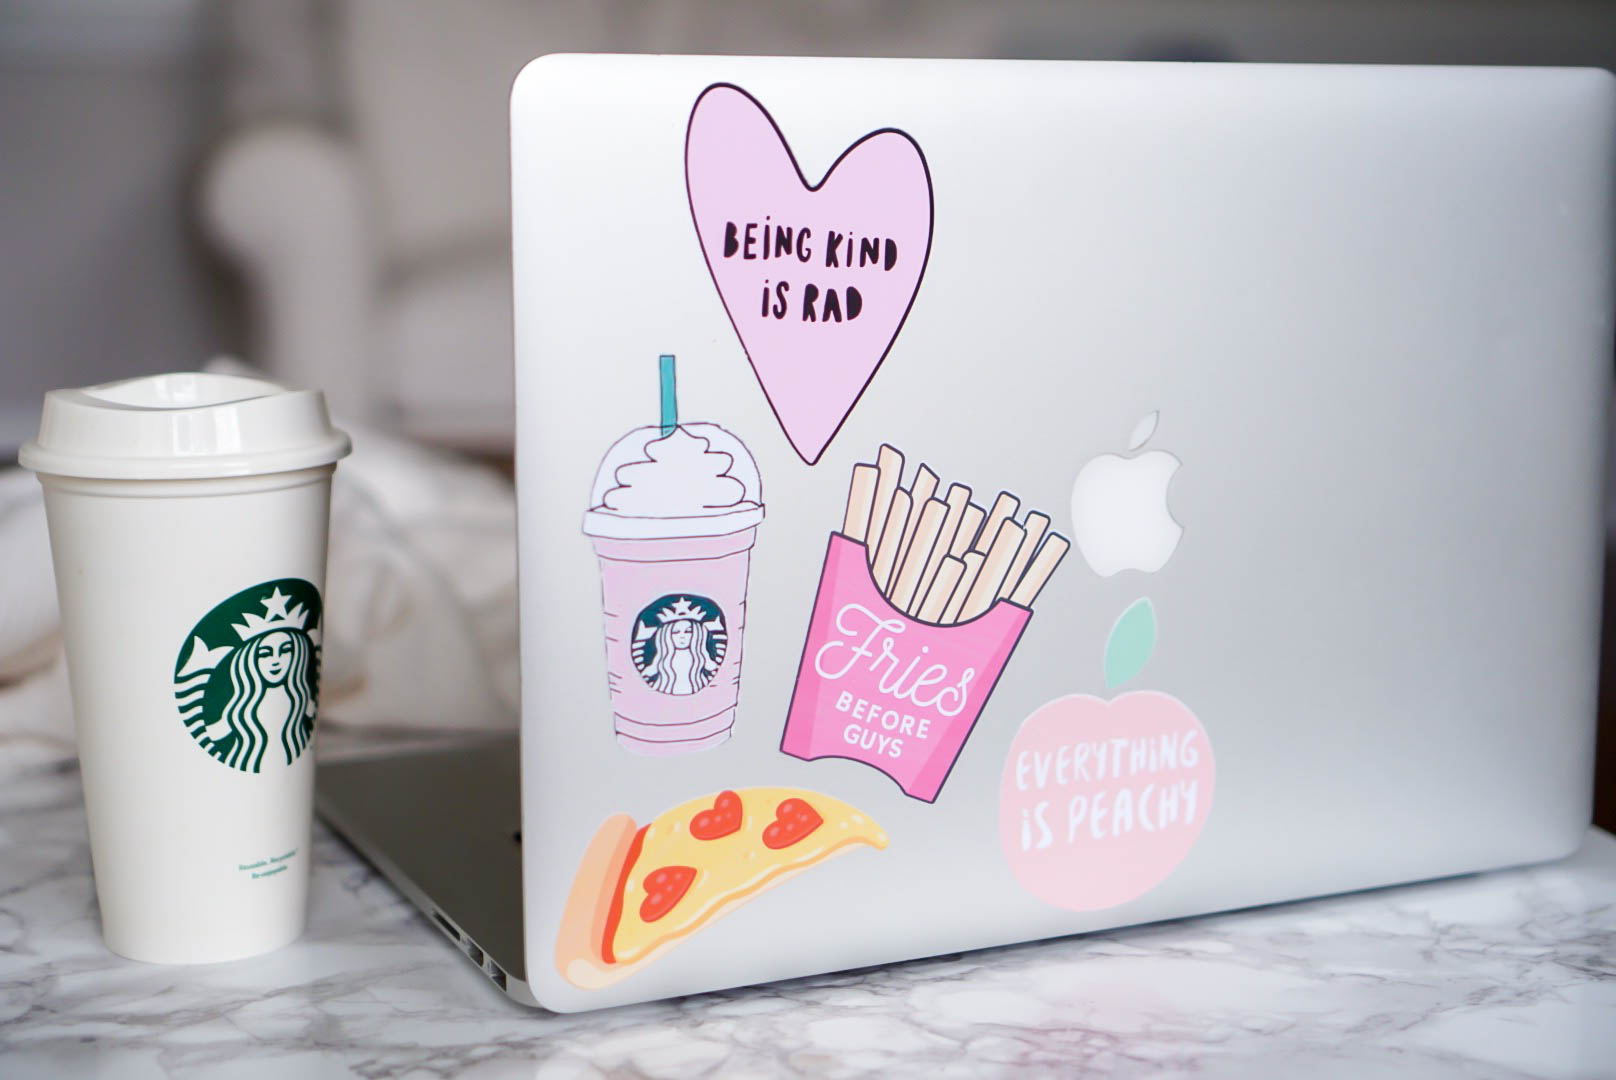
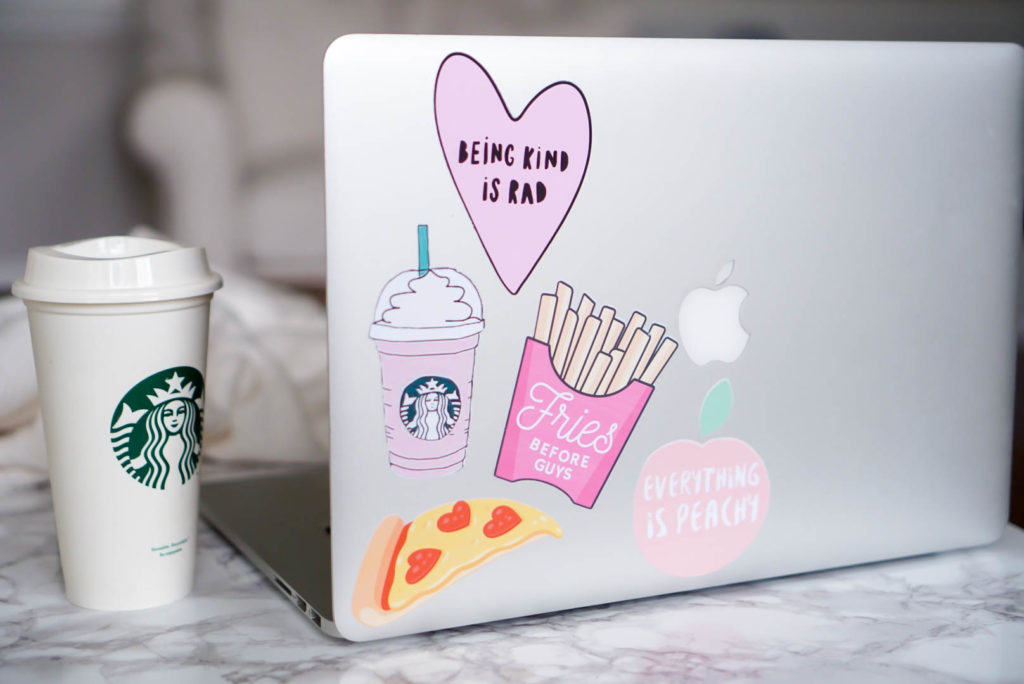
If you’ve ever visited Pinterest or Tumblr then you’ve definitely seen the laptop sticker trend. You can find them being sold all over OR you can keep reading and I’ll show you how to create your own using printable adhesive vinyl!
Craftables Inkjet printable vinyl works very much like adhesive vinyl, the only difference being the printable surface. The back is adhesive and it’s durable but also can be easily removed and repositioned. Follow along and I’ll show you how easy it is to use.

Difficulty: Moderate
Supplies Needed:
- Inkjet Printable Vinyl
- Inkjet Printer
- Cutting Mat
- Cricut Maker or similar machine
Estimated Time: 15-20 mins
Step One: Upload Printable Designs
In Cricut Design Space, click on the uploads tab then browse for the image you want to upload or simply drag and drop it onto the page.
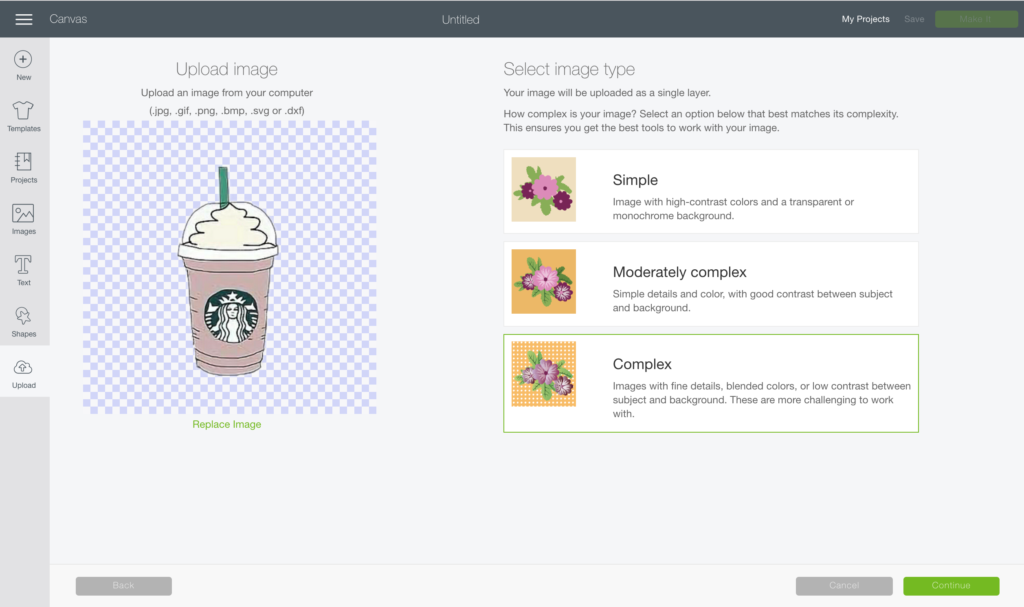
Follow the instructions to the right of the image to select the image type. Since the coffee cup I’m using has fine details, I chose complex as my image type.
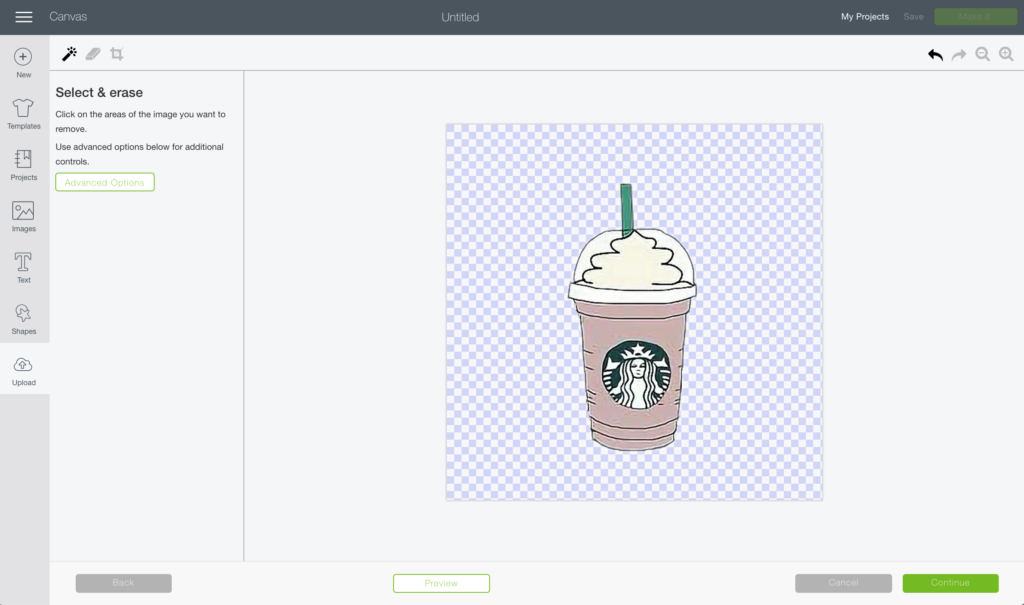
After clicking continue, you’ll be taken to the “clean up” window where you can erase any unwanted parts of the design. This is especially helpful if you need to remove the background.
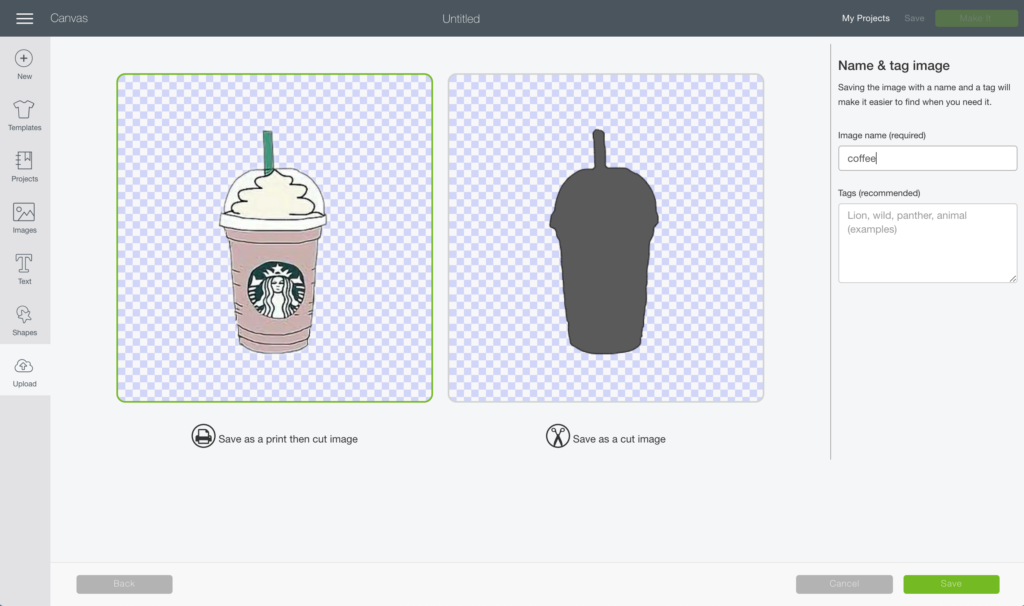
In the next window you can name your image and create tags to make it easier to find. This is also where you will save your image as either a cut file or a print then cut image. For this project we’re going to save as print then cut.
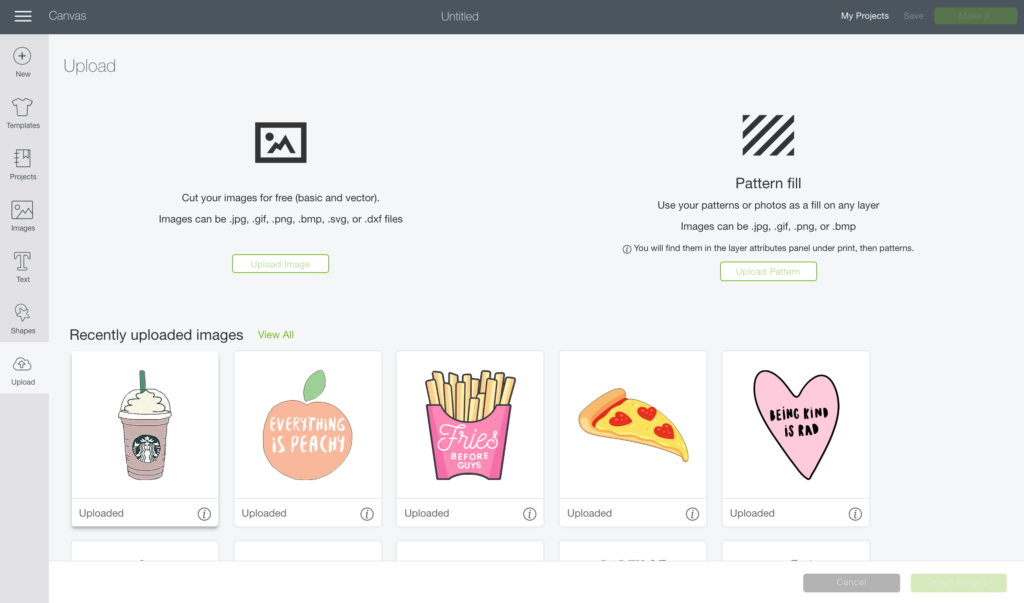
Repeat the upload process until you have enough images to fill the 8.11in x 11in sheet of printable vinyl.
Step Two: Print then Cut
Once you’ve arranged and sized the images on the canvas, click the “make it” button and the software will prompt you to print the images first.
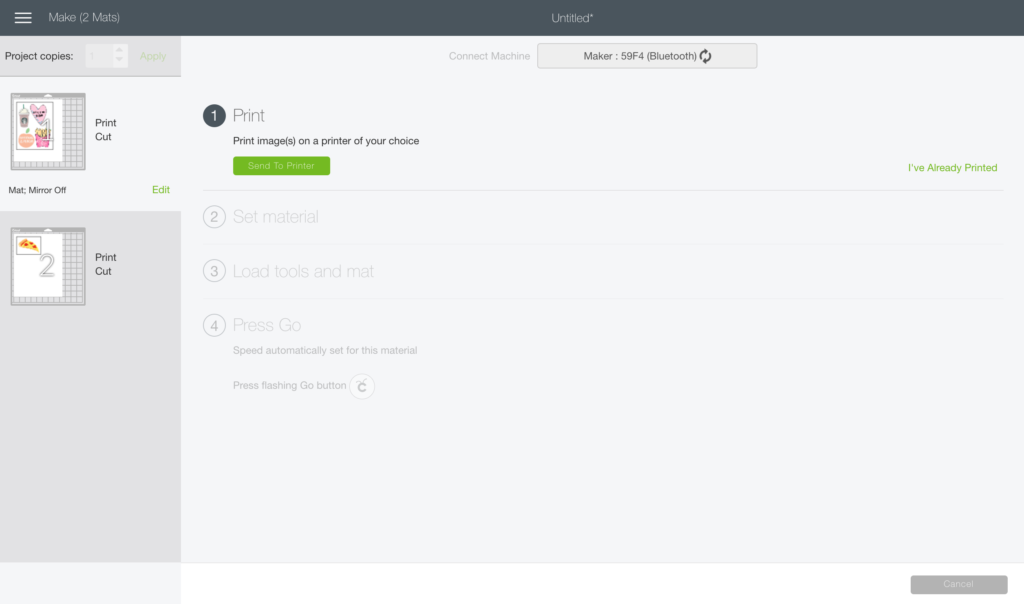
Choose your printer in the drop down menu and turn on the bleed option. Printing with bleed on is optional but I find that the designs end up with cleaner/crisper edges if you turn it on.
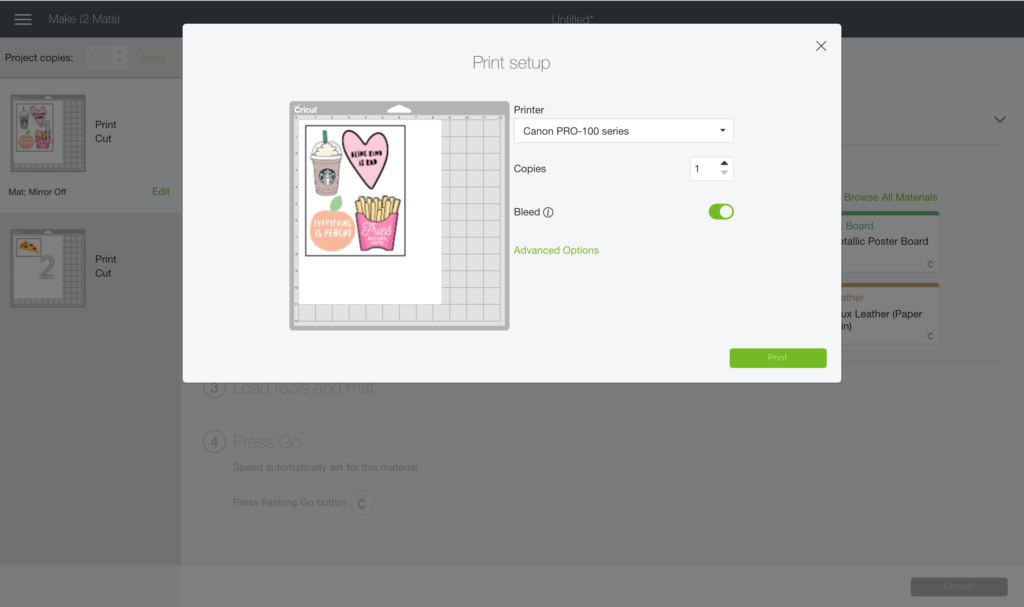
Load the printable viyl into your printer so that it prints on the matte side. The images will print inside of a registration box. This is what the machine uses to determine where to cut.
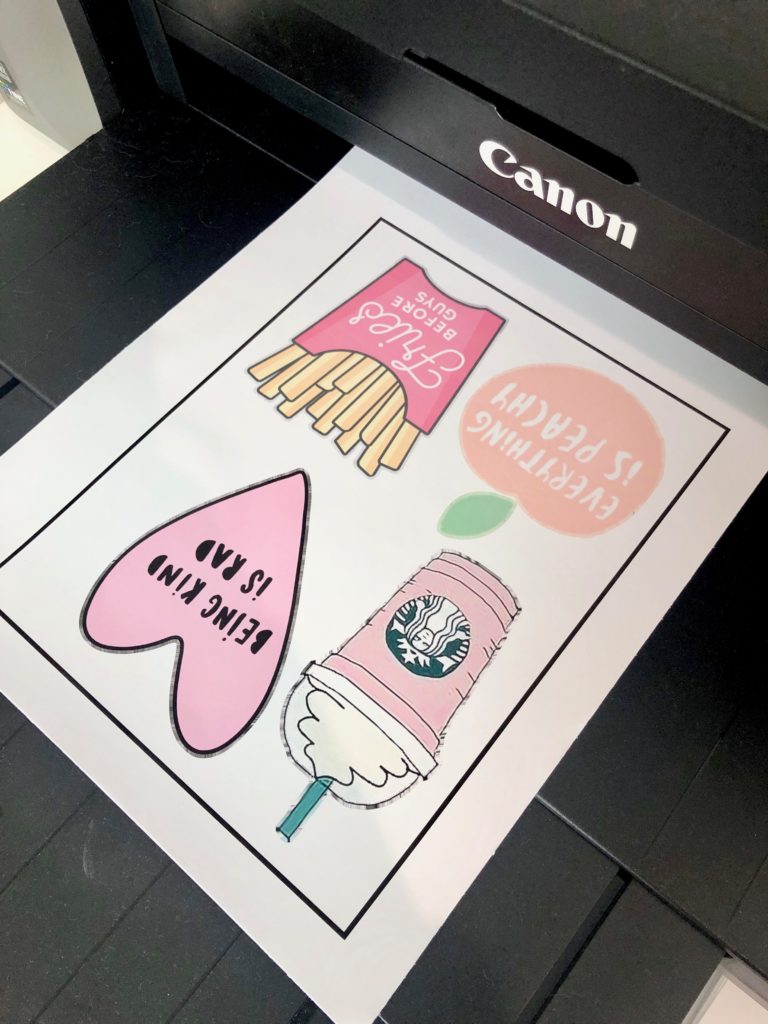
Place the printed sheet on a cutting mat (printed side facing up) and load the machine. Press the start button on the machine and it will take less than a minute to read the registration box then proceed to cut around each image.
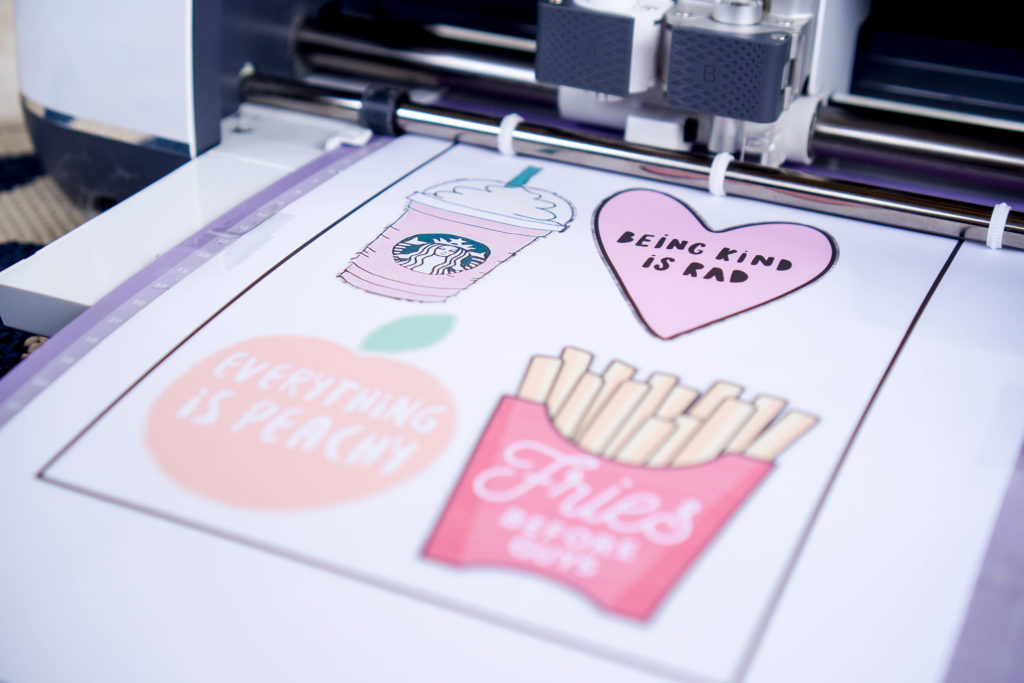
You can see in the image below how the decals look when printed with the bleed option.
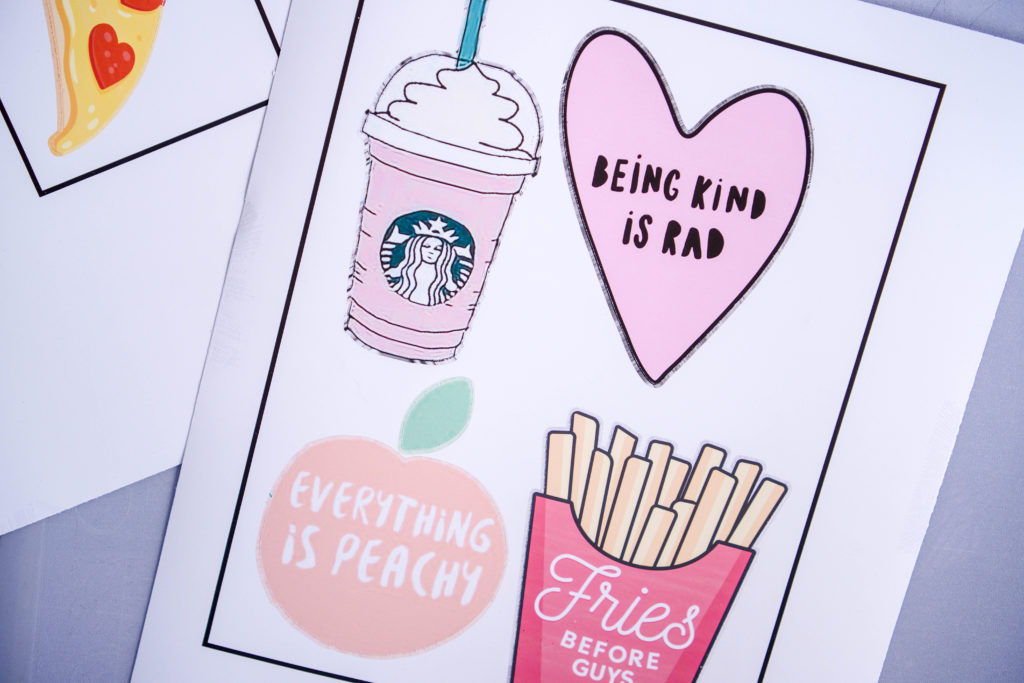
After cutting, you remove the excess vinyl from around the decals and you’re left with crisp, clean cuts.
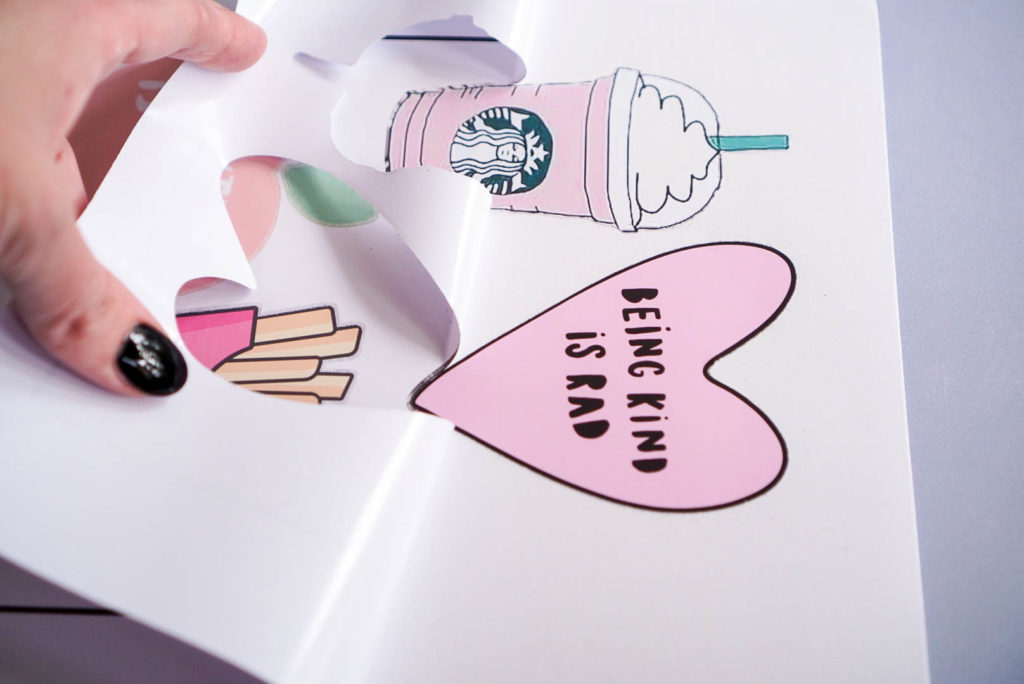
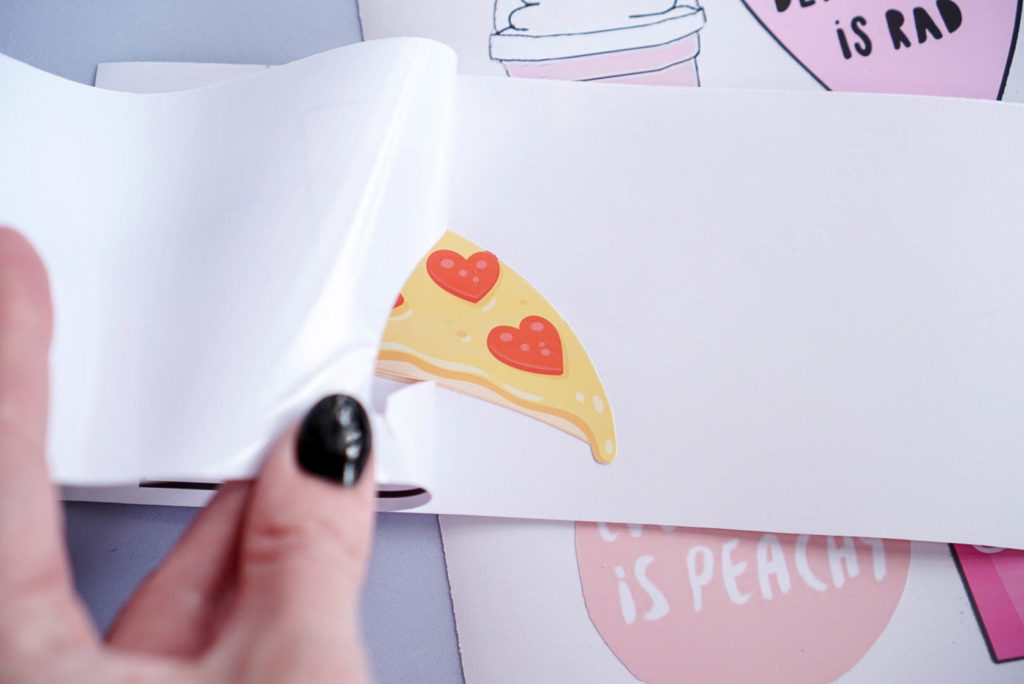
Step Three: Apply Decals
This is where printable vinyl is different than adhesive vinyl. Normally, you would use transfer tape to apply adhesive vinyl to a surface right? With printable vinyl you DO NOT use transfer tape because it will strip all of the ink off of the vinyl. Just simply peel and stick!
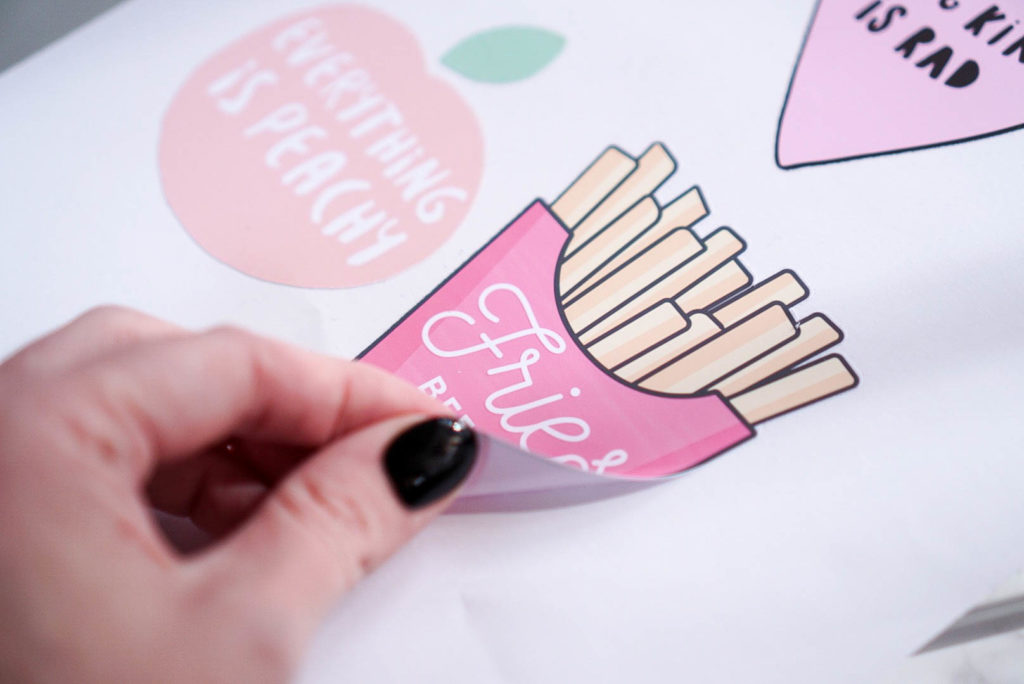
How easy was that? No waiting for shipping, no limiting yourself to someone else’s designs. In less than 15 minutes you can create your very own sheet of customized laptop decals.
If you’re new to the world of printable vinyl then you should check out this post teaching you the ins and outs of using printable heat transfer vinyl. Also, this post is another awesome example of the fun things you can create with printable materials.


