Customized Pumpkins With Adhesive Vinyl
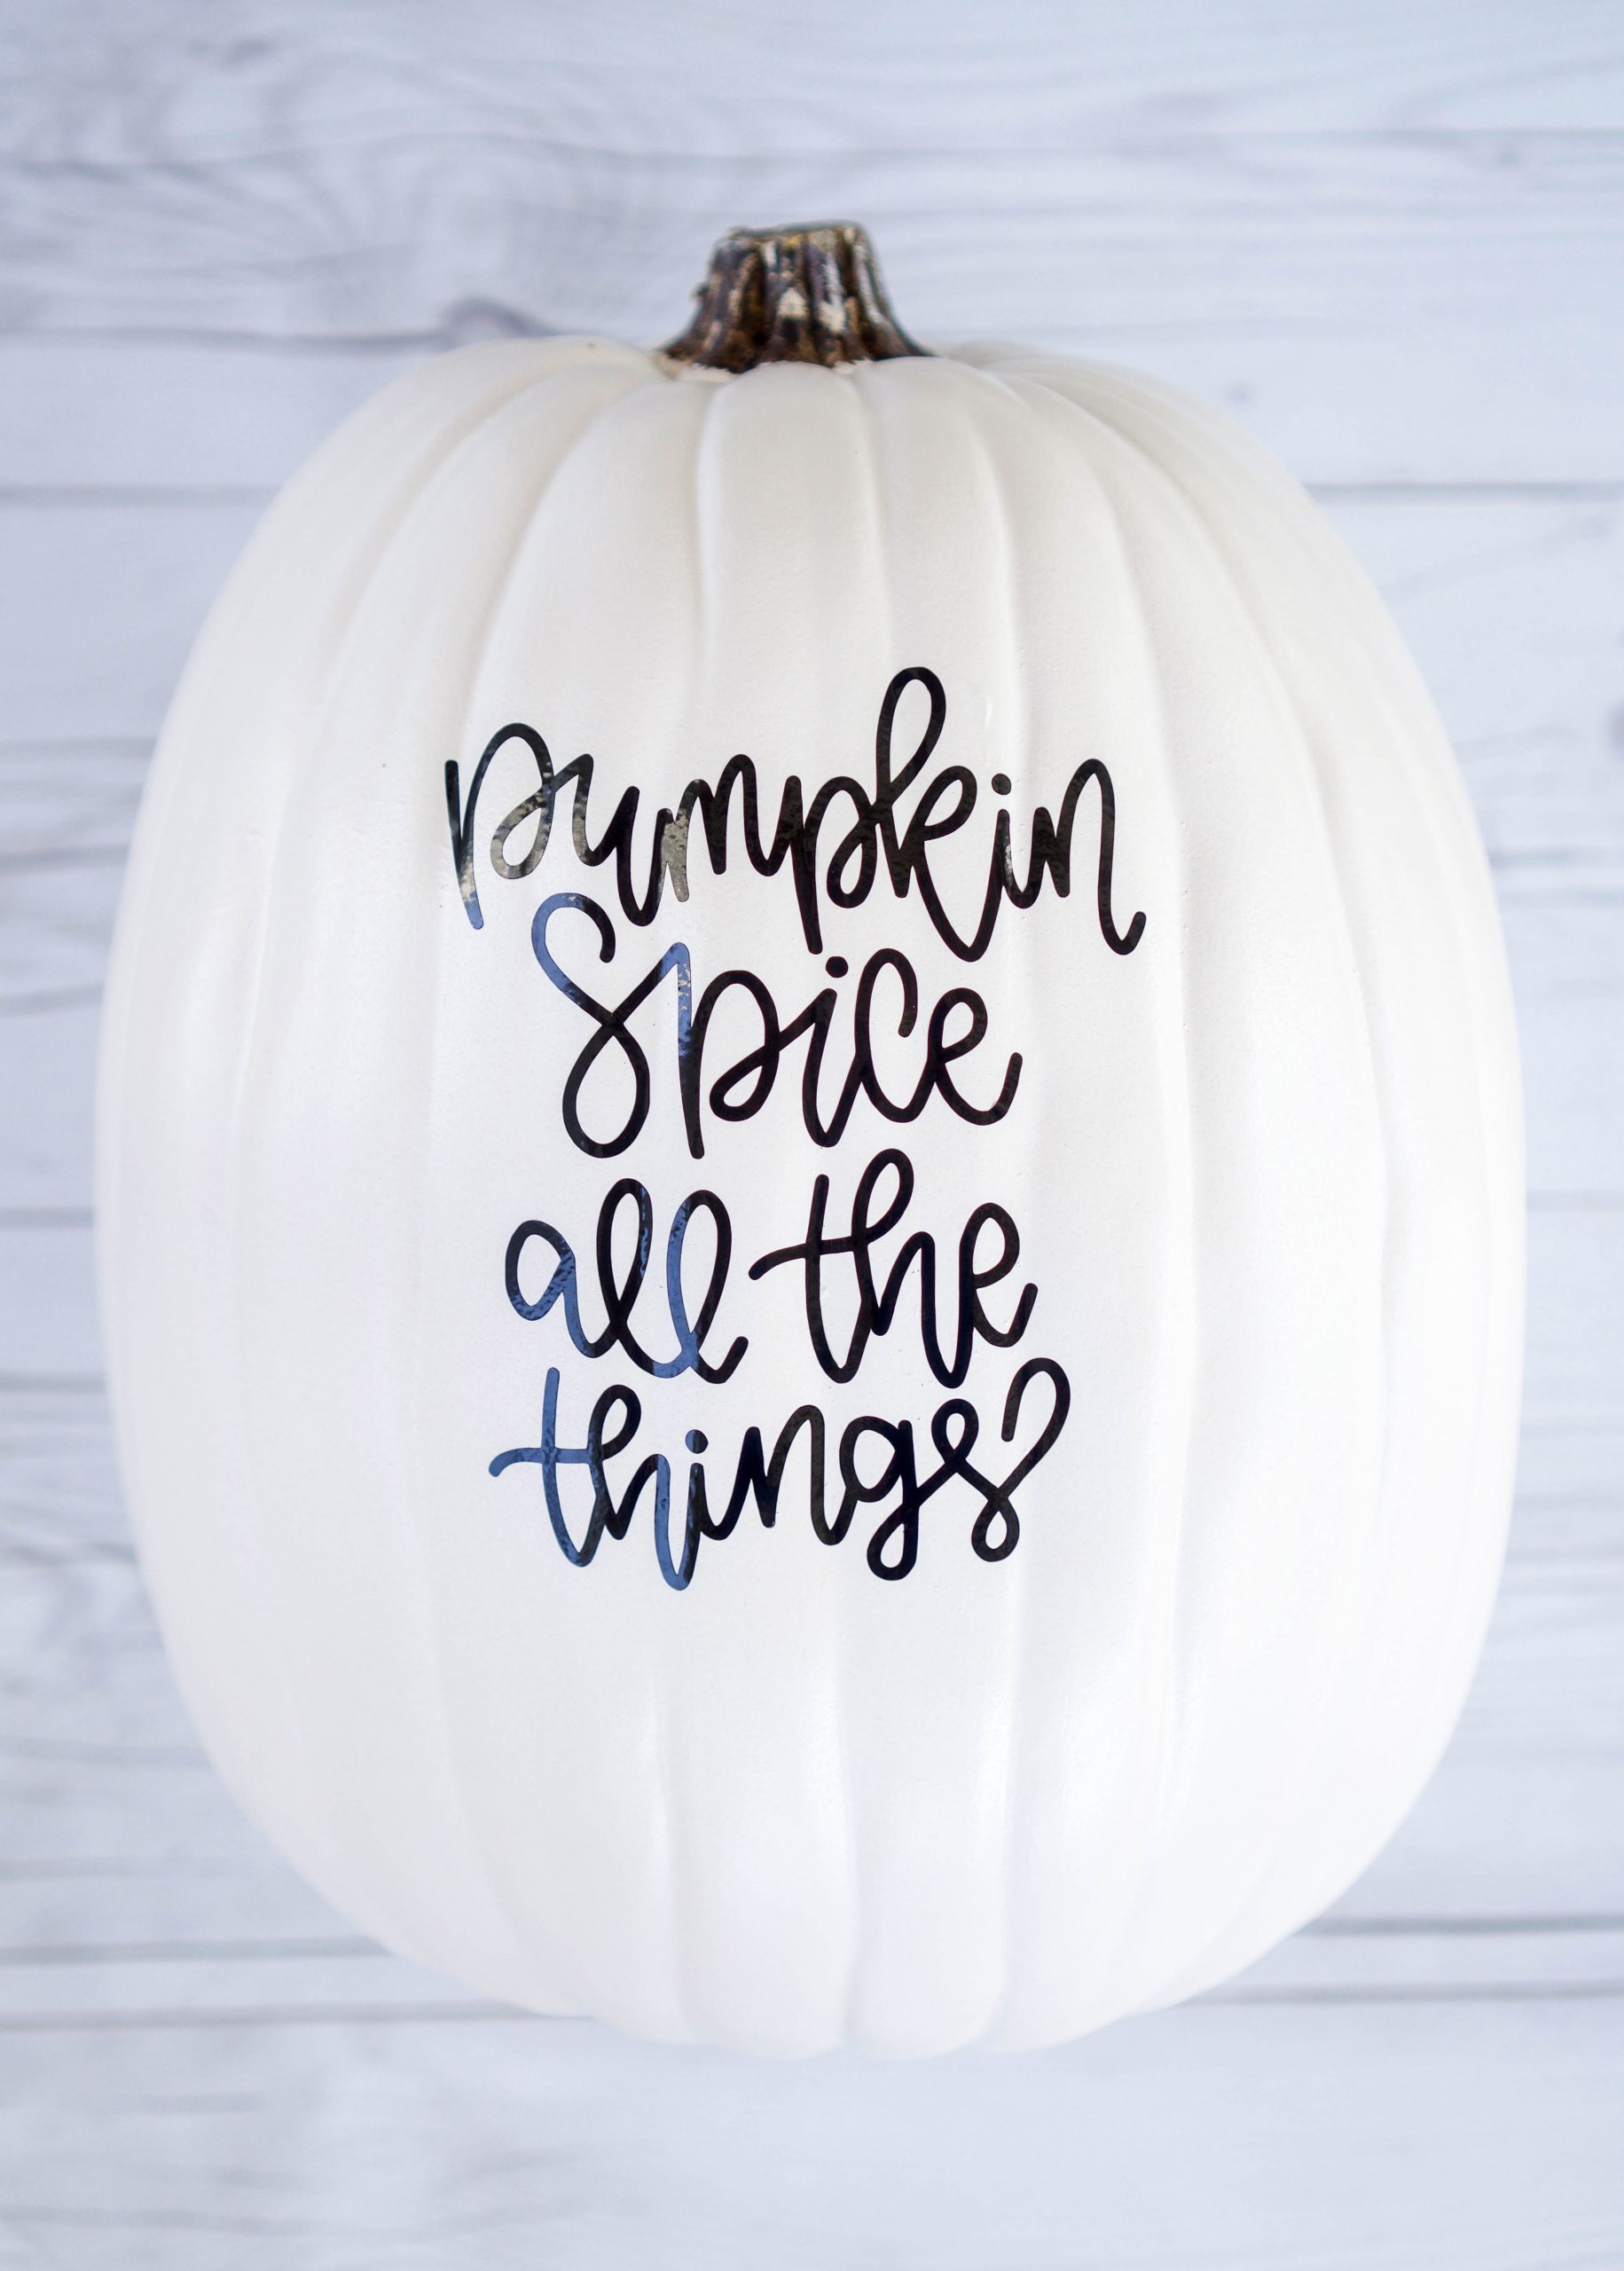
Happy Fall, everyone! It is now socially acceptable to photograph and share all things pumpkin.I posted a Rae Dunn style pumpkin on my Instagram last week and I got a bunch of questions about it so I put together a quick how-to post for everyone! Grab a pumpkin spice latte and hang out with me for a bit!
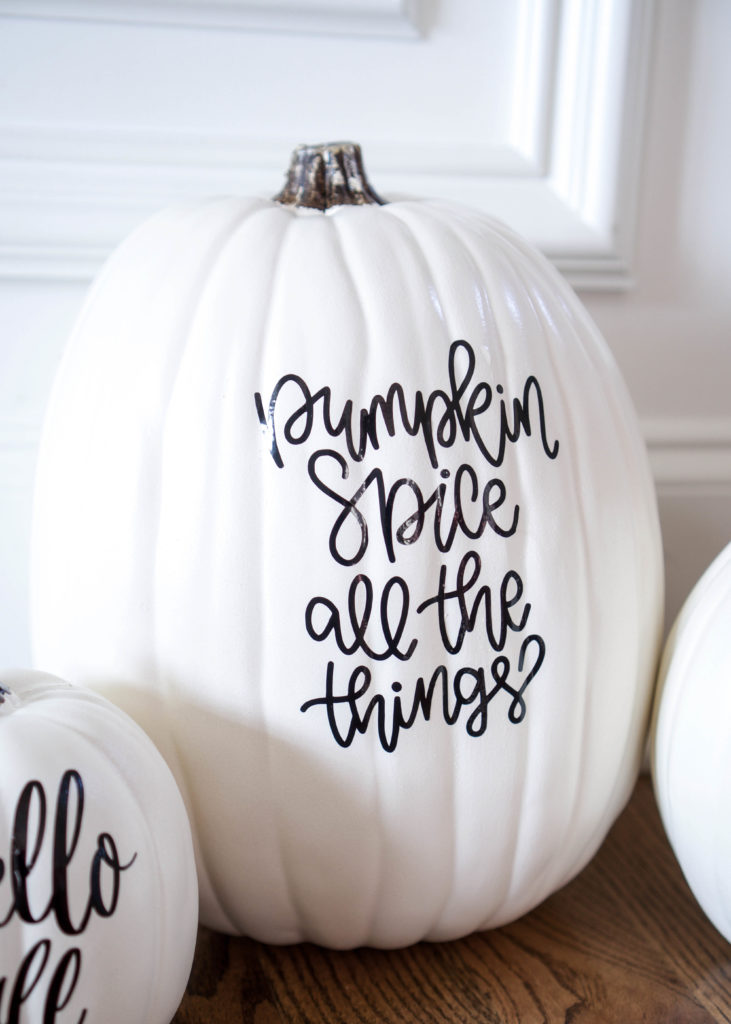
Supplies needed:
- Black Vinyl
- Transfer Tape
- Cutting Mat
- Weeding Tool
- Scraper
- Cricut Maker
- Faux Pumpkin
Step One: Cut Design
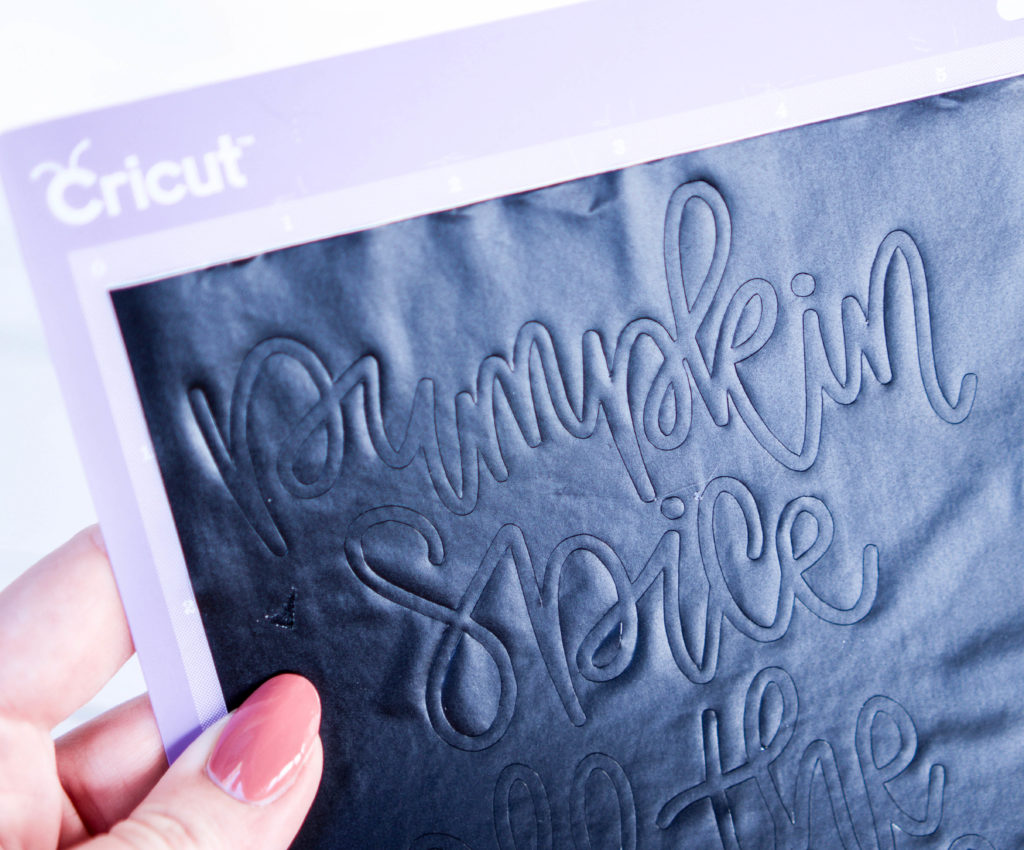
Place the black vinyl on the cutting mat with the black side facing up, load the mat into your machine of choice and begin the cutting process.
Step Two: Weed Design
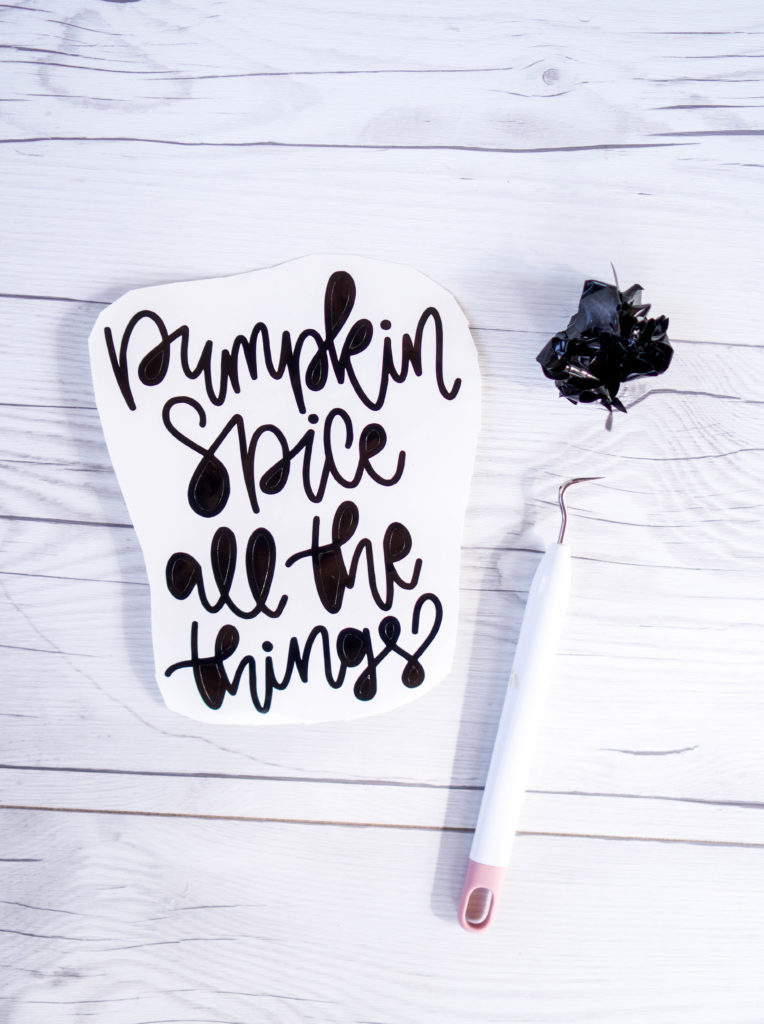
Roughly cut around the design then remove the excess vinyl from around the words.
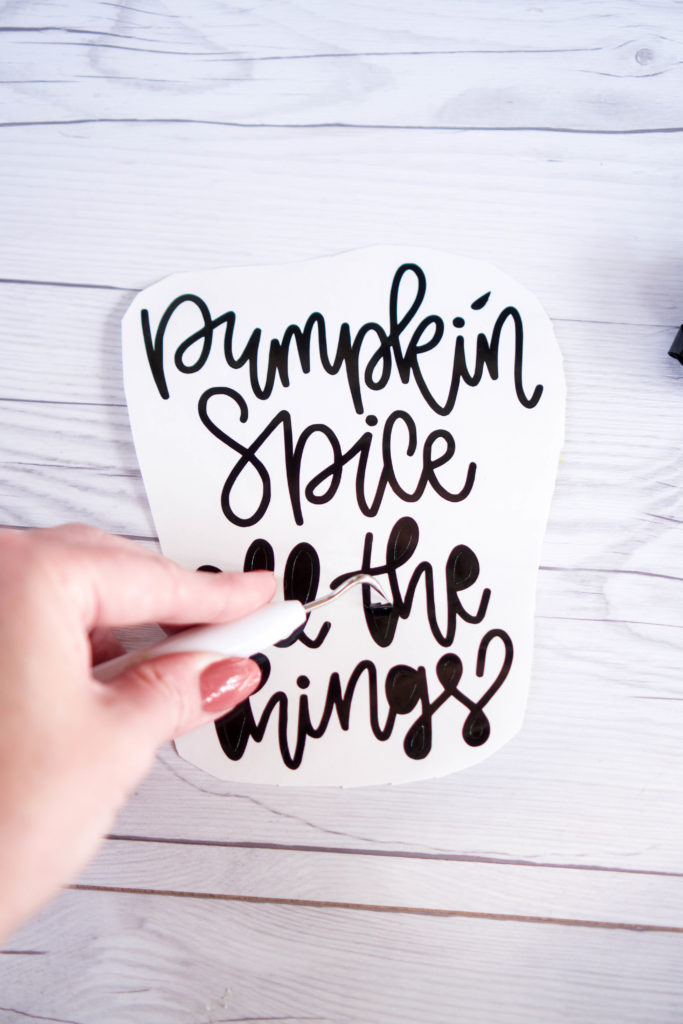
Use a hook tool or something pointy to remove the centers of the letters.
Step Three: Apply Transfer Tape
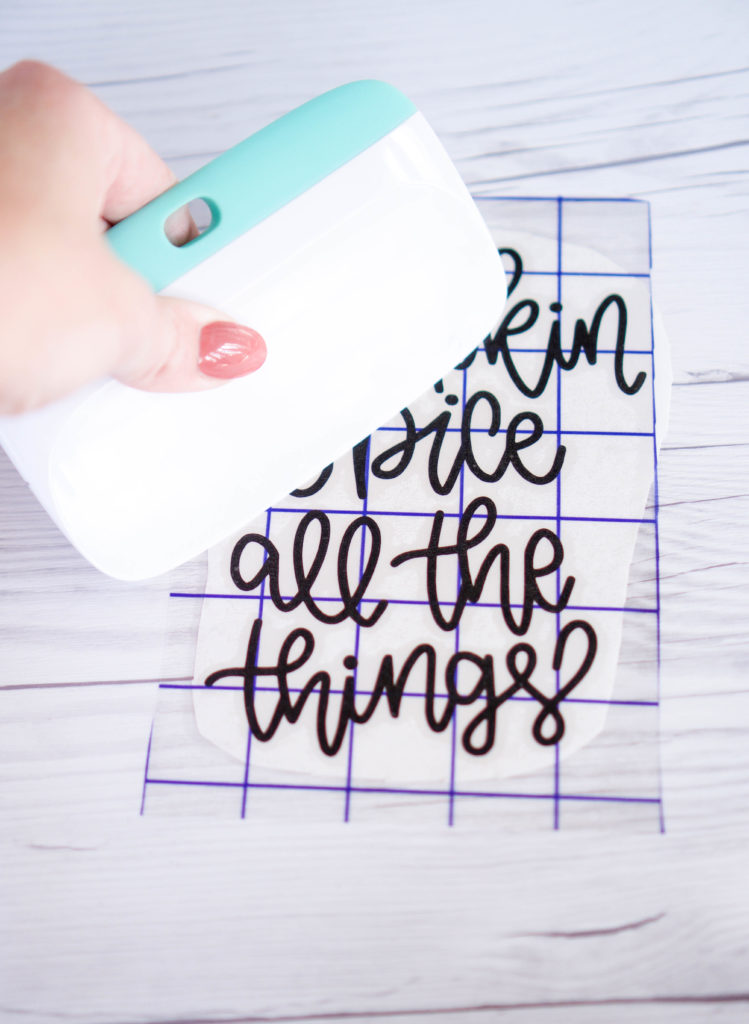
Cut a piece of gridded transfer tape to the same size as the design and use a scraper tool or something similar to press down well over the design, ensuring that everything sticks to the transfer tape.
Step Four: Transfer Design
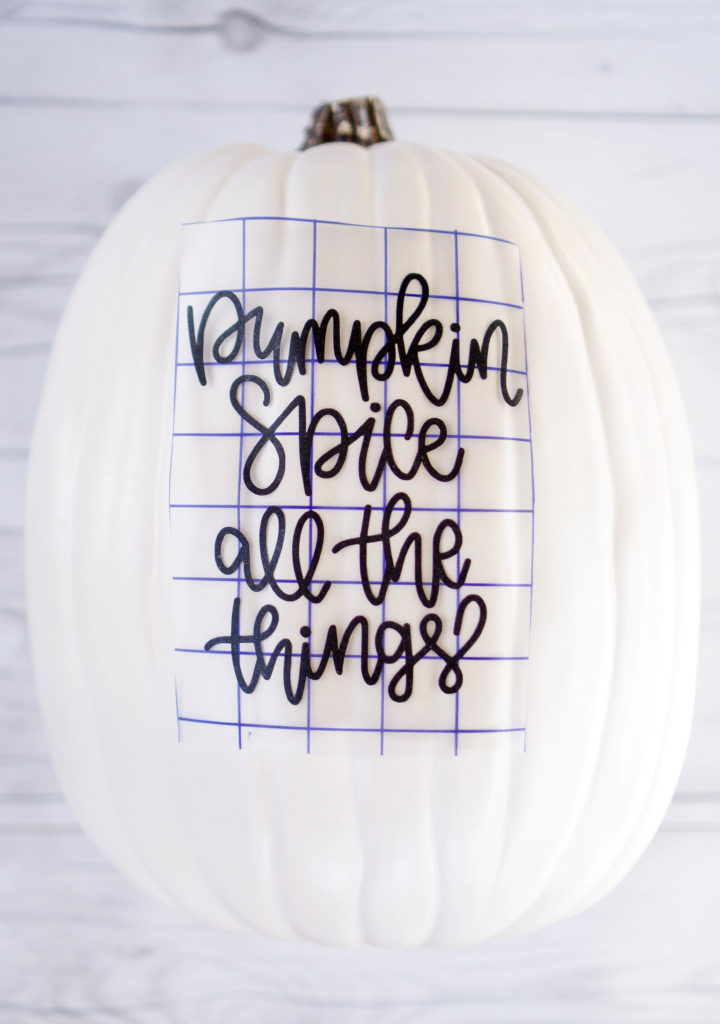
Peel the transfer tape and design away from the paper backing and center it on the pumpkin. When you’re applying vinyl to curved surfaces it’s best to work from the center outward. Burnish over the design with decent pressure to make sure it all sticks to the surface of the pumpkin.
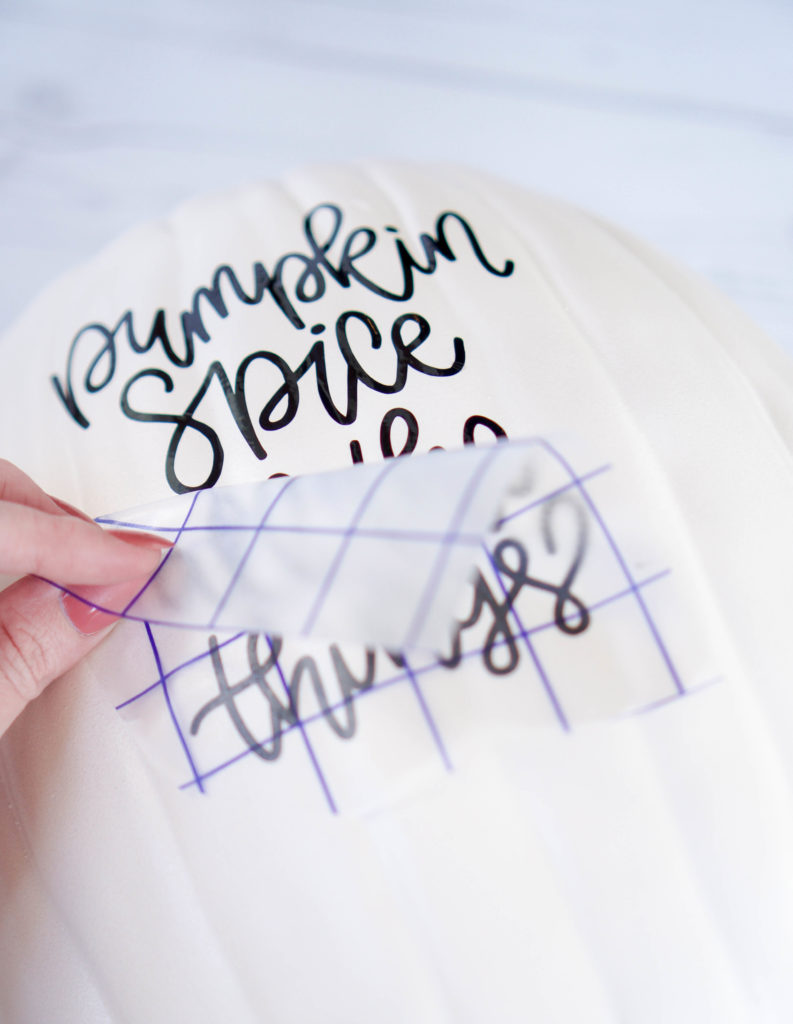
Carefully remove the transfer tape, leaving behind just the vinyl decal.
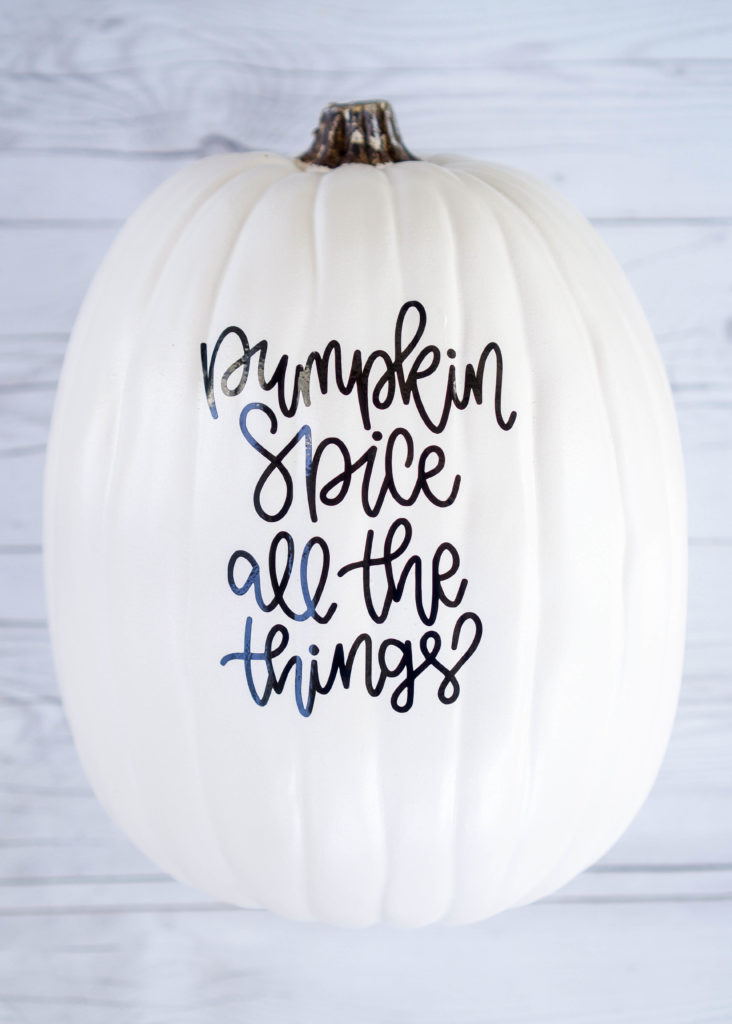
It’s that easy! Repeat the process to create as many pumpkins as you’d like!
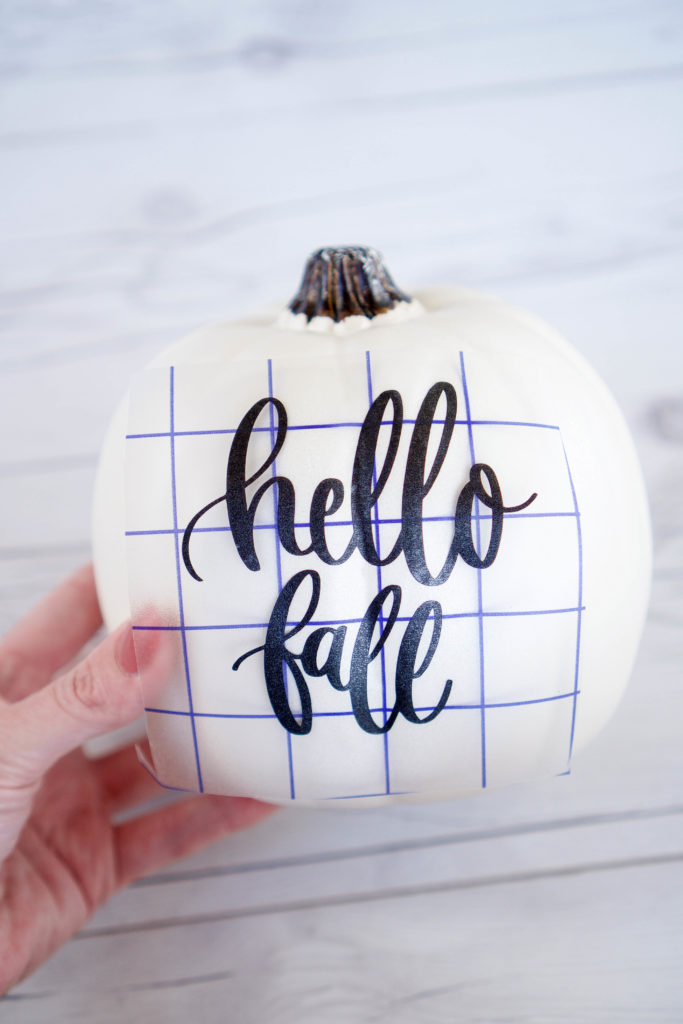
Have fun customizing your own pumpkins and happy fall y’all!


Carmella Littlejohn
Can you tell me the style of letters you’re using for your designs? I’m interested in trying a few but don’t have a clue which lettering would look right.
Kayla
Hey there! Check out the website LoveSVG.com , they have some great designs you can play around with.
Amanda
Can you tell me what fonts you are using please?
Kayla
Hi there, they aren’t fonts. They’re both SVG downloads from LOVESVG.com 🙂
Danette Marie
Could you please do an SVG with GOGO FUEL .