T-Shirt Trends We Love

Hey, Cricut friends! Kayla from Kayla Makes here to chat about t-shirt trends that are hot right now. Graphic tees are everywhere and lucky for us, they are super easy to DIY. Here are a few fun trends to try your hand at the next time you’re looking for an iron-on project.
Minimalist Linework
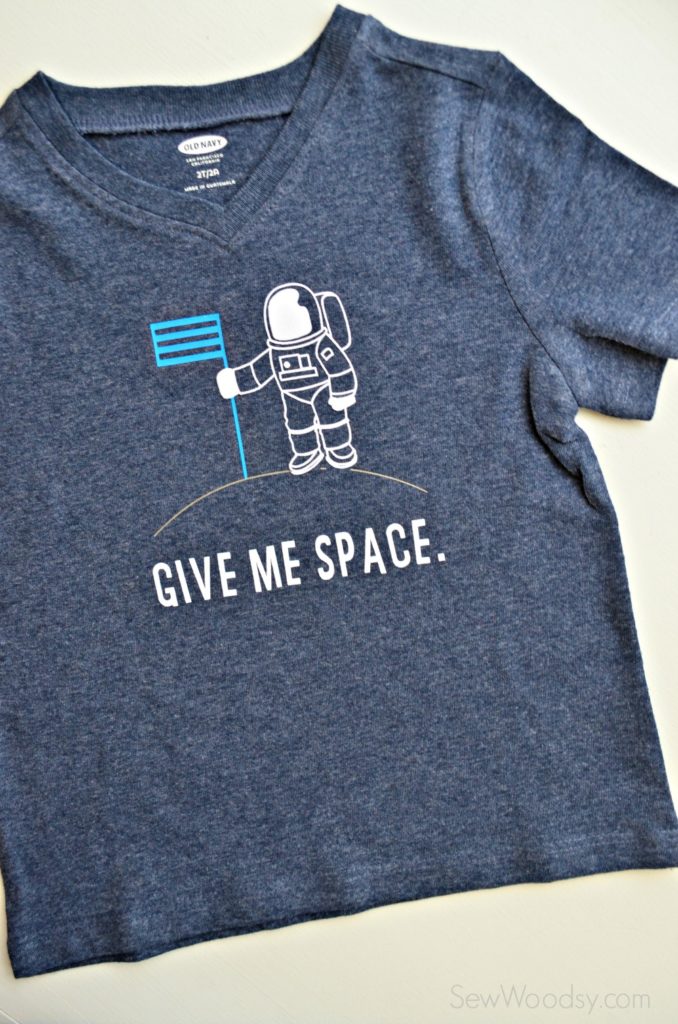
To achieve this look, pair a simple sans serif font with a minimalistic image, just like Katie from Sew Woodsy did with this space tee. When it comes to this trend, the simpler the image, the better. Save the detailed images for another day.
Minimalist Phrases
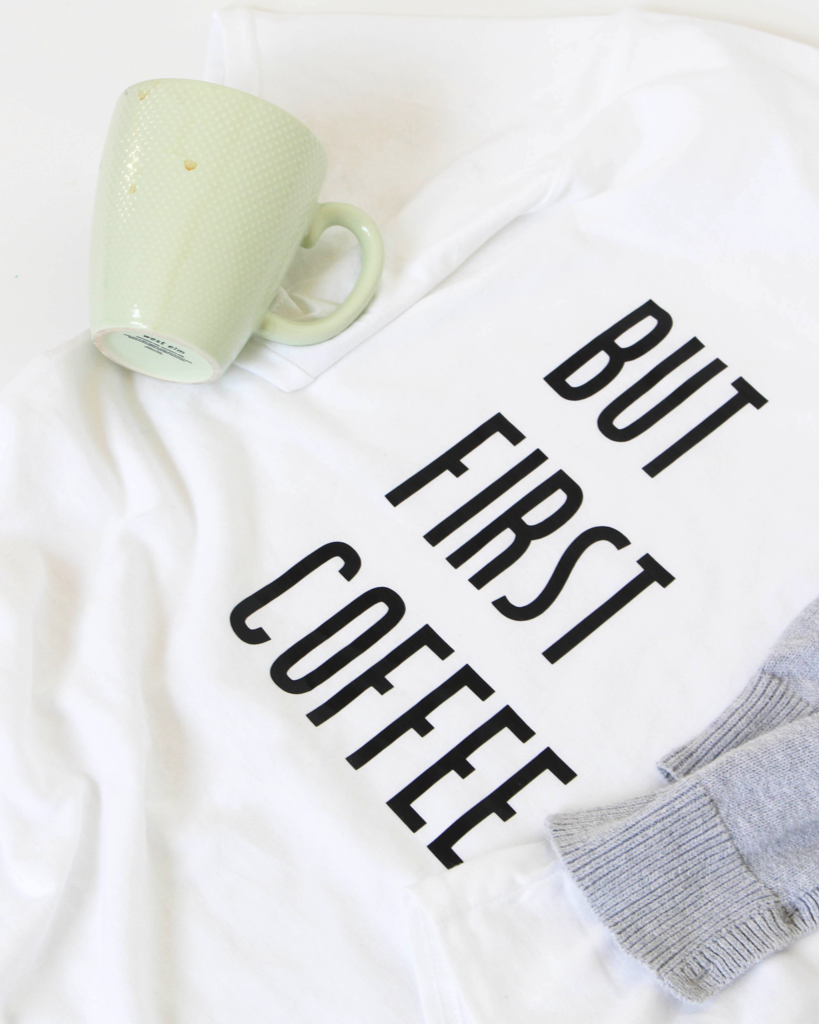
Another fun look is a design that is solely typography. It’s as simple as typing out a word or phrase and choosing a great font. Kelly from Cloudy Day Gray did just that and look how cute her coffee tee turned out.
Boxed Typography
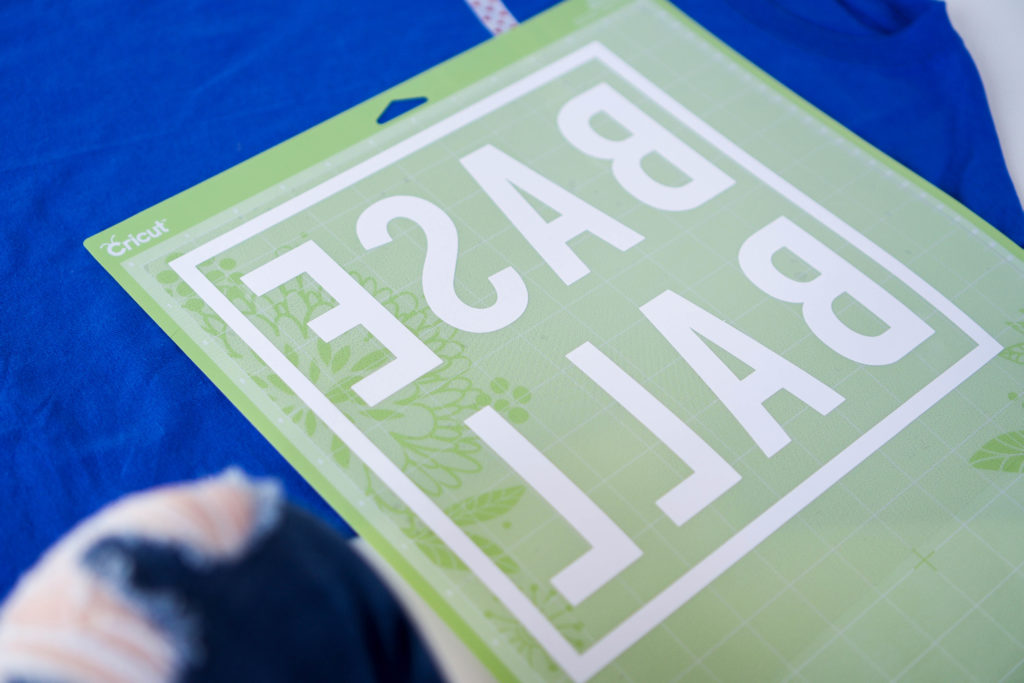
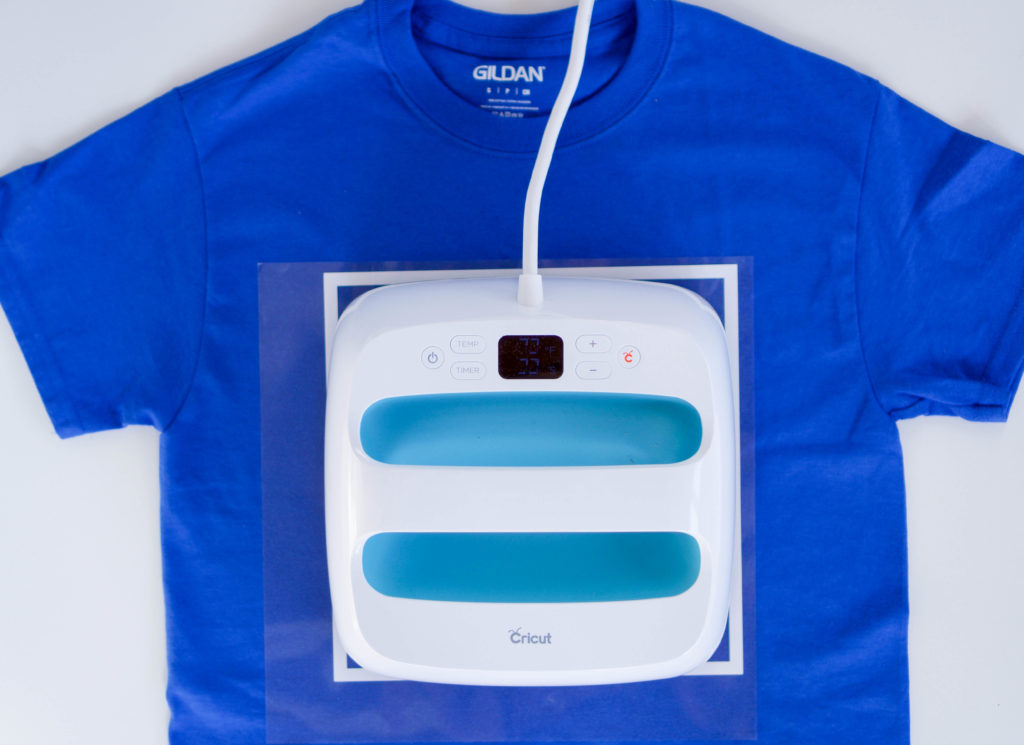
This is my favorite graphic t-shirt trend right now and I just know you guys will love it too! I put together an easy tutorial on creating a typography box in Design Space. Keep reading to see how easy it was.

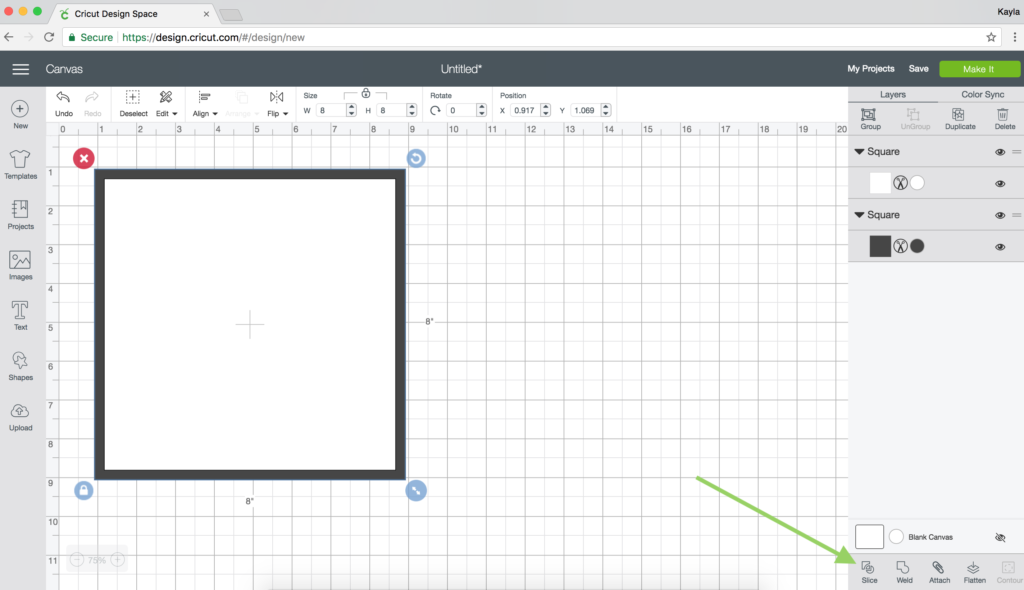
(1) Start by using the shape tool to open up two squares, color one black and one white (or the colors of your choosing). Size the bottom square to 8 inches and the top square to 7.5 inches. Of course, you can adjust the size later, I just use 8 inches as my starting point. Use the align tool to center the two squares then click slice in the bottom right corner.
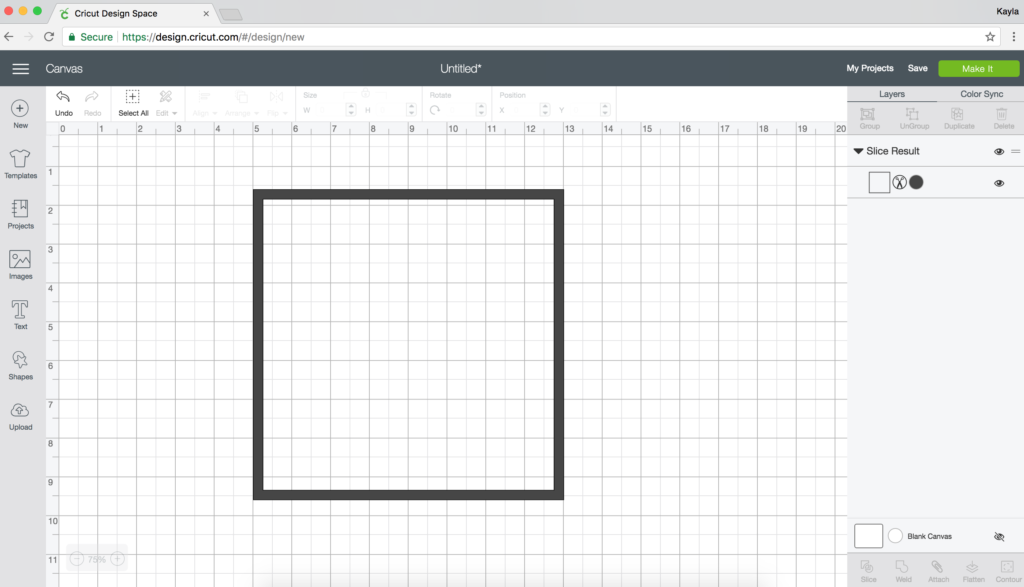
(2) After slicing, your image will look a bit strange. Just click and delete the top two layers and you’ll see the slice result. It should look like the image below.
(3) Use the text tool to add your word or phrase inside the box. The font I used here is called Bebas. Once I’m happy with the size of my letters, I ungroup the text and use the align tool to line up the top letters with the bottom letters. For example, I select the two B’s then use the align tool to center them vertically. Same with the two A’s the S/L and then the E/L. It looks more finished to me when the letters all line up.
(4) Group the text once again then center it inside the box. Select everything and click weld in the bottom right. You can read more about the weld tool here.
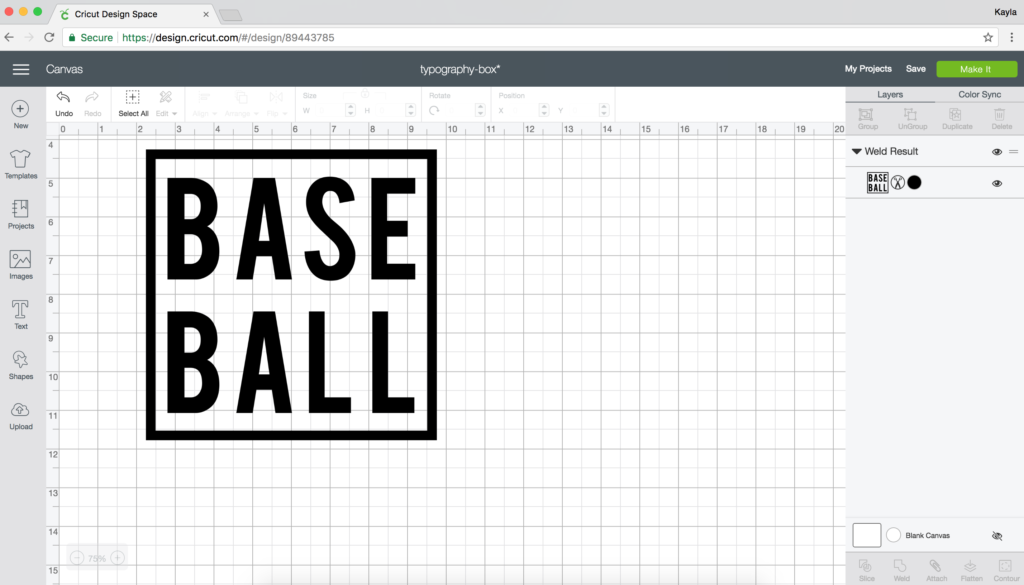
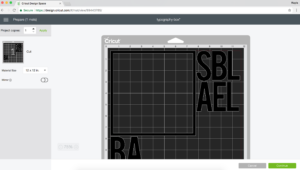
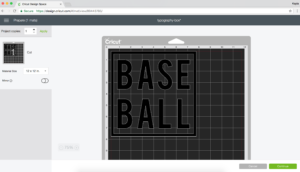
Below, you can see the difference in the cut when you do not weld vs. when you do.

Share this post on Facebook or Pinterest so you can come back to it for reference later!
Let’s stay connected!


