Print then Cut with Cricut
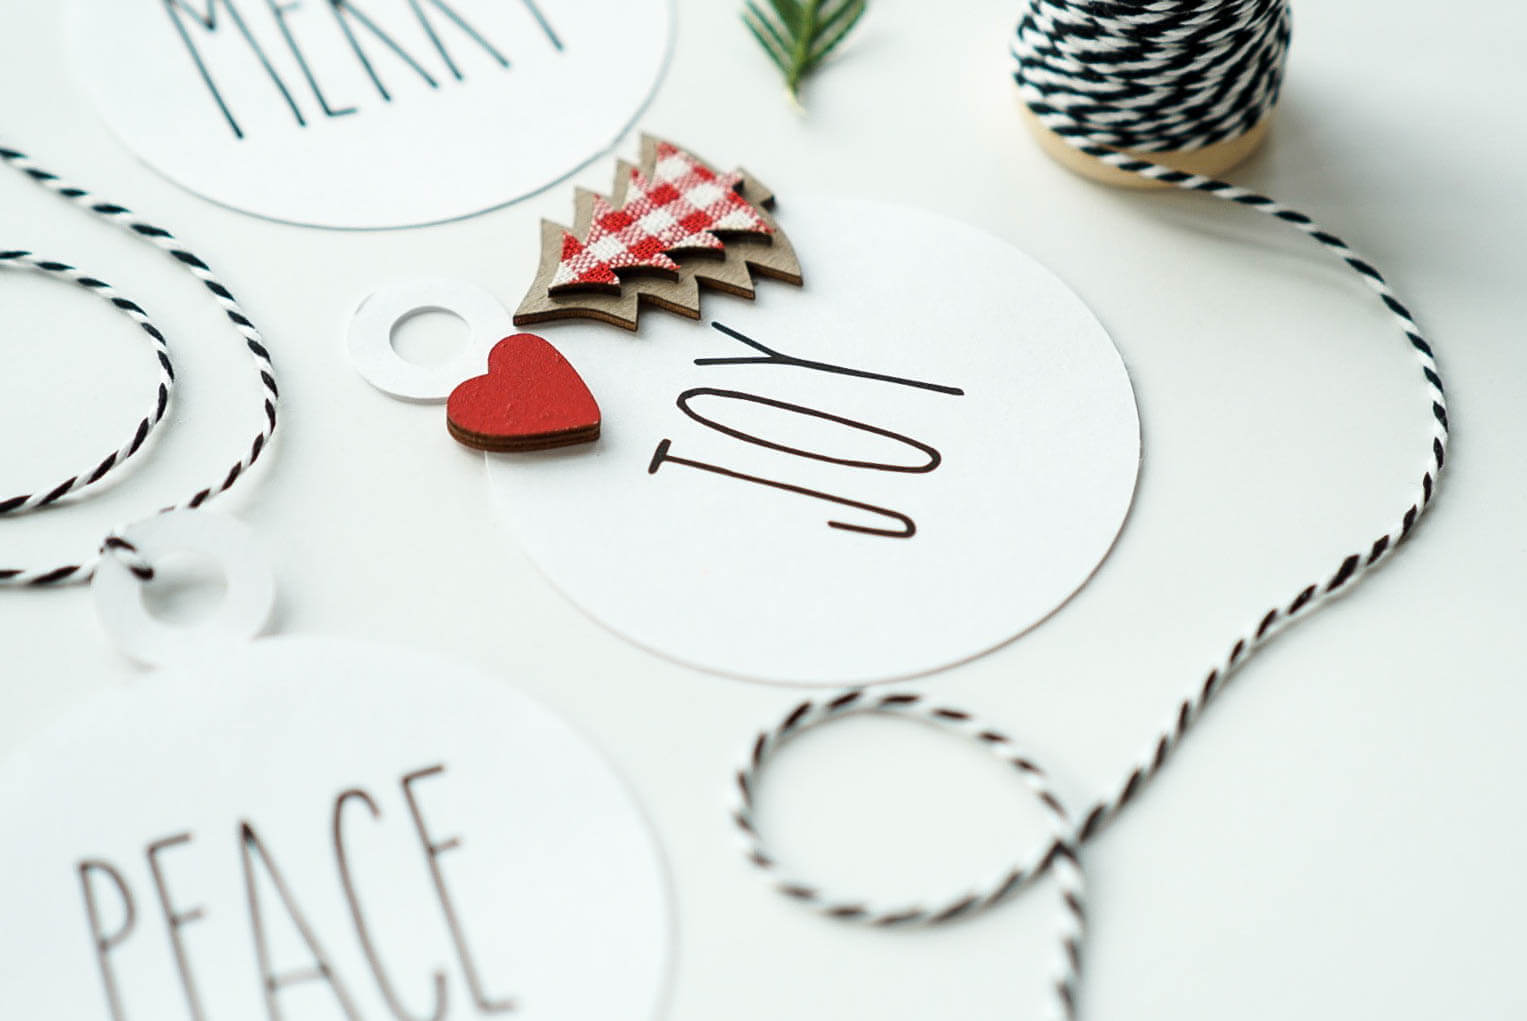
Hey crafters! As promised, today I’m showing you how to utilize Cricut’s print then cut feature.
Farmhouse Style Gift Tags

Yesterday I added this fun SVG download to the blog. If you missed it, you can find the download here. Once you’ve downloaded the design, go to step one below!
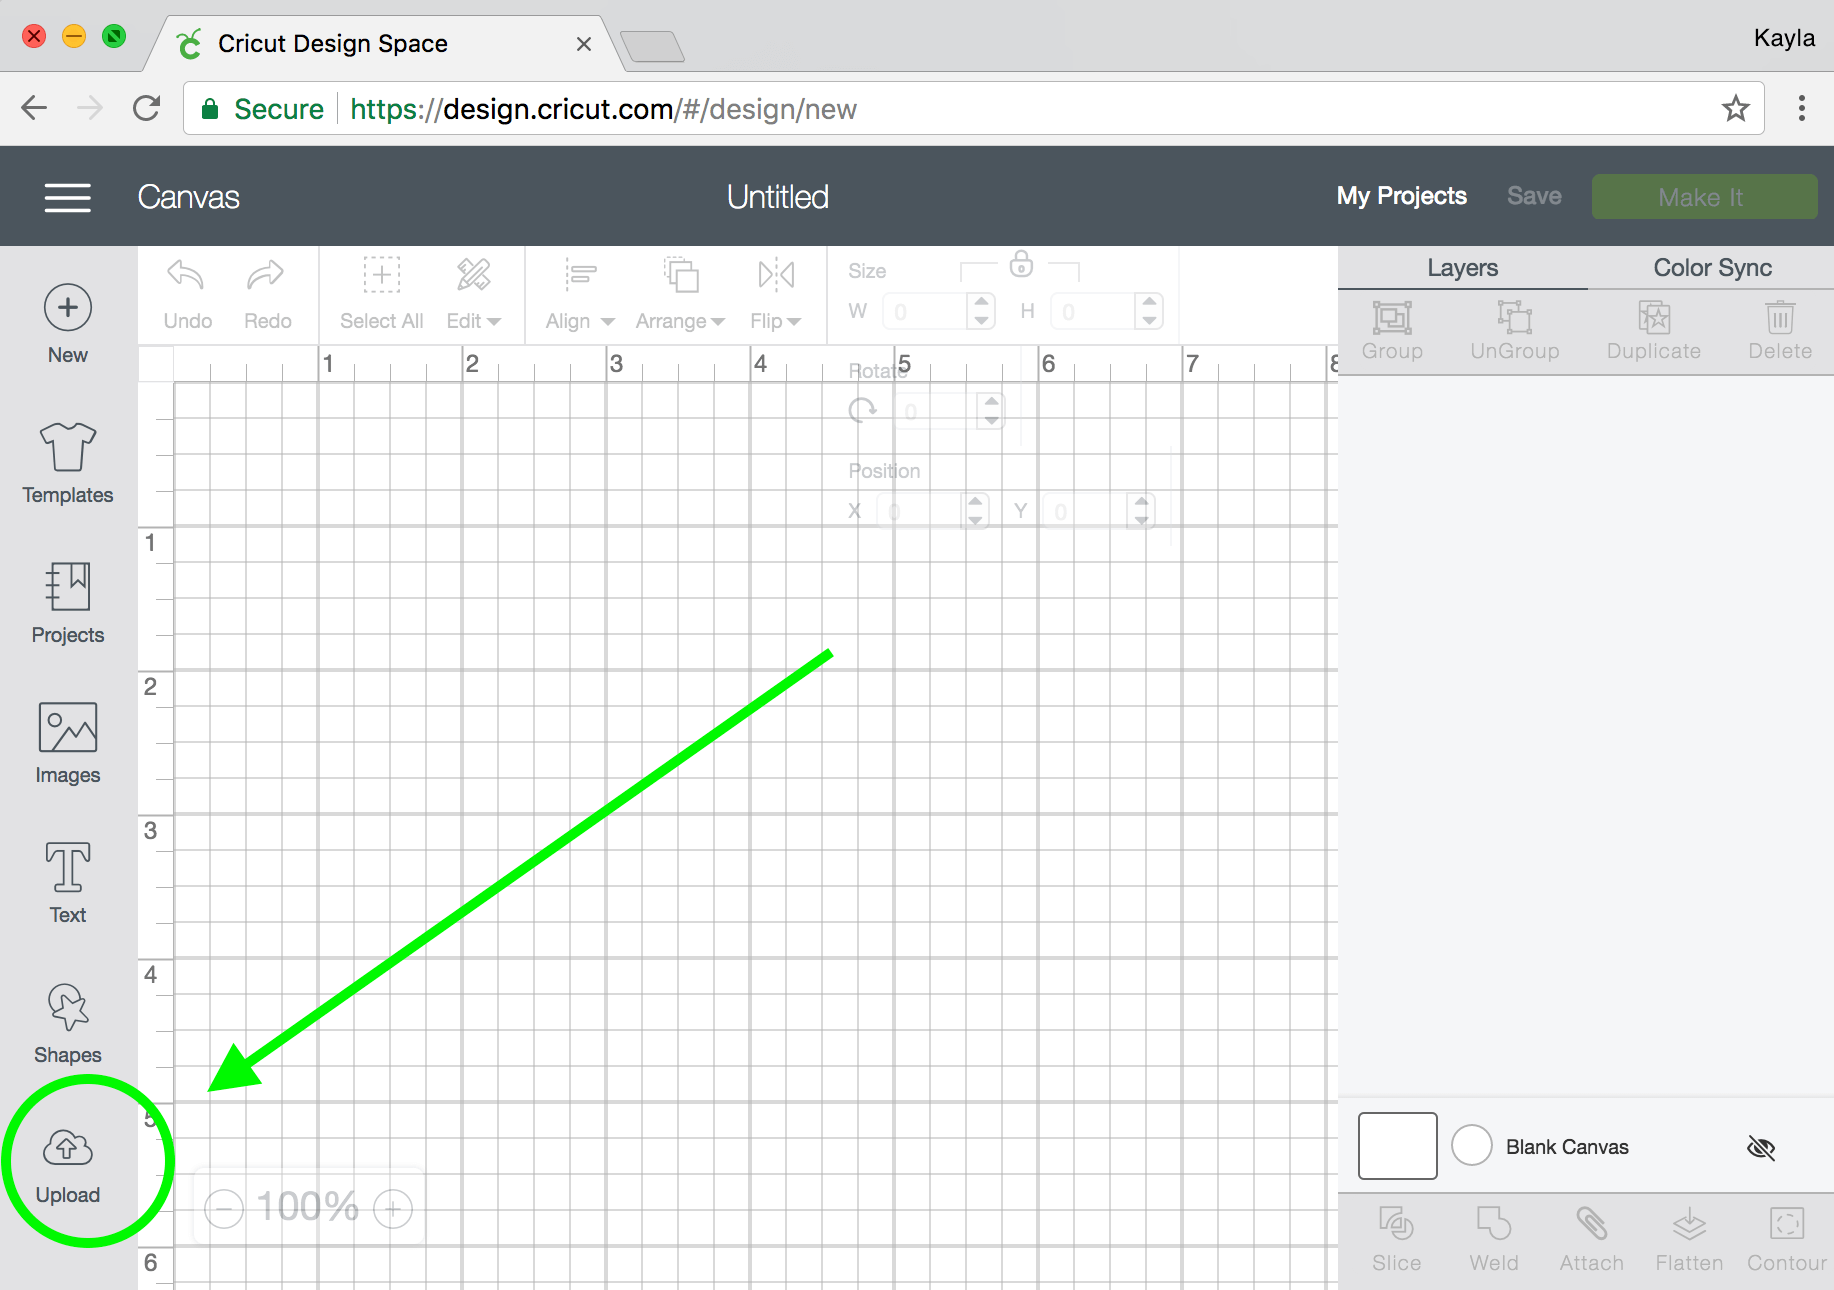
Step One: Upload
Now that you’ve downloaded the design you can go into Design Space and upload it. Just click the upload button and on the next screen it will prompt you to choose a file. Select the gift-tags.svg file and save it to the software.
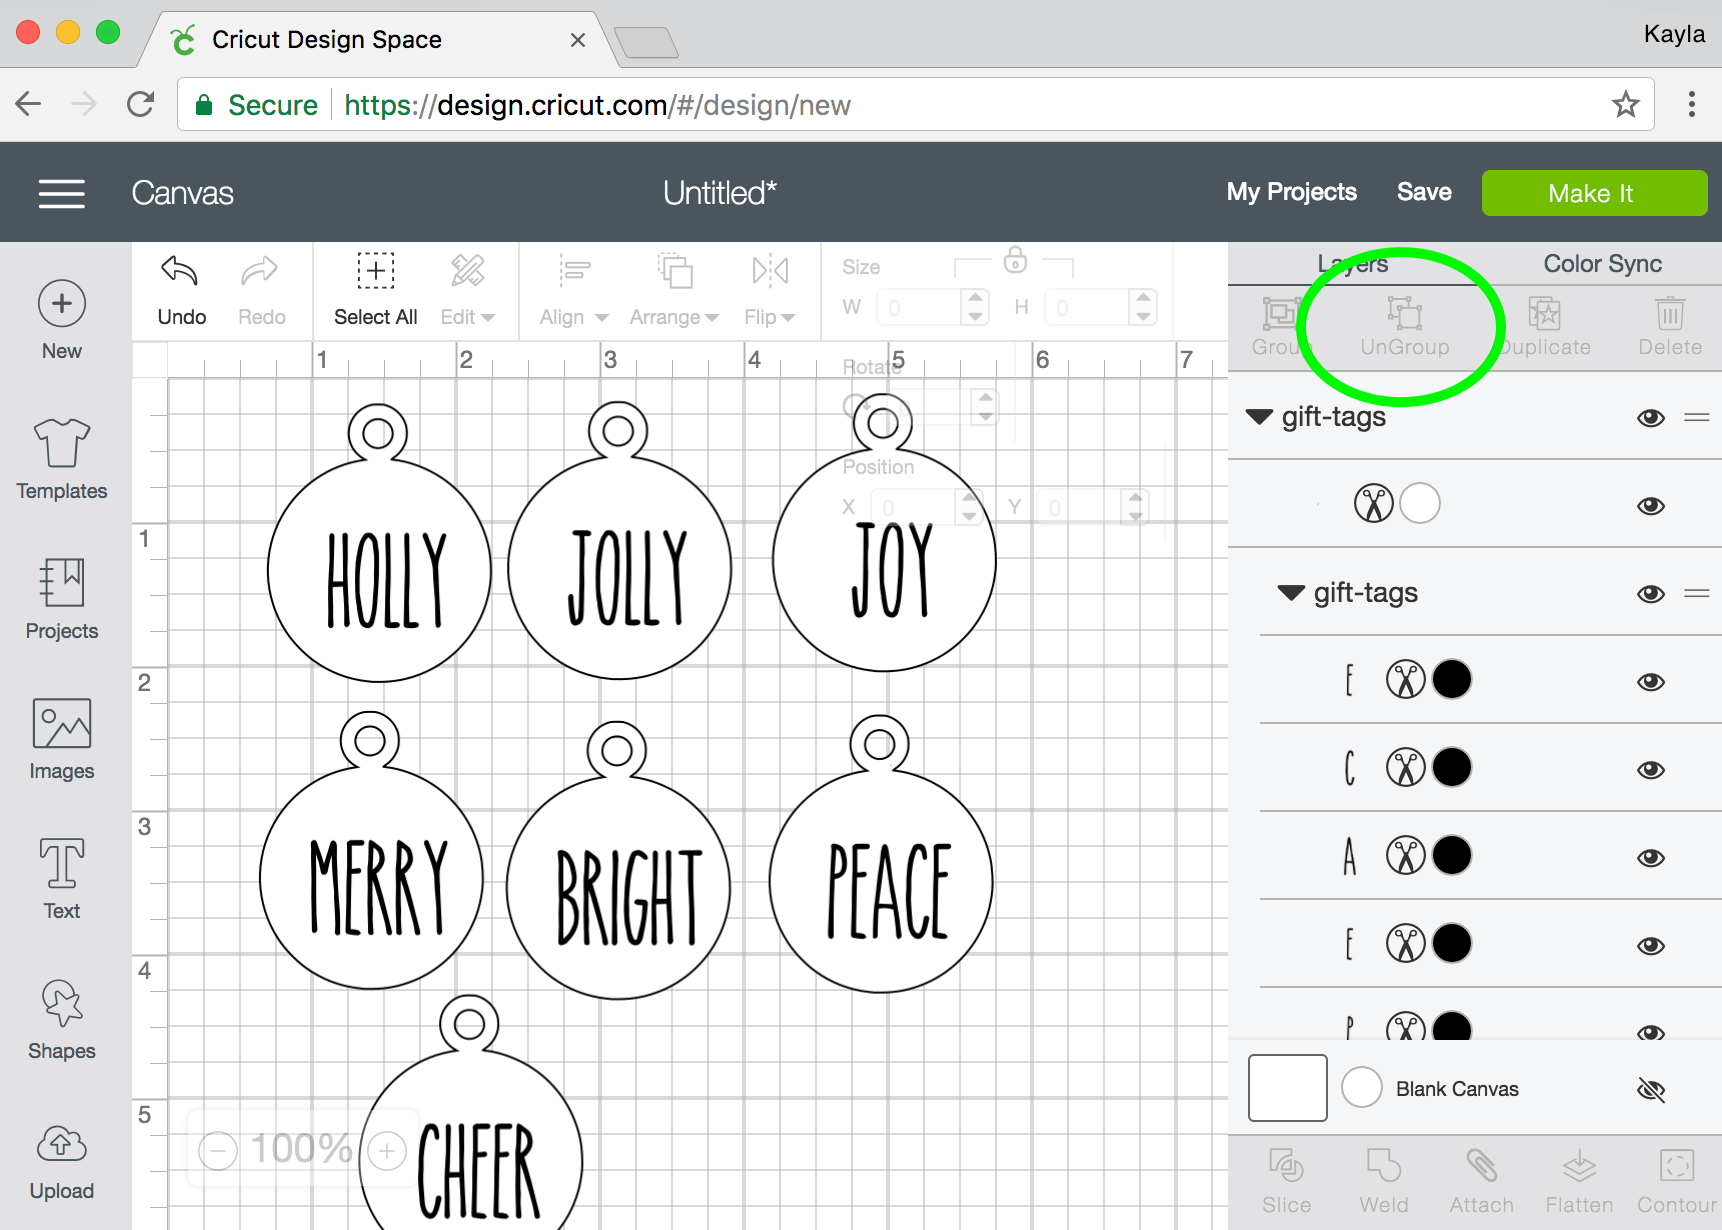
Step Two: Ungroup and Center Designs
When you open the design up in the software, everything will be grouped. Select the design then click on ungroup in the top righthand corner.
Everything will now be separated and you can easily center the words on the tags.
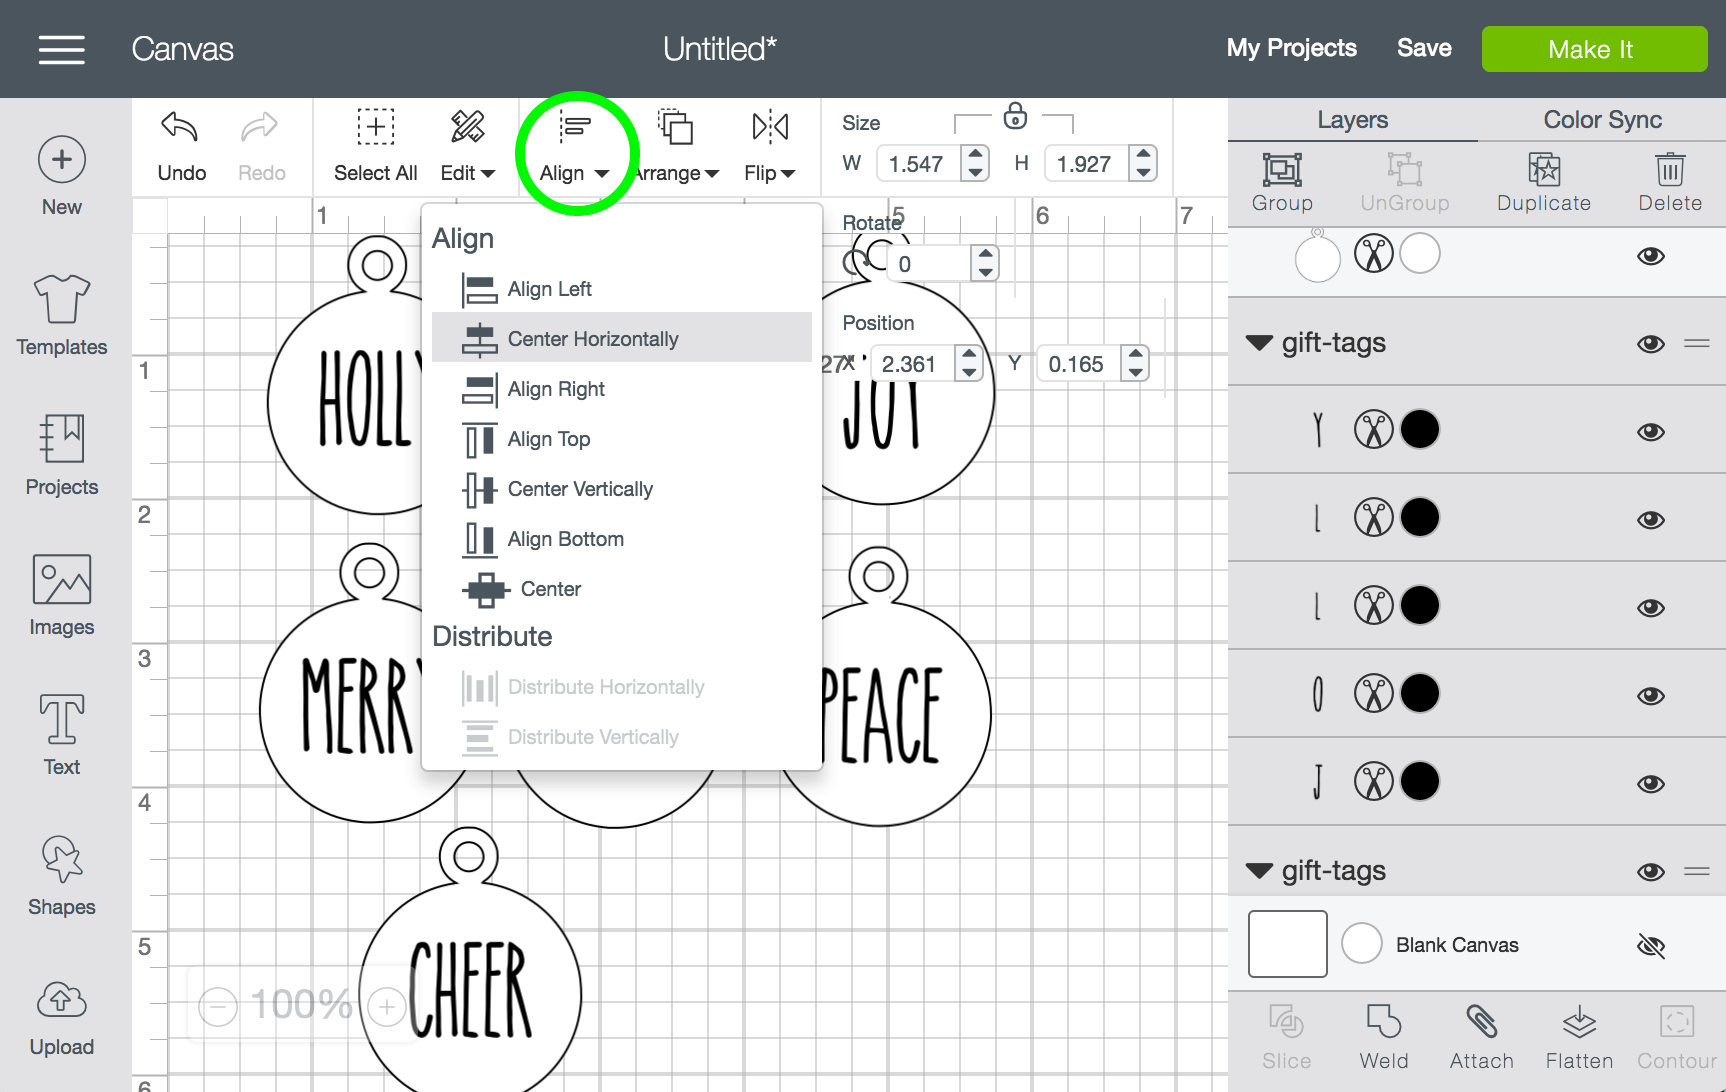
To center the text just select both the tag shape and the word then click on the align tool and click center horizontally. Don’t center the words vertically because it will place them at the top of the tag and it looks wonky. Just use the arrow keys on your keyboard to move them up or down.
Step Three: Flatten for print
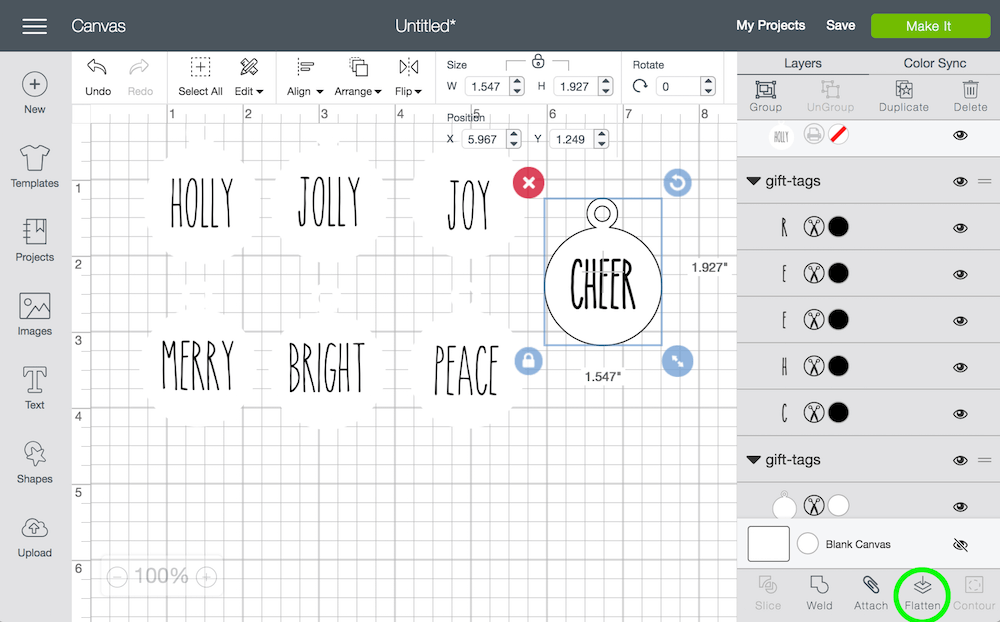
Now you need to flatten the images for printing. Select the tag and the word and click flatten in the bottom right. This prepares the image for printing. You can see that the black outlines disappear and the image becomes one piece. At this point you can scale your tags to whatever size you want. Mine are 4 inches in height.
Step Four: Print
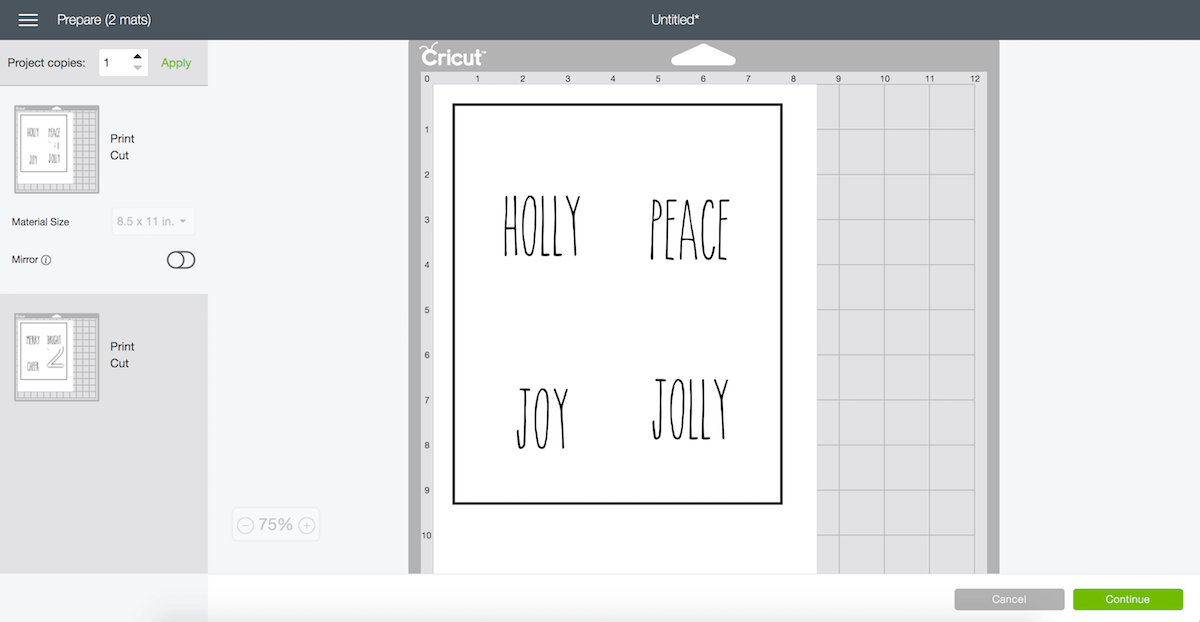
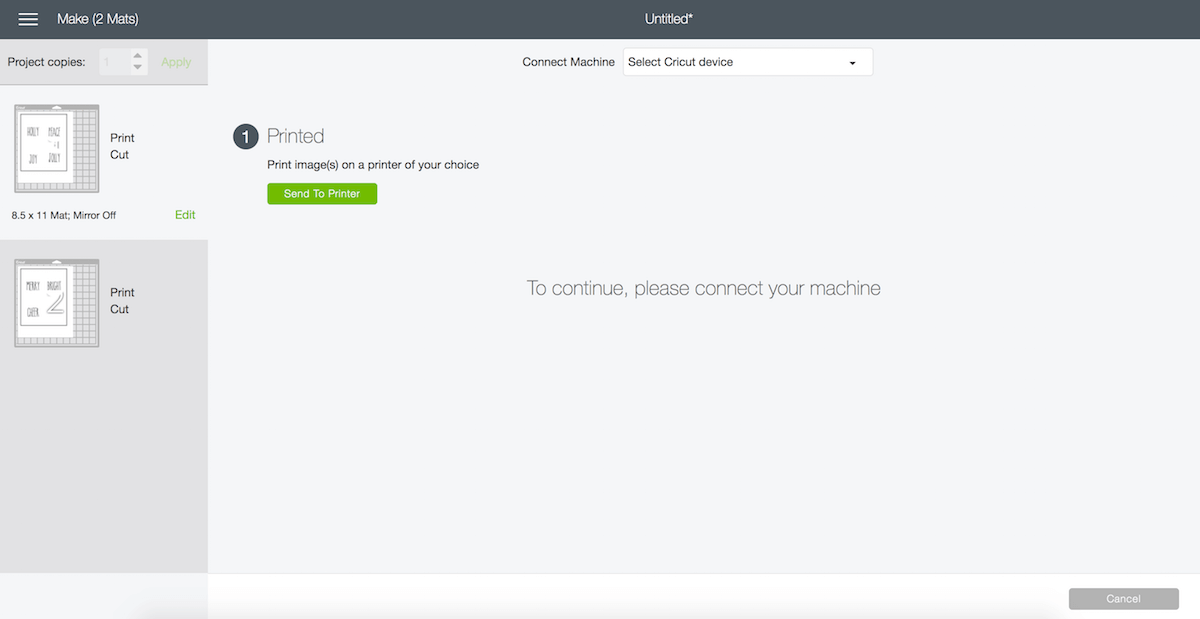
After you click Make It you’ll see the two screens above. Check the material size, make sure mirror is turned off then click print. On the next screen you can select the printer and click send to printer.
Step Five: Load and Cut
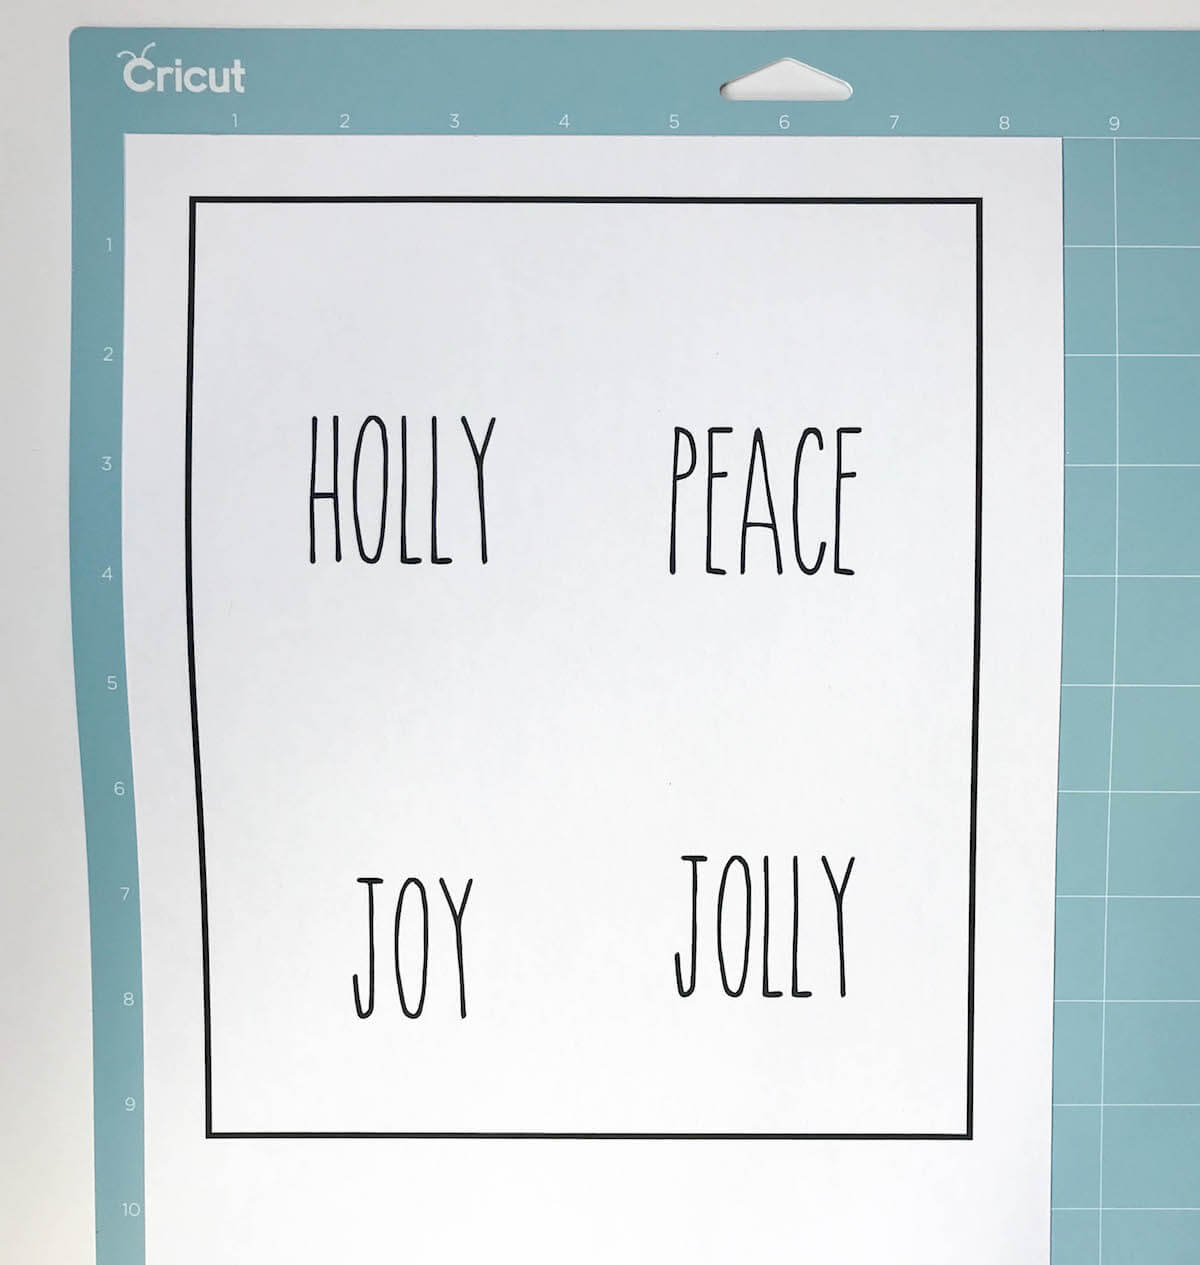
This is what your page will look like when printed. The box around the edge is the registration mark that the machine will read to determine where to cut. It is so precise that it will blow your mind!
Load the printed card stock onto the mat (I use the blue light grip mat) and load it into the machine.
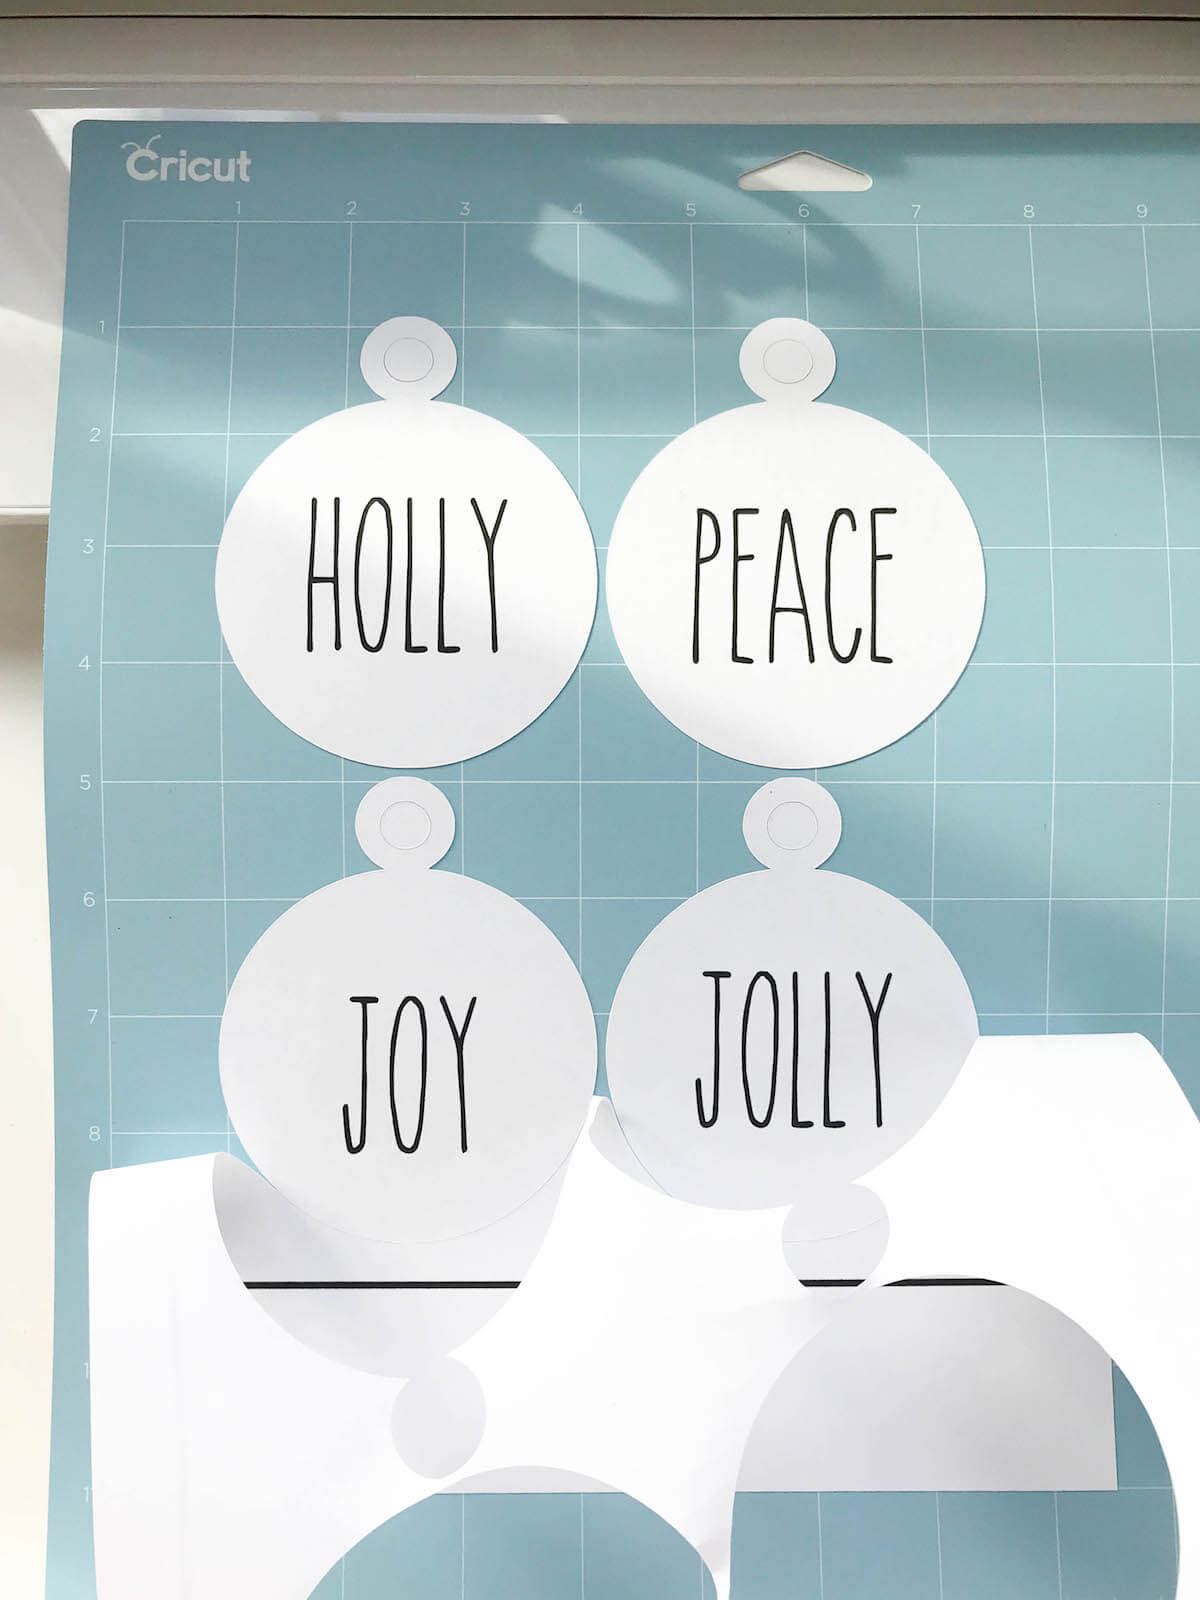
Press the flashing GO button and watch the machine work it’s magic. Just look at those clean edges!
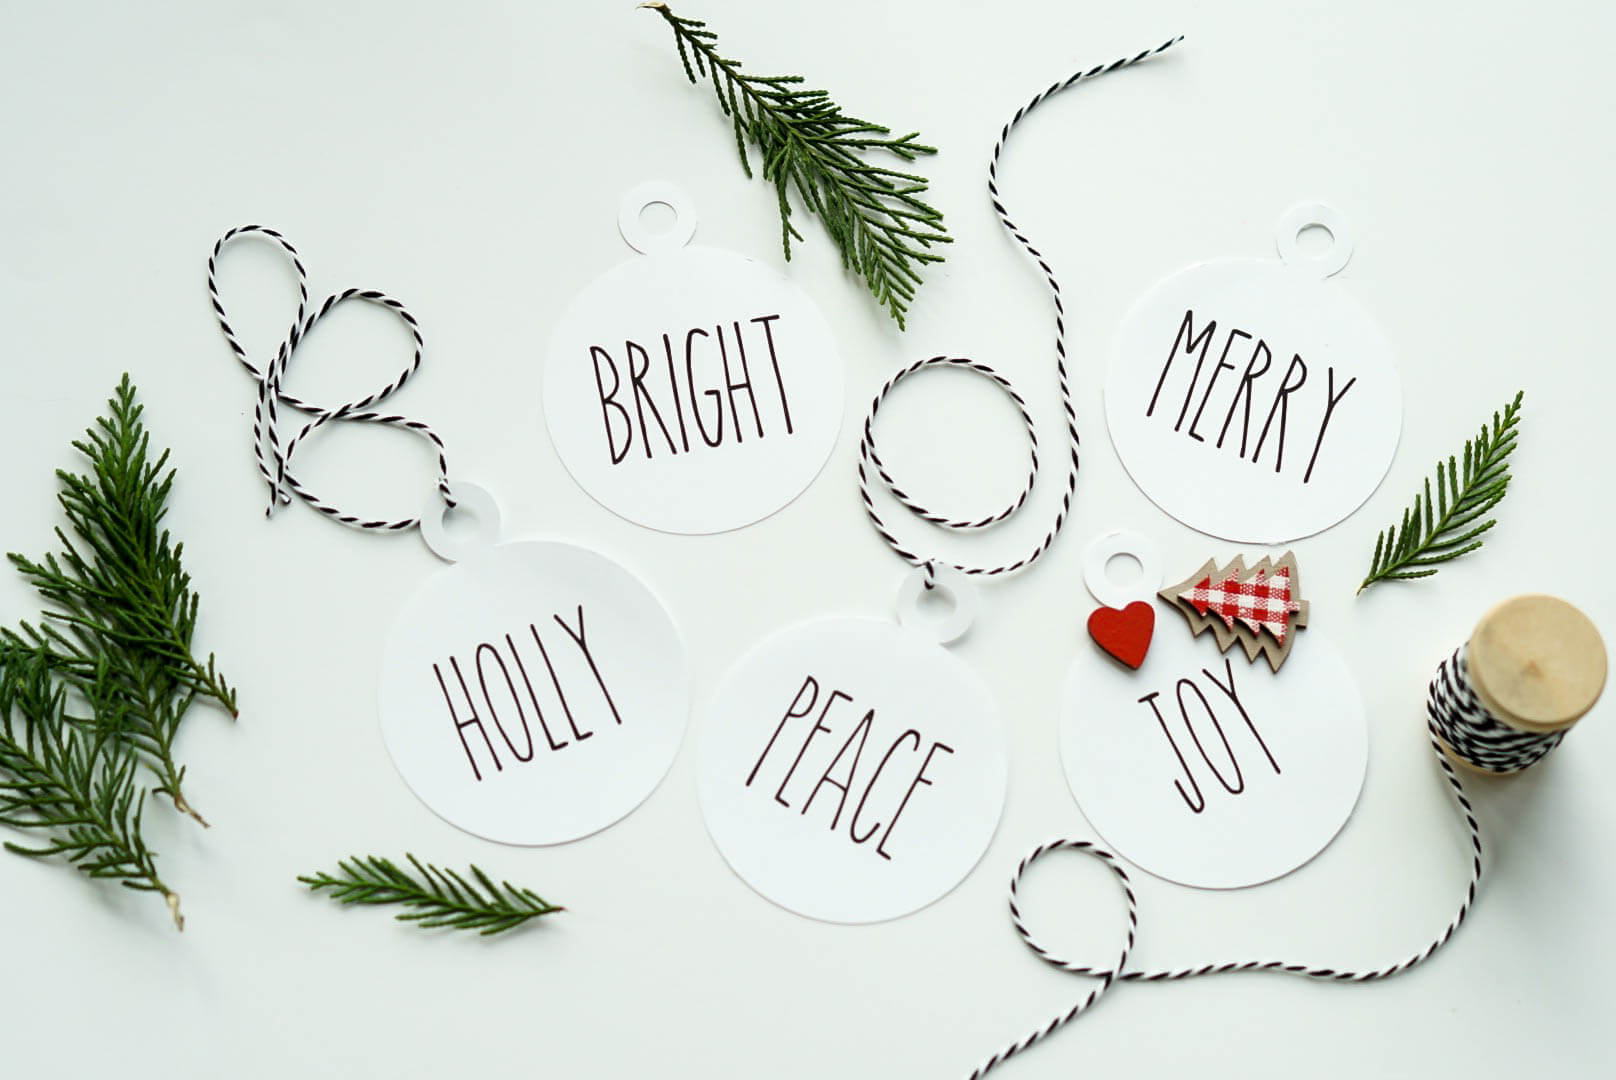
Tie a piece of twine to the tag and voila! Cutest gift tags on the block.
As always, if you have any questions feel free to leave me a comment or send me a message! Happy crafting.





Carrie
THANK YOU! this is beautiful and I love them!! And your tutorial also helped me figure out something else that I was having issues with (how to keep it from printing and then cutting the actual text) – you’re the best!
Kayla
Oh yay!! So happy that it was helpful! Thanks so much for visiting!
Michele
Help! I can’t get the black border to disappear when I print and cut. I tried to flatten it and the little box with the red line doesn’t appear. When it prints then cuts you can see the black border. Any thoughts?
Vanessa
Wow! this was so simple and the instructions are spot on – thank you!!!
Katie G
This is adorable! What is the font called? It is perfect!
Kayla
Thanks! It’s called “the skinny”. 🙂