DIY floral tote bag


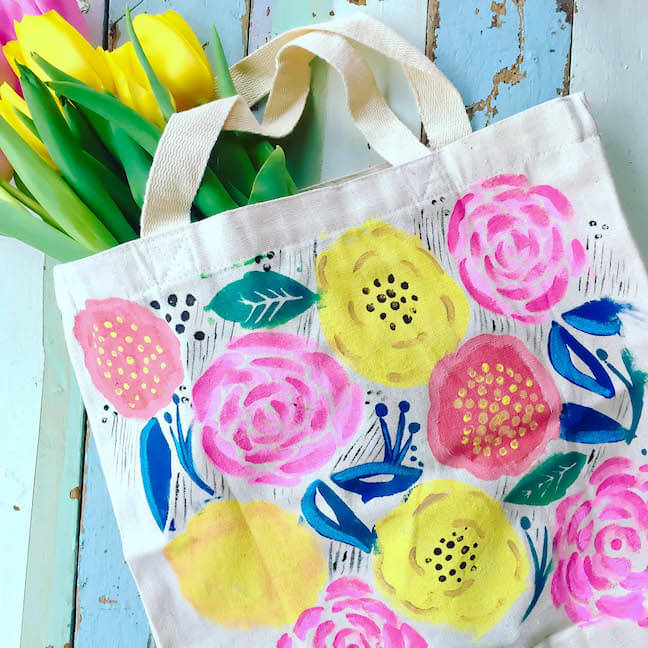
I had so much fun crafting up this pretty floral tote bag! It isn’t totally finished yet, but I wanted to share a quick tutorial so you guys can DIY your own!
Here’s what you’ll need:
- CAMEO
- fabric ink
- stencil vinyl or regular vinyl
- transfer tape
- tote bag
- hook tool
- scraper
- iron
- sponge or paint brushes

This is what my design looked like when I set it up in Silhouette Studio, I never worry about the overhang because the machine won’t recognize anything past the mat. Once I had everything where I wanted it, I adjusted my cut settings. You can see in the photo below that I used both the cut edge (dark red) and regular cut (lighter red) settings. Just play around until you have everything cutting the way you want.

Now, you can set your blade to a 1 and send the design to the machine for cutting. You’ll choose vinyl in the cut settings window.

Once your machine is finished cutting, leave the stencil vinyl attached to the mat while you weed out the pieces. When you’re done, you should have a stencil that looks something like this:

Now use your scraper tool to apply the transfer tape to your design. It’s easiest if you start at one end and slowly peel away the backing while smoothing it out at the same time.


Now you can peel the design off of your mat and apply it to your bag. Use the scraper tool again to really smooth it out. You want to be able to peel away the transfer tape leaving behind just the stencil.
Now comes the fun part! Use a sponge brush or paint brush to dab your inks onto your stencil.

Allow your ink to dry completely before removing the stencil. I added some hand painted details just to fill in the negative space.

Finally, iron over your design on a low setting to set the inks! Now it”s washable, wearable and perfect for those trips to the farmers market!

Happy crafting!!


