Halloween Through The Years- Memory Journaling
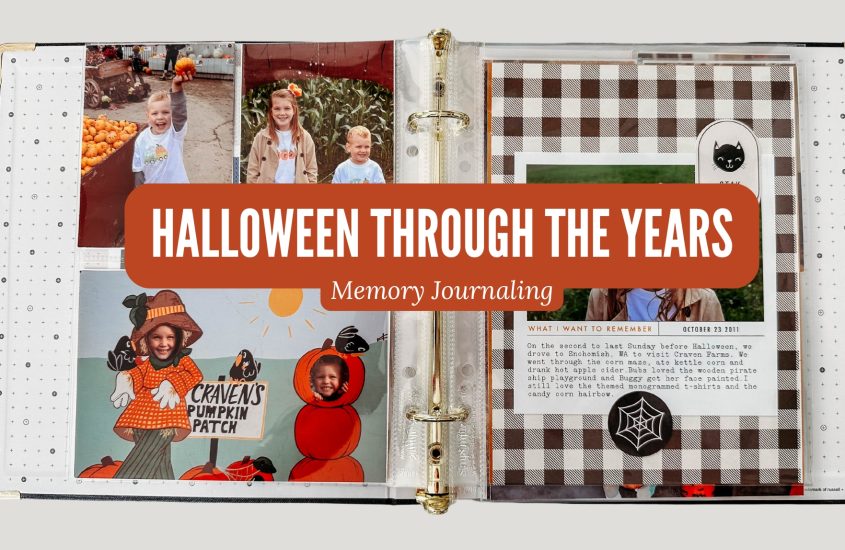
Last October, I began working on an album celebrating Halloween through the years. With my kids now past the trick-or-treating stage, it’s bittersweet to realize that chapter of our lives has come to an end. No more adorable costumes, no more strolling the neighborhood on crisp October nights, hearing the excited giggles of little ones, or sneaking leftover candy. To preserve those special memories for both my kids and myself, I started combing through old photos, jotting down dates, locations, and all the little stories from Halloweens past. Today, I’m excited to share my process and some of my layouts, hoping to inspire you to sit down and capture your own moments too.
Halloween Through The Years
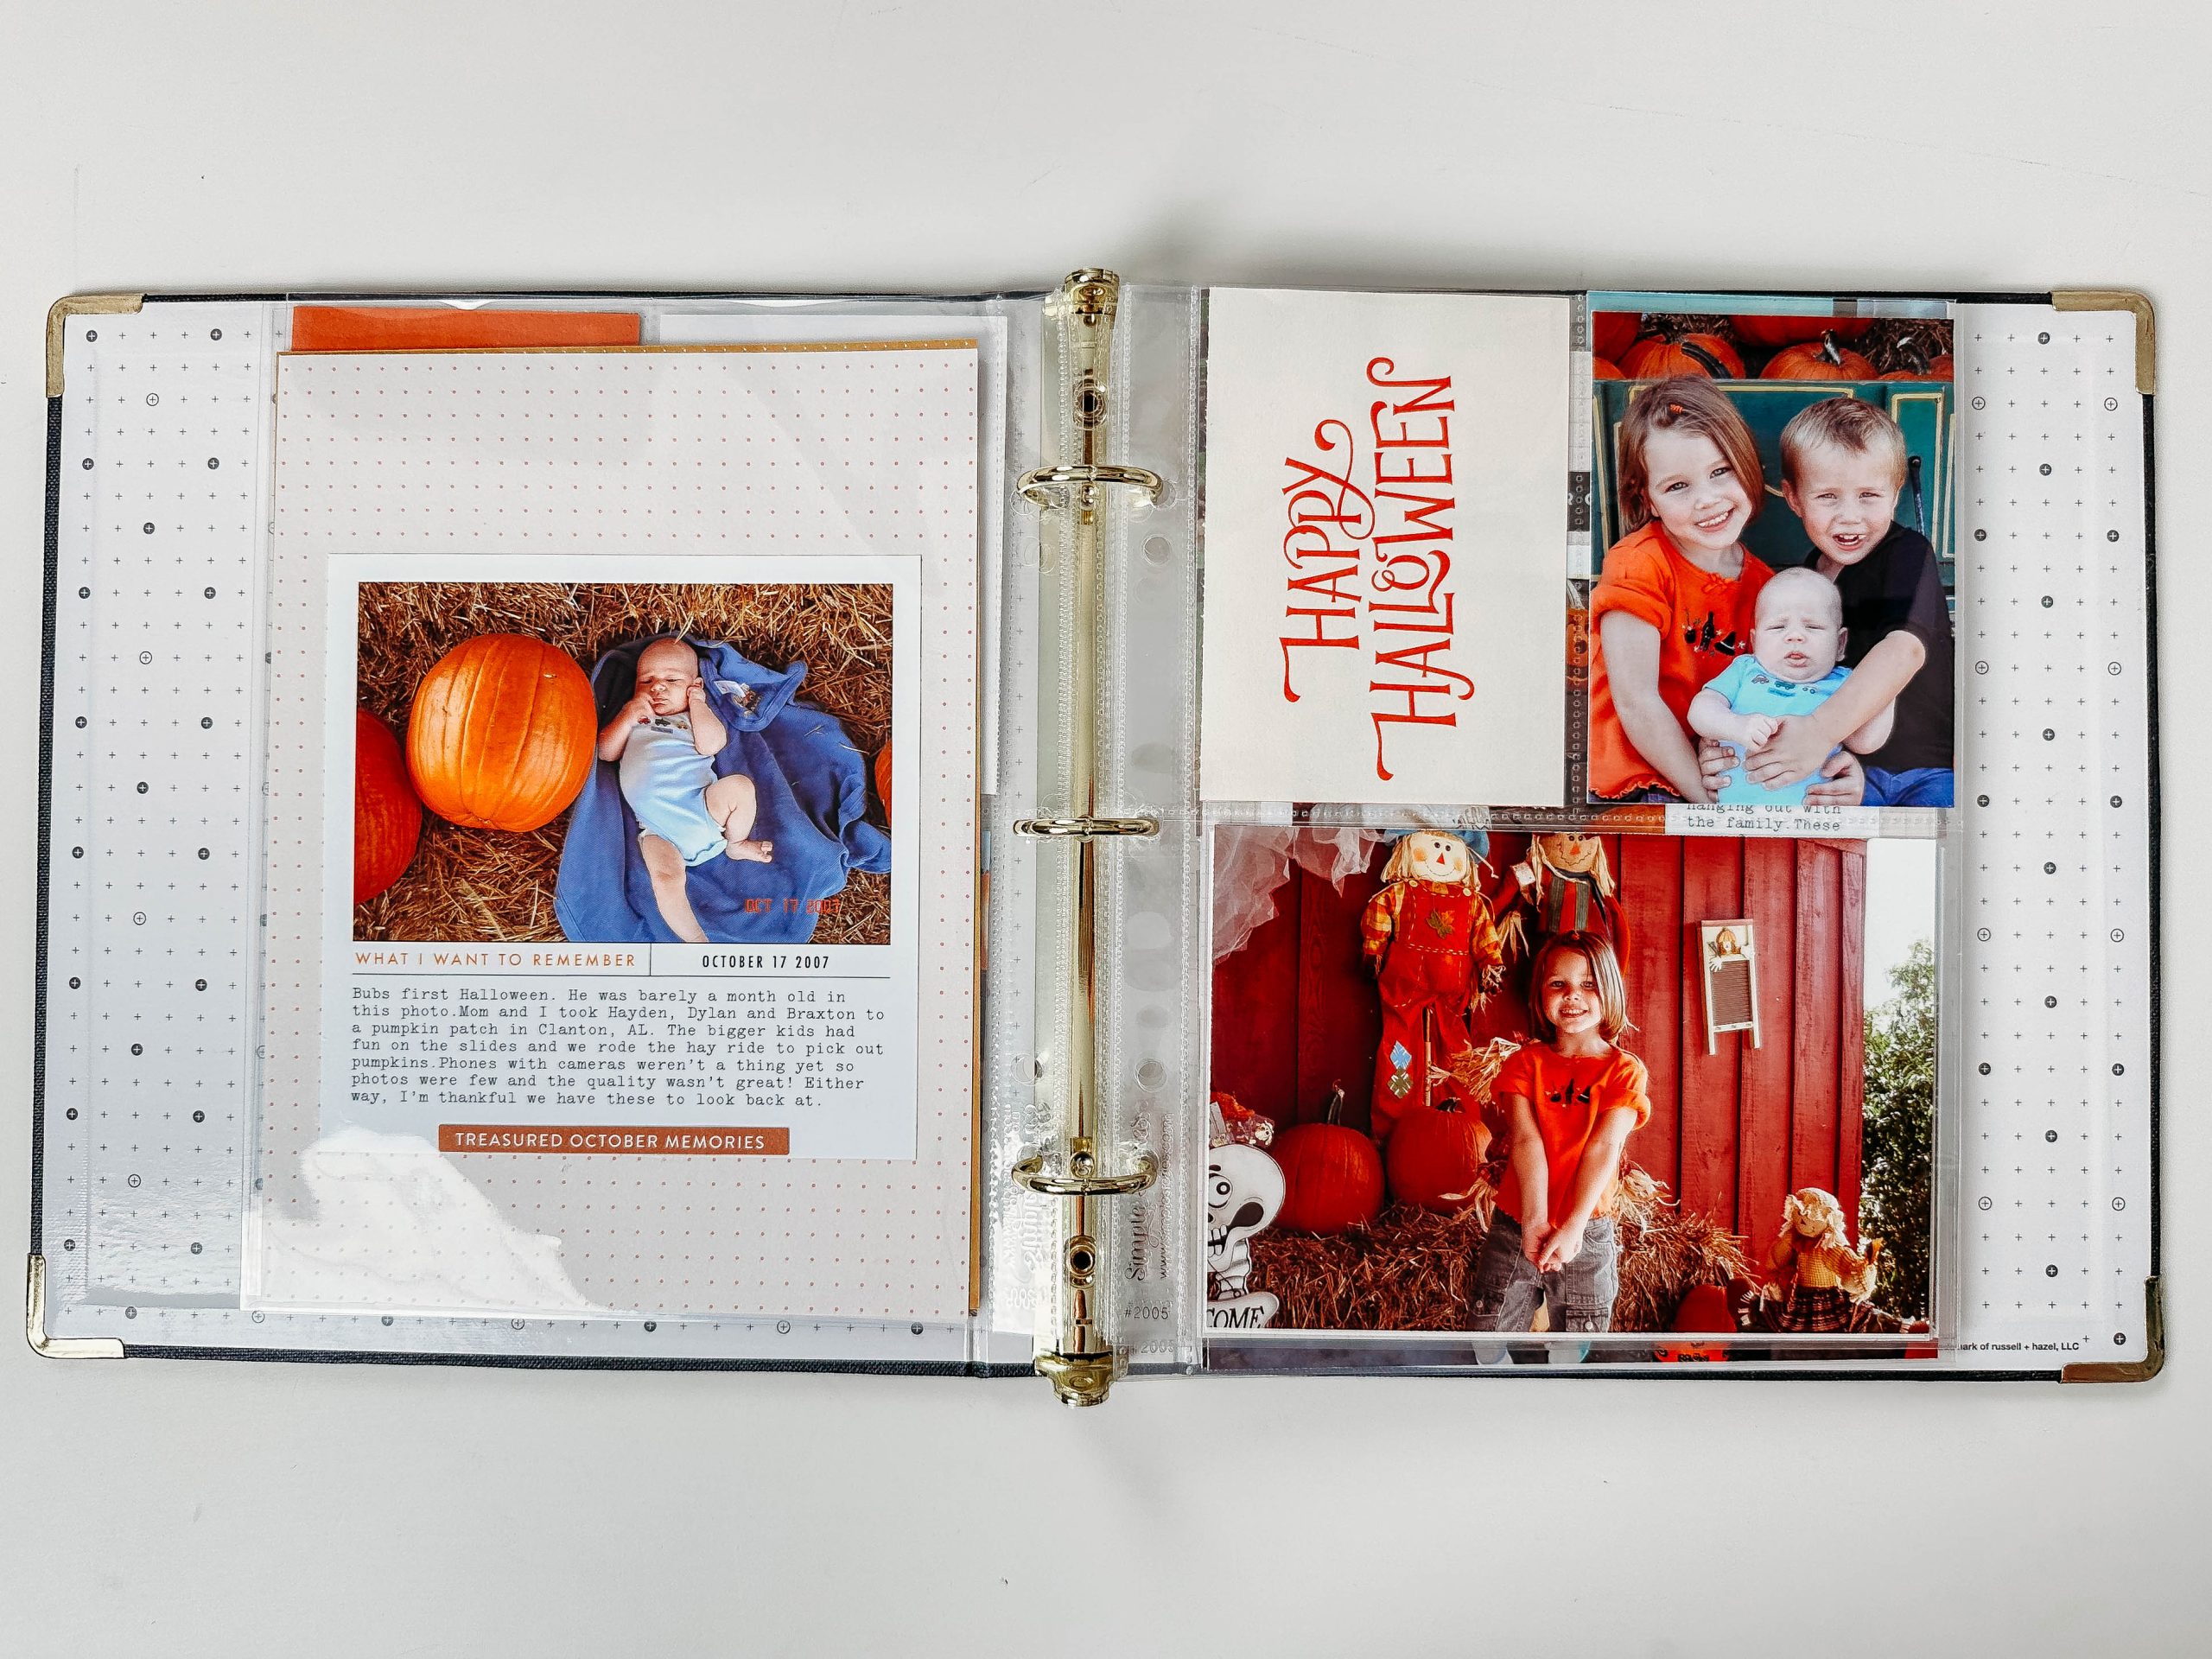
I used a free layered Photoshop template from Ali Edwards to create the ‘What I Want to Remember’ pages. You can find the template here. It’s beautifully simple, ensuring the photo remains the main focus while offering the perfect space to add meaningful details. The file size is 5x5in so it fits nicely on 6×8 papers.
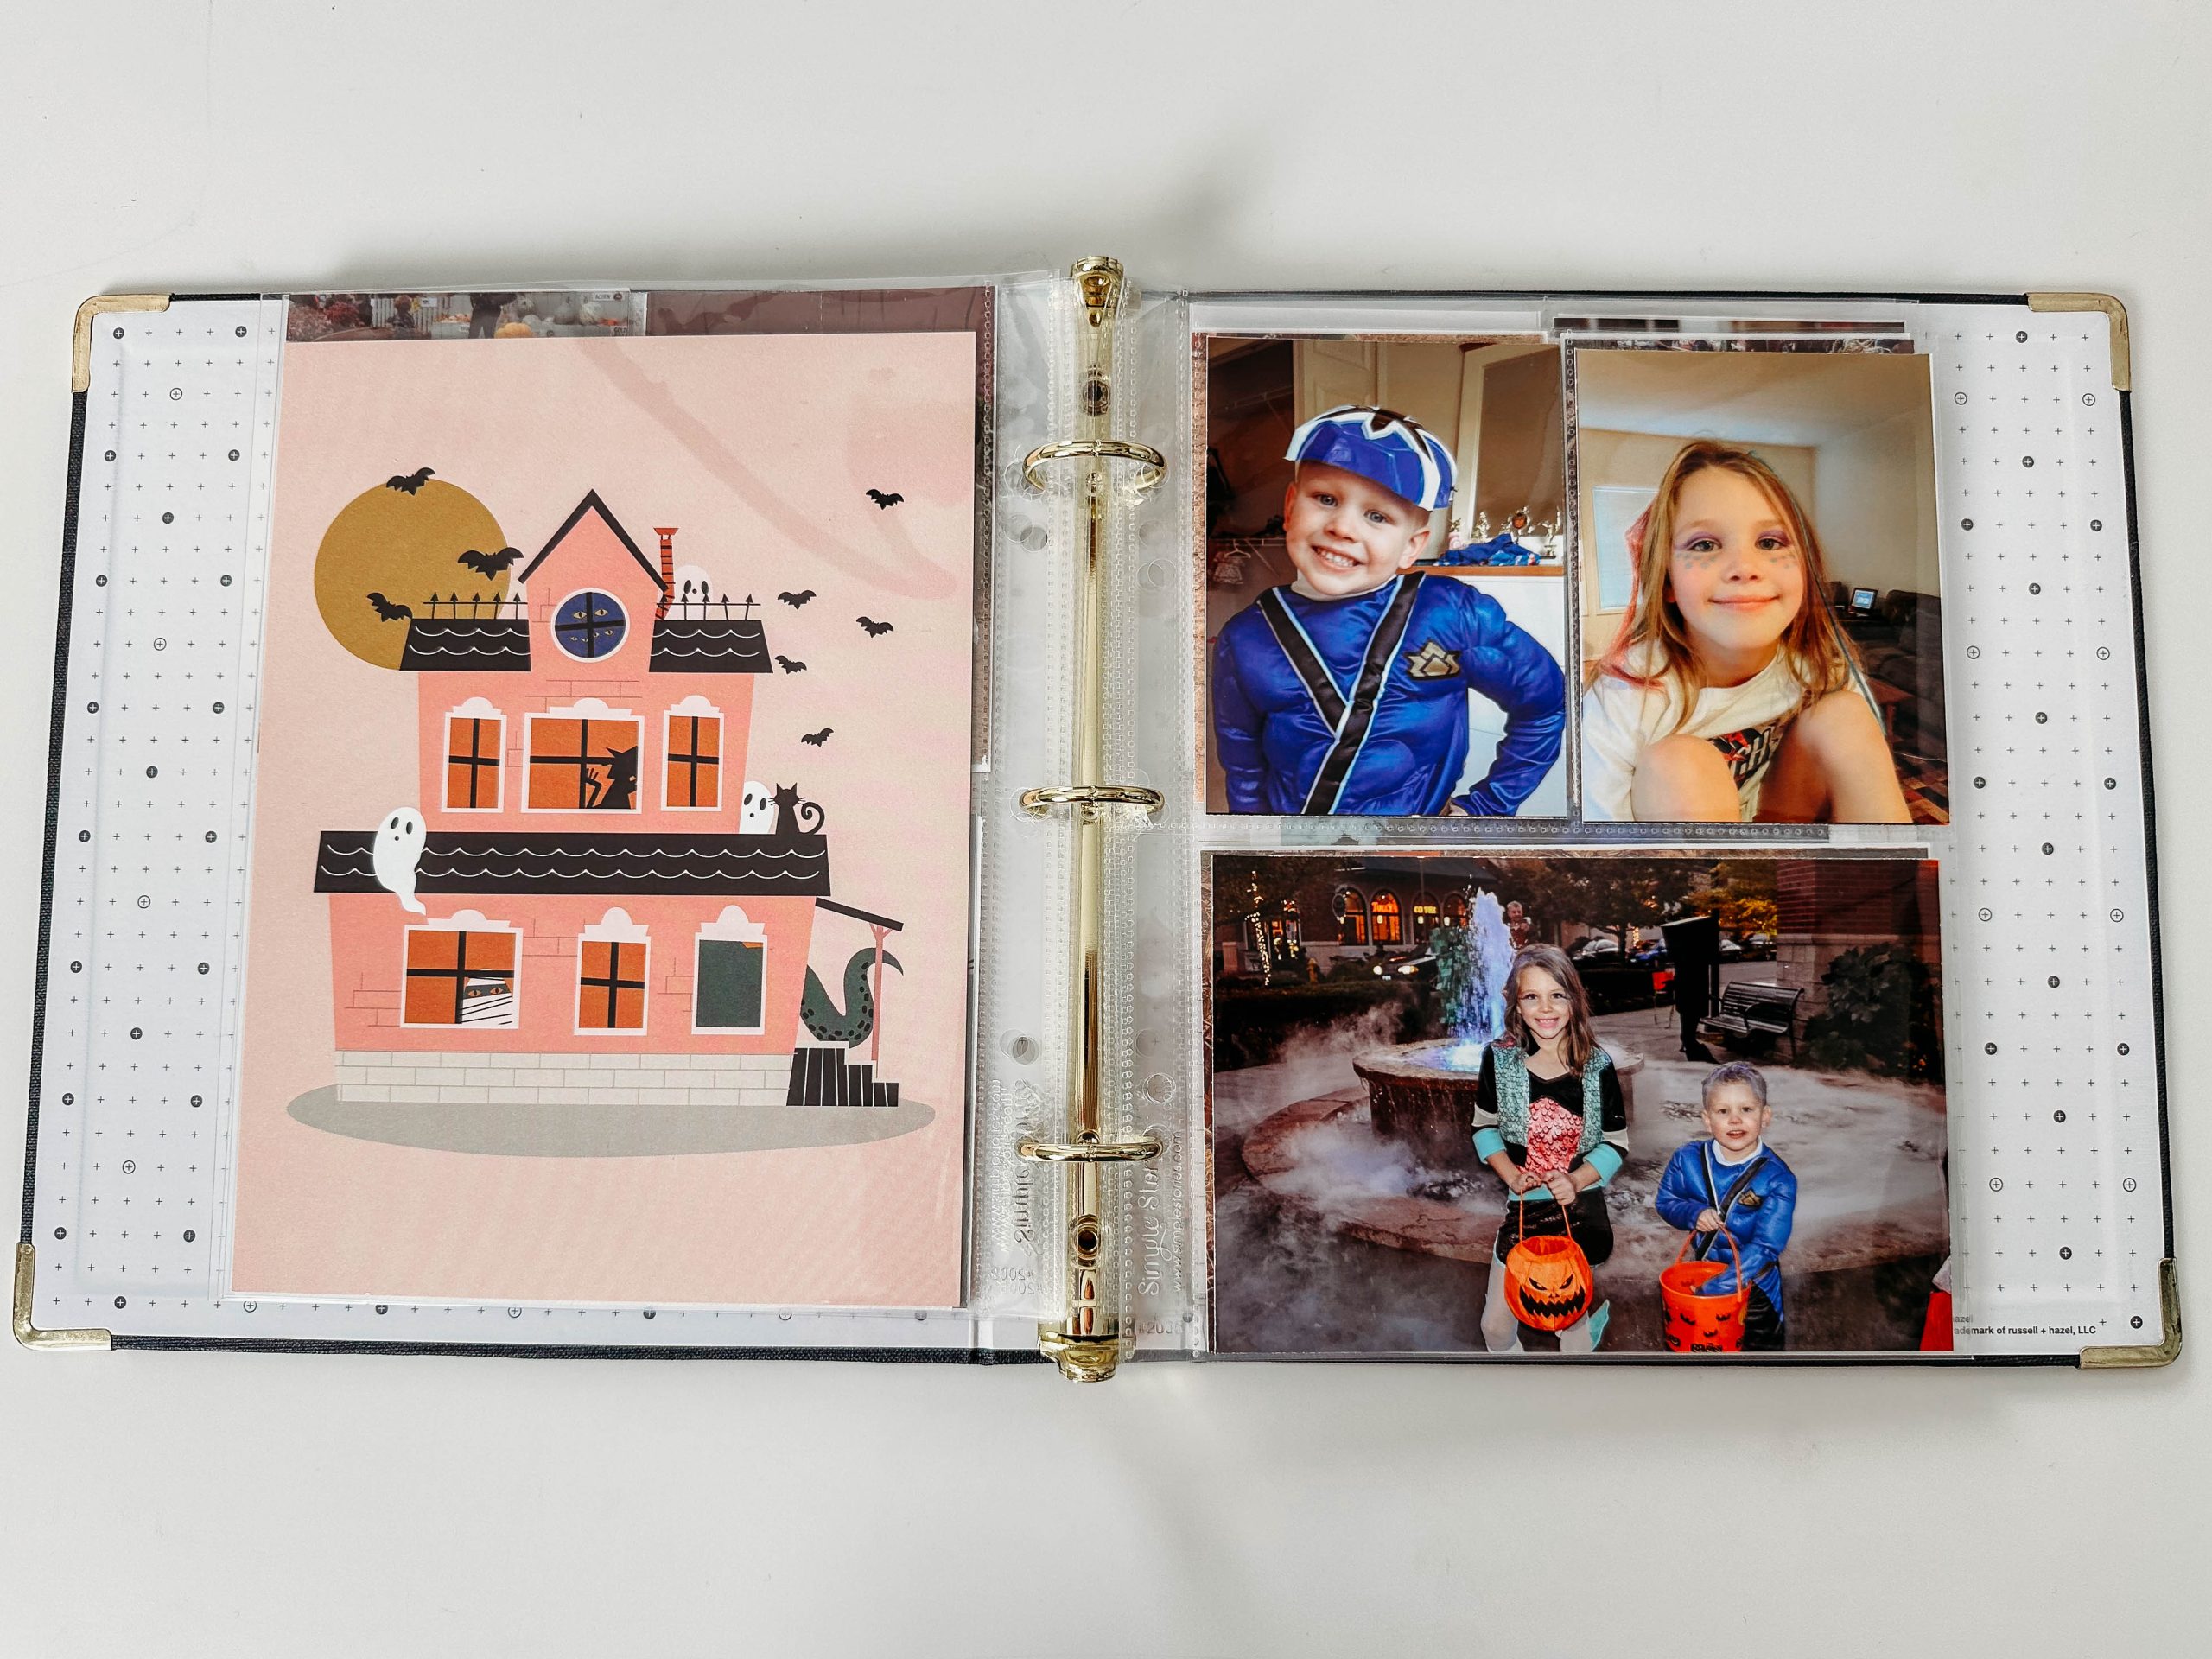
For some layouts I chose to use a full 6×8 decorative paper from Studio Calico opposite of the collage of photos. I especially love this little haunted house. I do plan to go back and add the date + details onto the page using layered card stock elements.
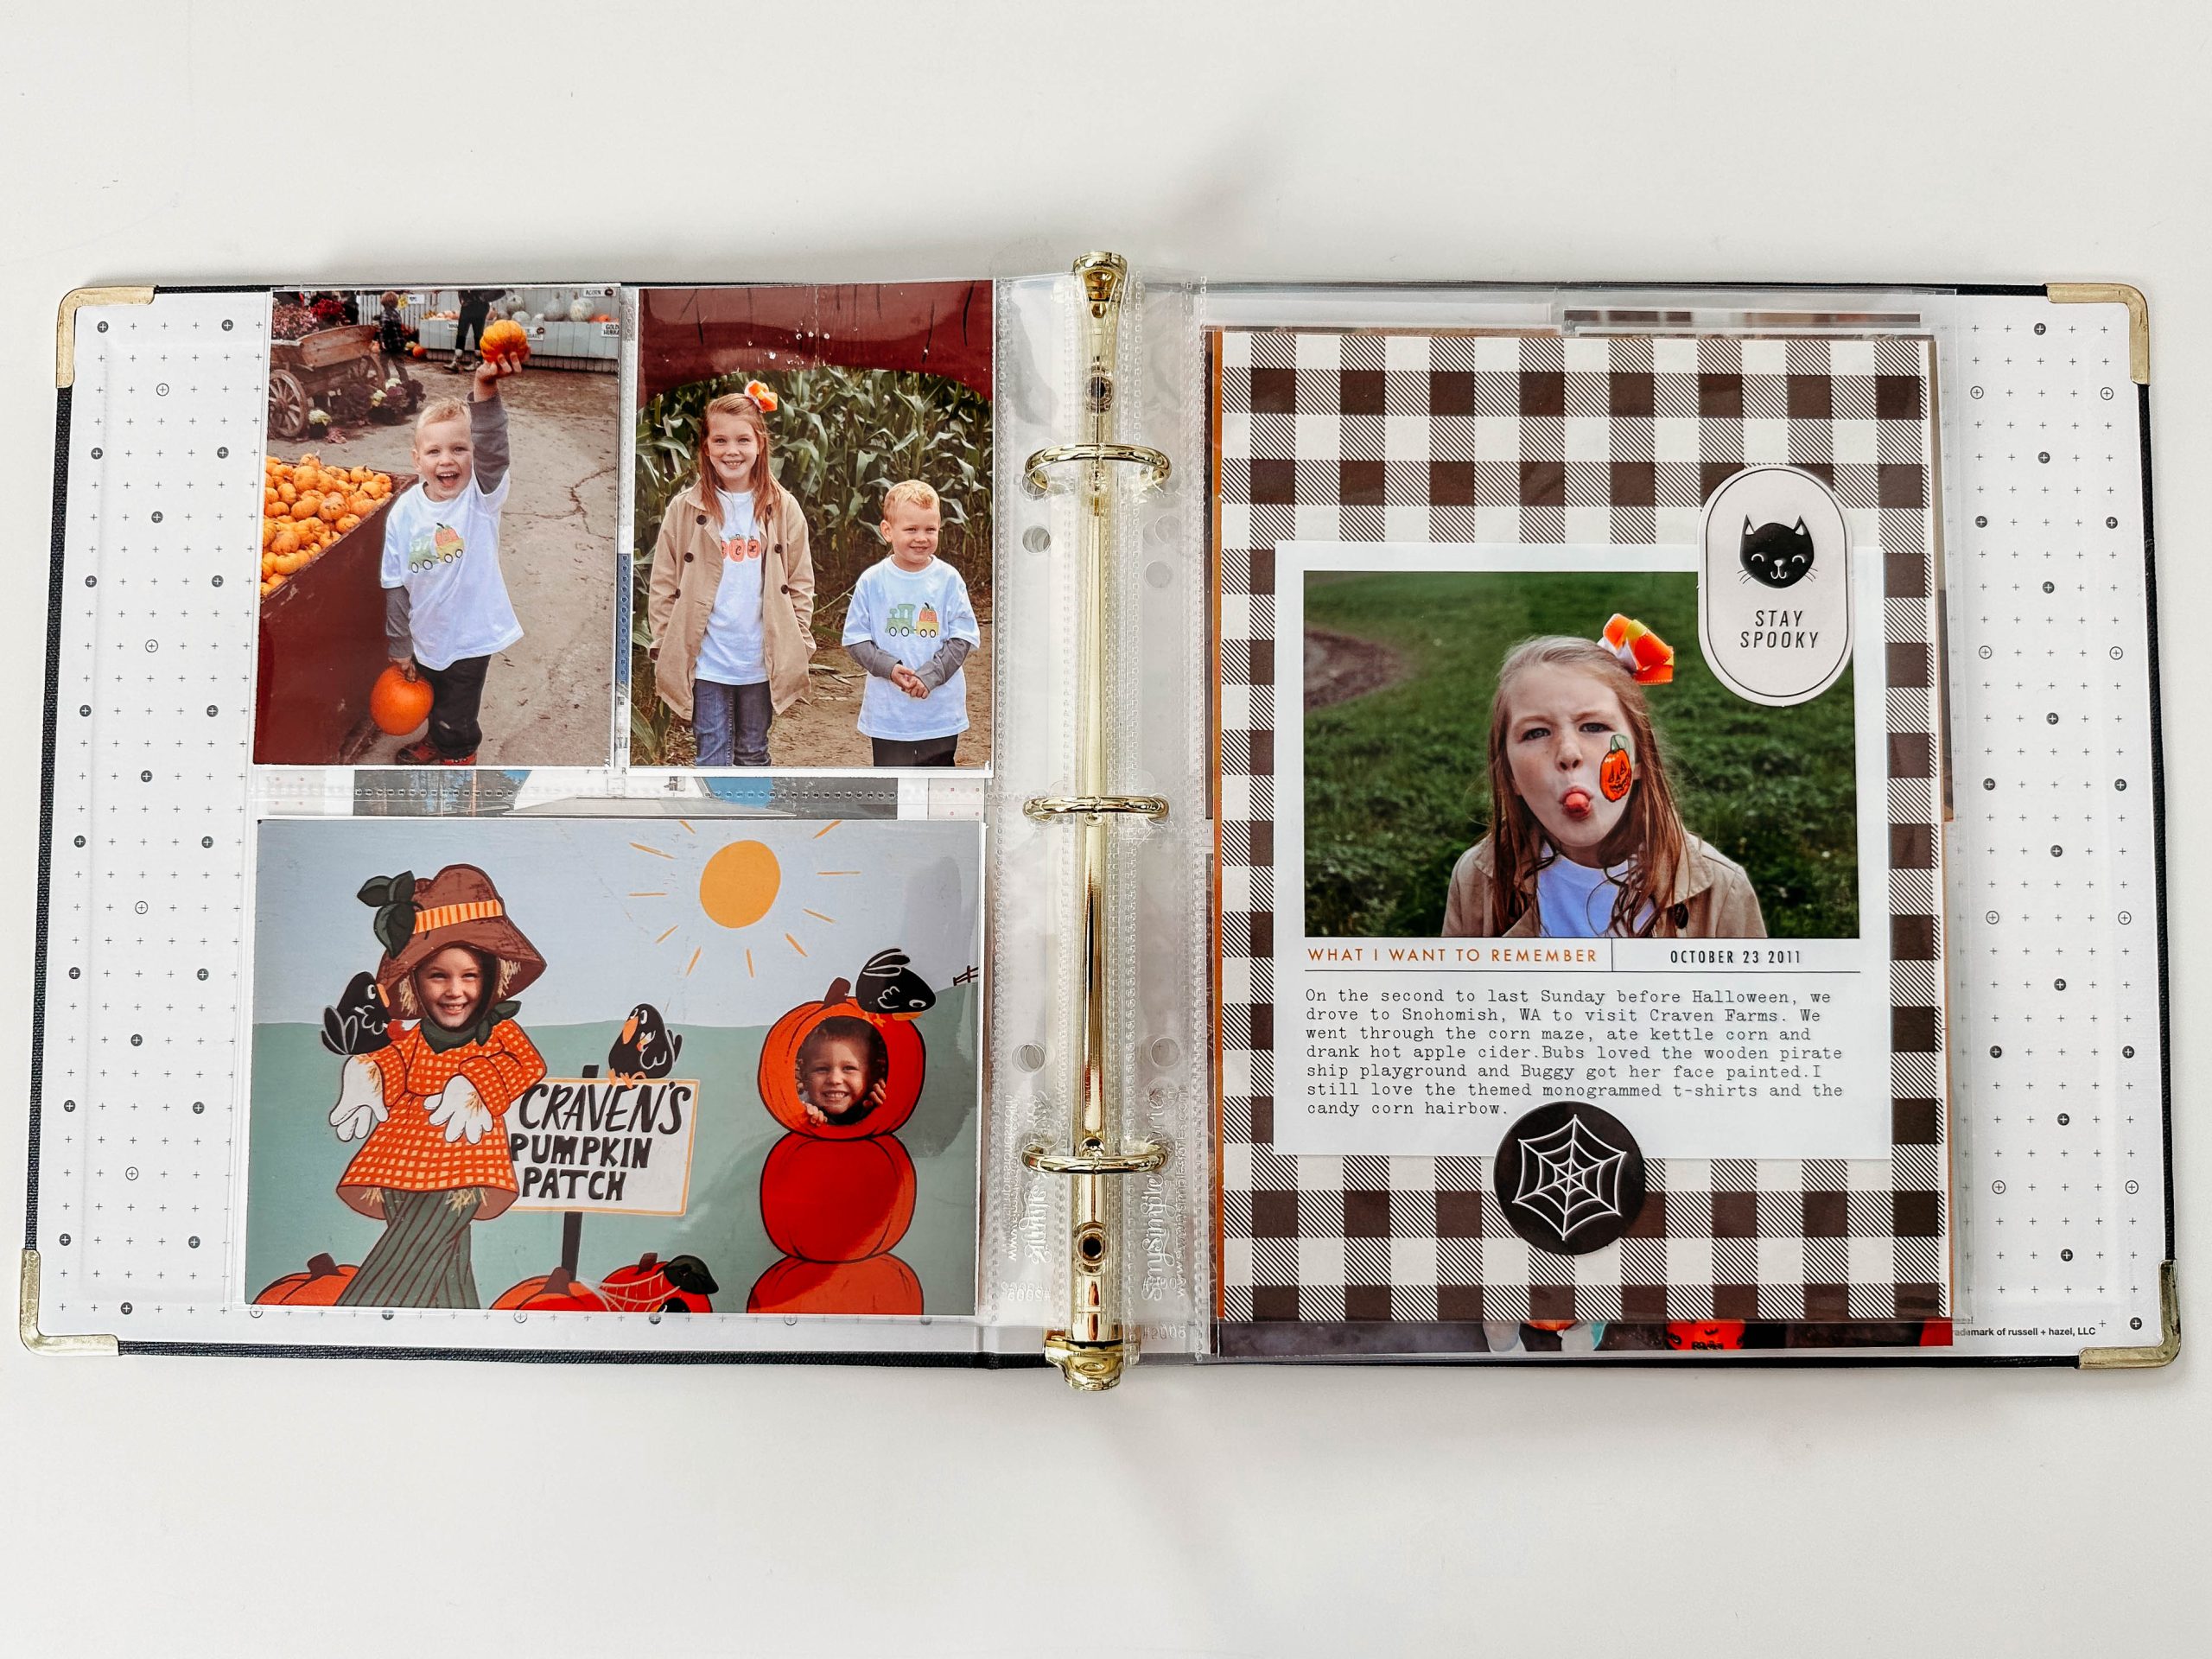
To keep it consistent (and simple) I paired each 6×8 page protector with a 2(3×4) and 1(4×6) page protector on the opposite side. Both of these are from Simple Stories.
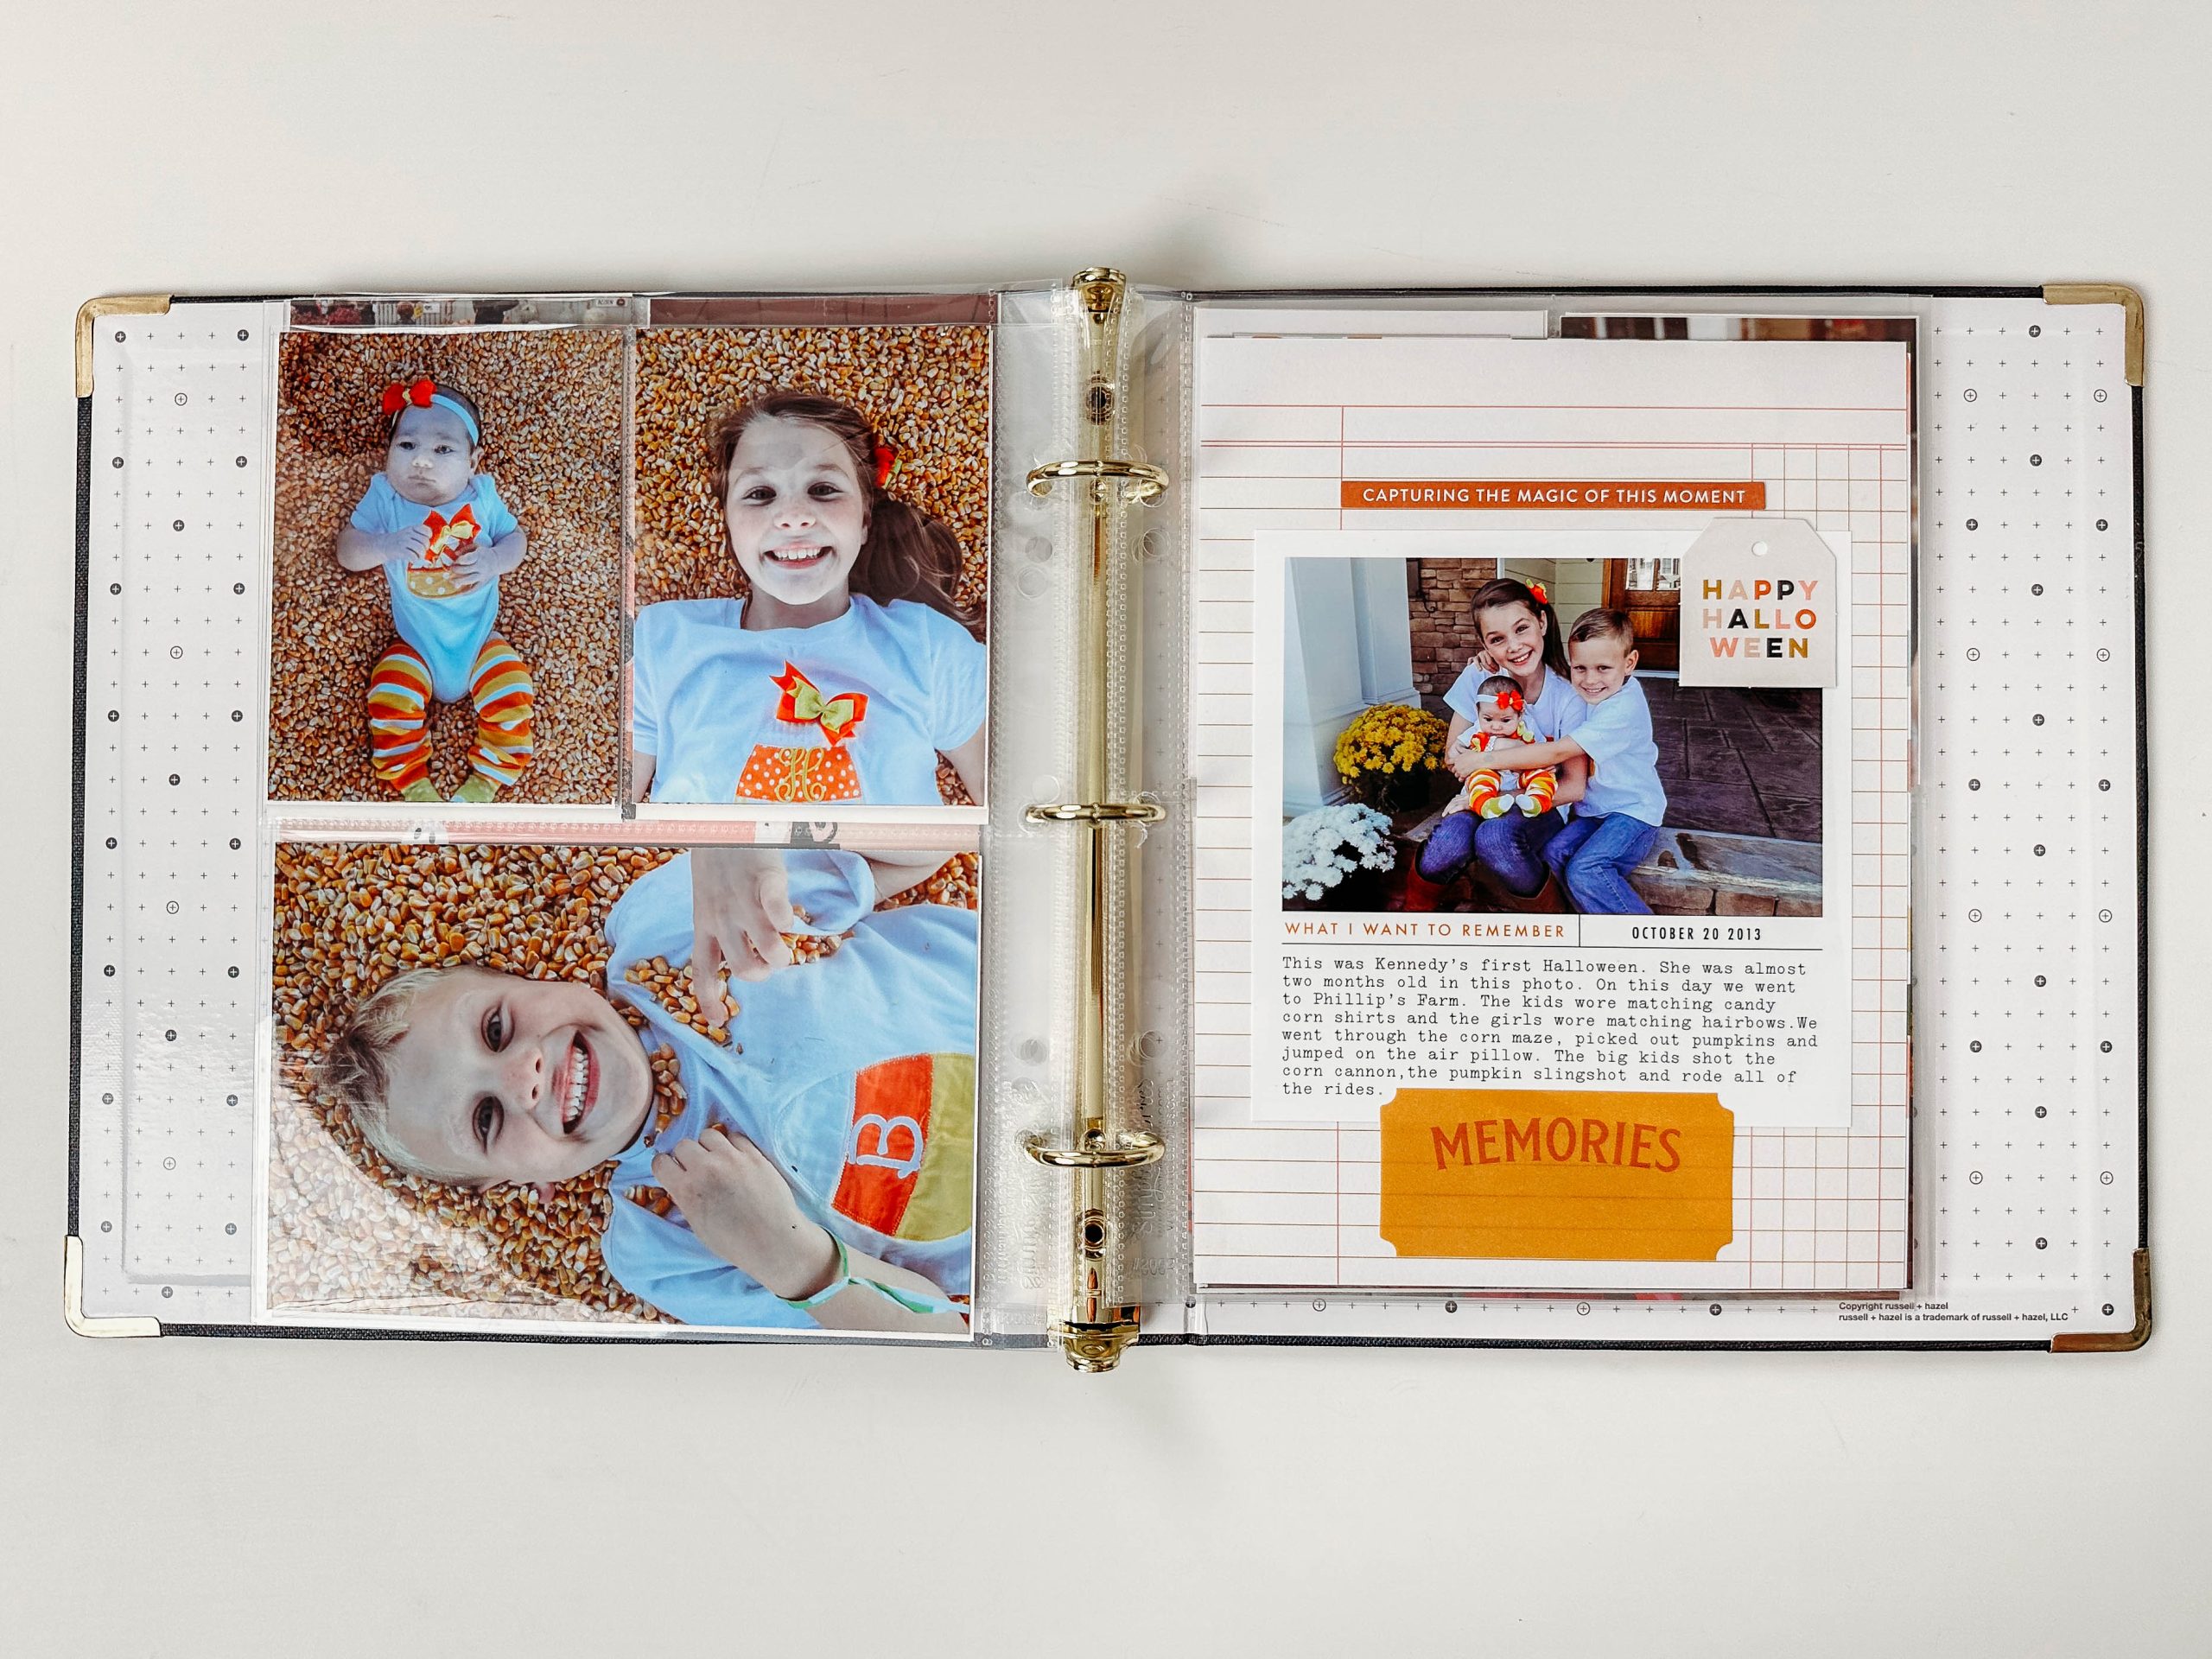
Oh, how I miss the days where I could put all of my kids in matching outfits and take them to the pumpkin patch!
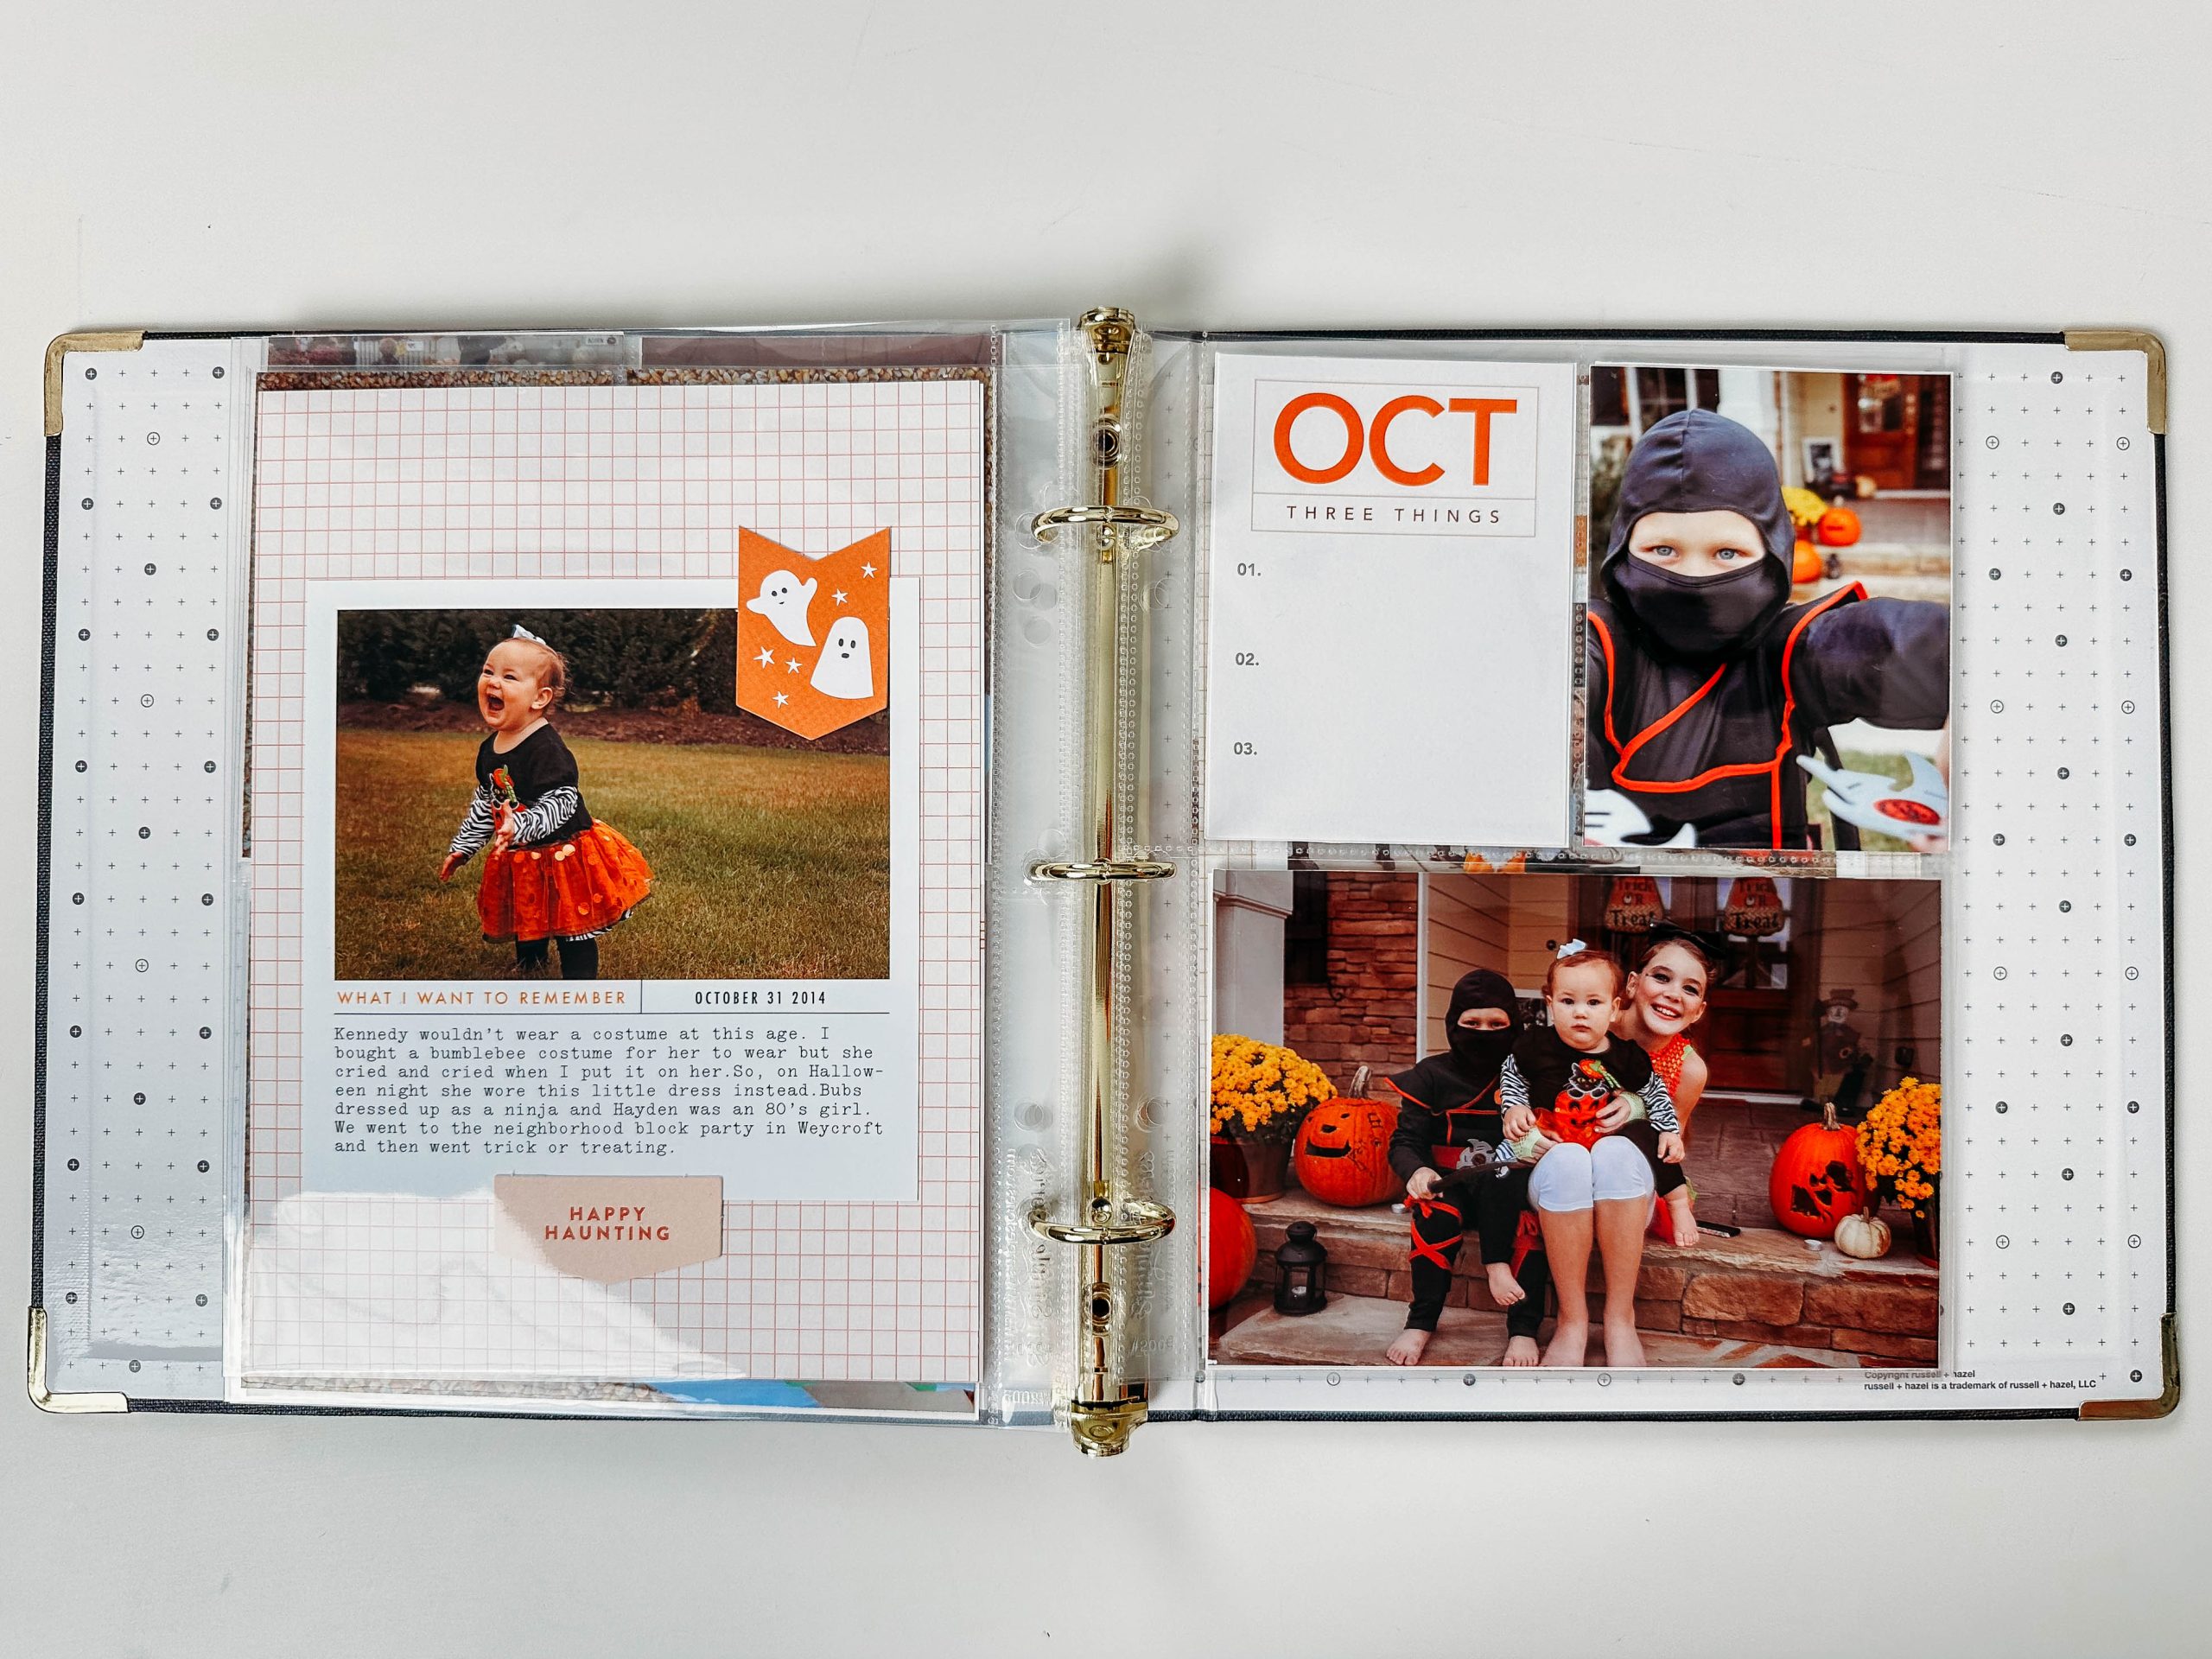
The great thing about the 3×4 sleeves is the option to use a 3×4 card instead of a photo when you have more to say/more details to share. I get my 3×4 cards from Studio Calico, Ali Edwards and sometimes Heidi Swapp. You could also easily design and print your own in Canva.
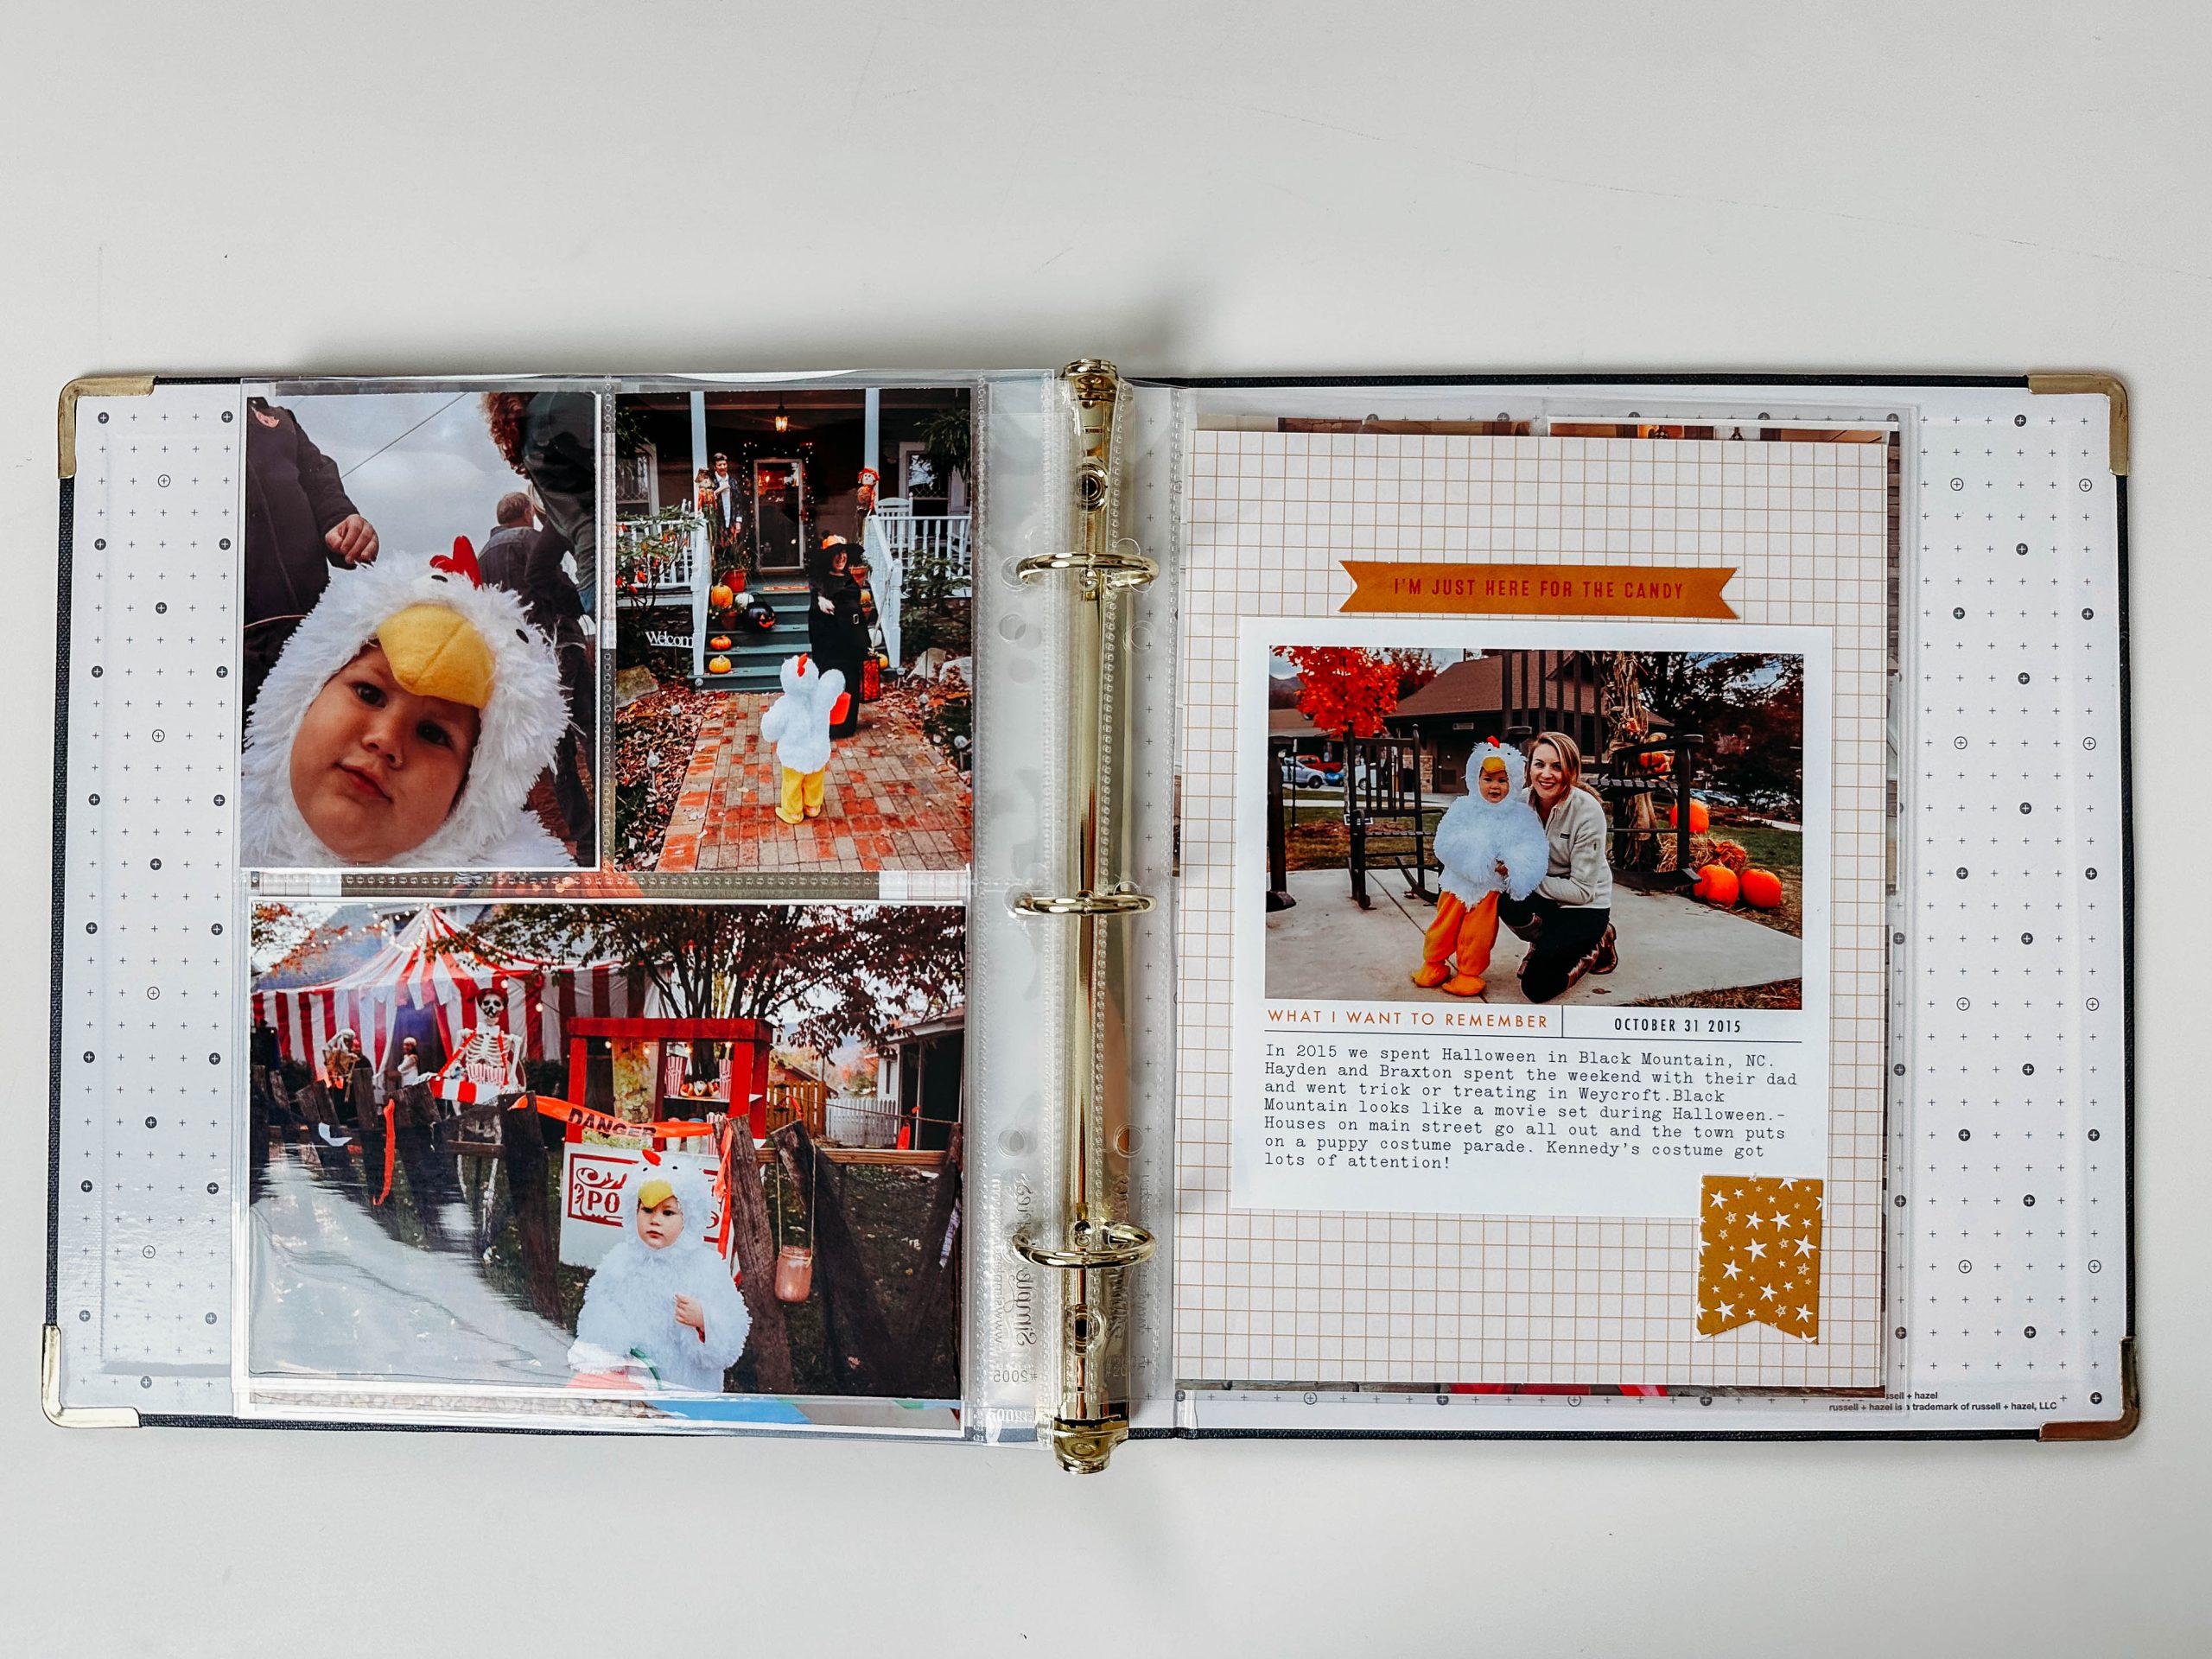
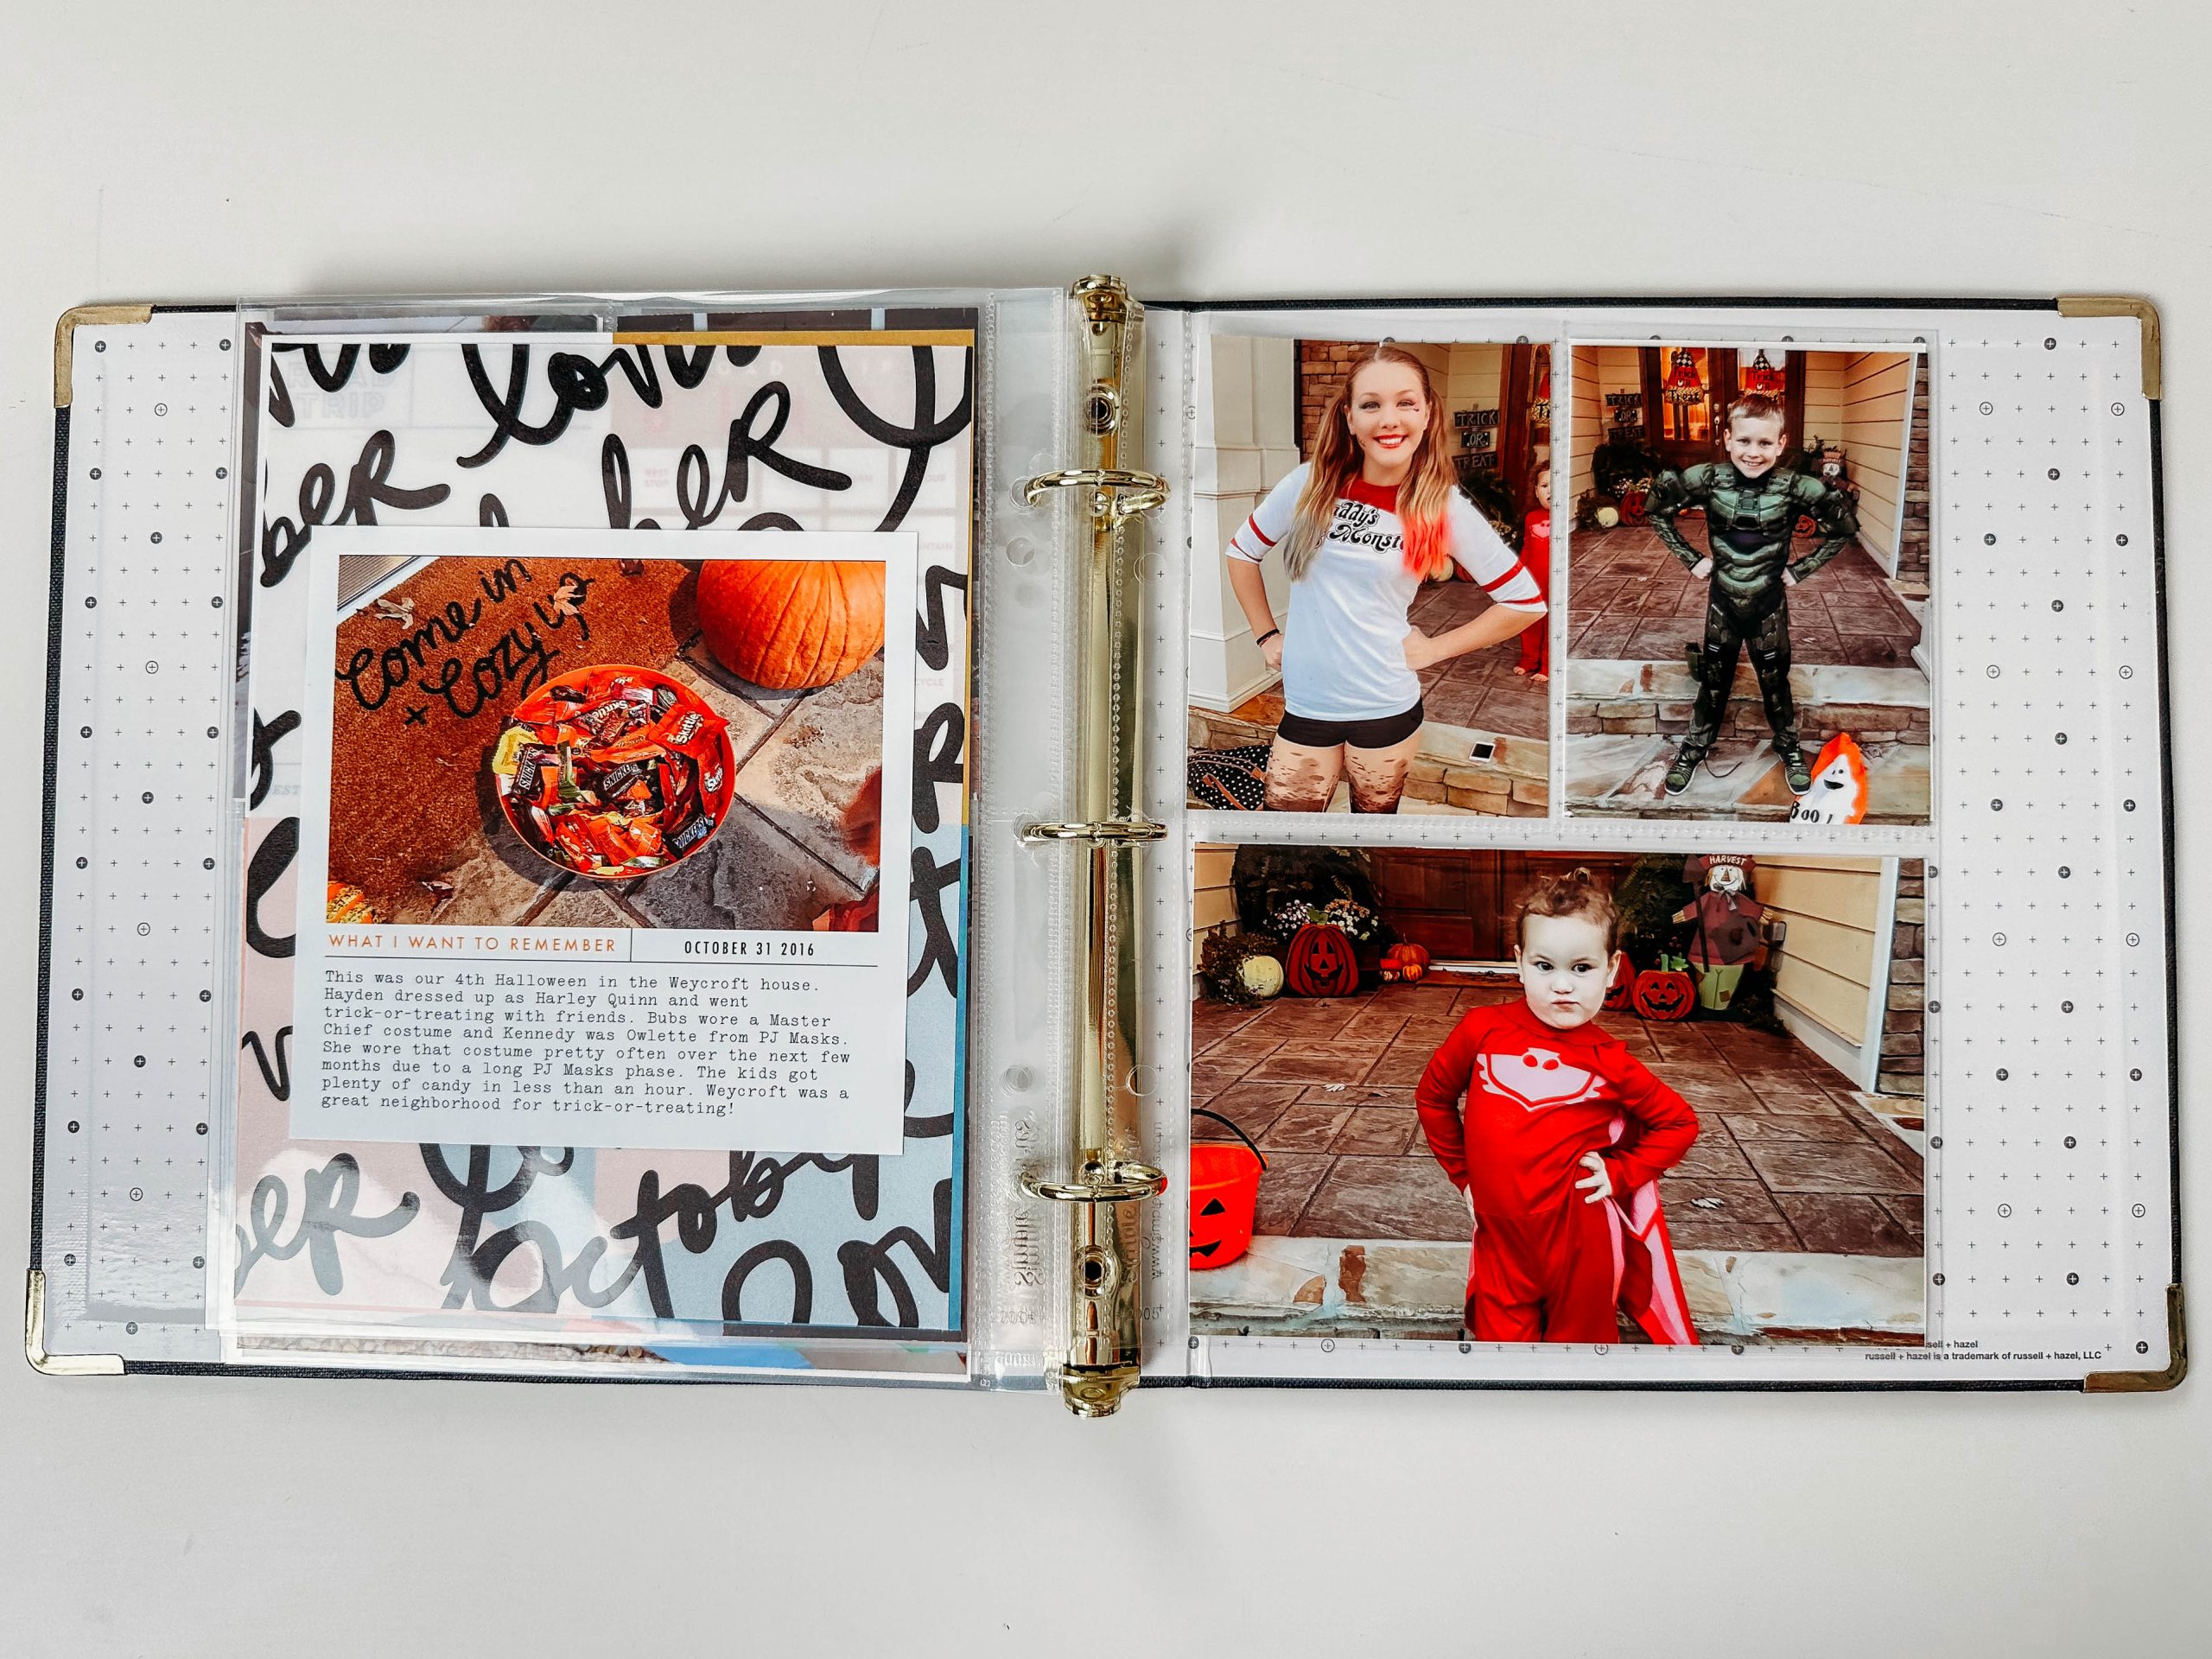
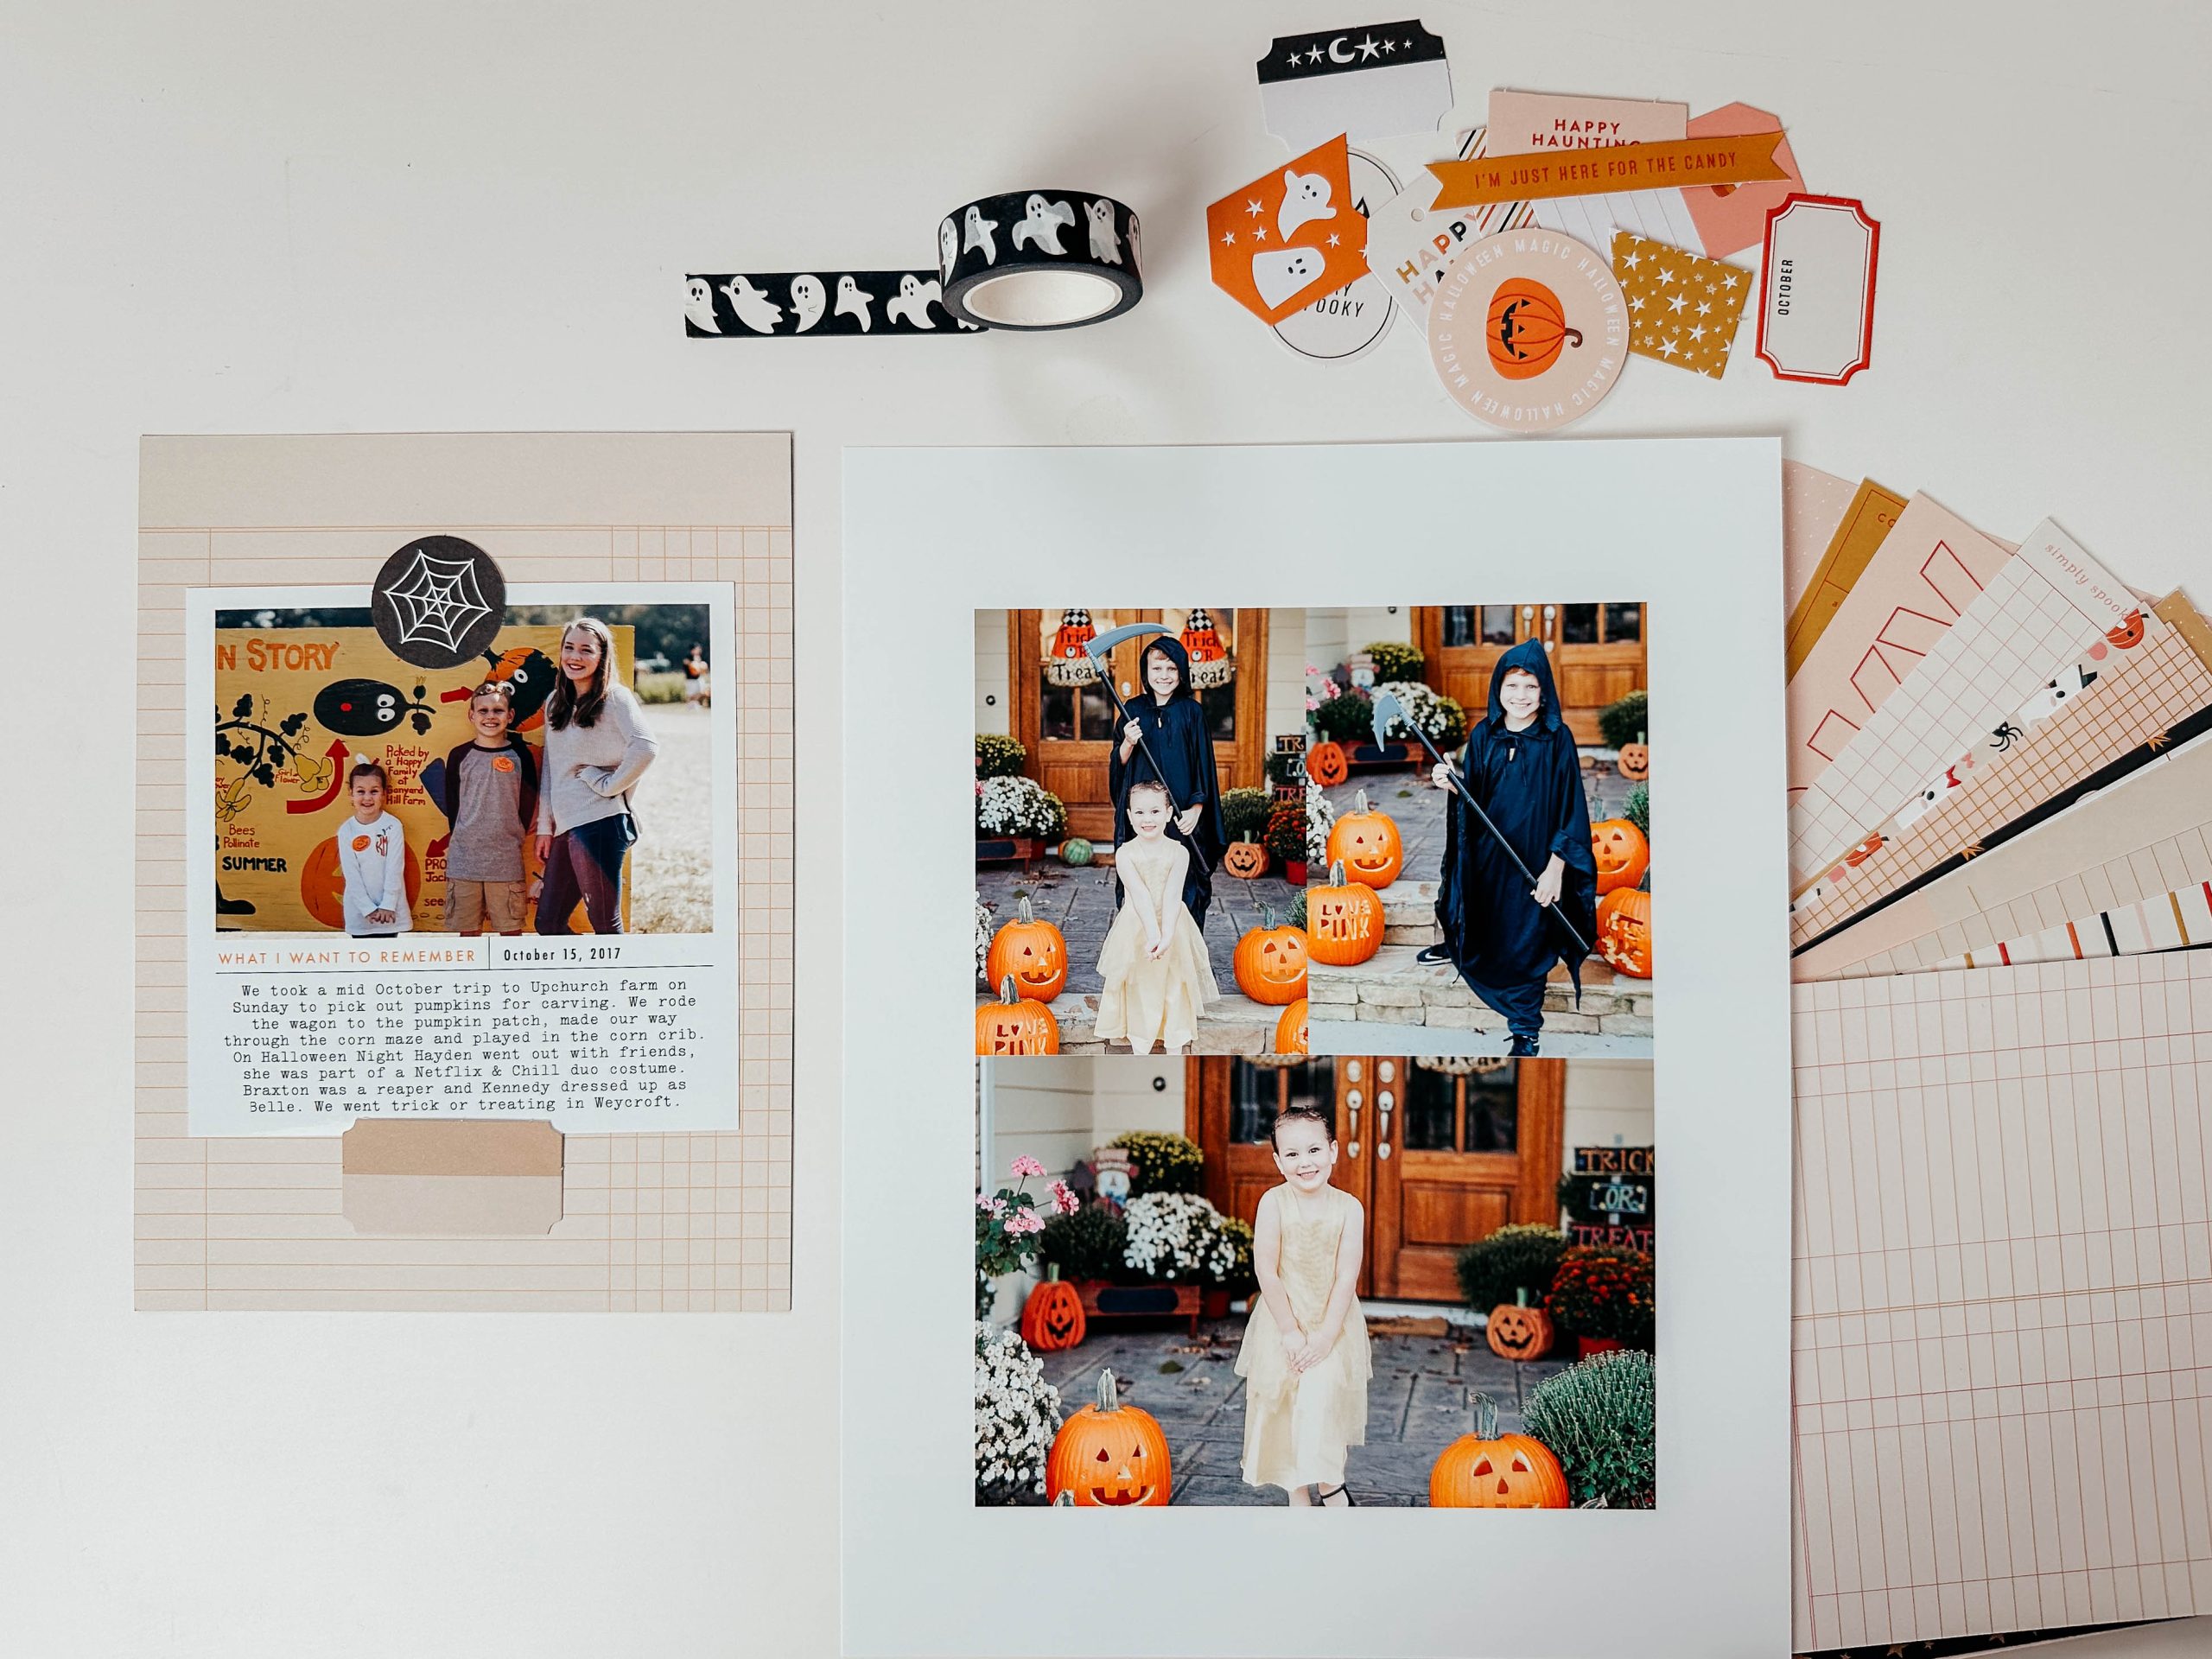
My process starts by selecting the photos for the collage layout and then selecting the photo I want featured on the full page layout. I size my photos in Canva then download and print at home on 8.5×11 photo paper. Next I open the photoshop template, add my image, date, and story from that time frame then print it onto 5×5 borderless photo paper.
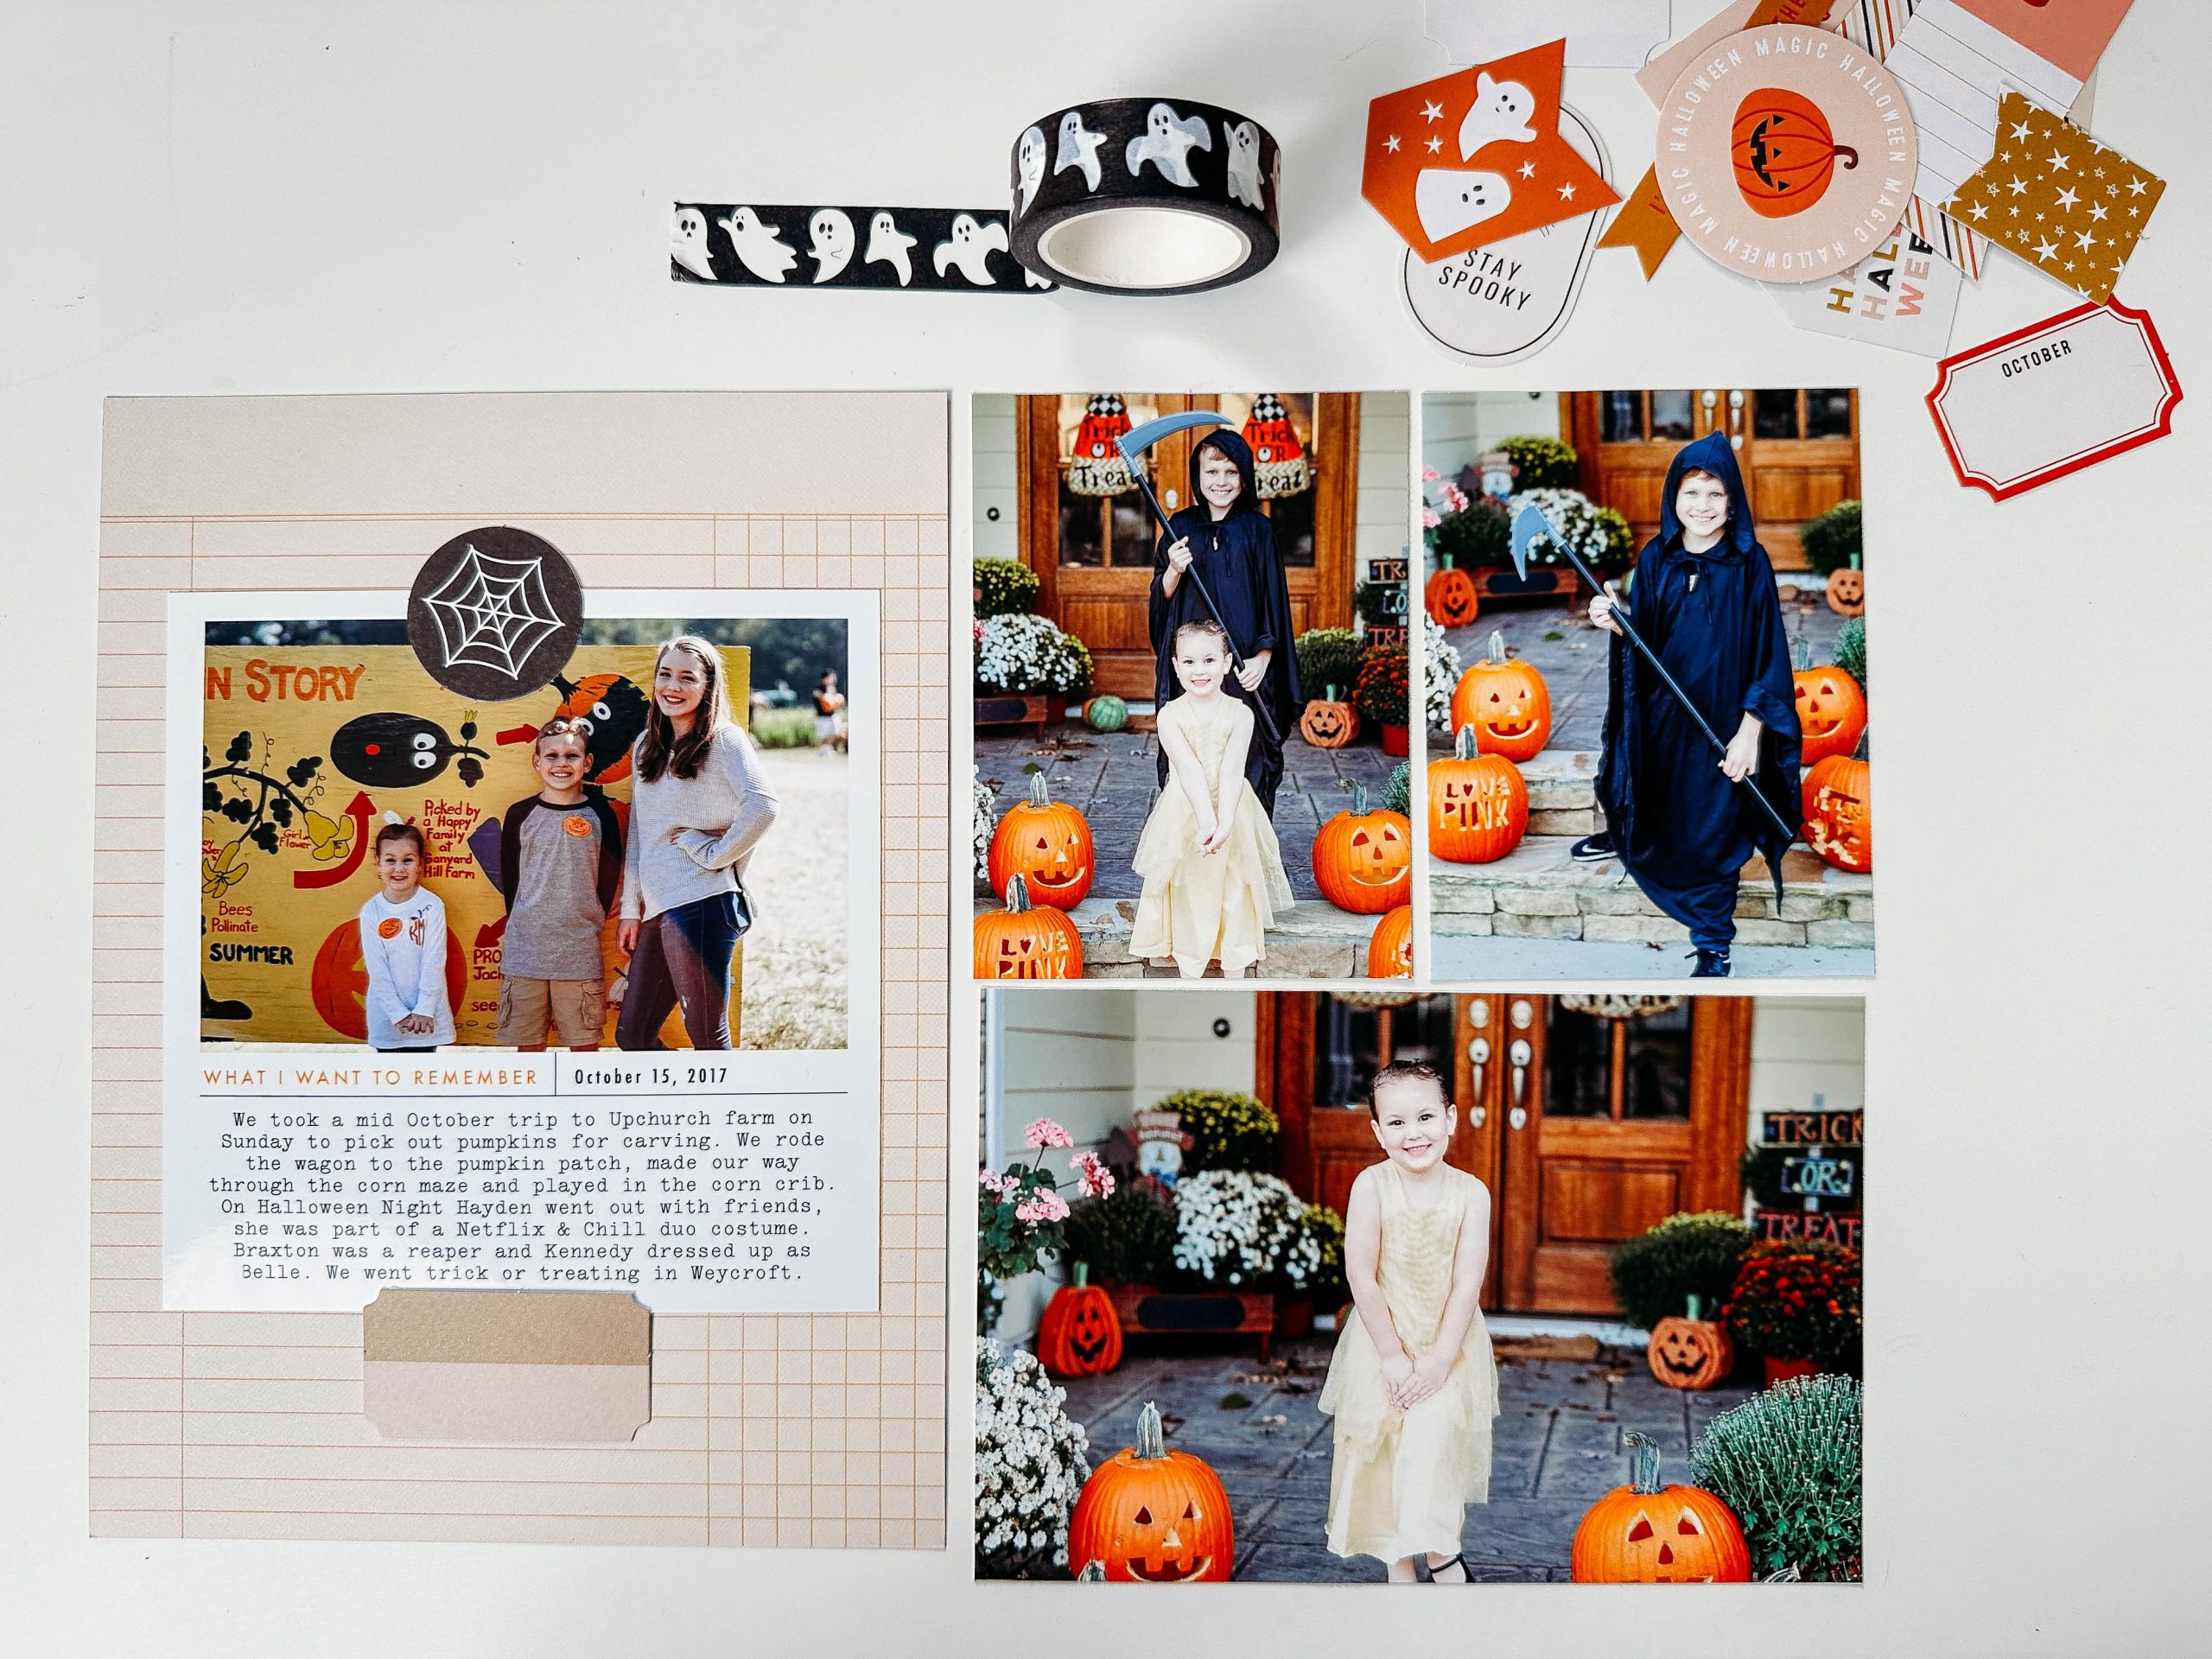
Last but not least comes the embellishments. I always do a test run to make sure I like the way everything looks before gluing anything down. There’s something so satisfying about selecting the perfect coordinating papers and embellishments!
Supplies I Love:
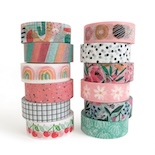
- Washi Tape
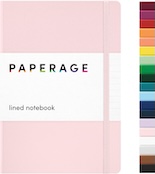
- Card Stock
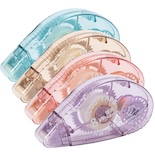
- Tape Rollers
- Photo Paper
- Photo Printer
- Scrapbook Paper
- Page Protectors
- Embellishments
As always, happy crafting and happy memory journaling!
