Create Your Own Funky Pumpkins With Adhesive Vinyl
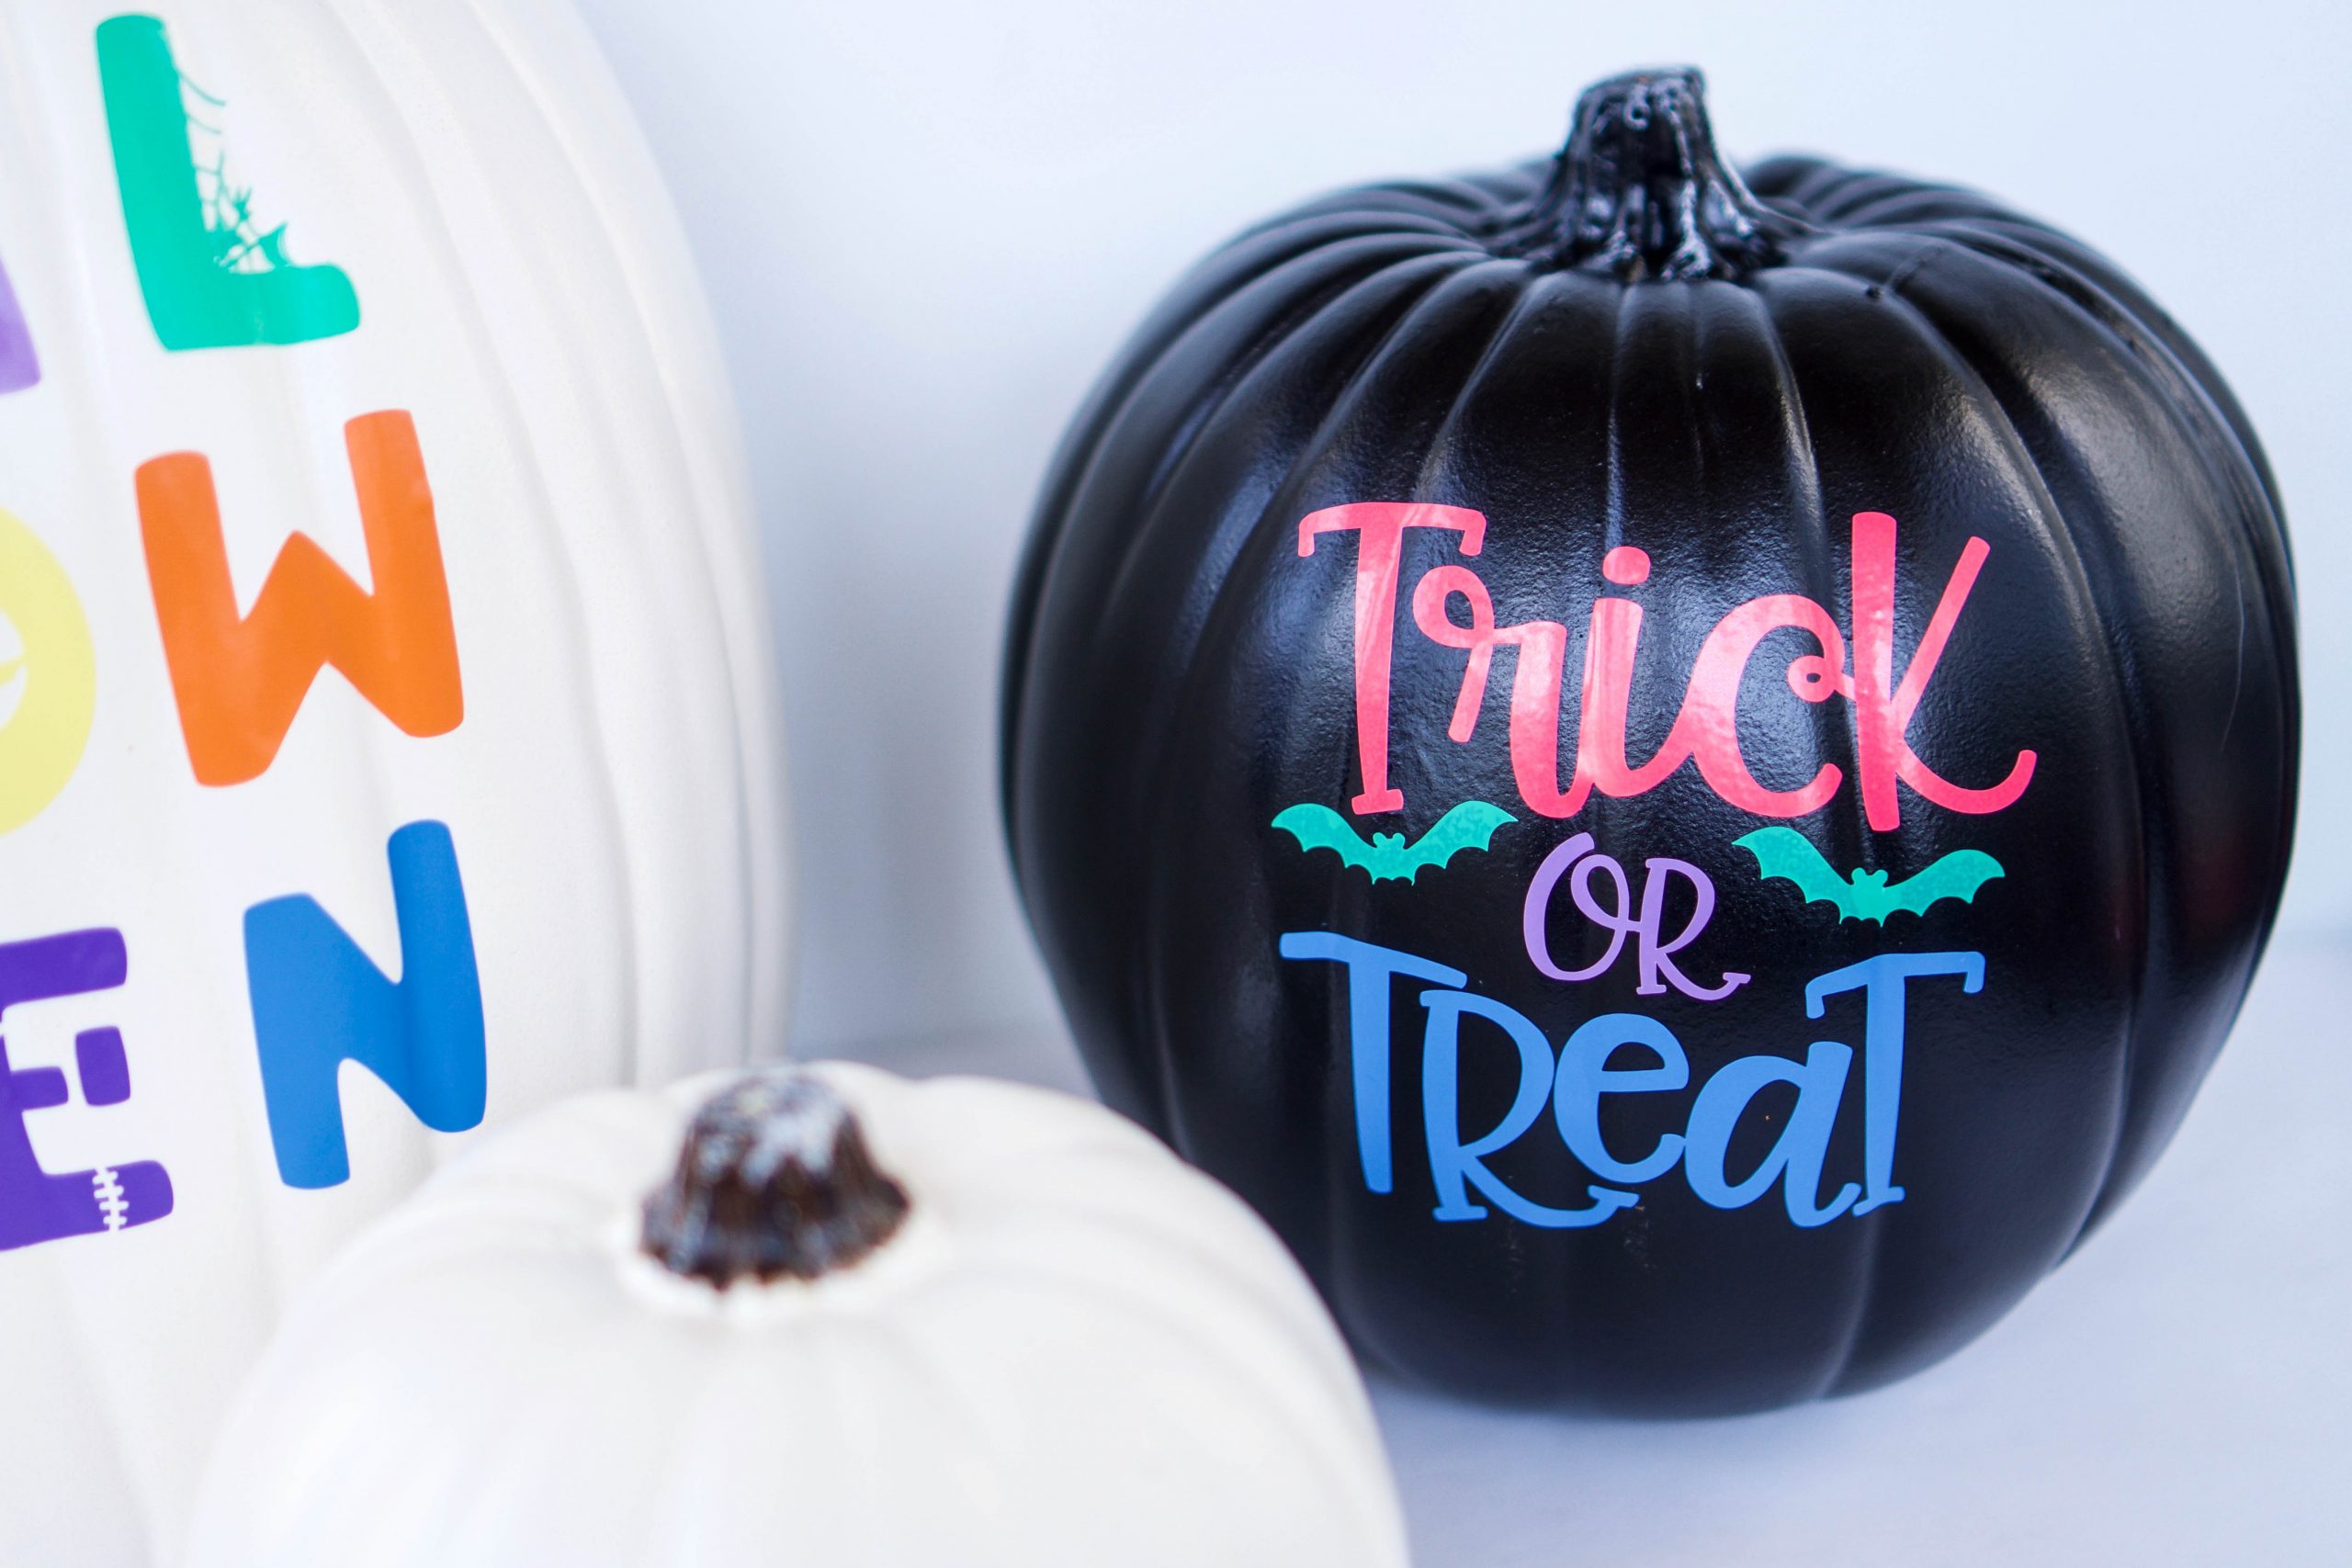
Not all pumpkins have to be spooky, right? Kayla from Kayla Makes here today to show you how you can use Kassa vinyls to create colorful pumpkins just in time for Halloween.
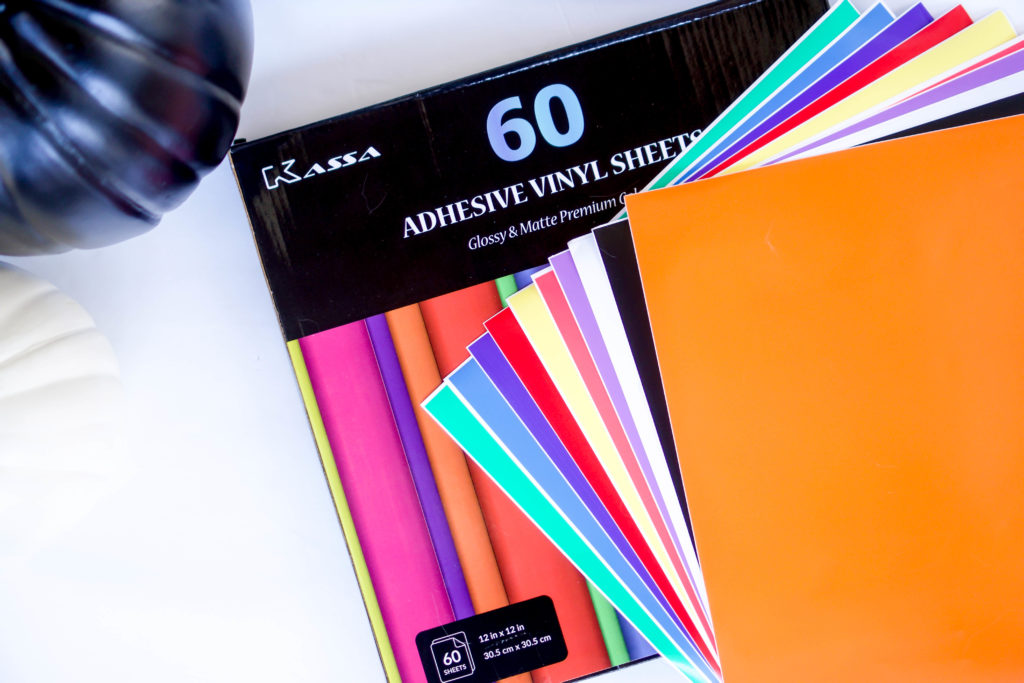
Here’s what you need:
- Kassa Adhesive Vinyl Pack
- Transfer Tape
- Scraper Tool
- Weeding Tool
- Cutting Mat
- Cricut Maker or similar machine
- Faux Pumpkins
Step One: Set Up Design
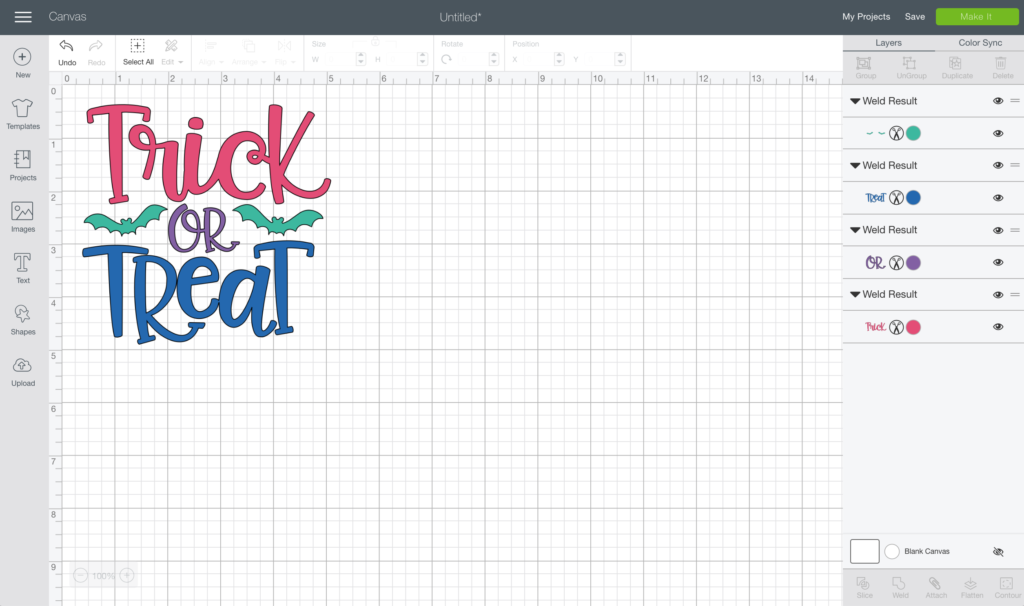
Start by setting up your design in whatever software you’re using. I changed the colors of each design element to match the colors of vinyl I wanted to use.
Step Two: Cut Vinyl
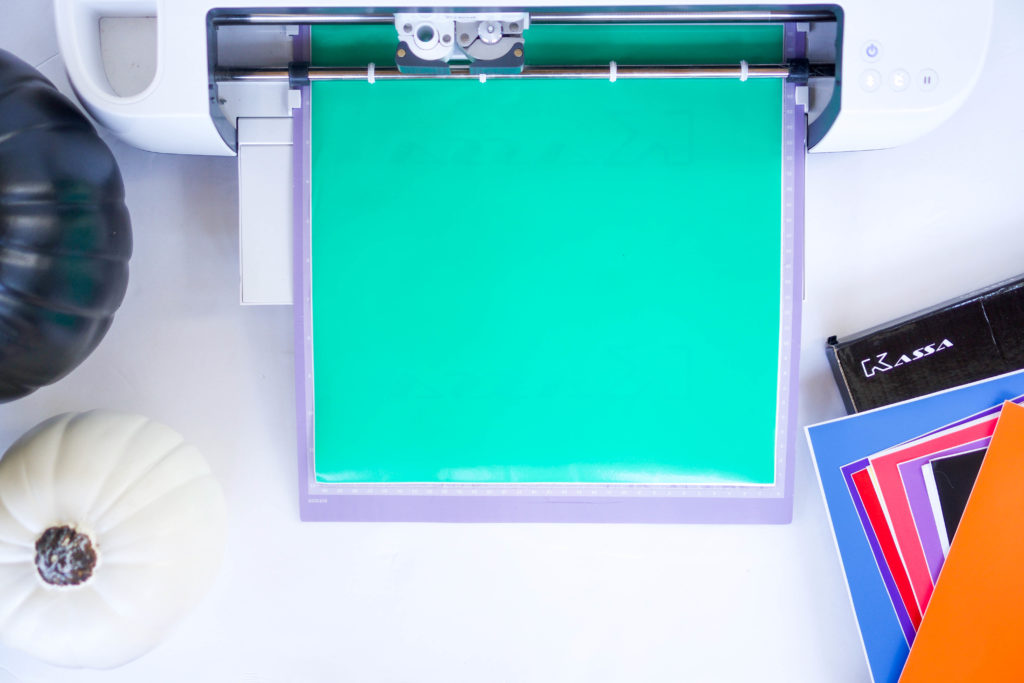
Place the vinyl sheet on the cutting mat with the colored side facing up. The white gridded backing should be sticking to the mat.
Step Three: Weeding
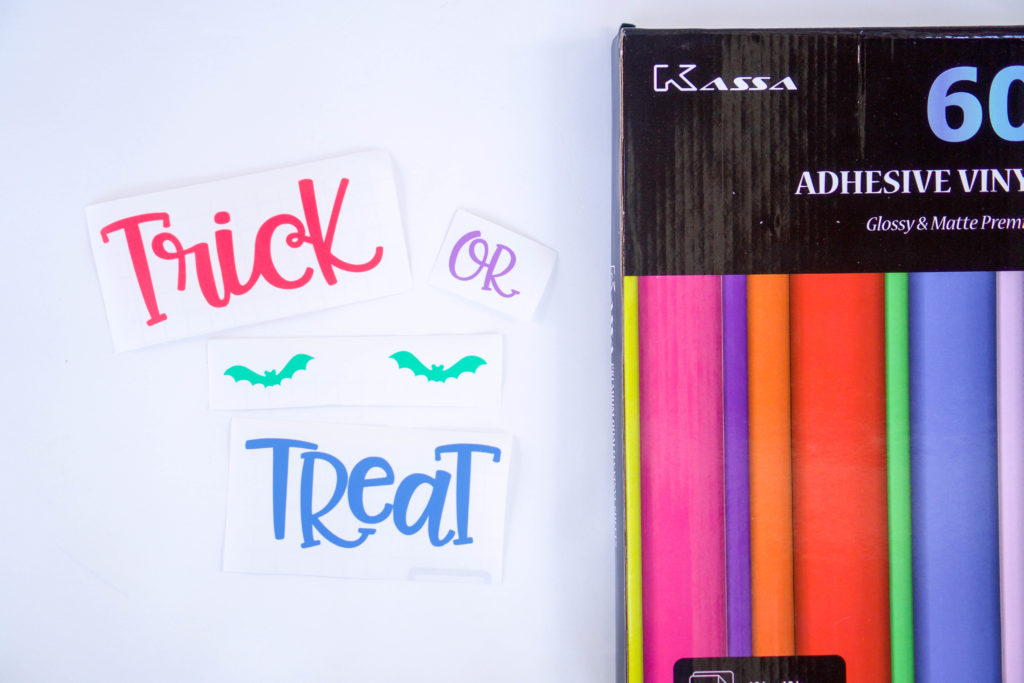
After cutting is complete, use a weeding tool to remove the unwanted vinyl from around each design.
Step Four: Apply Transfer Tape
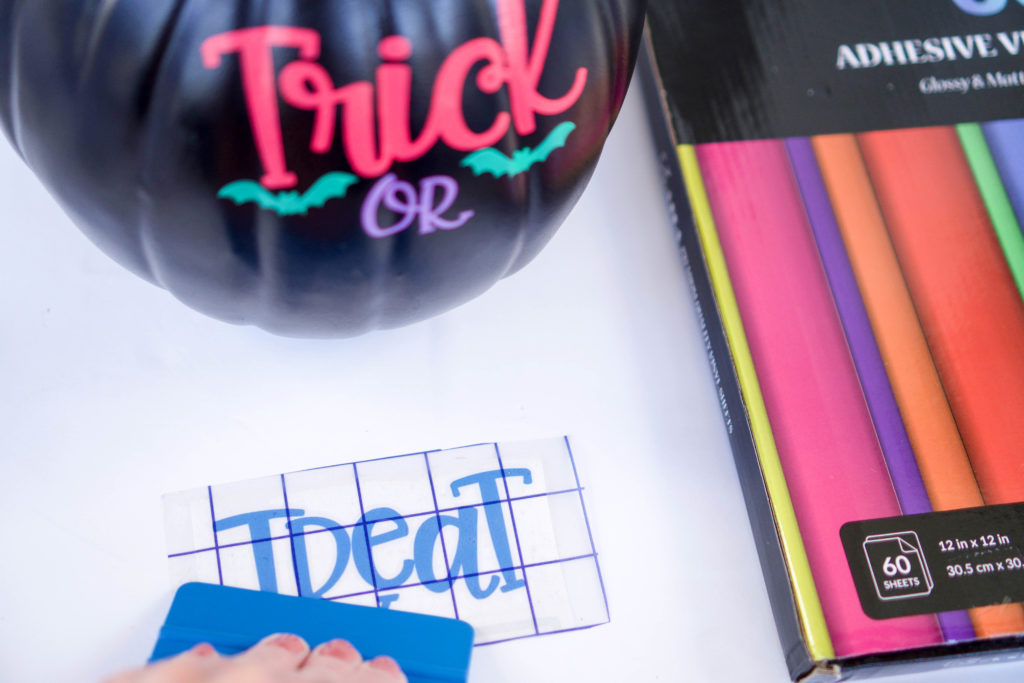
Cut a piece of transfer tape to the same size as the design and use the included squeegee to firmly press over the design.
Step Five: Transfer Designs
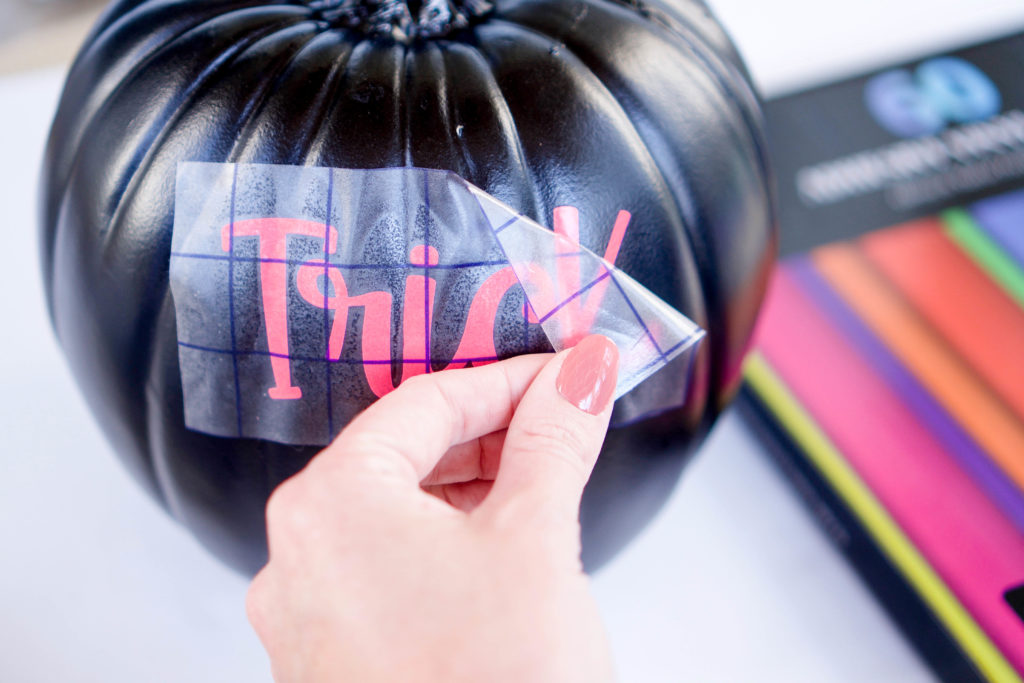
Peel the transfer tape and vinyl decal away from the paper backing and apply it to the pumpkin. Since the pumpkin is round, it’s best to work from the center outward.
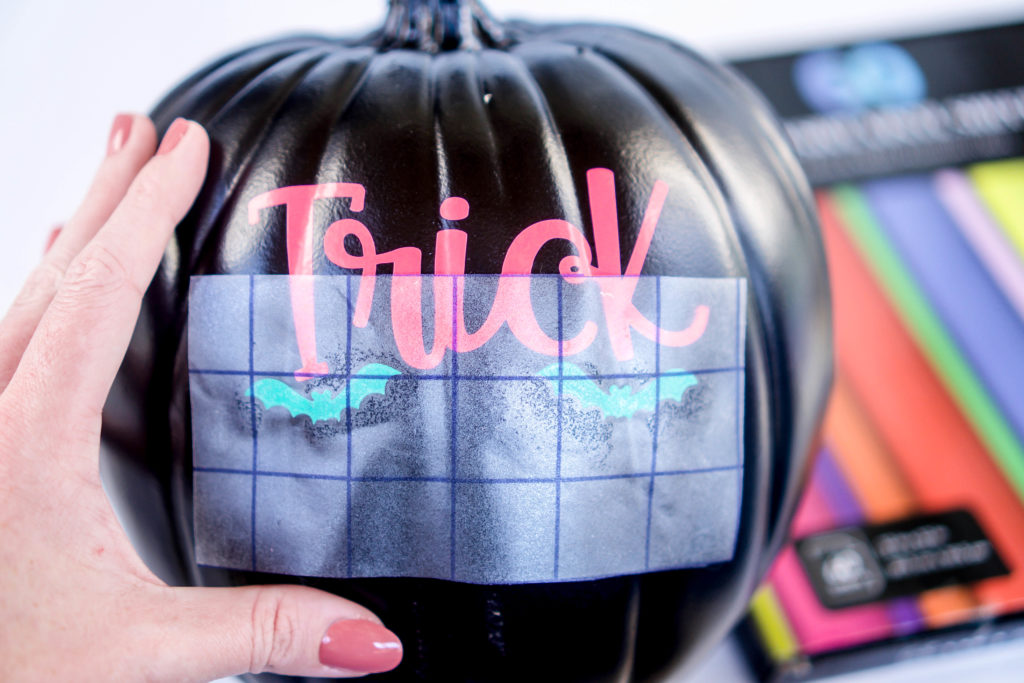
Continue to transfer each part of the design onto the pumpkin.
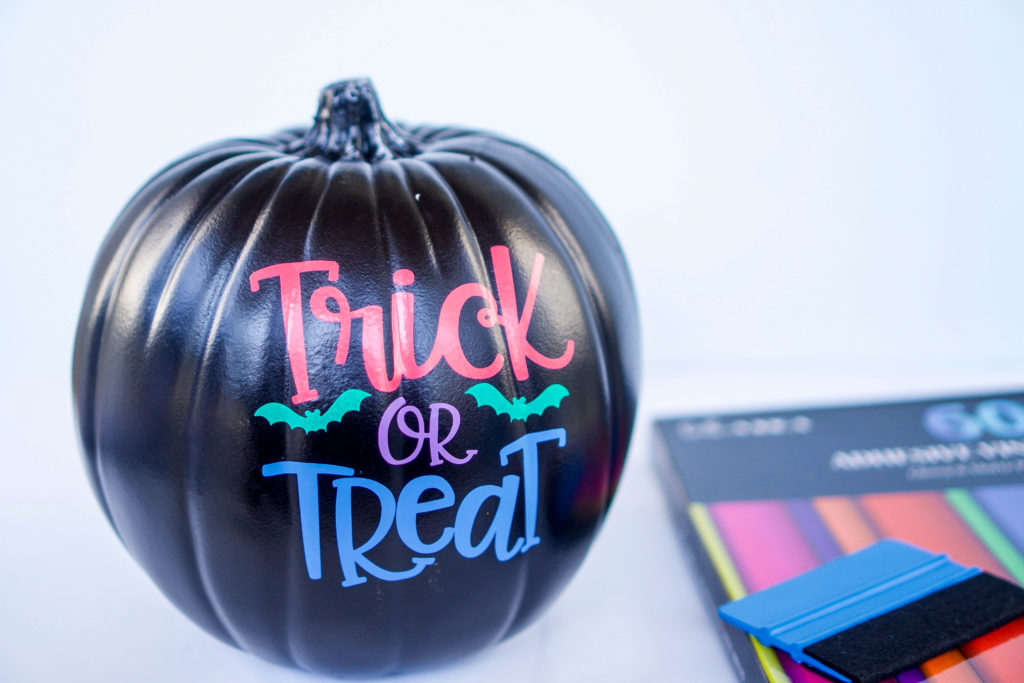
That’s it! I love how the colors pop against the black pumpkin!
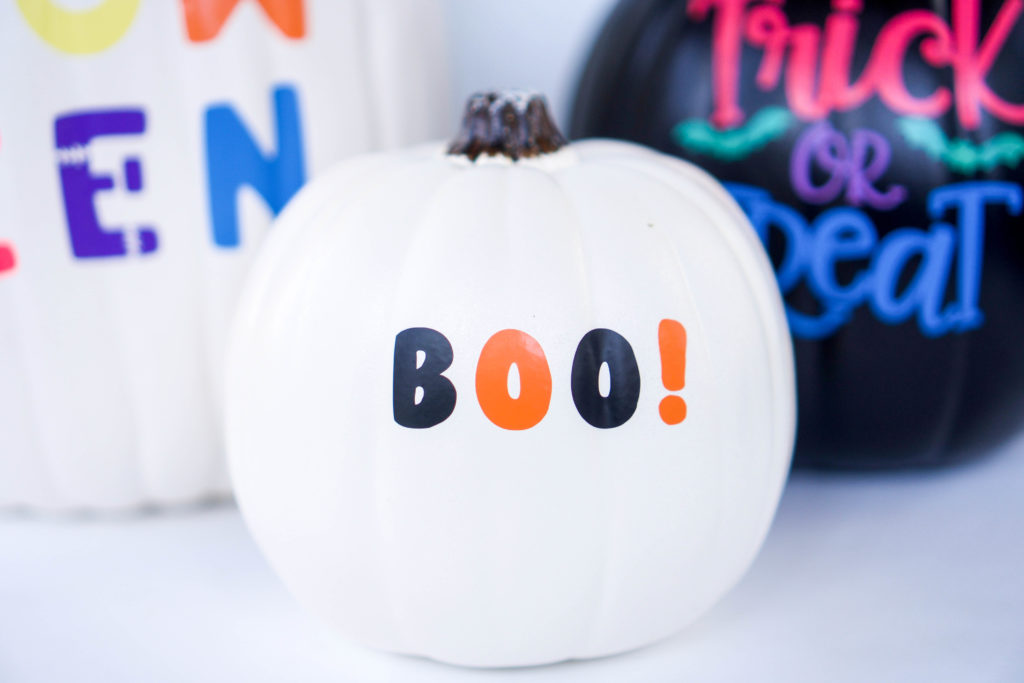
The colorful vinyl looks great on white too!
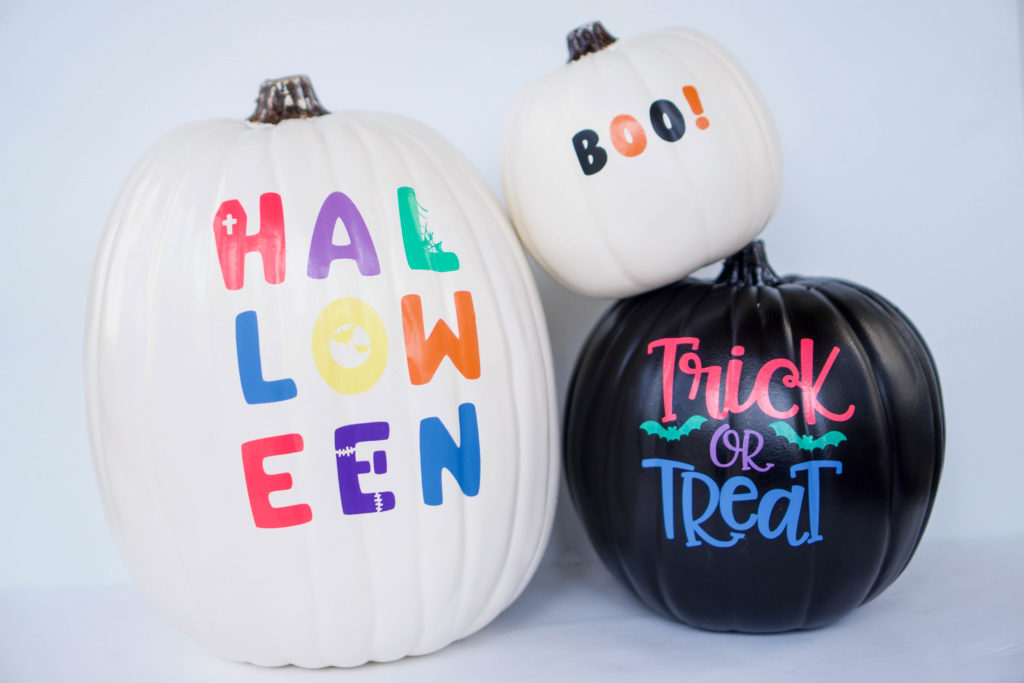
I hope you’re inspired to create your own “not so spooky” pumpkins! Be sure to head over to the Kassa shop and check out the vinyl and transfer tape!


Comments
Trackbacks & Pingbacks
[…] originally came across this idea from Kayla Makes. She wrote a blog post on how to create your own funky pumpkins with adhesive vinyl. I loved this idea and decided to […]