How To Apply Heat Transfer Vinyl On Socks

I can’t count the number of times my mother told me not to say “trick-or-treat, smell my feet, give me something good to eat..”! I always wanted to ring the doorbell of an unsuspecting stranger and tell them to smell my feet. Haha, childhood!
Now that I’m a mom myself I made sure to teach my kids the same silly trick-or-treat jingle but much like my own mother, I won’t actually let them say it to our poor neighbors.
These easy DIY’d socks are an ode to some of my fondest childhood memories. Read on to see how easy they were to make!

Heres what you need:
- Cricut Maker or similar machine
- Cutting Mat
- Siser EasyWeed HTV in white, orange and yellow
- Iron or Heat Press
- Blank Knee High Socks
(1) Design Set-up
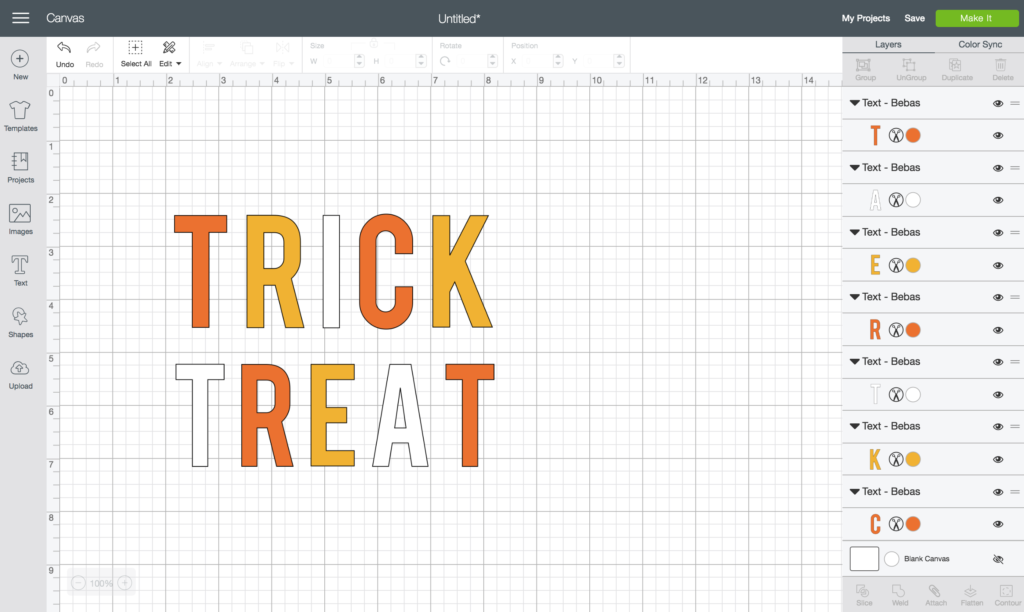
Start by typing out your word or phrase and selecting a font. I’m using Bebas here which is one of my favorites.
Measure the length and width of the socks you’re using and size the designs to fit accordingly.
Ungroup the letters and change the colors, alternating between orange, yellow and white.
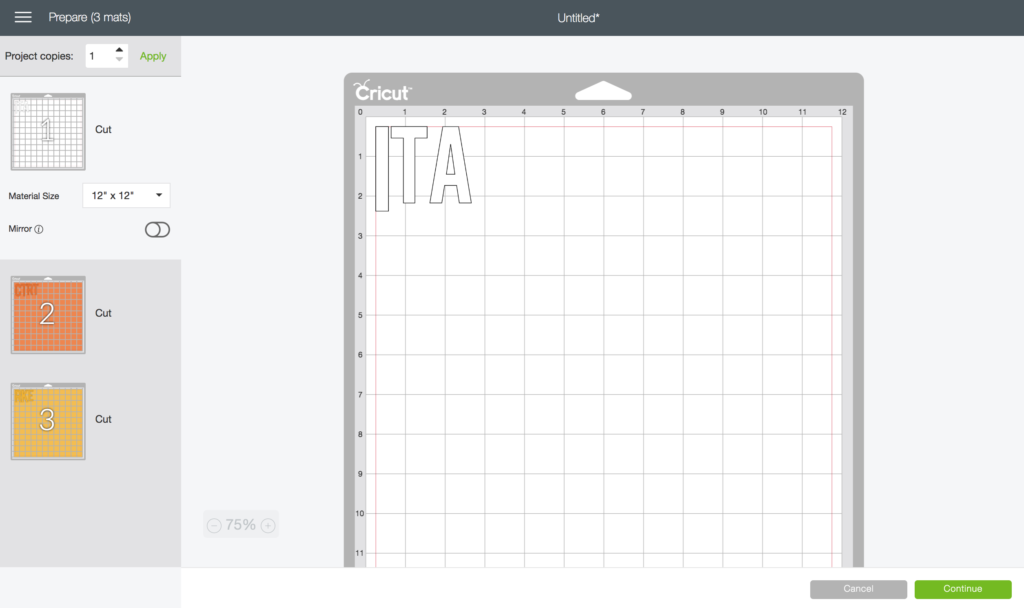
After clicking “make it” each color will be seperated onto mats.
(2) Cut and Weed
Load the first color into the machine and press the flashing GO button to cut.
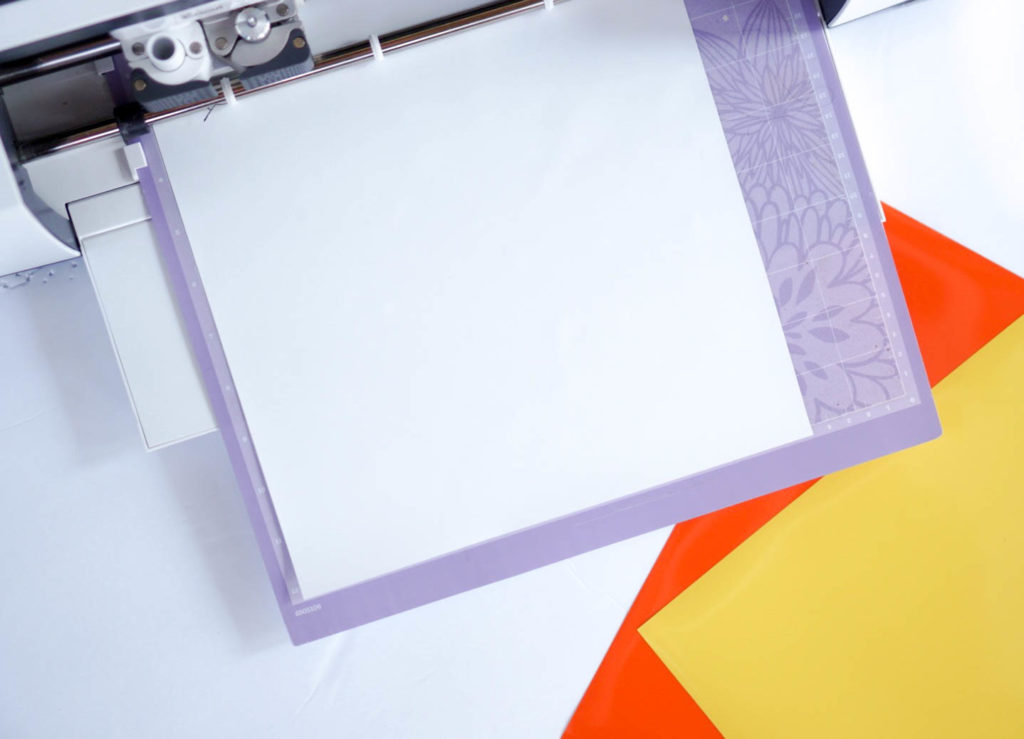
Remember, when you’re working with HTV always place it on the mat with the shiny side facing down.
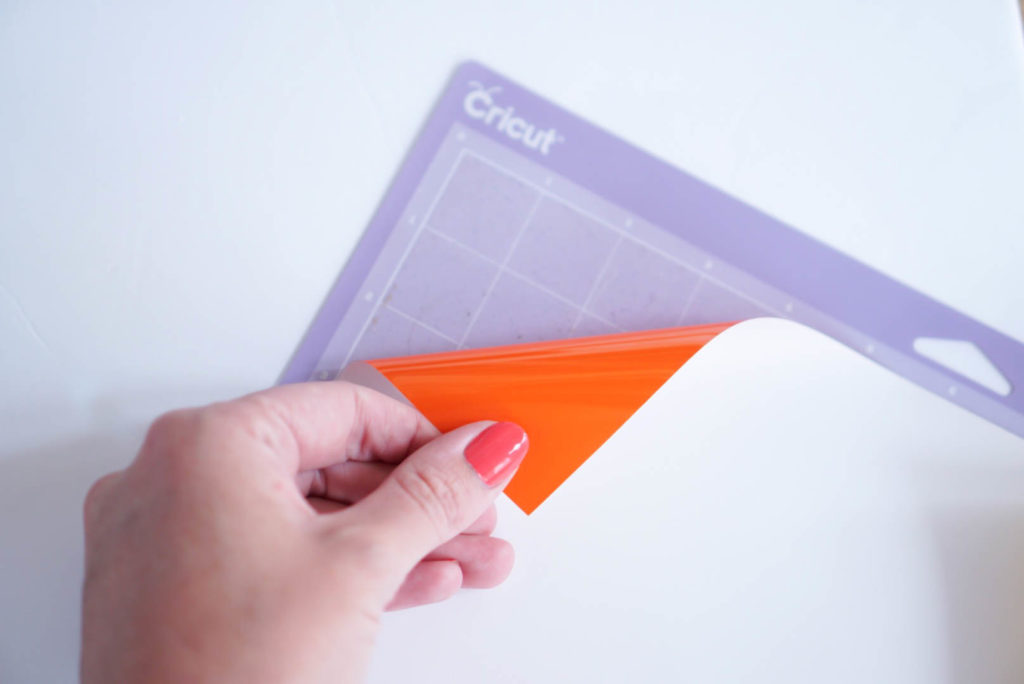
Remove the excess vinyl from around the letters and use a weeding tool to remove the smaller pieces.
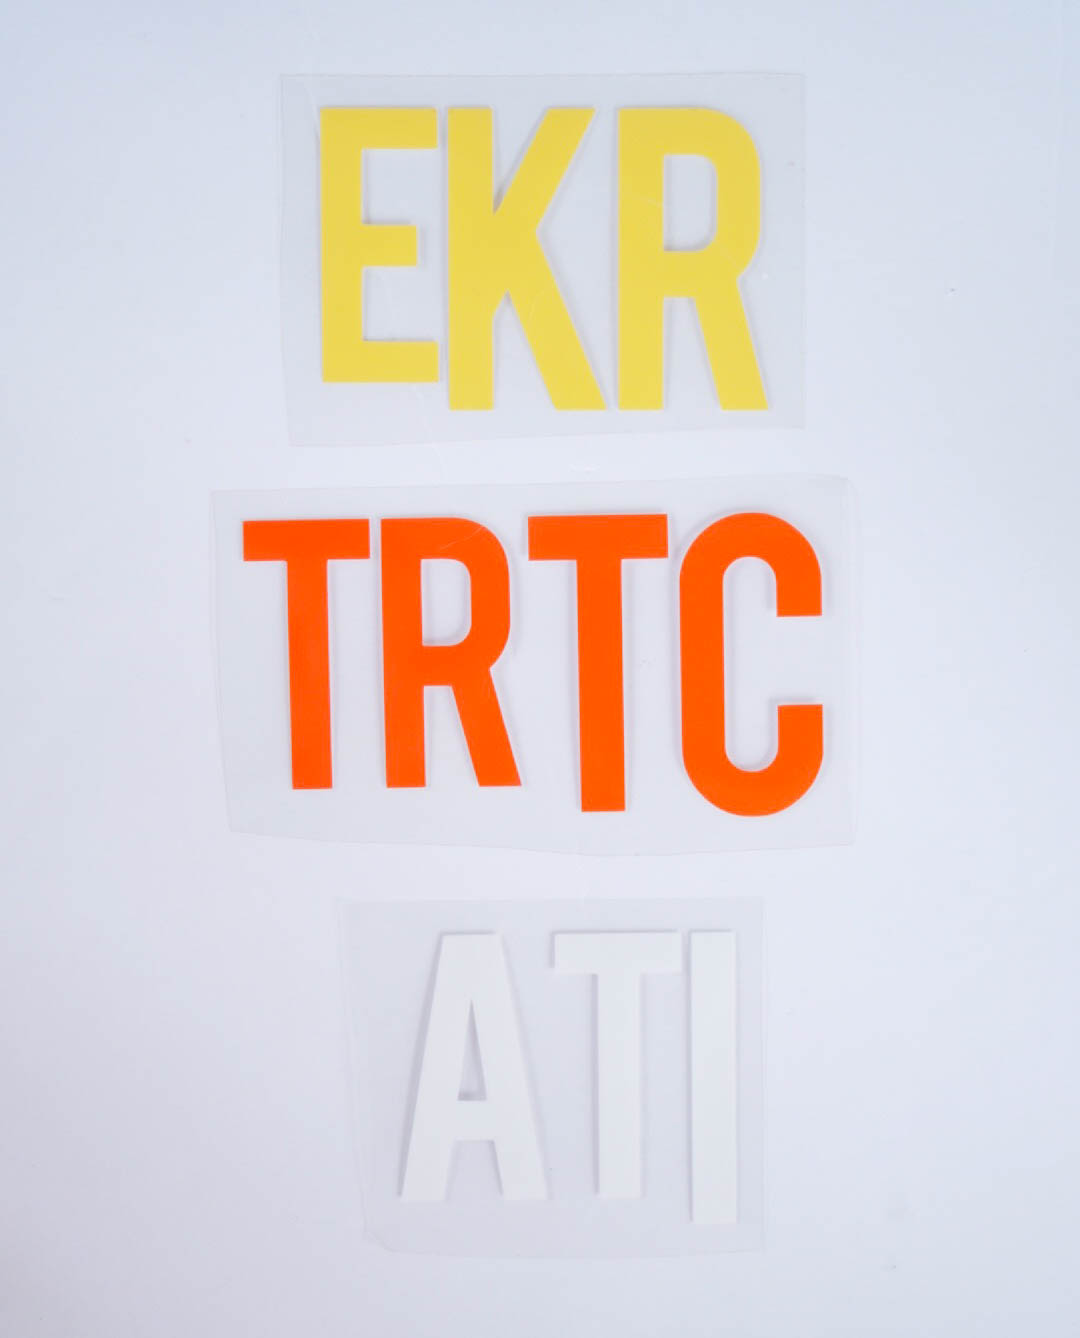
Cut the letters apart and assemble your designs.

(3) Iron On
Press the bottom of the socks flat so that you have a nice clean surface to work with, then carefully iron on each letter.
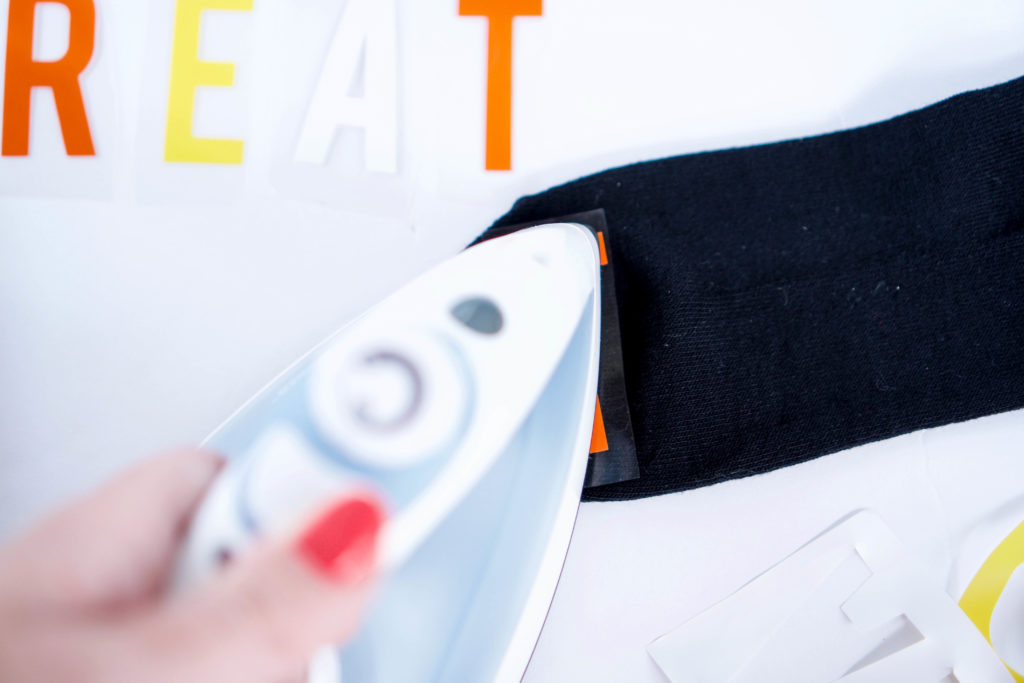
I prefer to do one letter at a time, it helps me keep everything straight, but you could also line the entire design up at once and iron it all on at the same time.
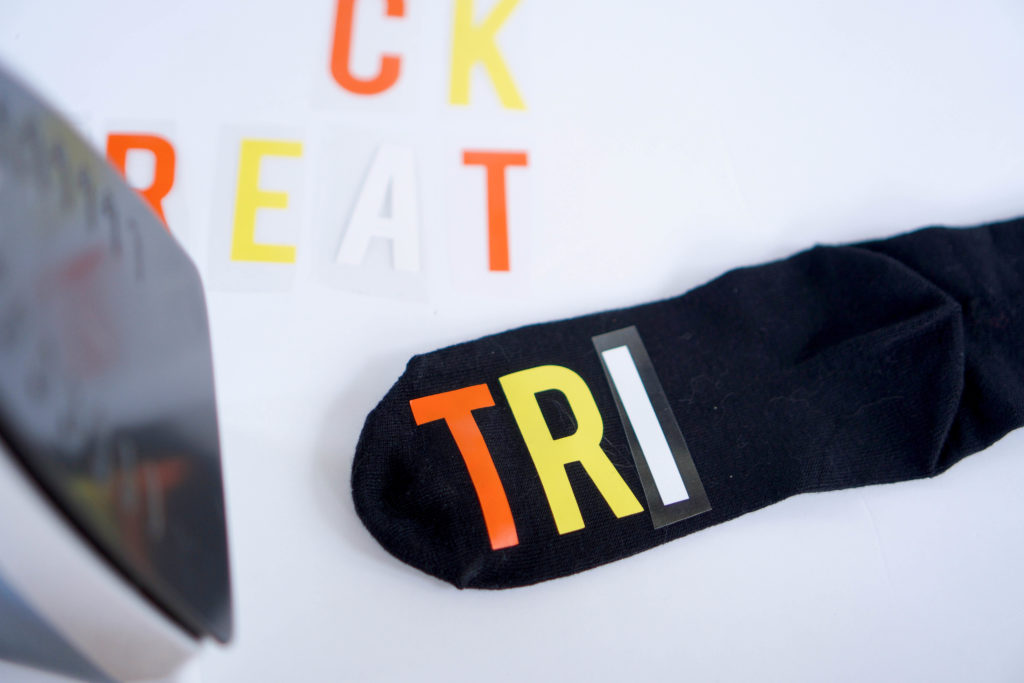
That’s all there is to it! Just be sure to wait 5-10 seconds before peeling the carrier sheet away from the HTV and also, cover the letters that have already been ironed on before moving on to another.
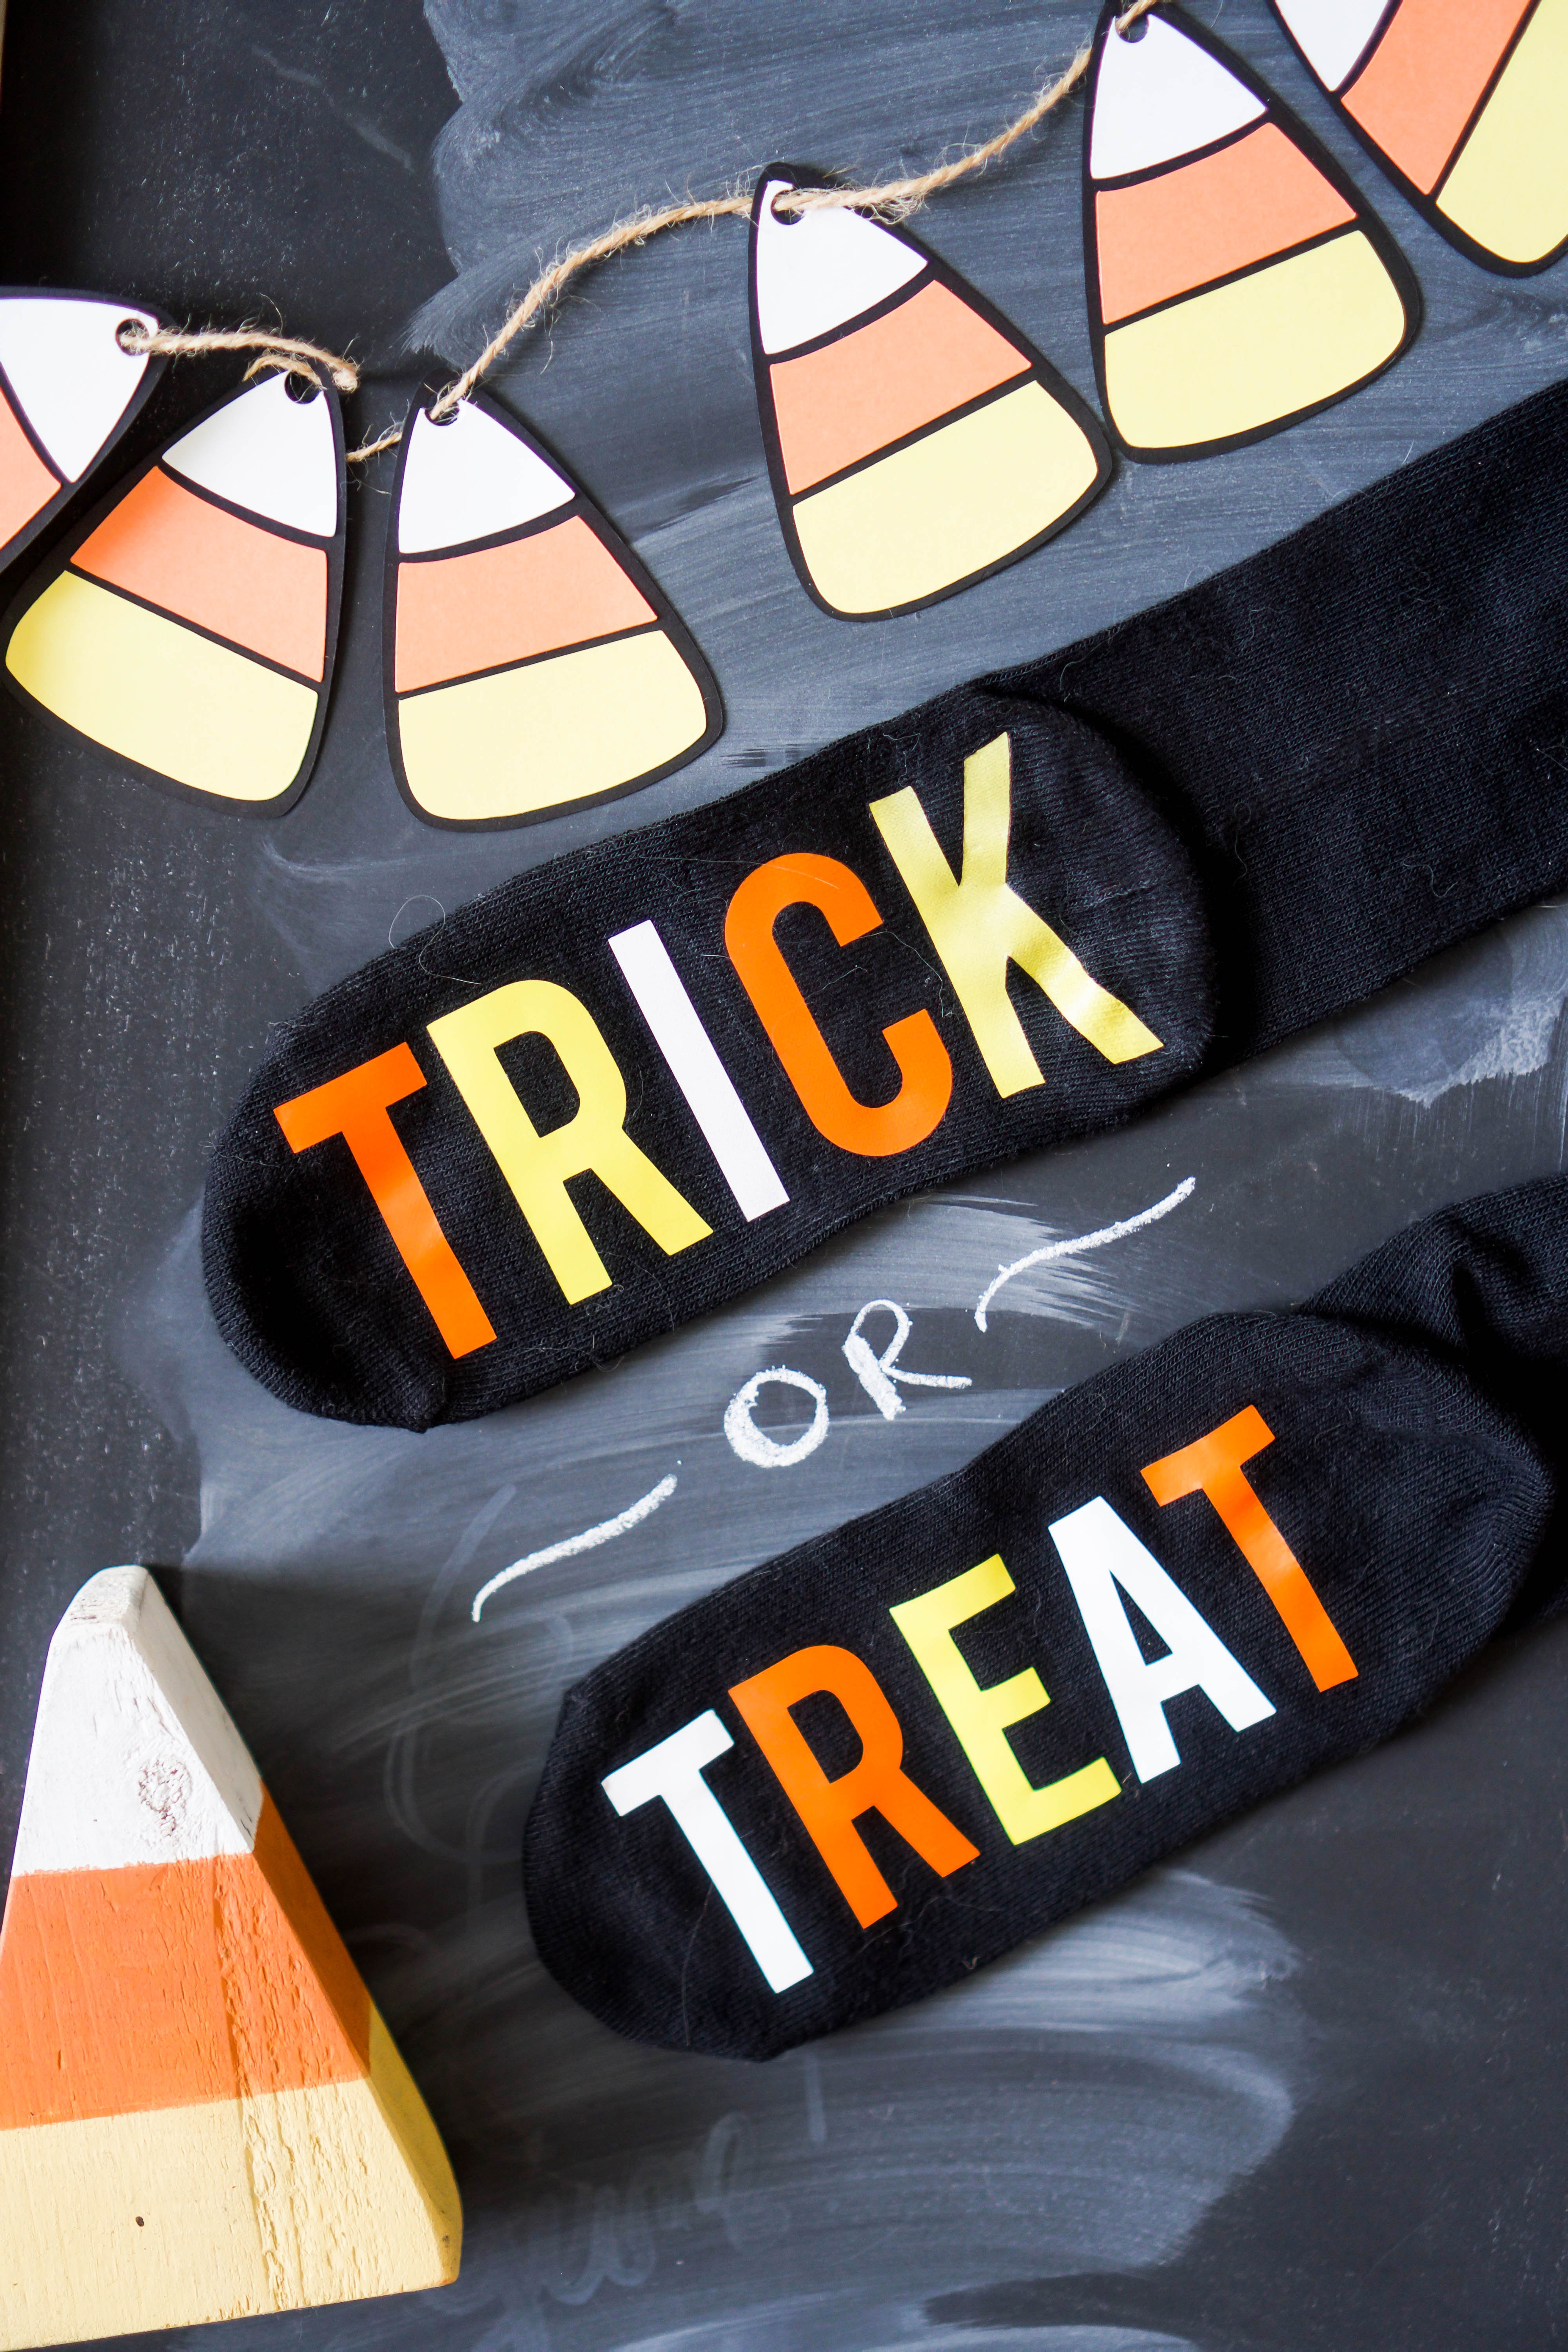
Happy crafting!


