How To Apply Vinyl On A Reusable Tumbler
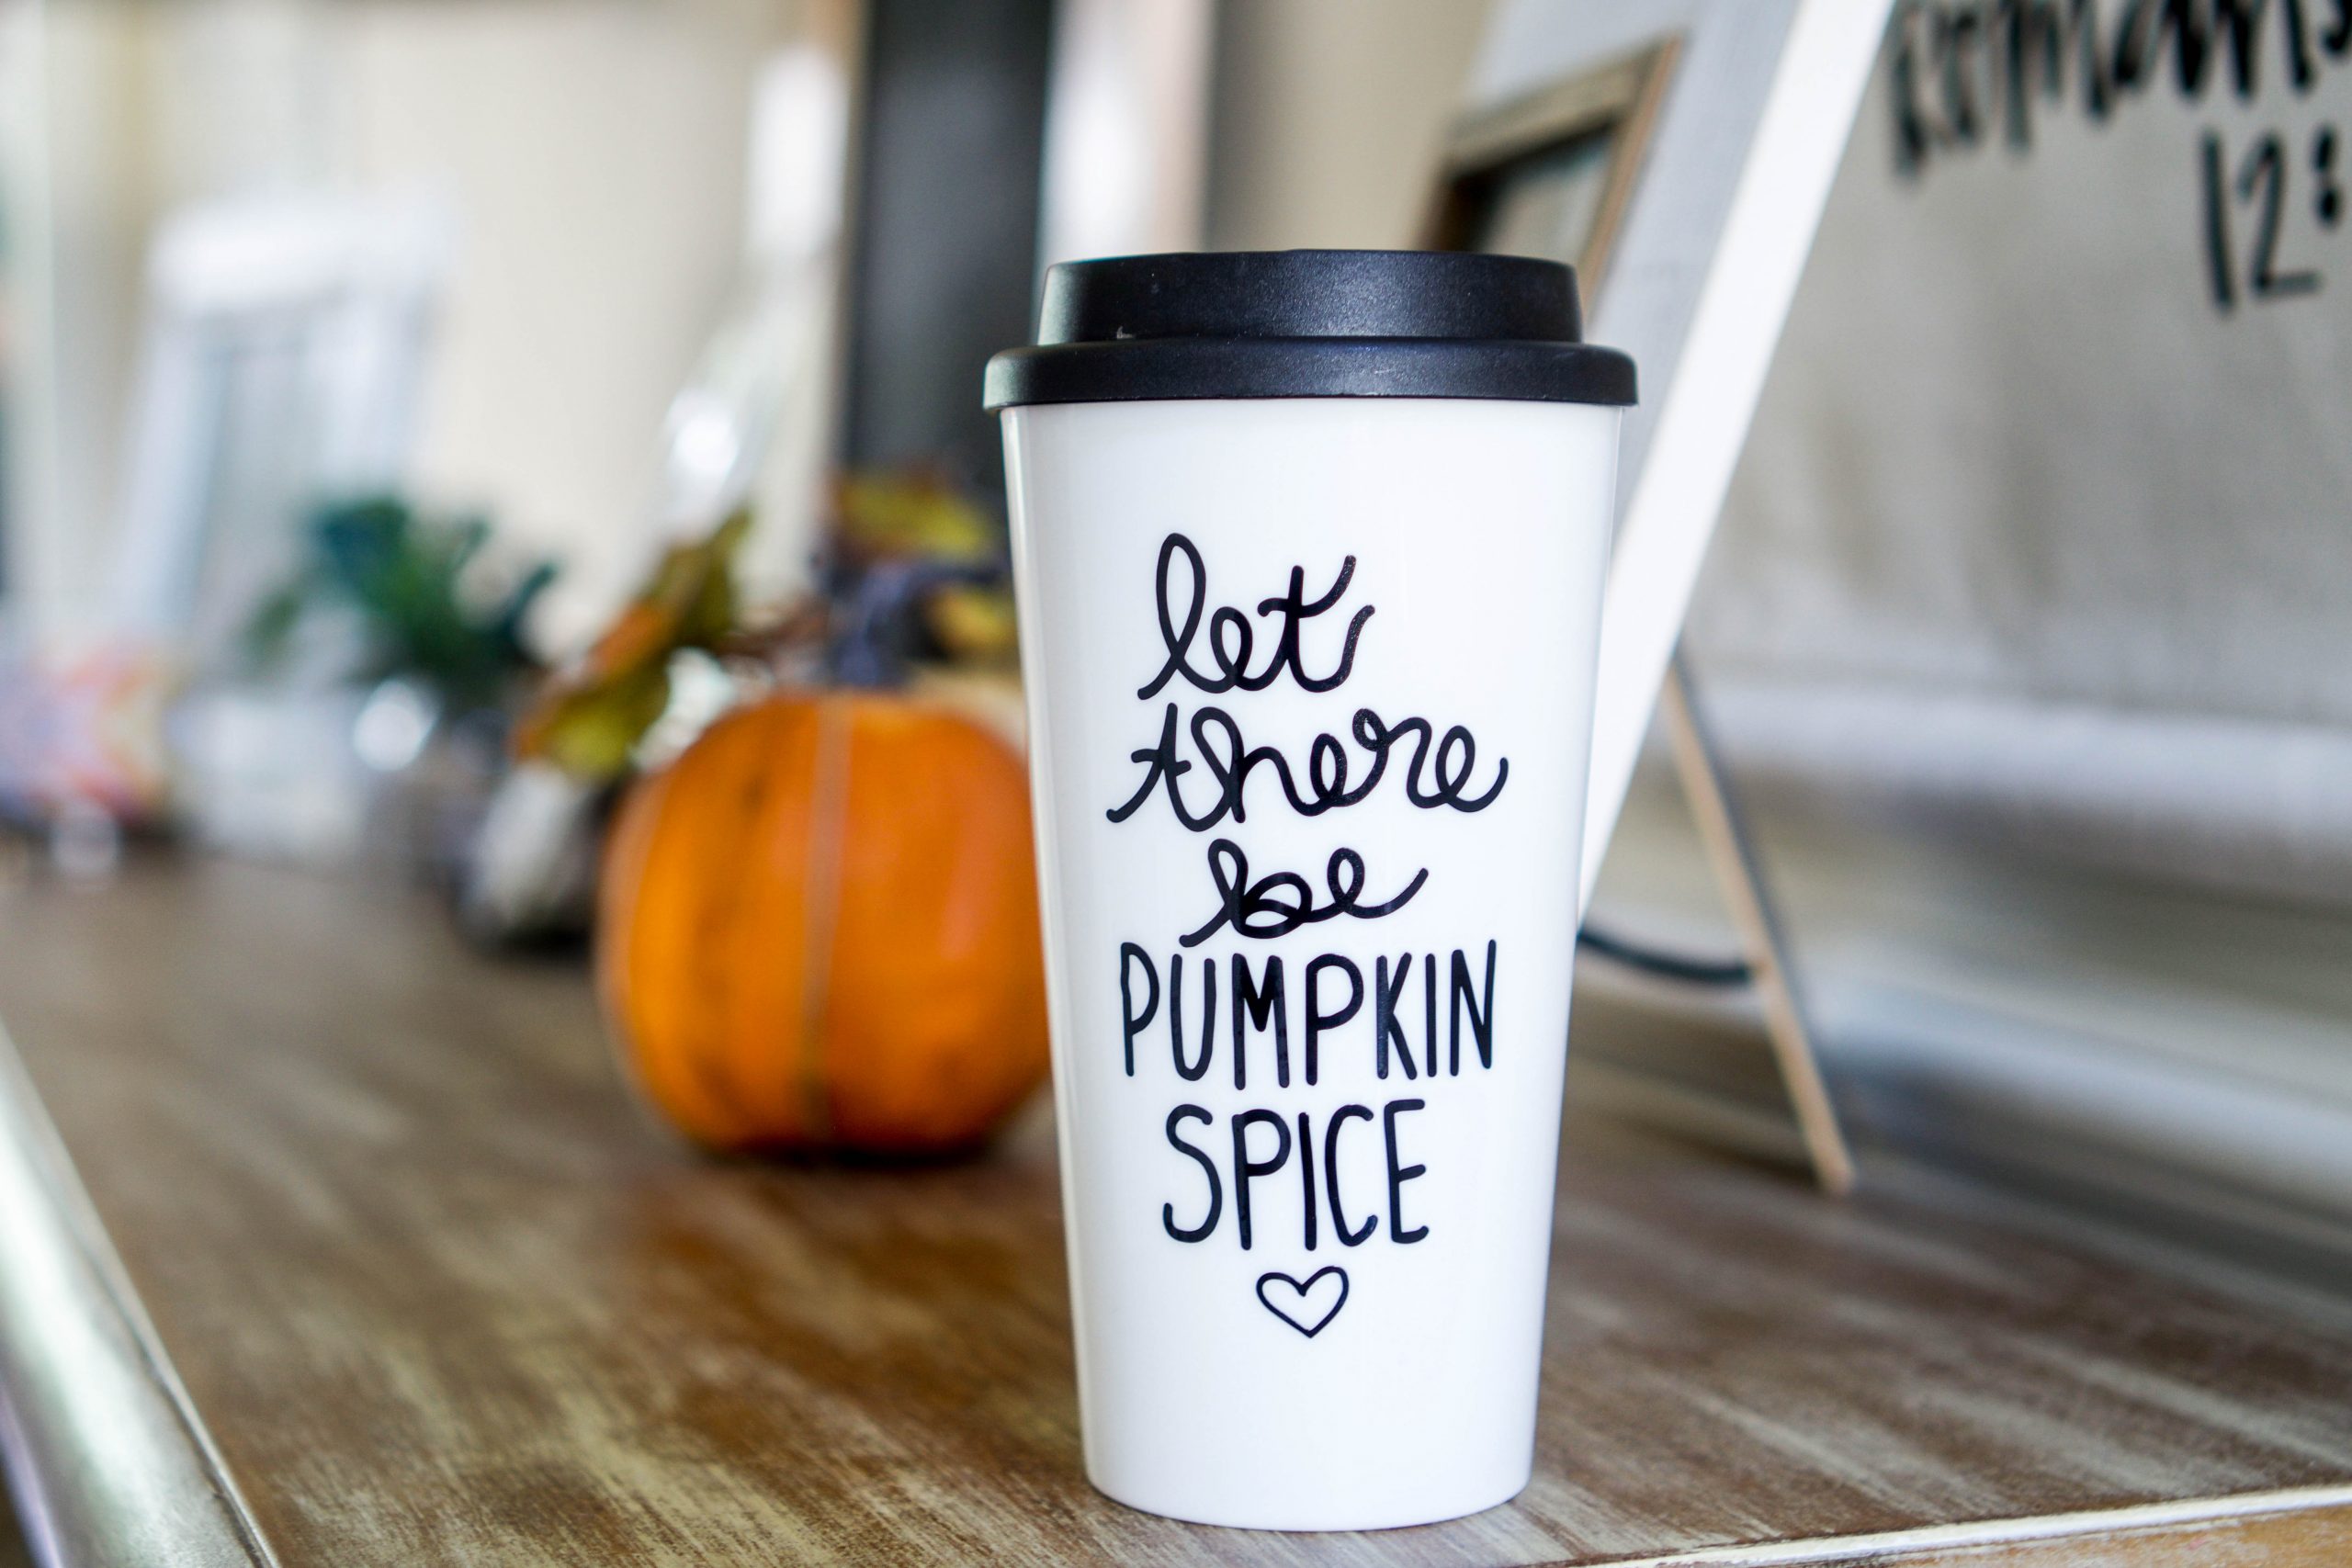
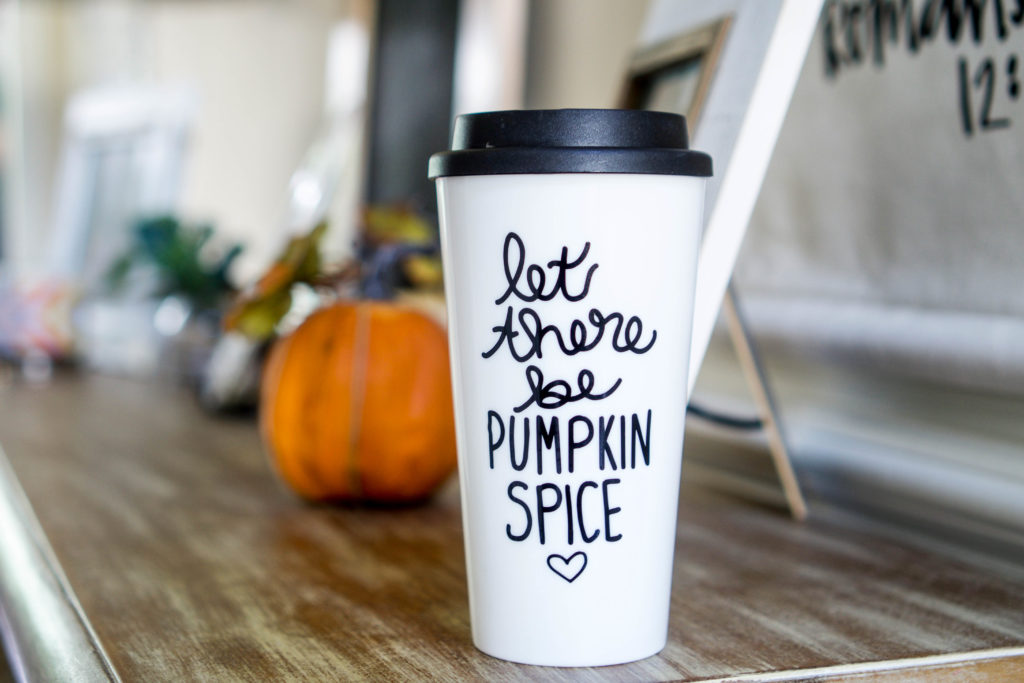
Pumpkin spice season is officially upon us. Soon, everything you can think of will be pumpkin flavored. I myself am not a huge fan of it but I do have a friend that loves all things pumpkin spice. So, I put together a cute travel mug for her to ring in the season!
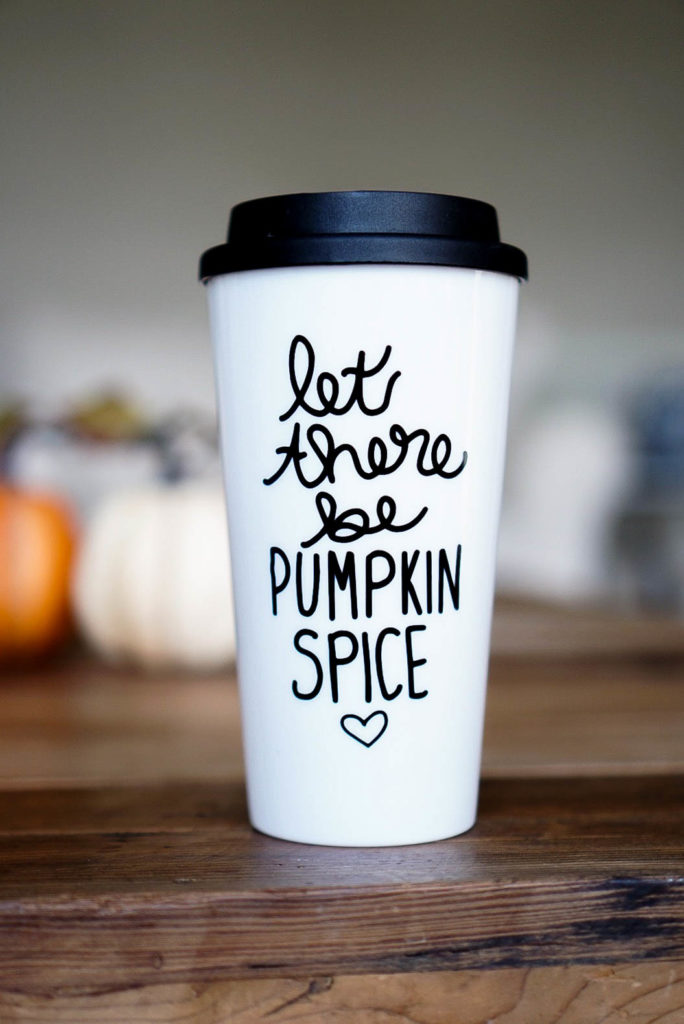
Here’s What You’ll Need:
- Craftables Permanant Vinyl in black
- Blank Travel Tumbler
- Craftables Transfer Tape
- Weeding Tool
- Scraper Tool
To start, I hand lettered a simple design on my ipad and uploaded it to Design Space. I cut the design out using my Cricut Maker on the vinyl setting.
Next, I used a weeding tool to remove the insides of the letters and the excess vinyl from around the design.
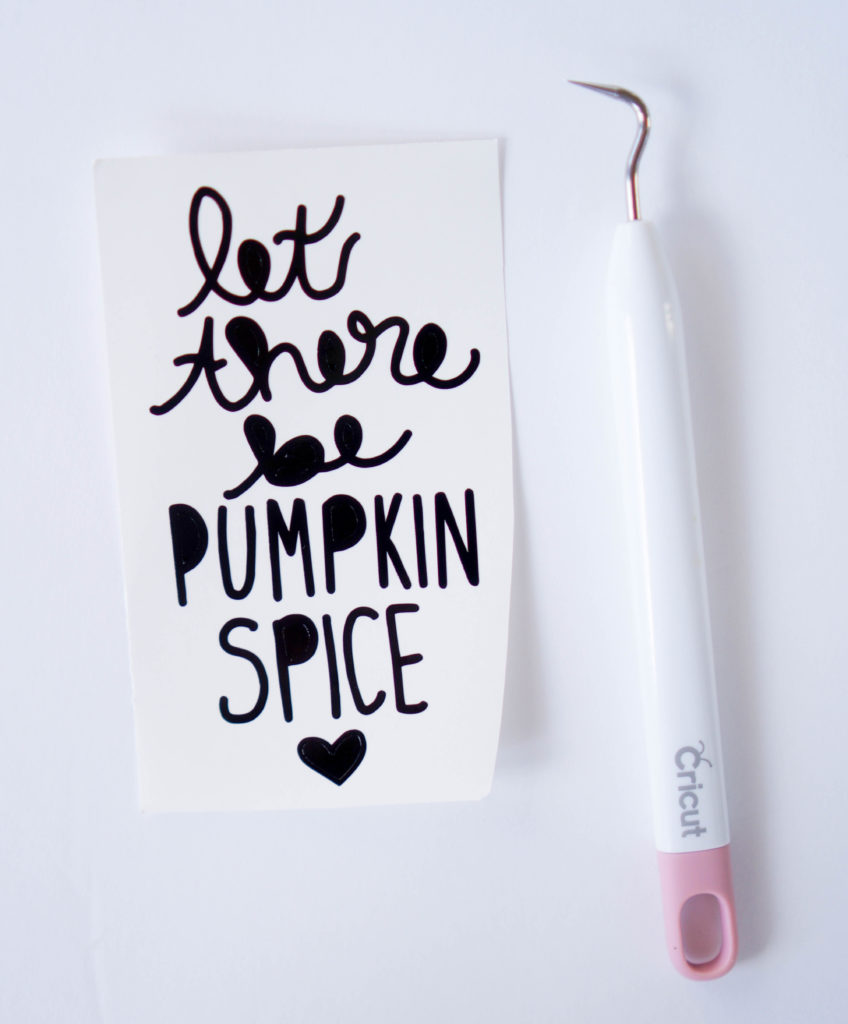
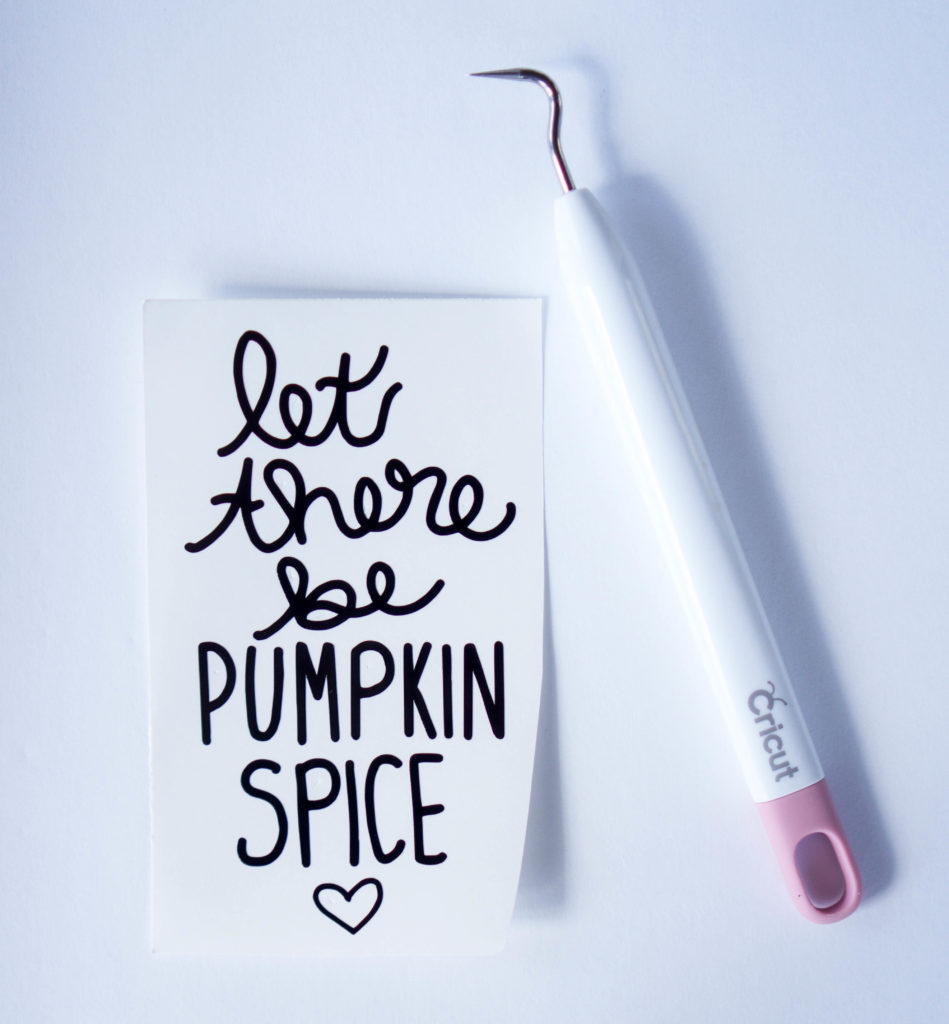
Cut a piece of transfer tape to the same size as the design.
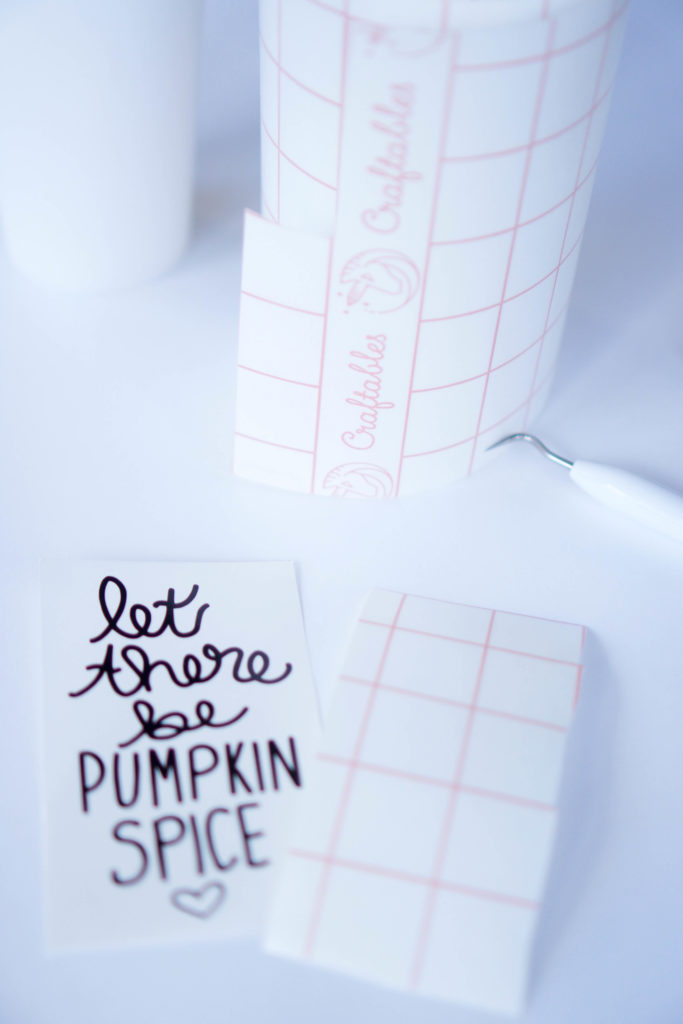
Use a scraper tool or squeegee to apply the transfer tape onto the vinyl. The grid lines on this transfer tape are super helpful when it comes to keeping everything nice and straight!
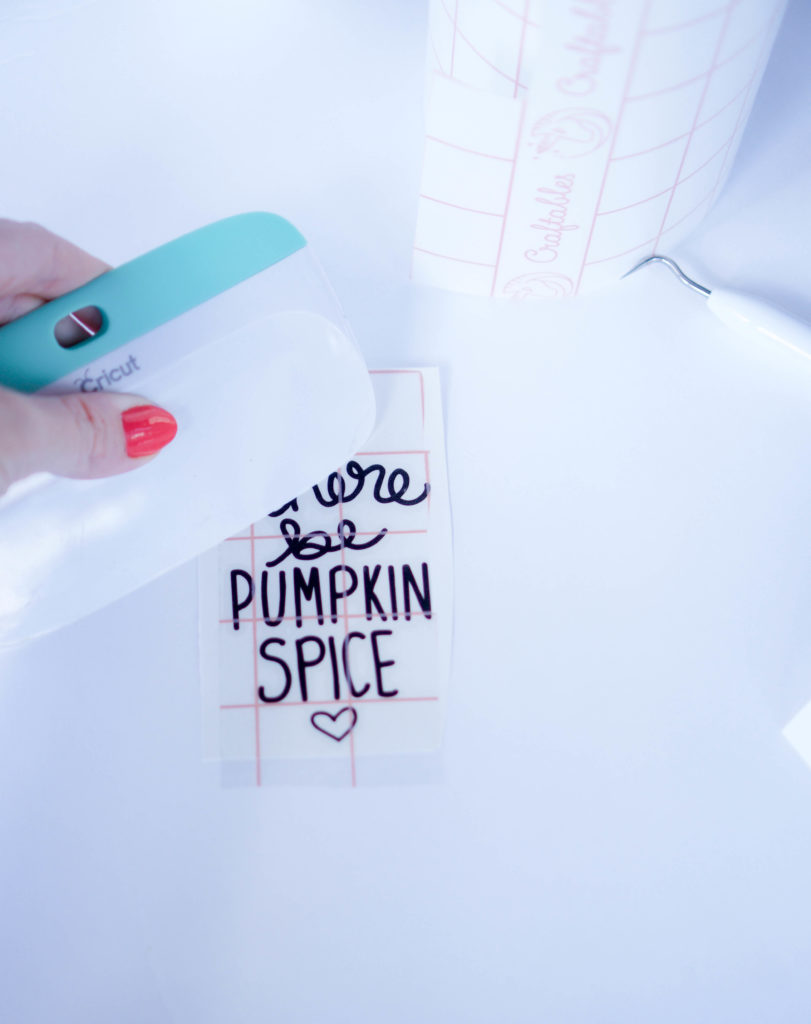
Carefully remove the transfer tape, lifting the vinyl design with it.
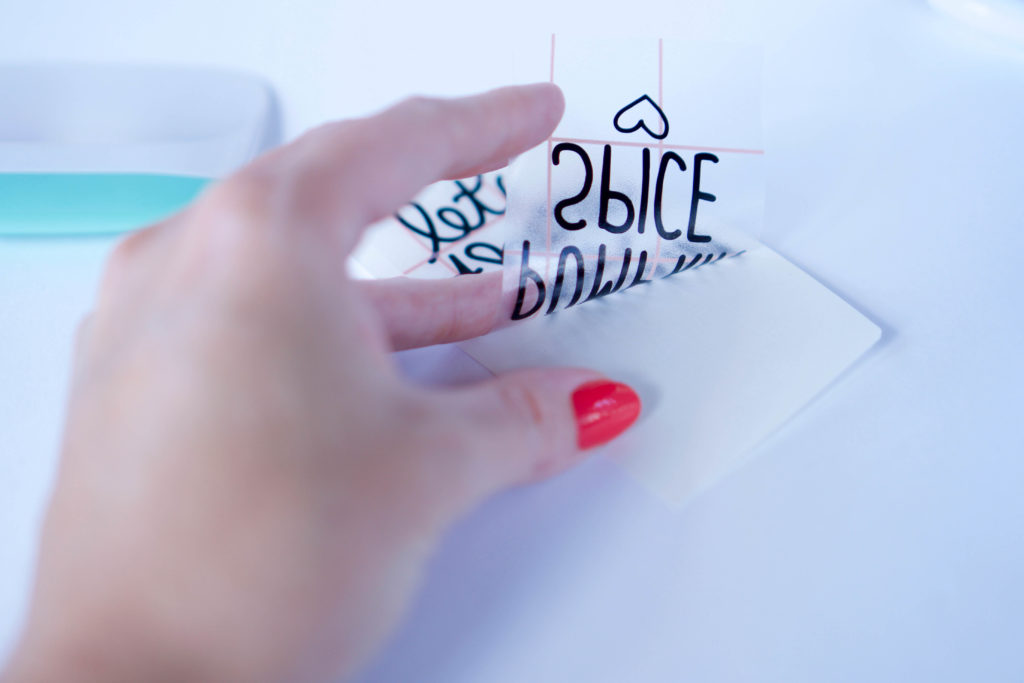
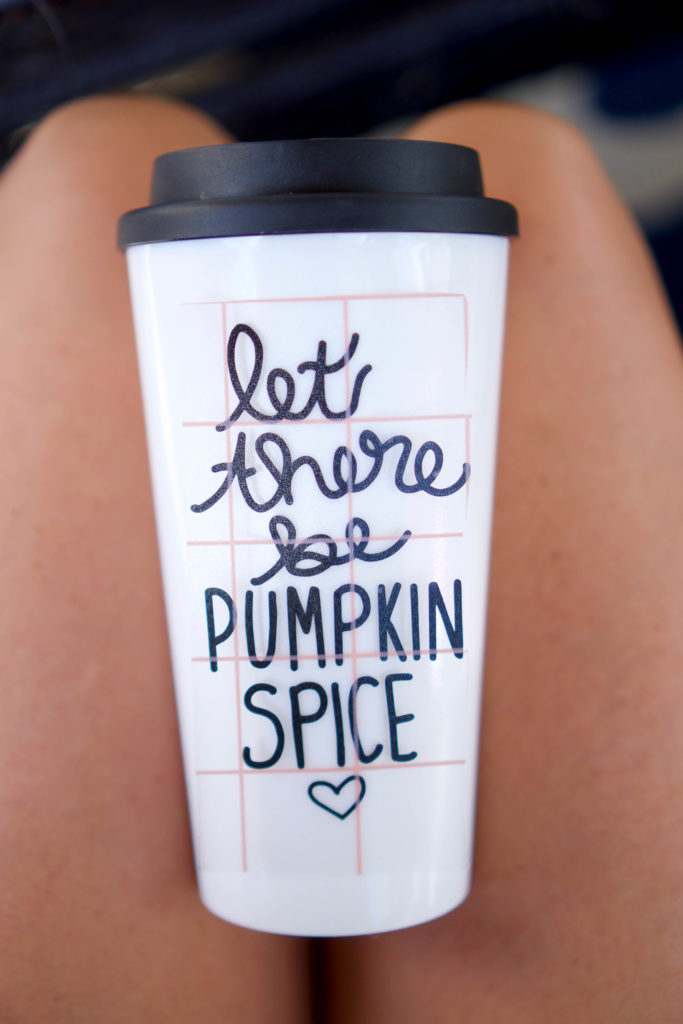
Apply the vinyl decal to the mug, starting from the center and working your way to the edges. You can use the scraper tool again or just use your fingers to press the vinyl on really well.
*I like to use my lap whenever I’m applying vinyl to mugs or cups! No rolling, and, it helps me keep everything centered. 🙂
Slowly peel away the transfer tape to reveal your awesome handiwork!
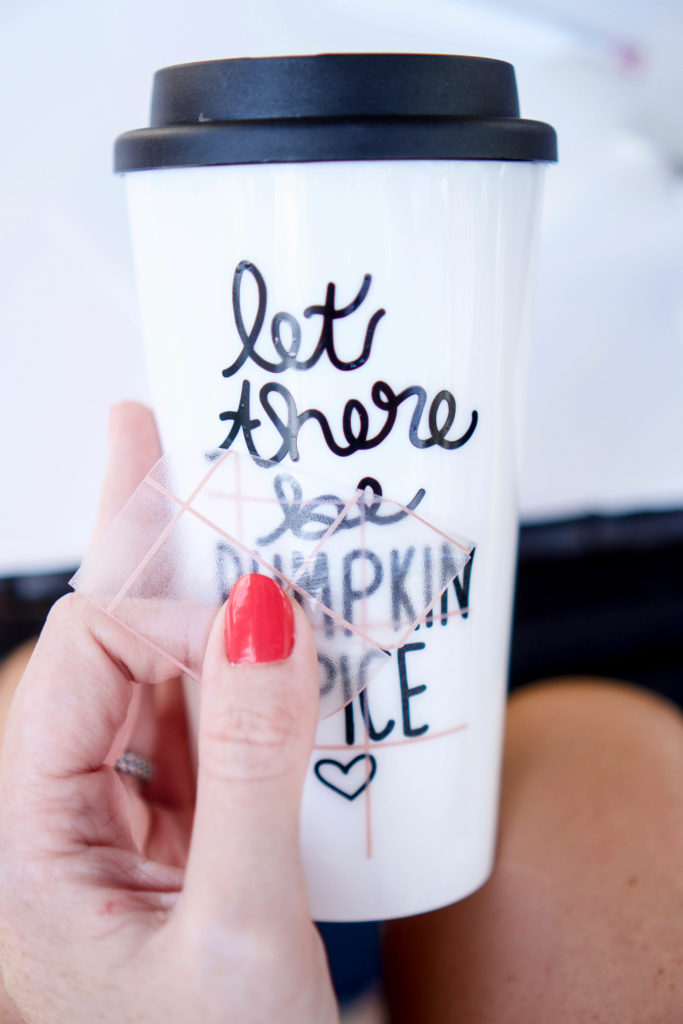
Creating this easy mug has me so excited for all things Fall!
Happy crafting!


