Trick or Treat Candy Tray + Free Cut File
Halloween is tomorrow! Are you ready for all of those cute trick or treaters? I love handing out candy almost as much as I love eating it. I keep the big bags of candy hidden behind the door and every year I make a cute new tray to hold while handing it out.
This little DIY is so simple you’ll have it done long before all of the candy disappears.
DIY Trick or Treat Tray
Here’s what you need:
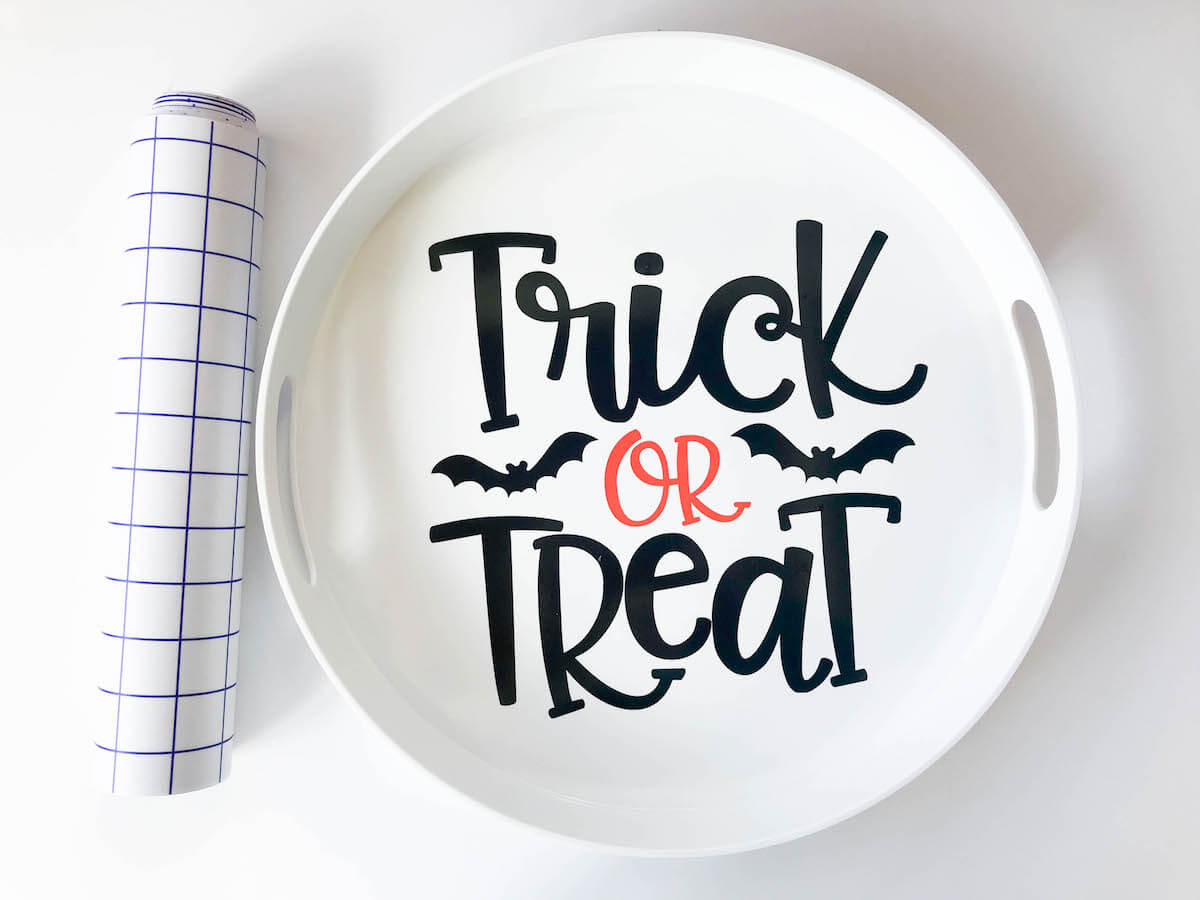
- Blank Tray (mine is from target)
- Halloween Vinyl Pack
- Cricut Explore Air II
- Transfer Tape
- Free Trick or Treat SVG
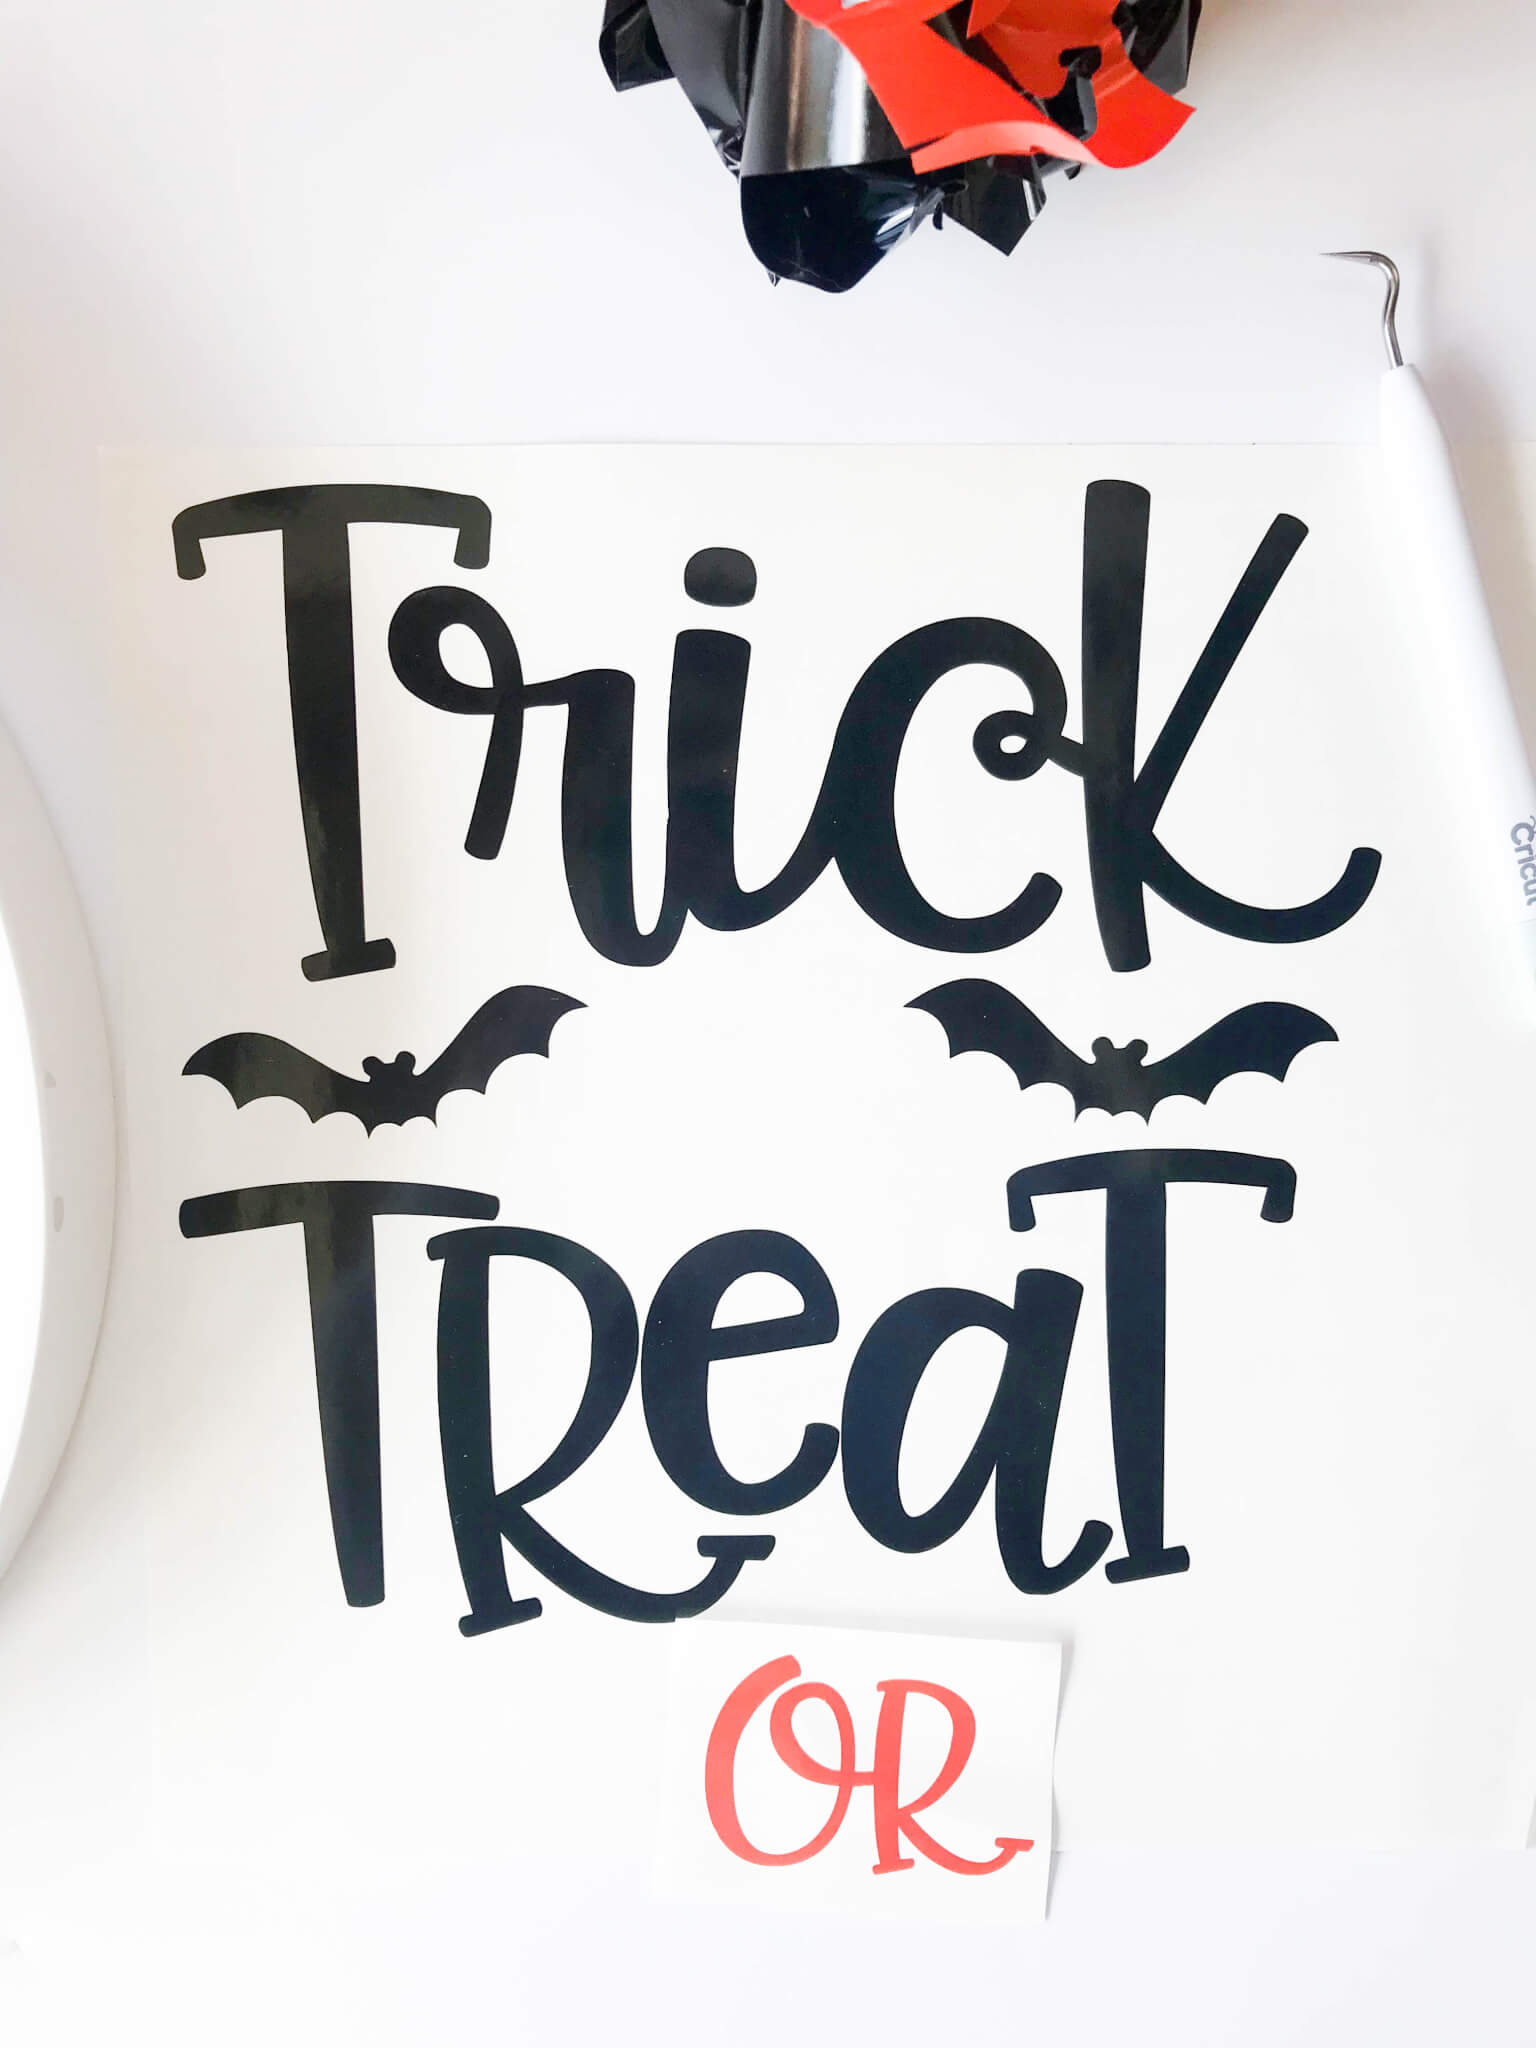
(1) Upload and Weld SVG
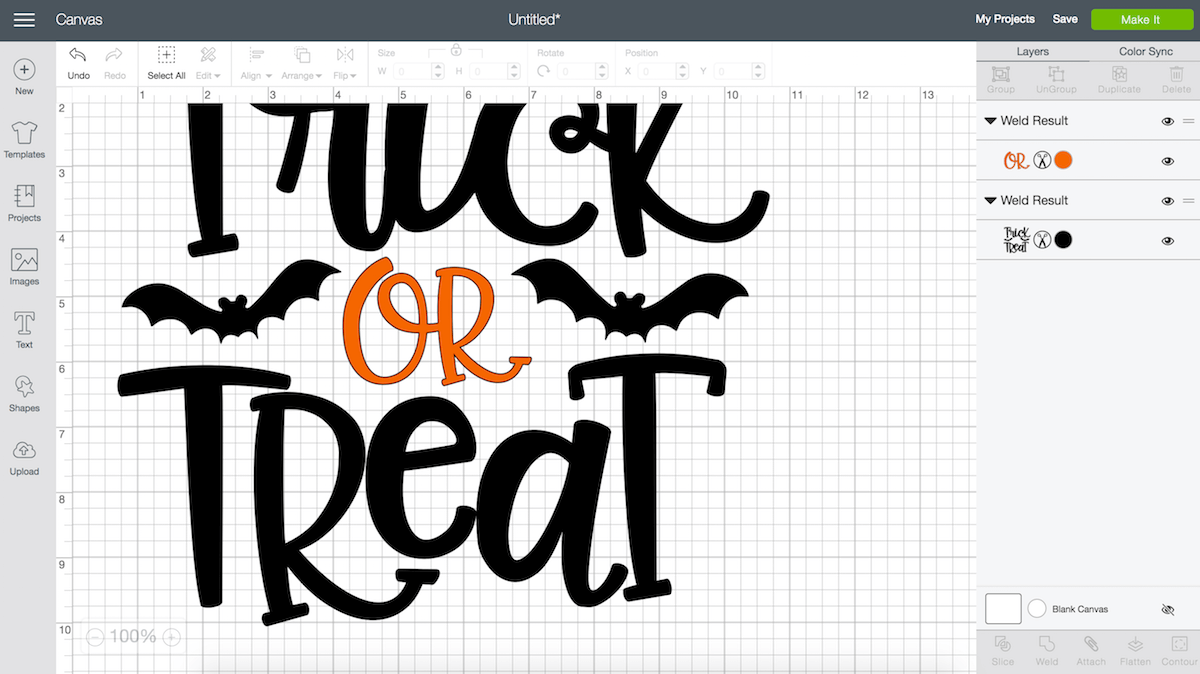
When you upload the Trick or Treat SVG to Design Space, every letter will be a separate layer. That’s not what you want. Select all of the black elements at once and click weld. Then, select the orange ones and weld those together as well. This keeps things in place on the next screen.
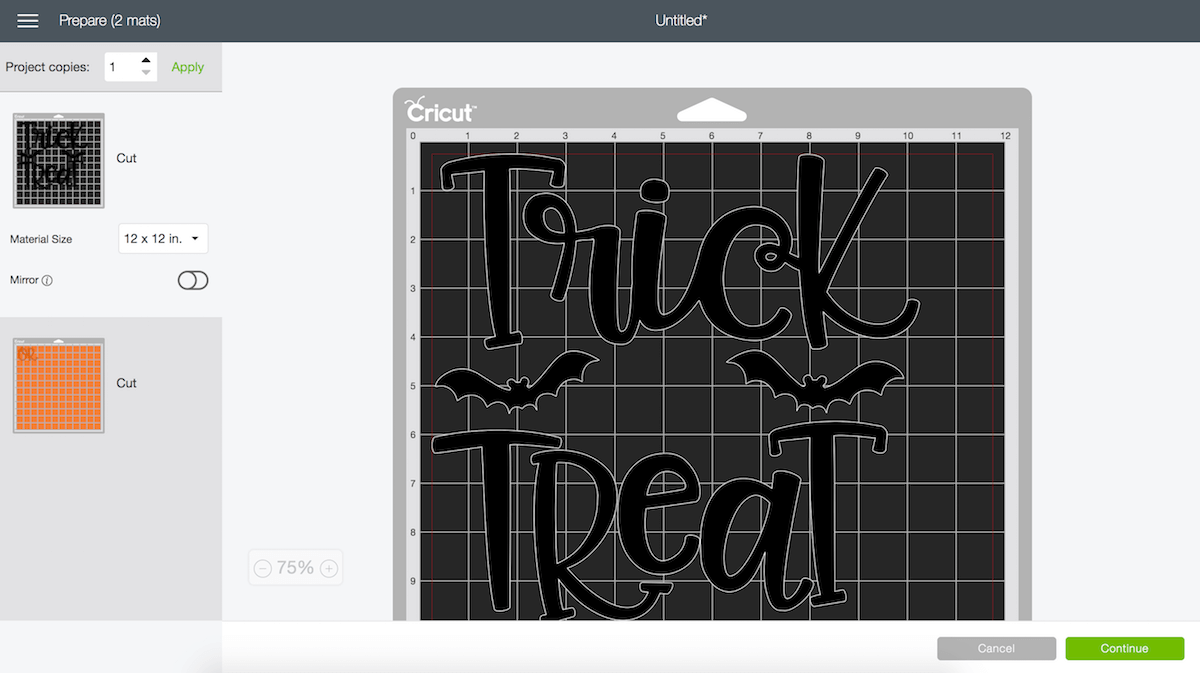
After you click “make it” you’ll see the mat screen. Cricut automatically sorts designs onto mats by color. Load the black first, once it has finished cutting load the orange. It couldn’t be more simple!
(2) Weed Designs
Use a weeding tool to weed out the negative parts of the design. If you don’t have a handy dandy weeding tool you can also use a push pin or just a sewing needle!
(3) Apply Transfer Tape
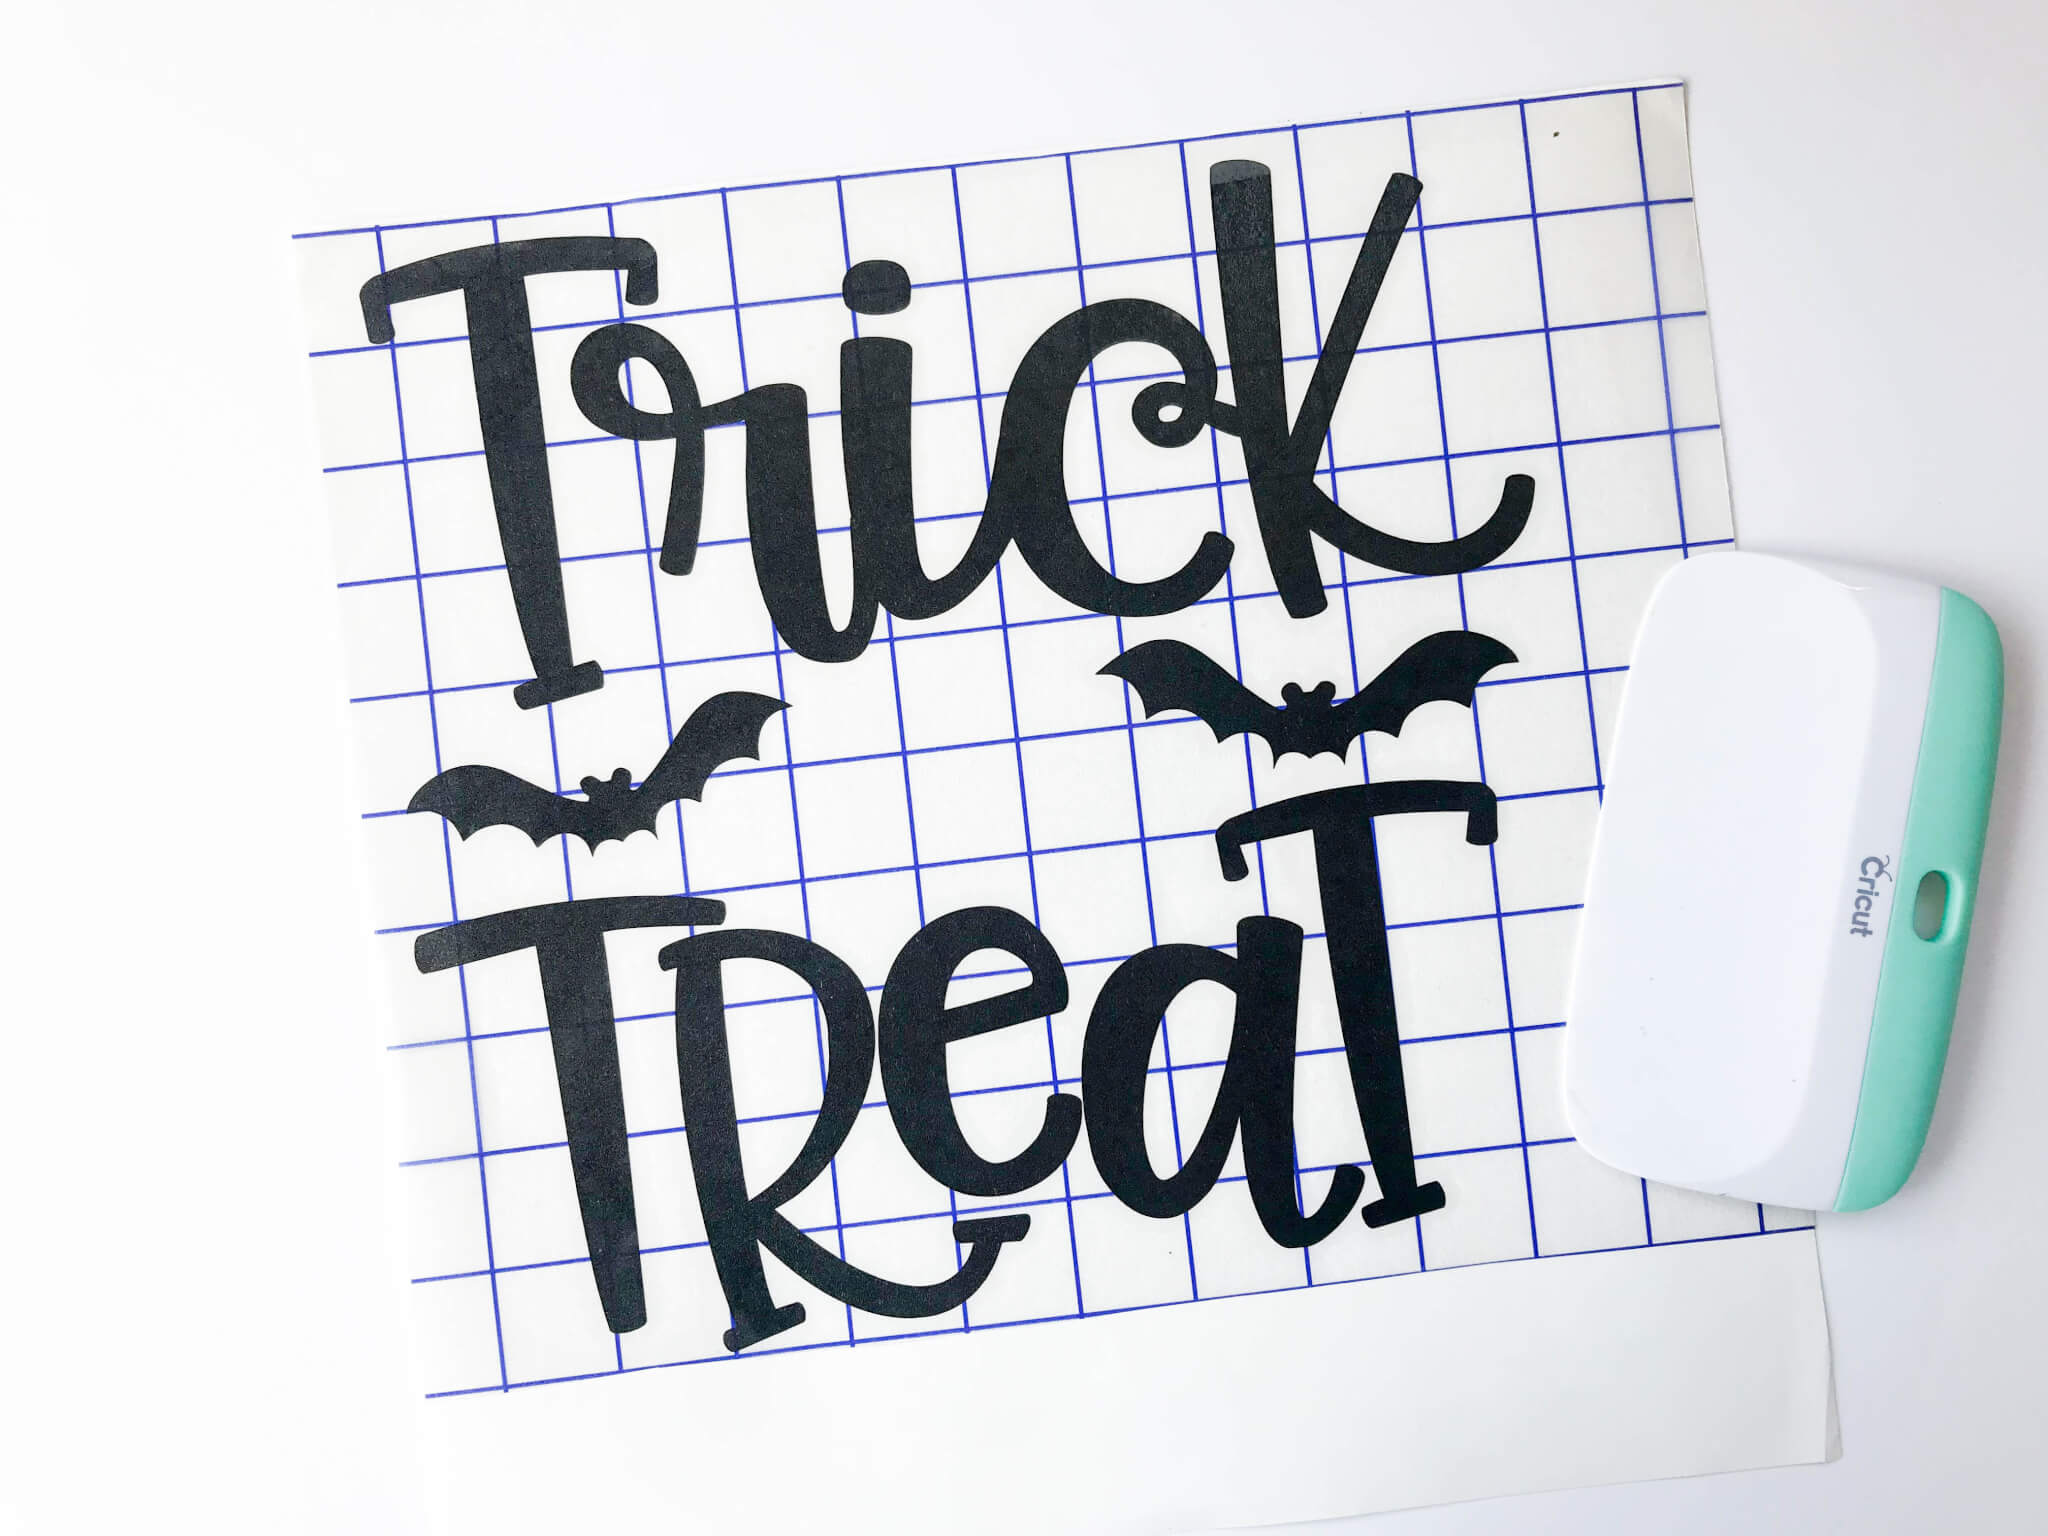
Apply transfer tape over the first layer of the design and burnish it well. You don’t want to leave anything behind and have to line it up yourself, that’s to much work.
(4) Transfer To Tray
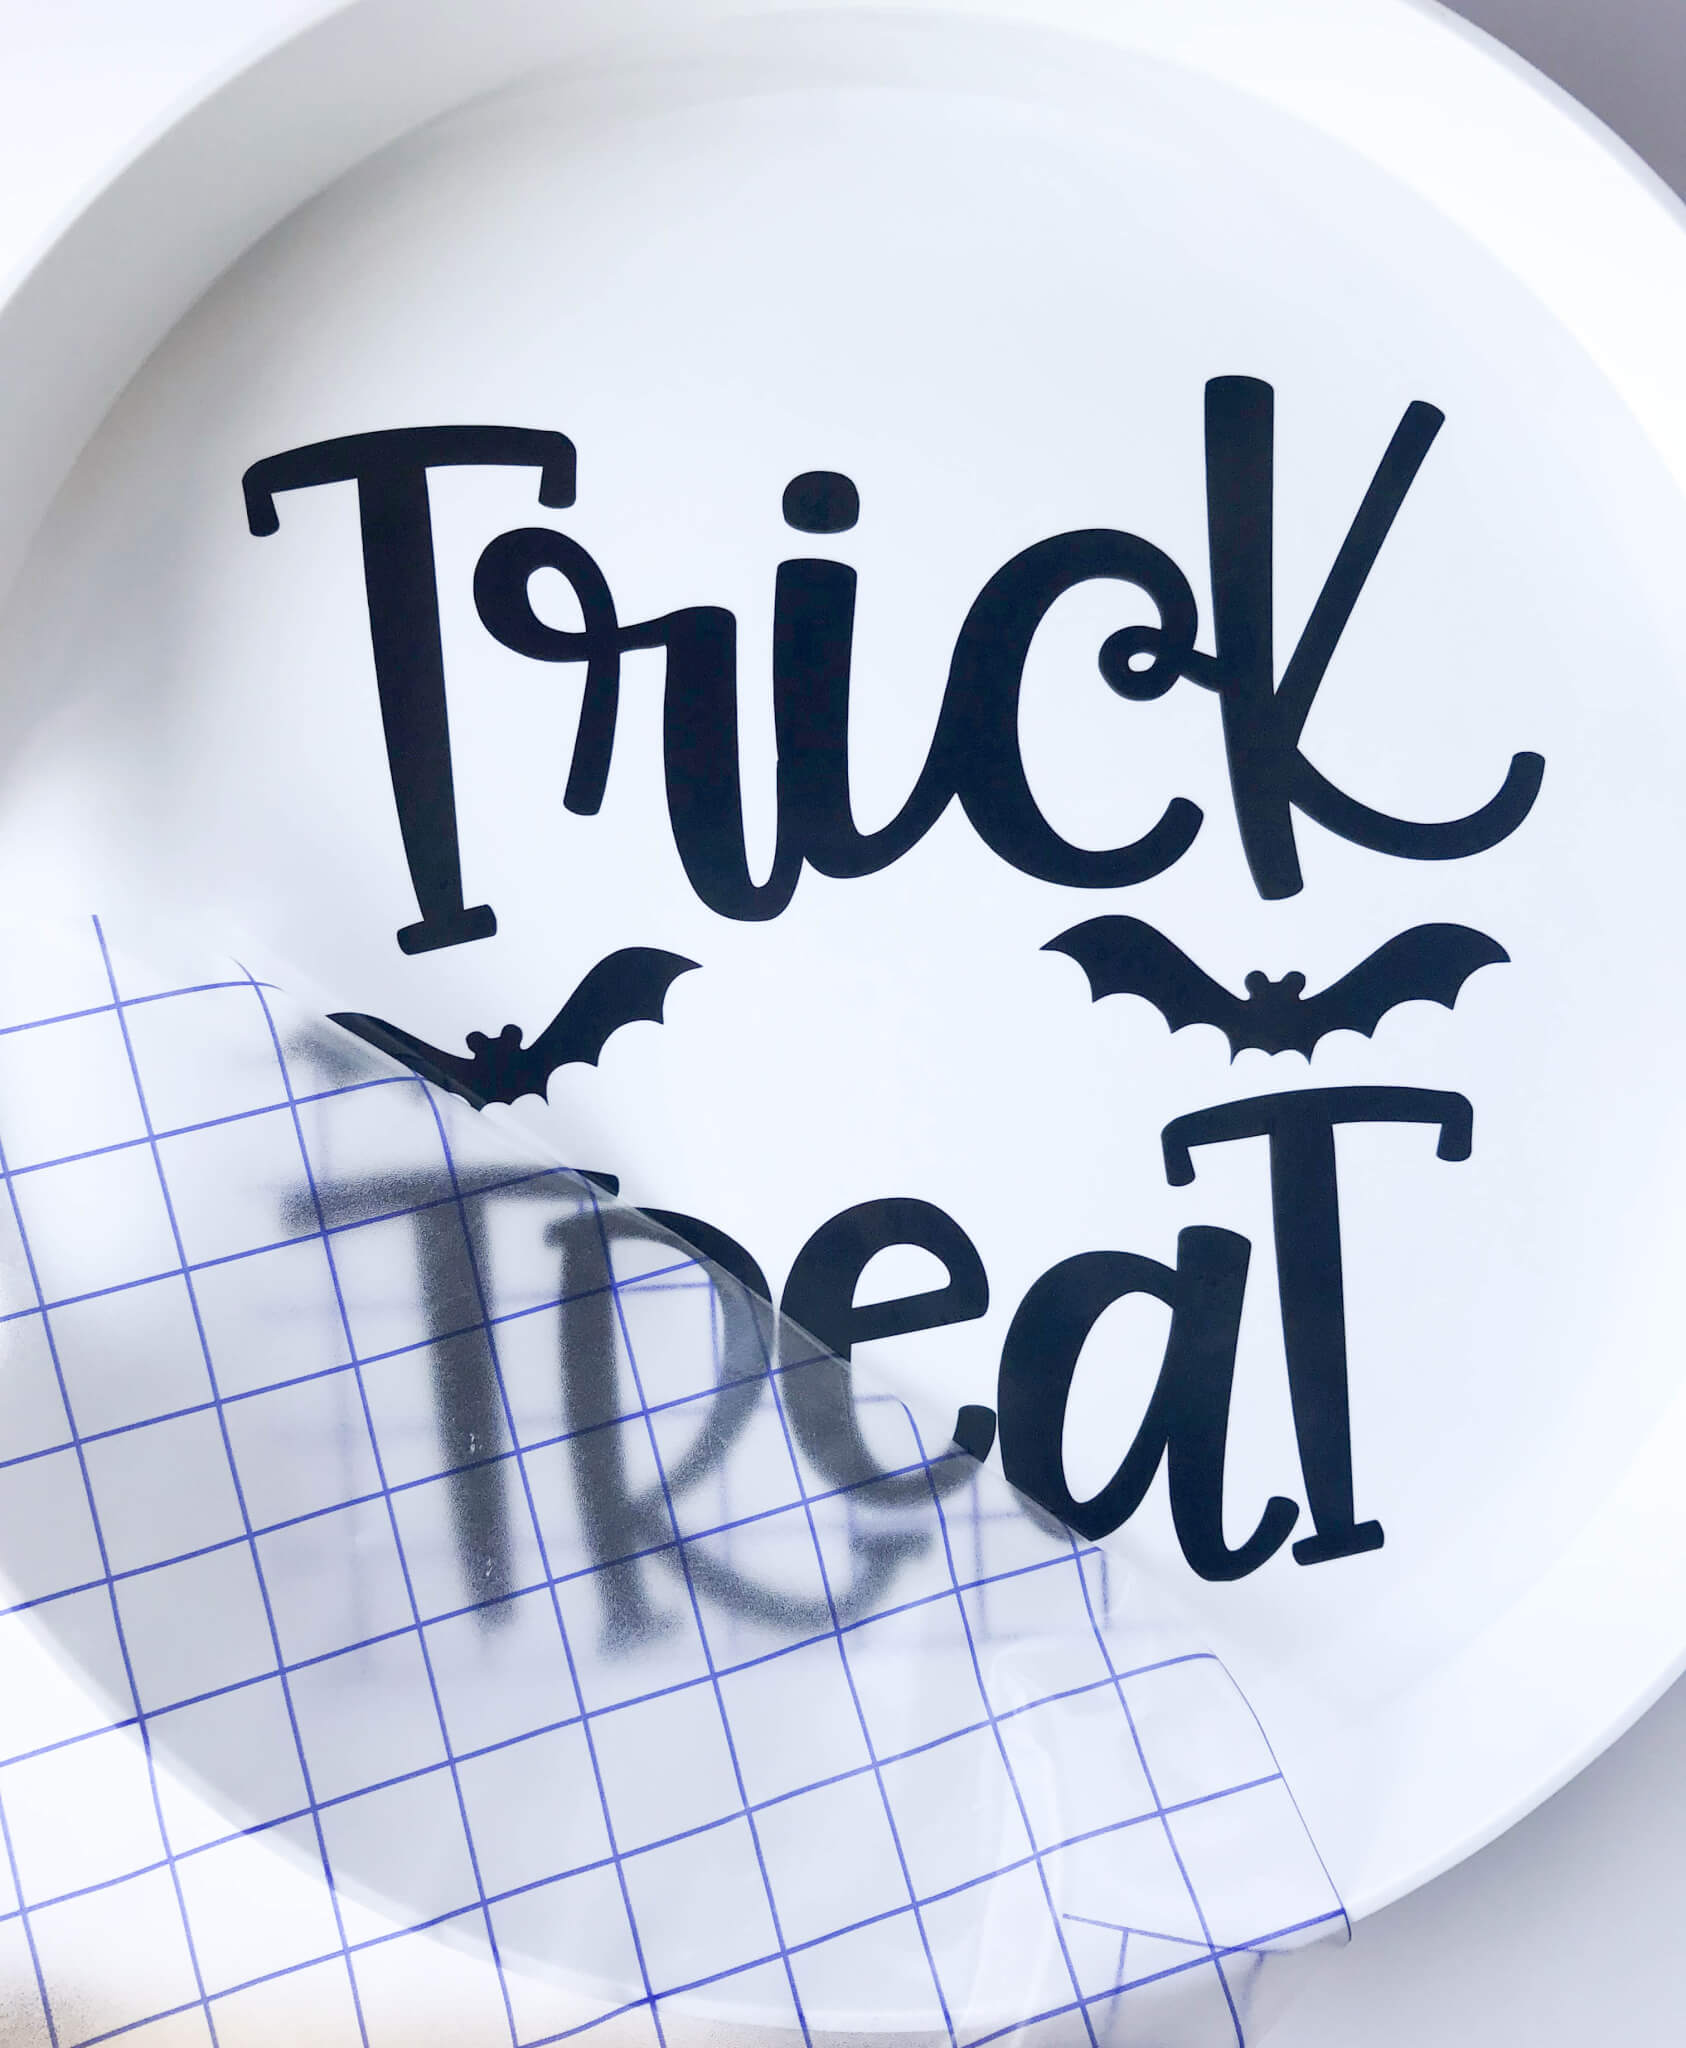
Center the design on the tray and use a scraper tool/credit card to burnish over everything really well. Peel away the tape and tada! I love adhesive vinyl!
(5) Apply Second Layer
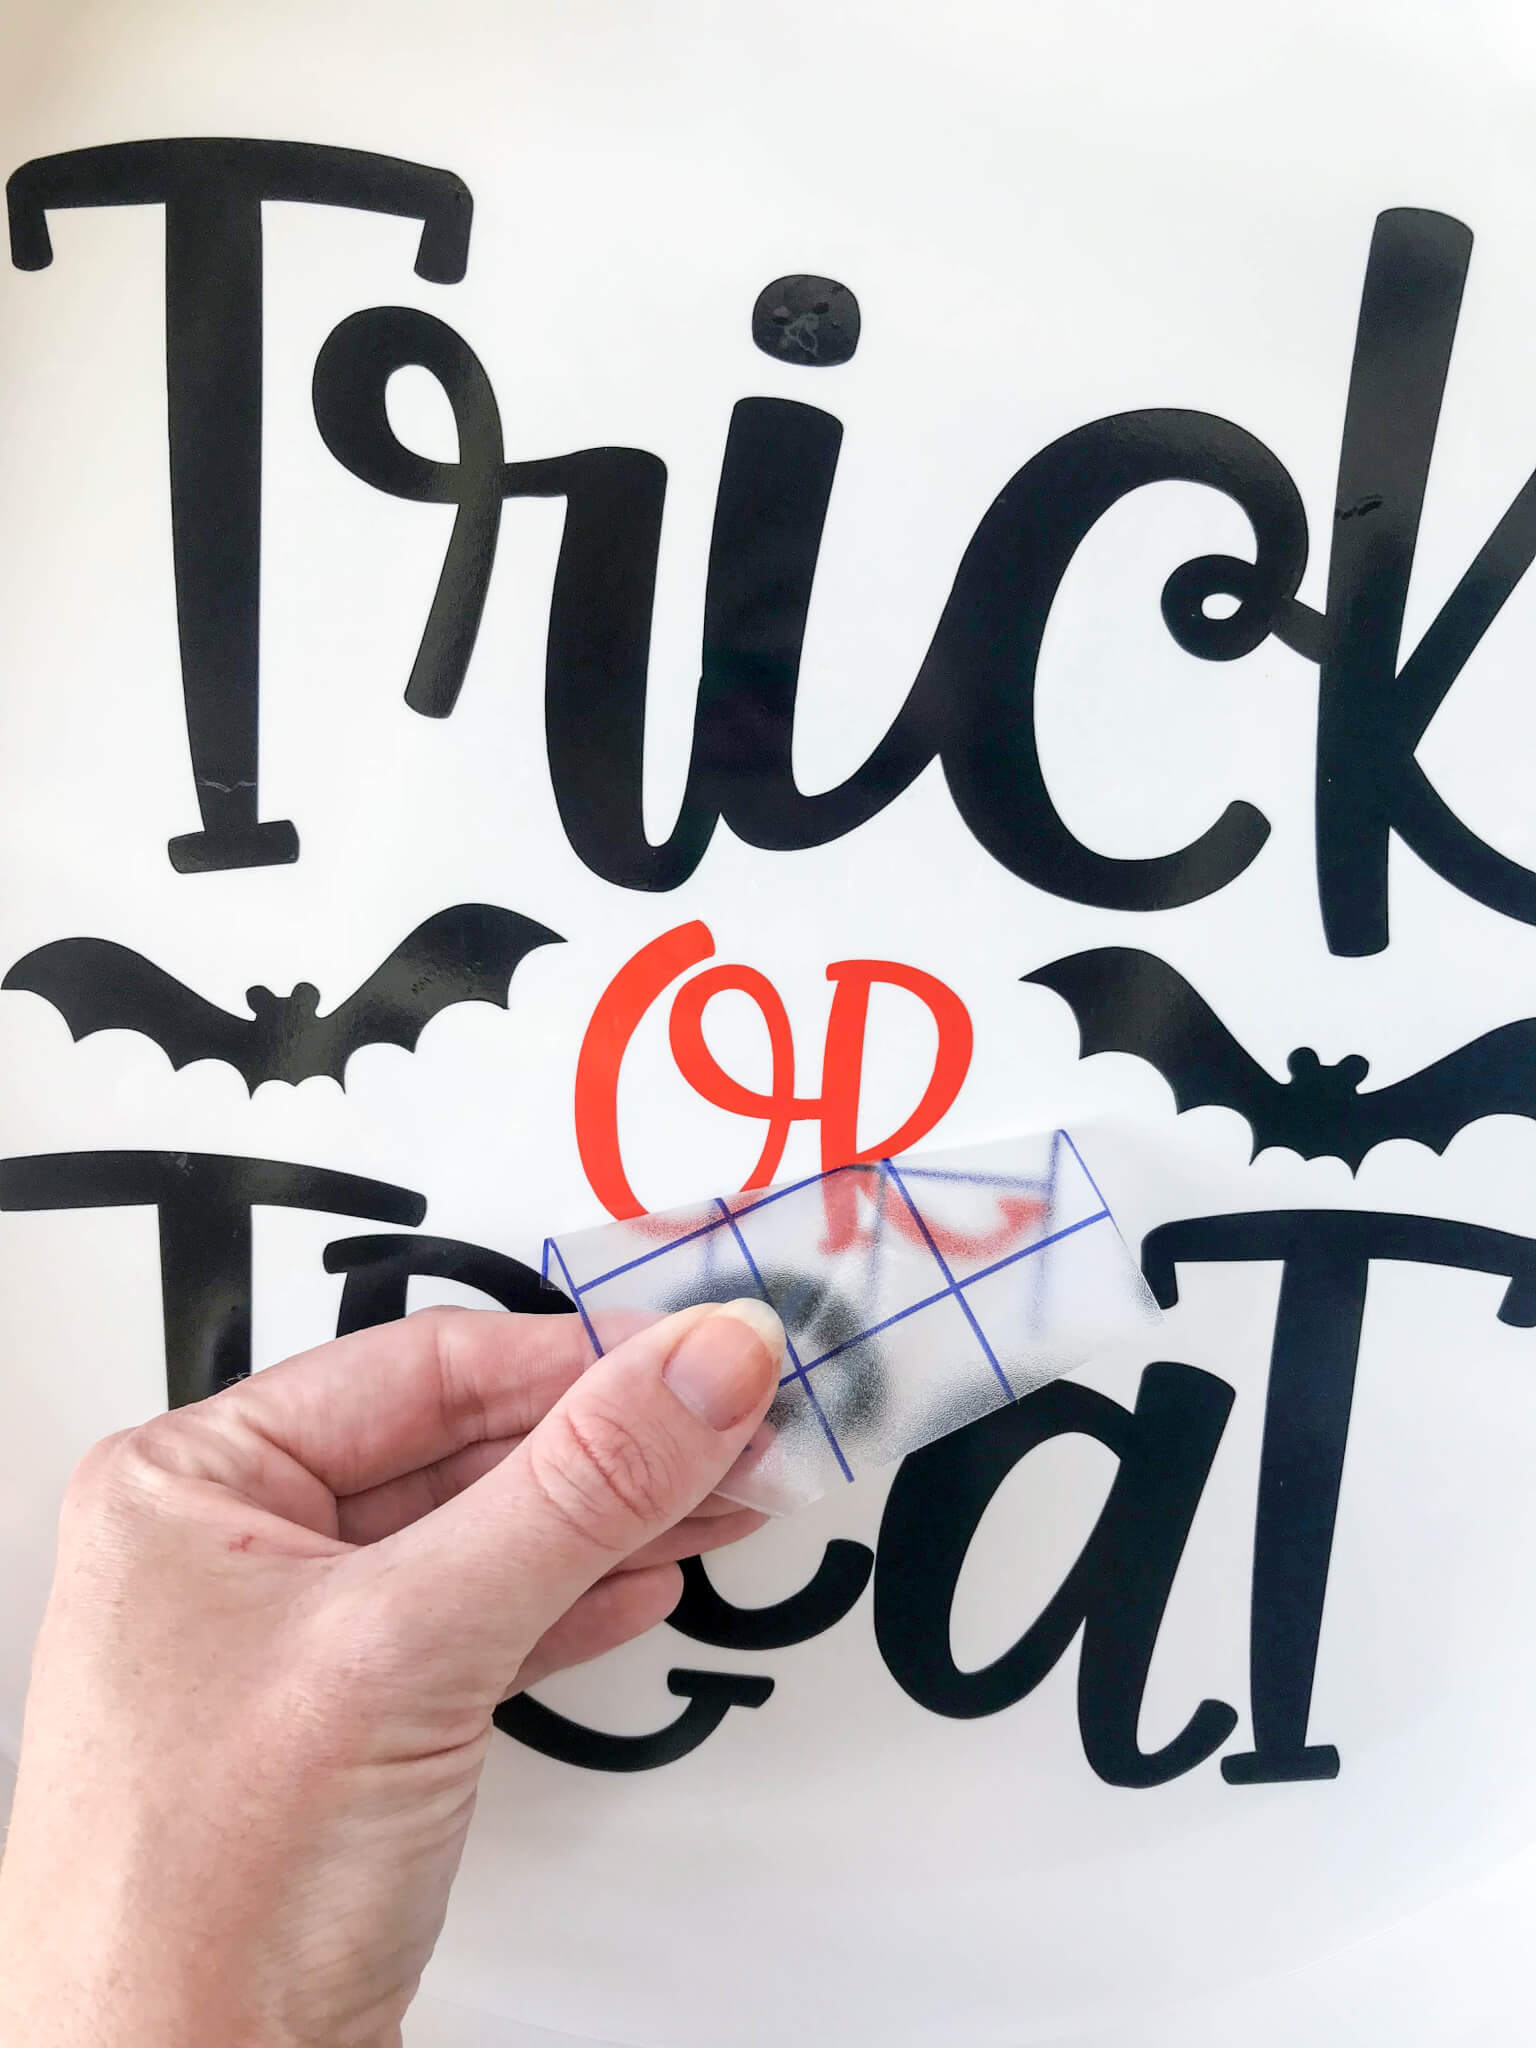
Repeat the transfer tape/burnishing process to add the orange word to the center of the design. A pop of color never hurts. Plus, it’s Halloween – orange and black are mandatory.
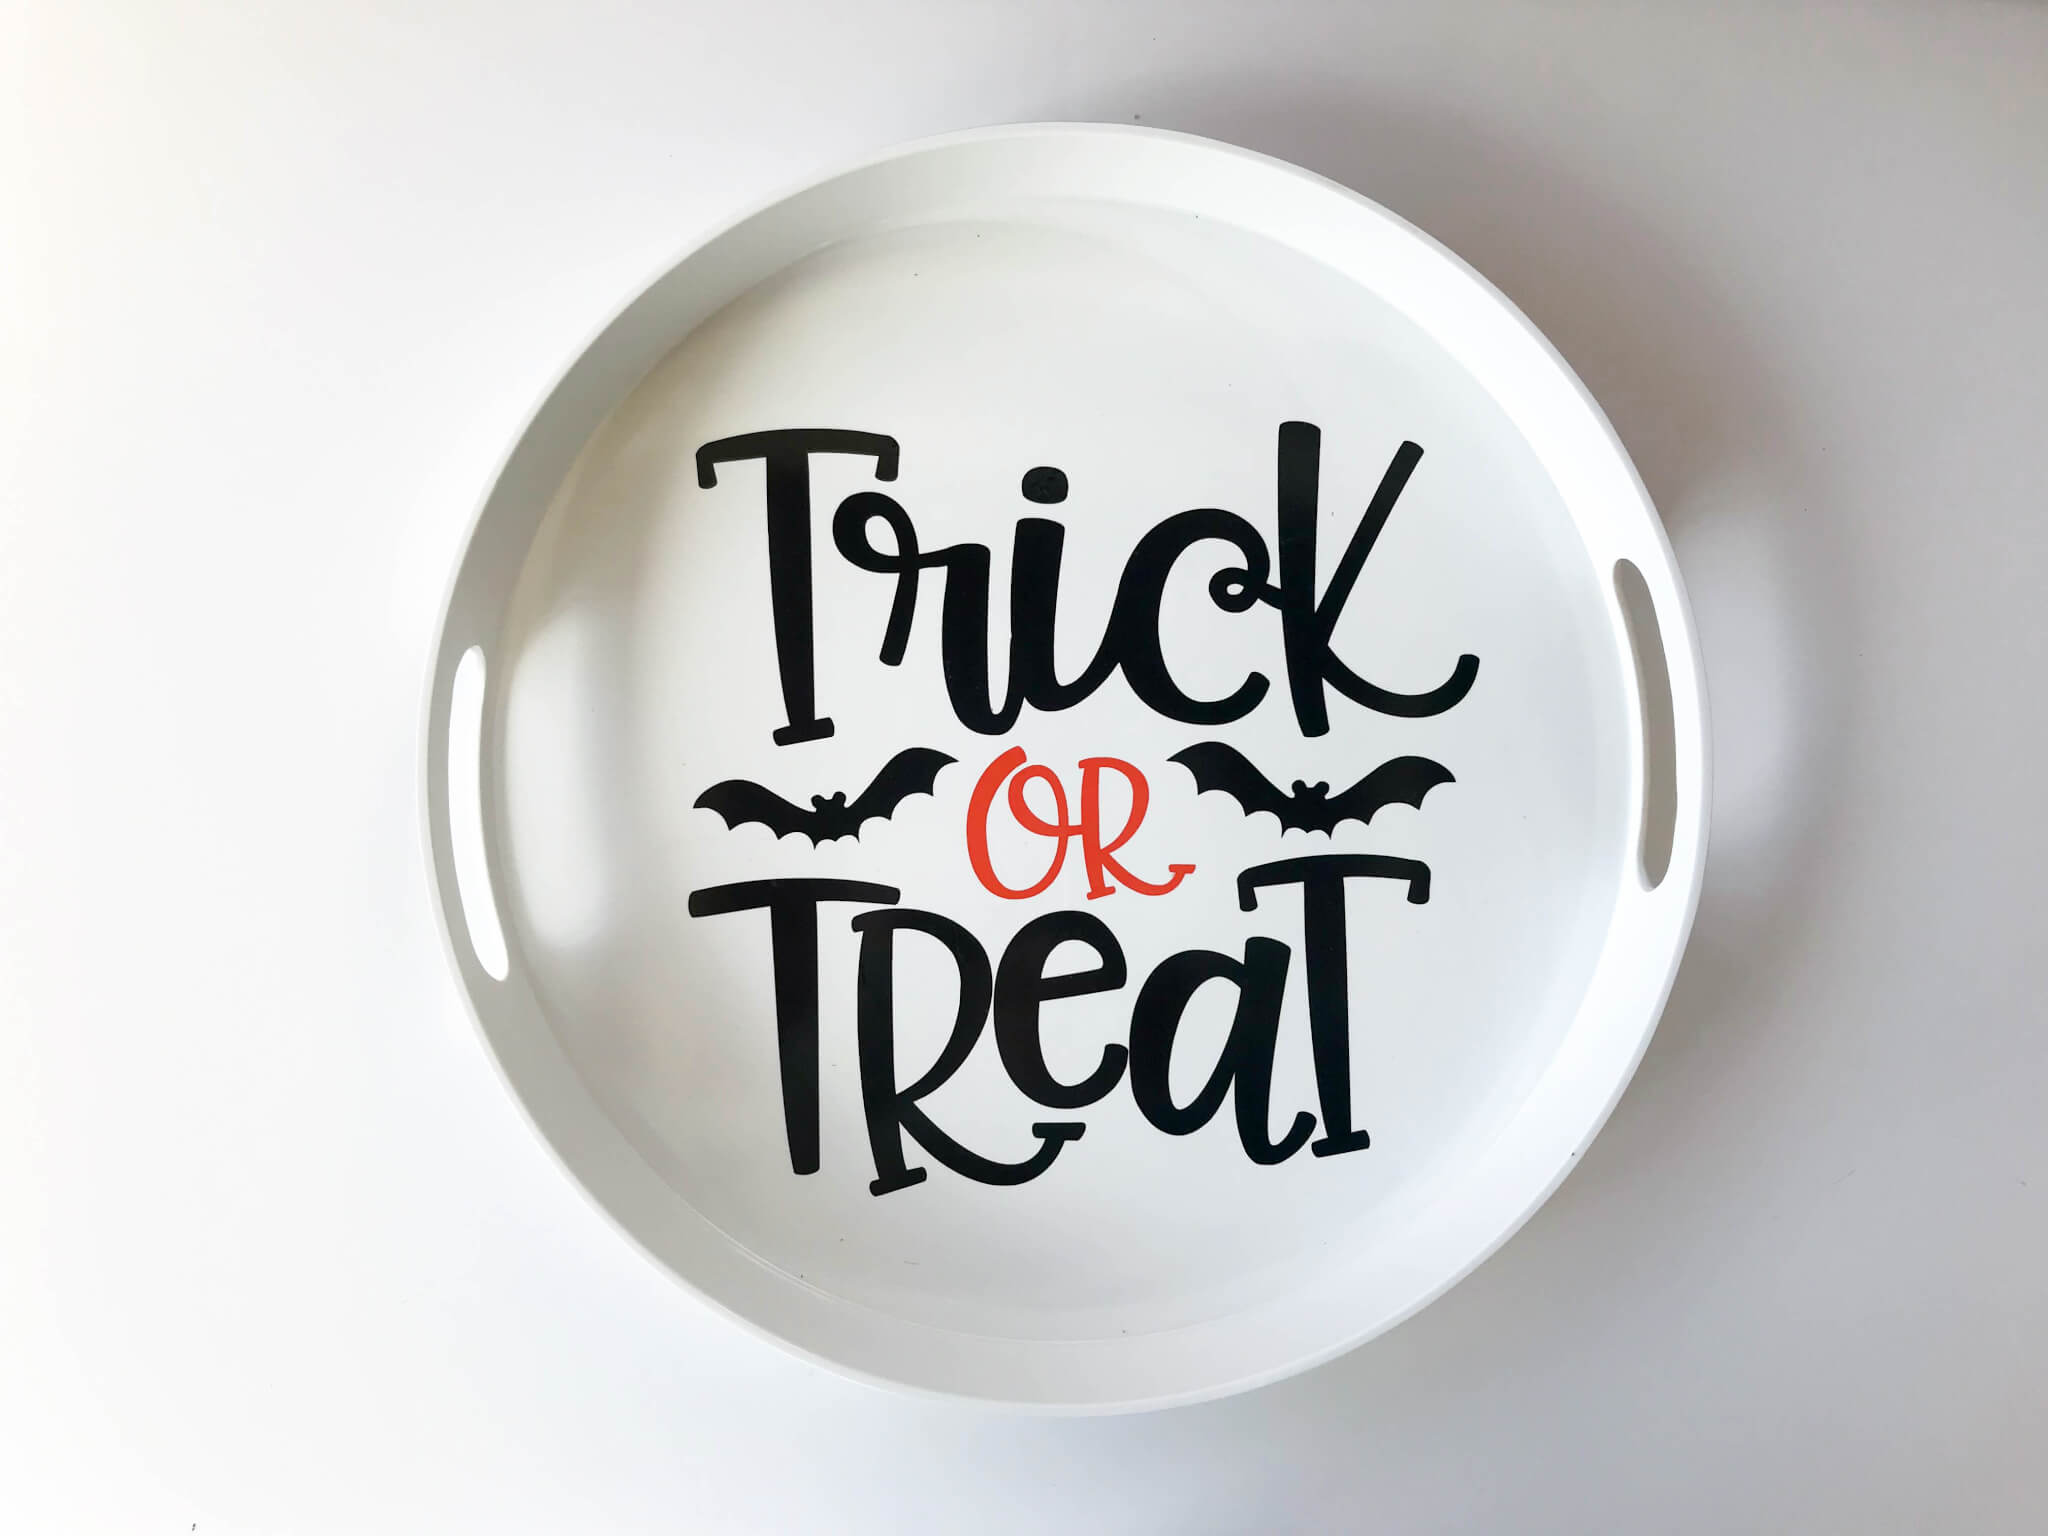
(6) Fill With Candy and Enjoy!
Fill up your cute new tray with all the yummy things and prepare to have a fantastic Halloween! Try not to eat all of the candy while you wait! Happy Halloween and happy crafting!