
Using Pattern Fill In Design Space
Did you know you can upload your own pattern to Design Space?! Game.changer.
There are so many fun projects you can create with this feature. Printed patterned vinyl, patterned invitations or notecards on card stock, cake toppers, printable patterned HTV. So many options! It’s really simple to do but if you’re new to Design Space it can be overwhelming so hopefully this post helps someone out.
(1) Open Design Space and go to the Upload window. Select “Upload Pattern” on the right side.

(2) Drag and drop your pattern of choice onto the window.

(3) Once the pattern loads you can then name and add tags to it to make it easier to find in the future. Click save.

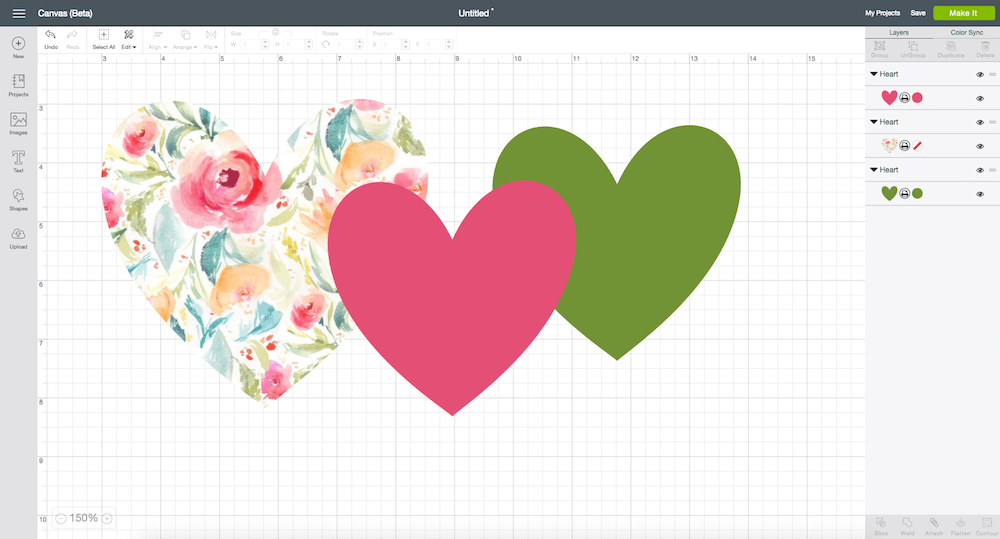
(4) Select your shape you wish to fill and in the layer attributes window, under PRINT you will see PATTERNS. Click “patterns” and you will see all of your uploaded patterns plus patterns you can purchase.


(5) Select the pattern you want and the shape will automatically be filled. At this point you can adjust the size and direction of your pattern by clicking EDIT at the bottom of the Layer Attributes window.

Clicking edit will bring up a separate window where you can adjust the pattern to look exactly the way you want inside of your shape.

That’s all there is to it! You can create endlessly with patterns now!


Ashlee
Would this be most useful for the “print then cut” feature? I’m still new to Cricut so trying to figure it all out 🙂
Kayla
Yes! This is for print then cut. 🙂